
Transformation GALLERY
Back to the Full Gallery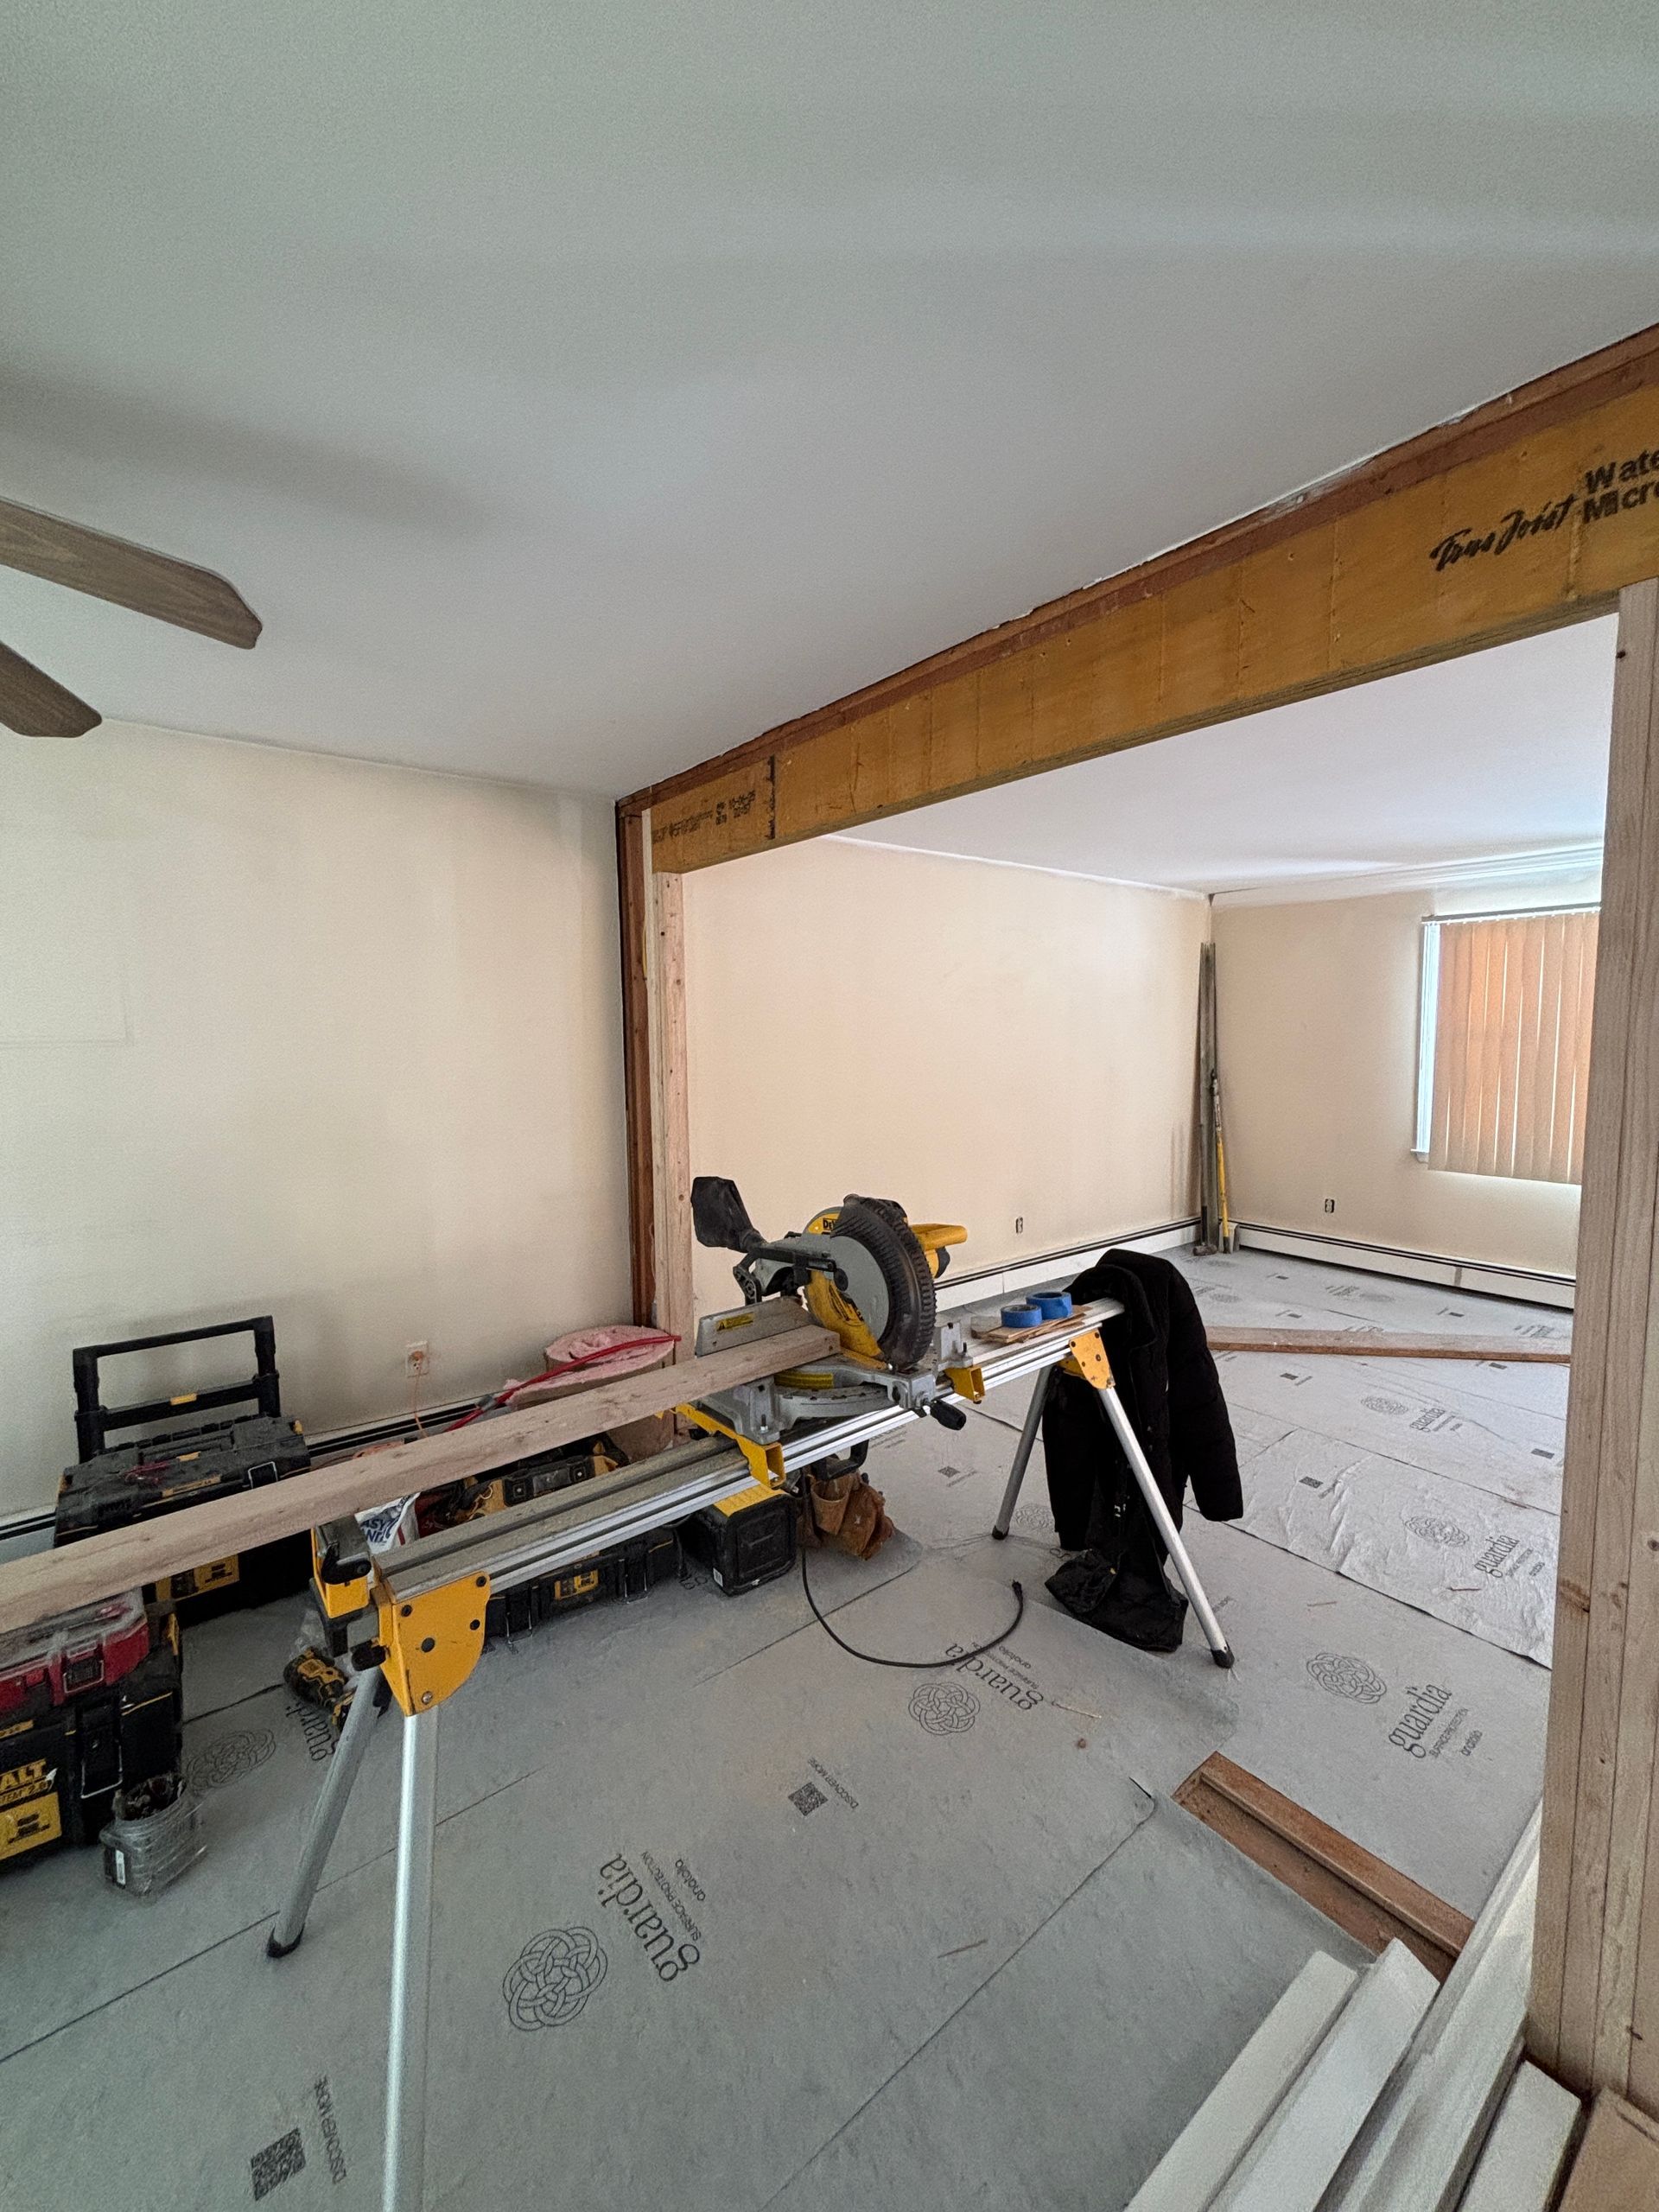
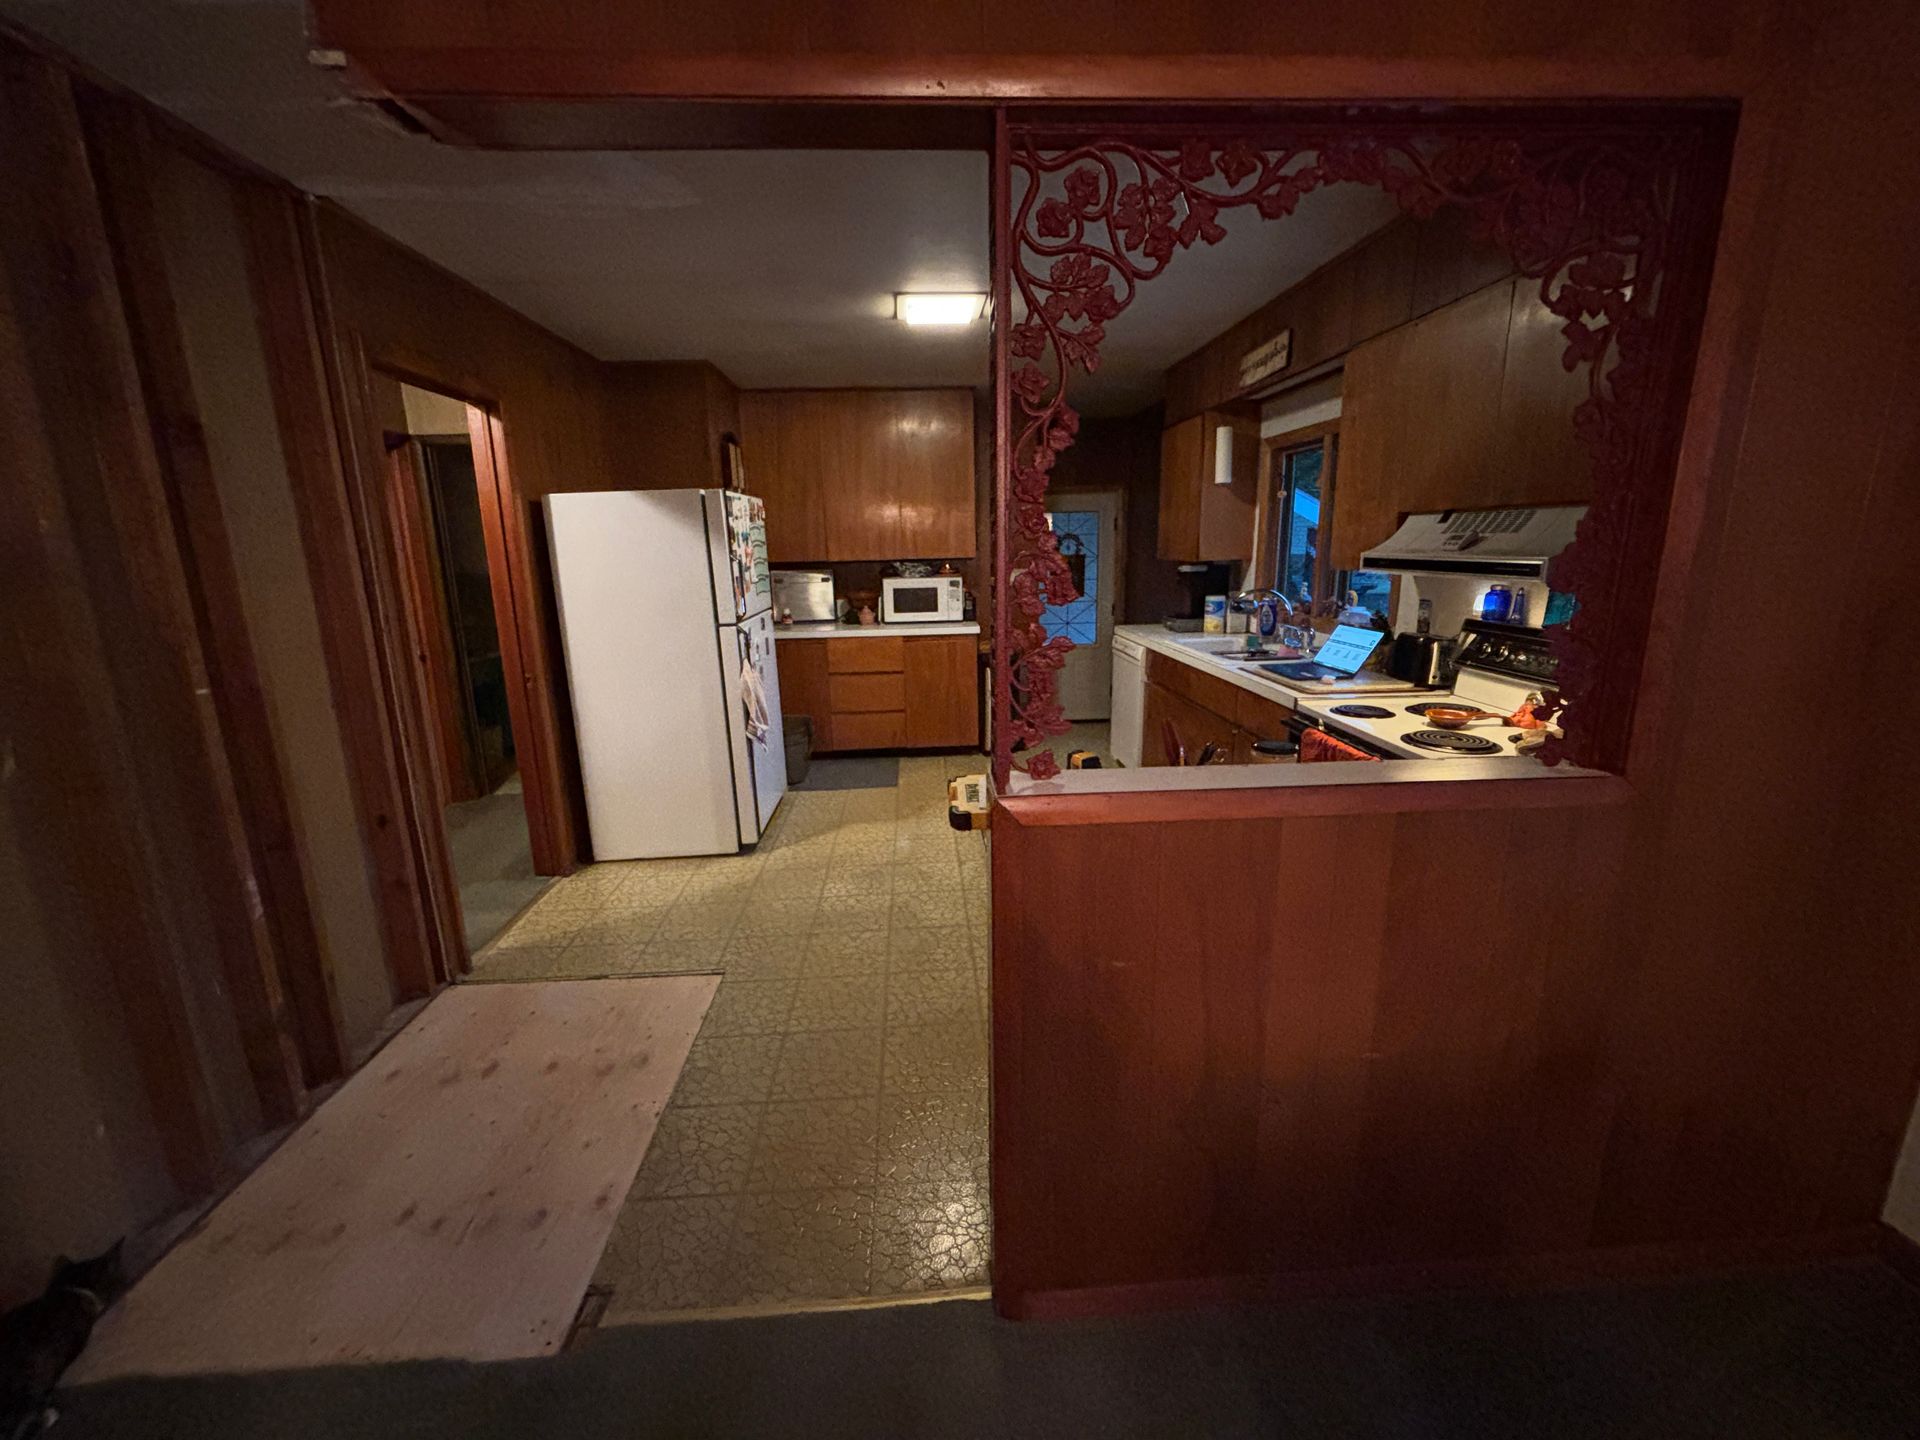
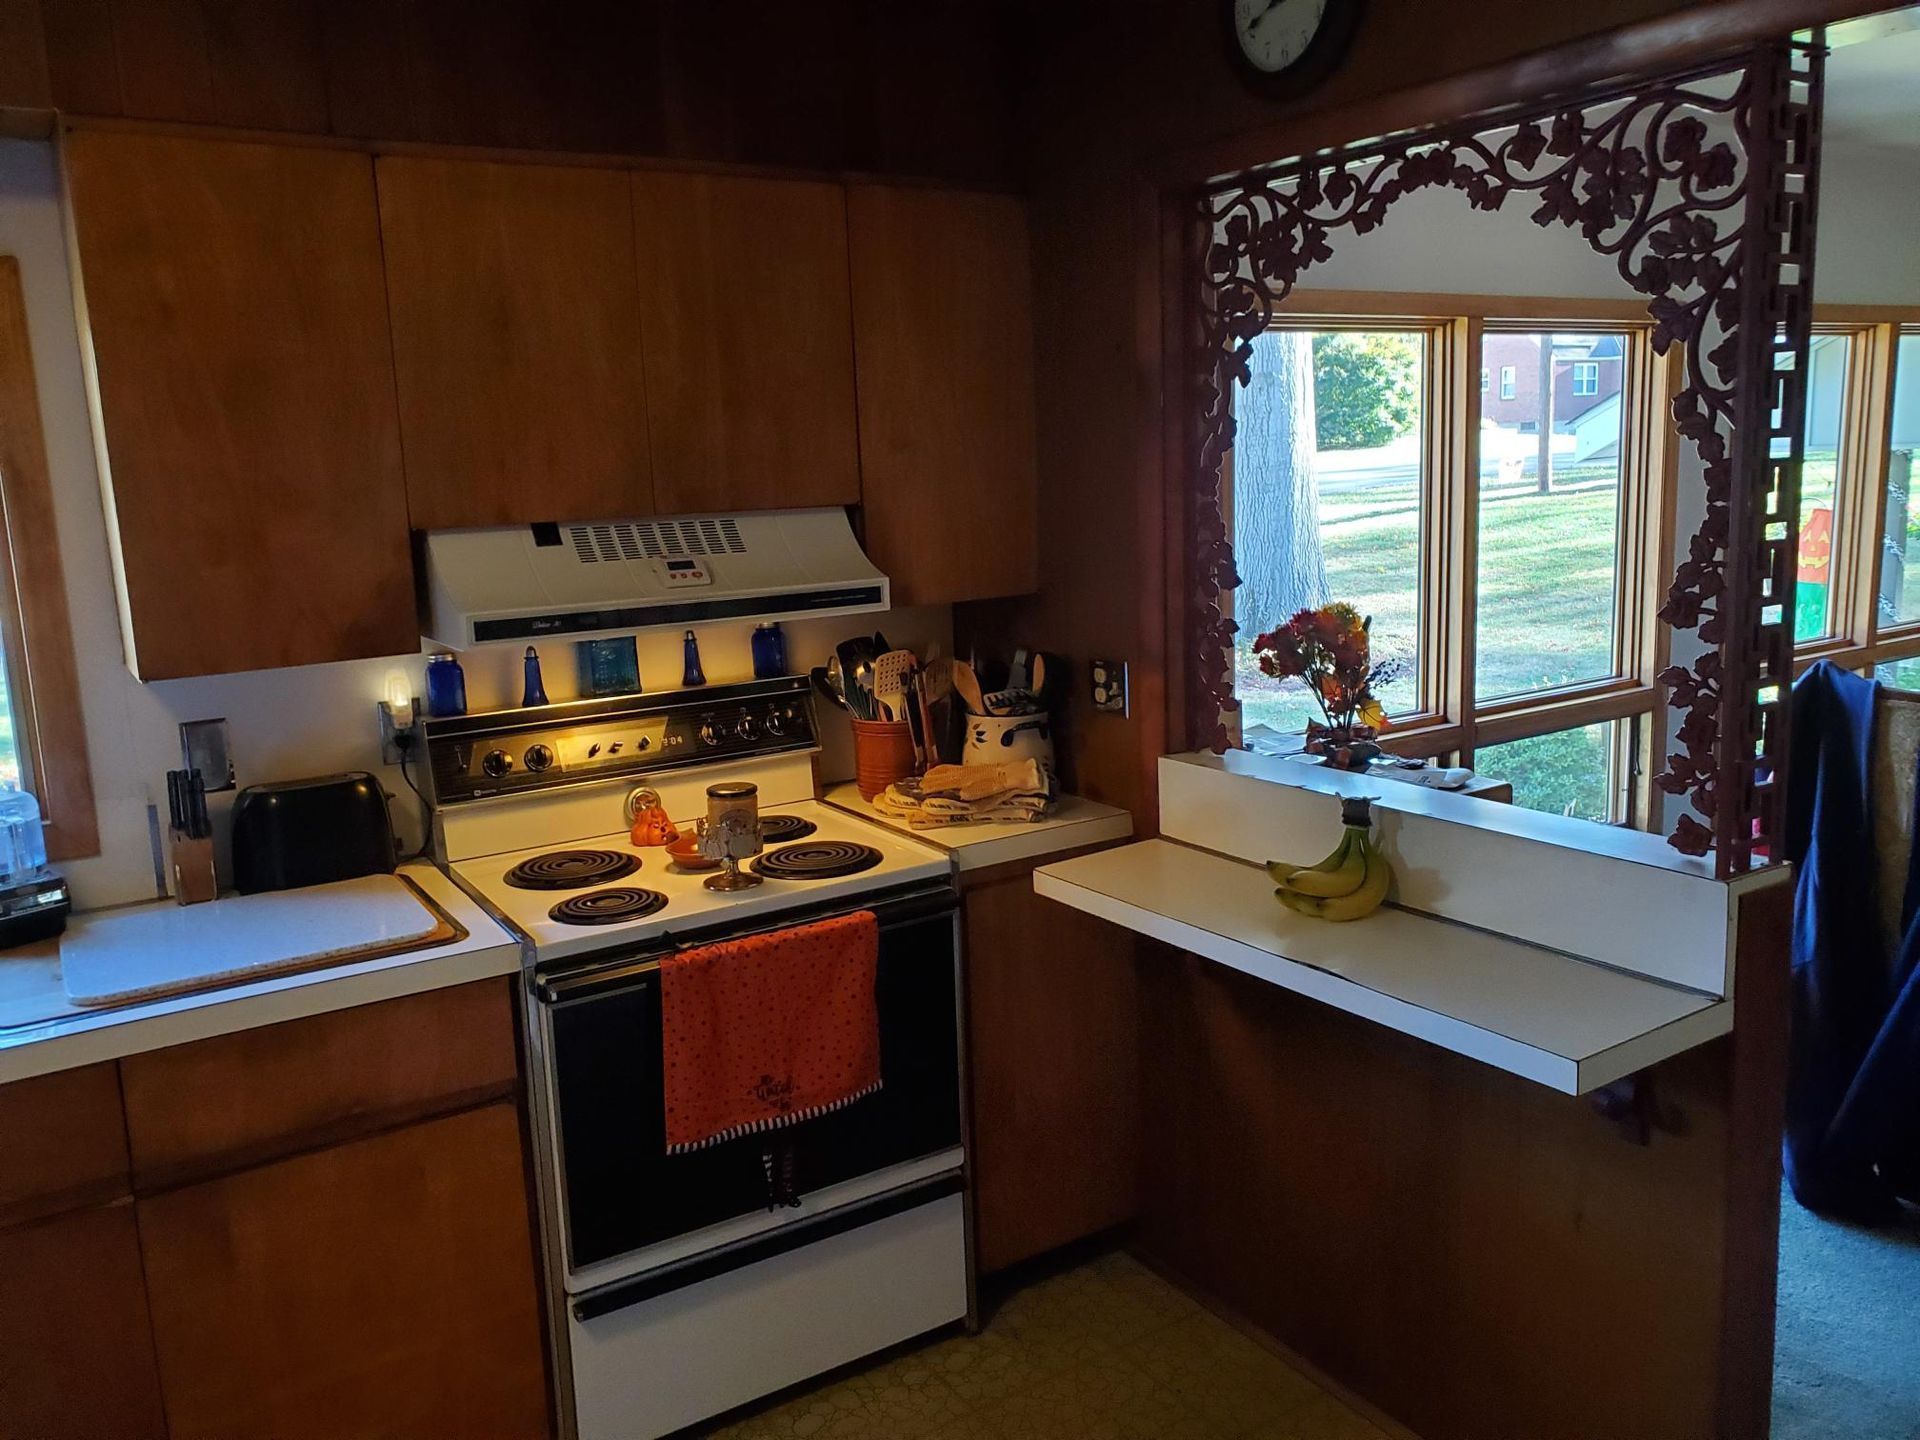
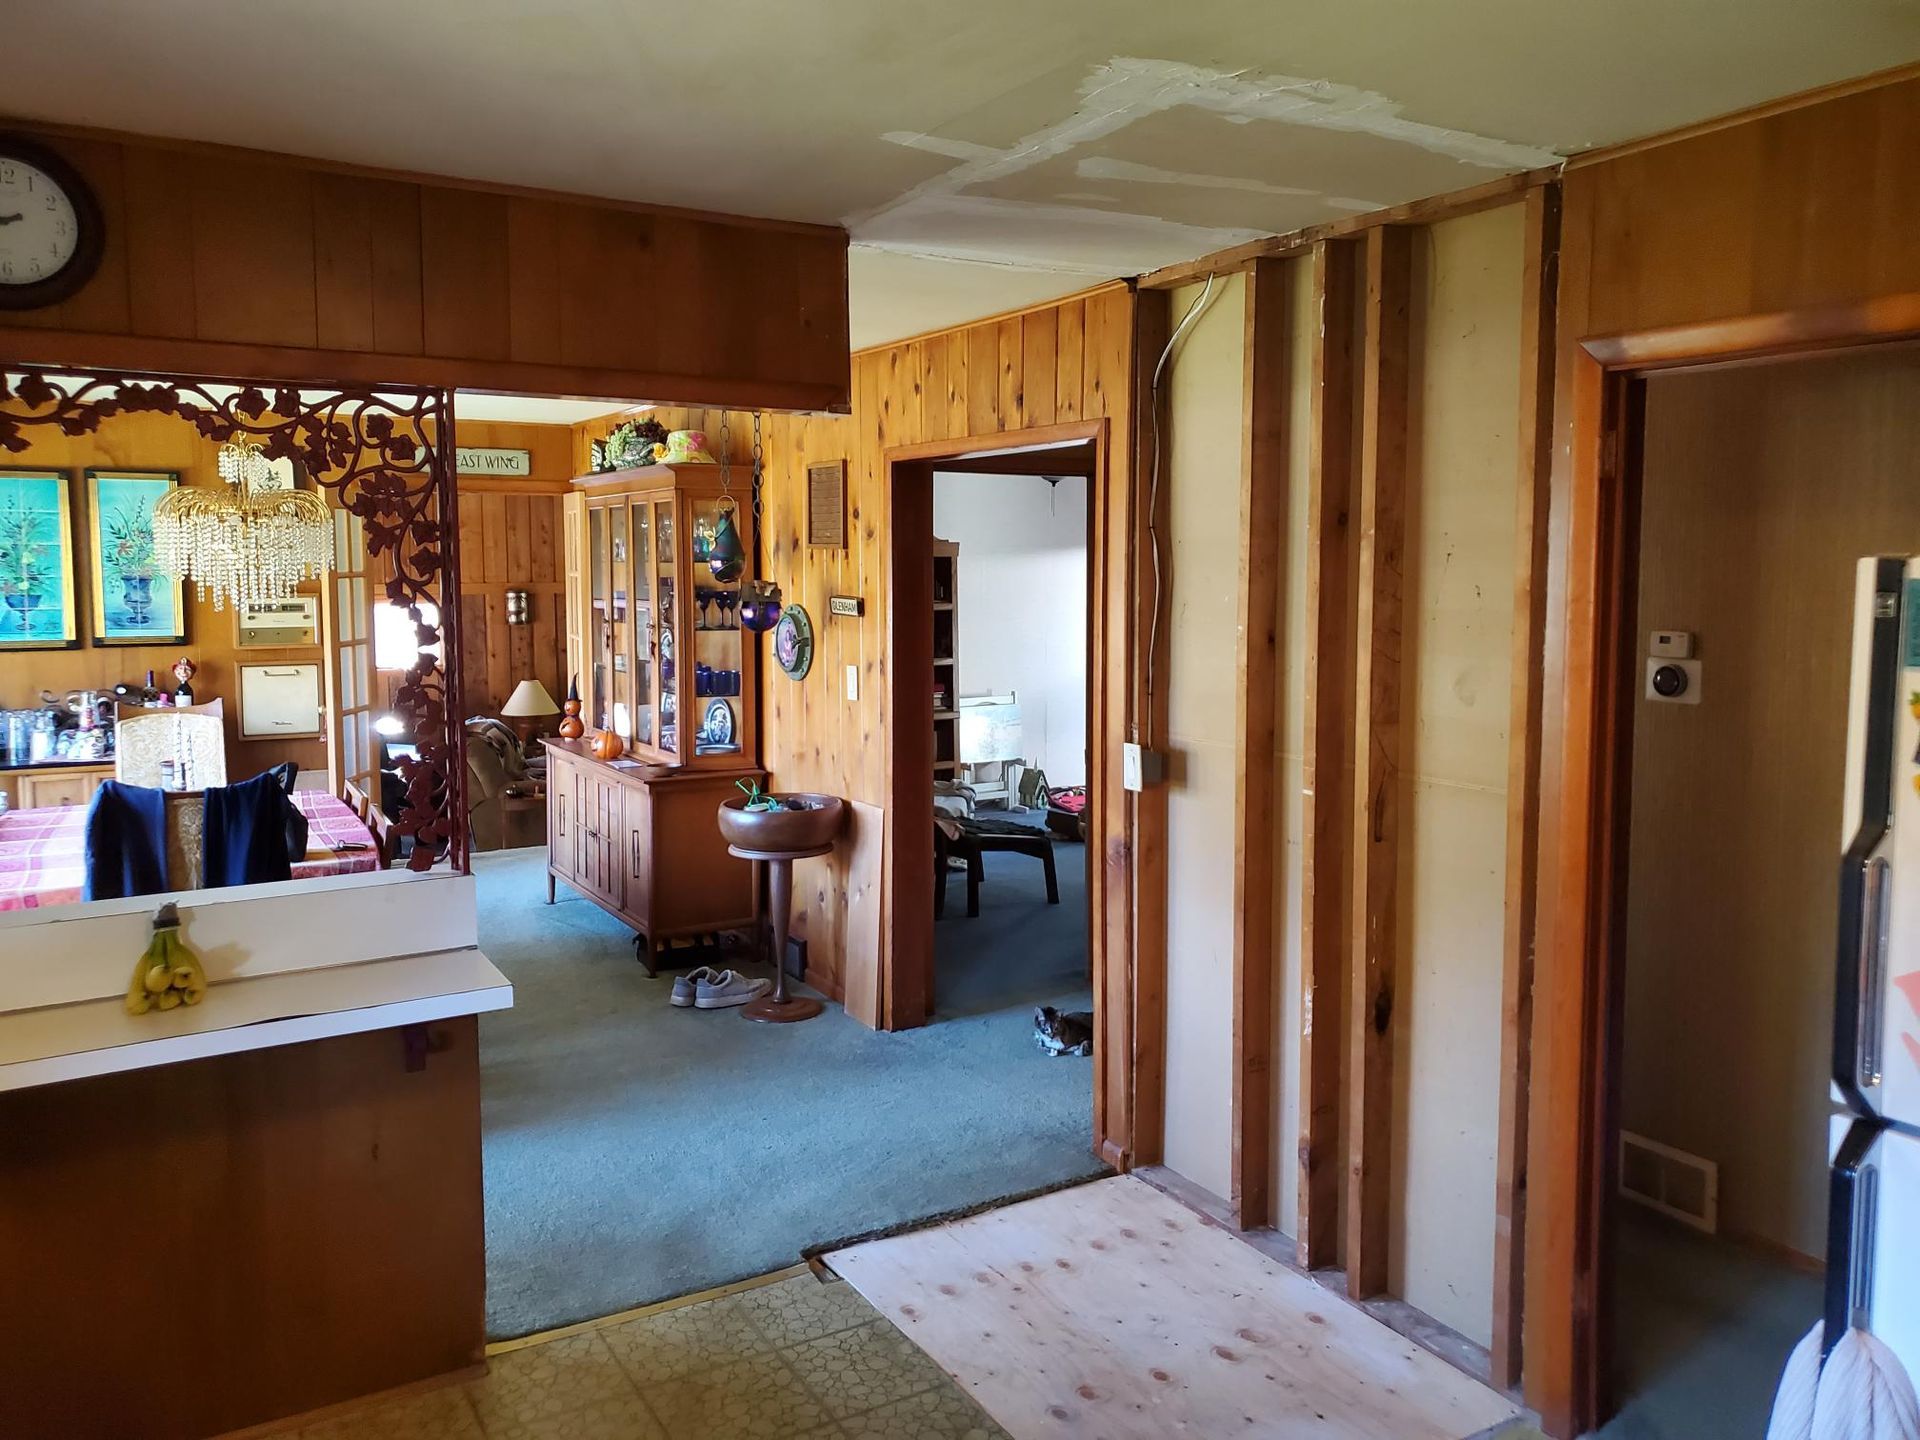
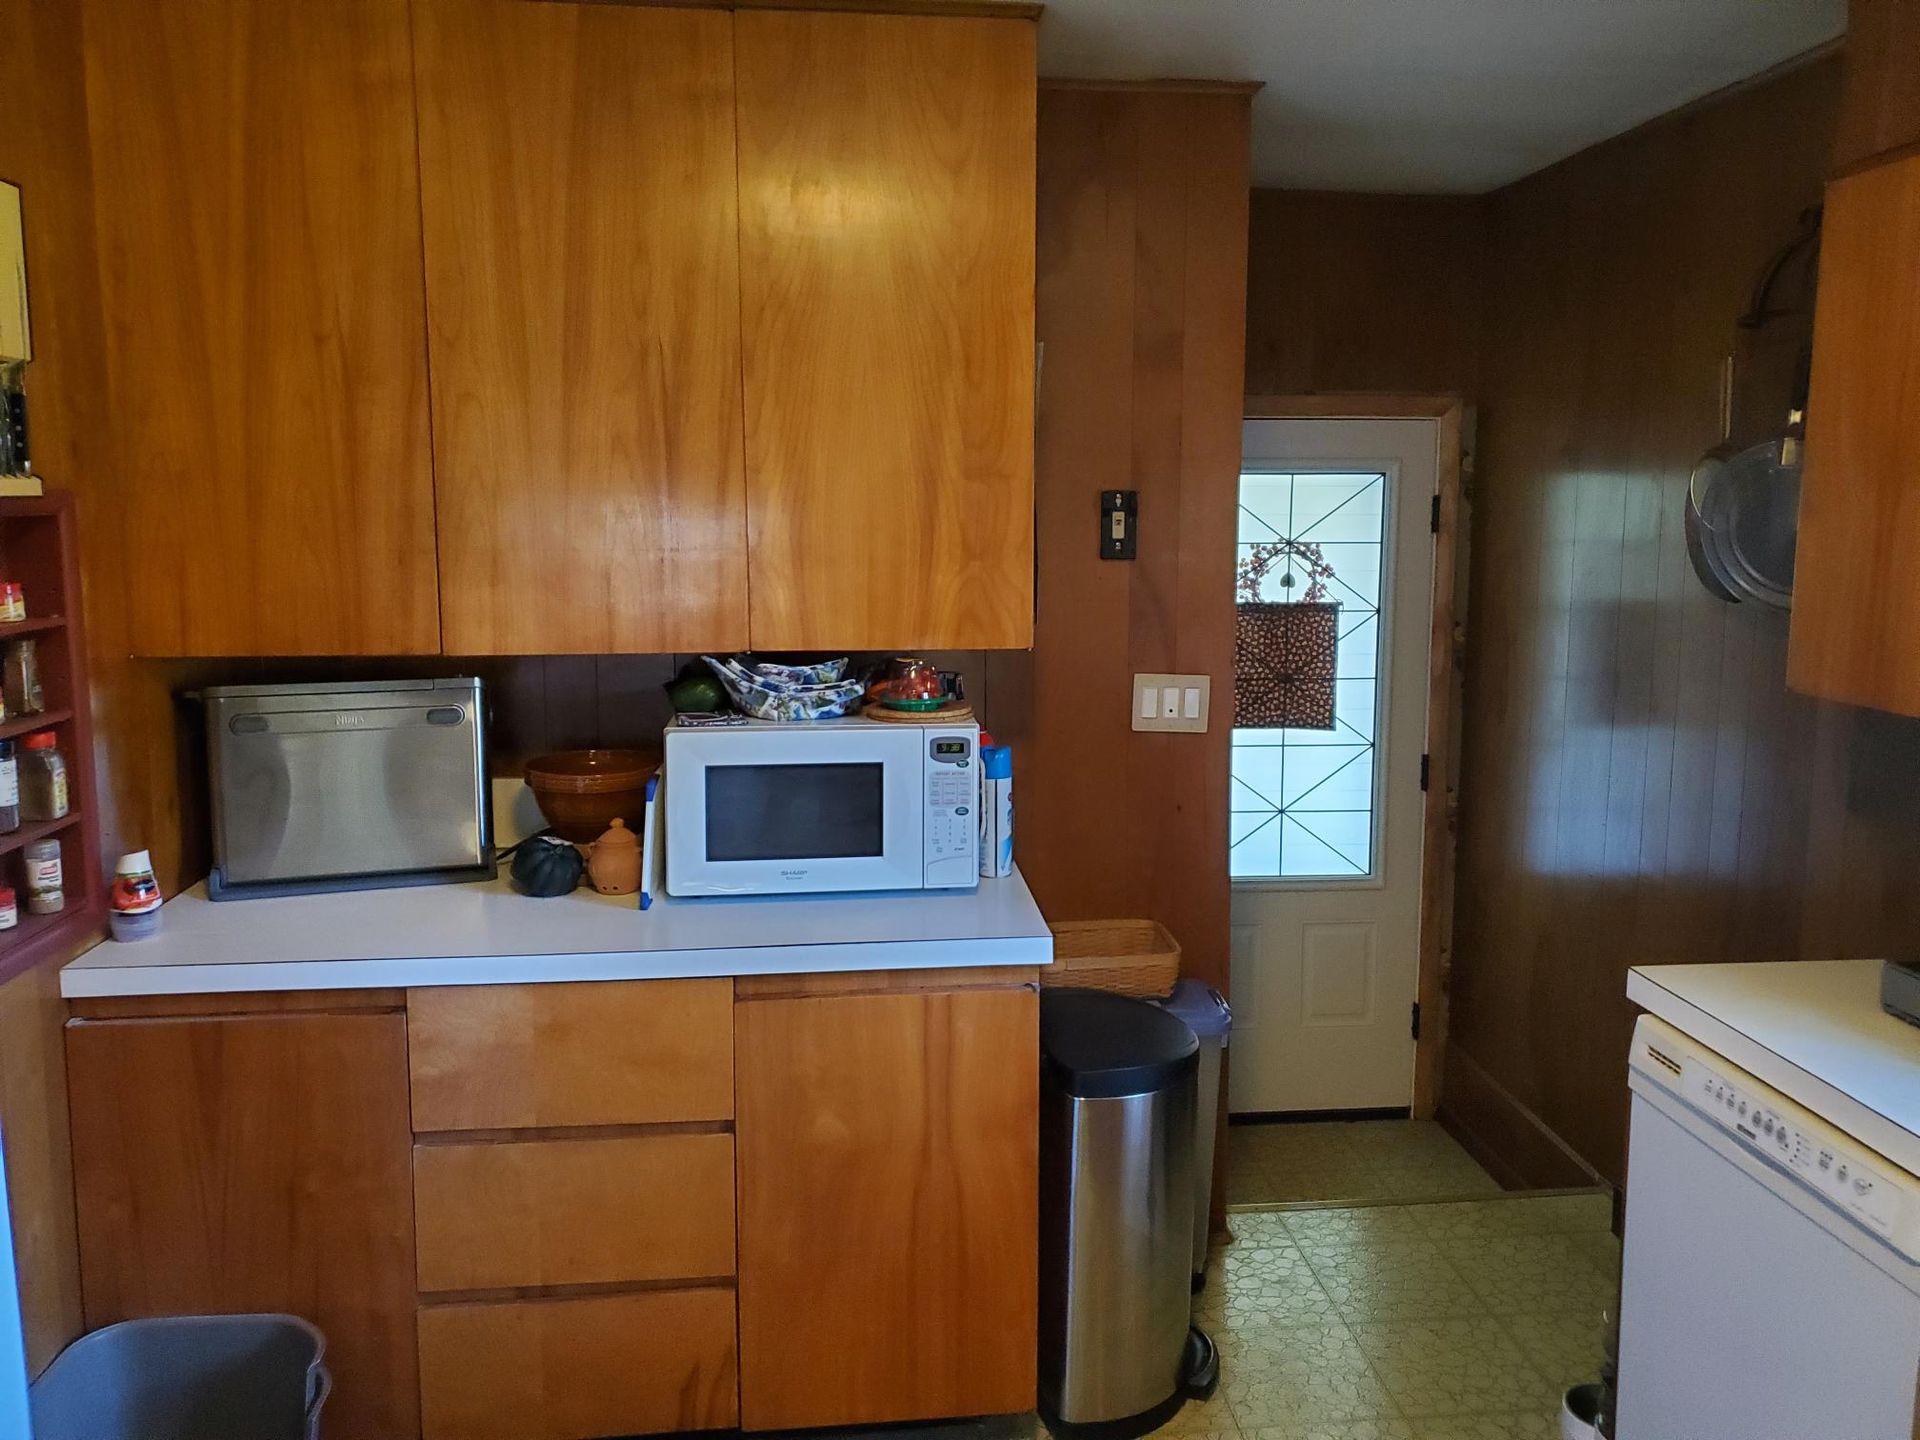
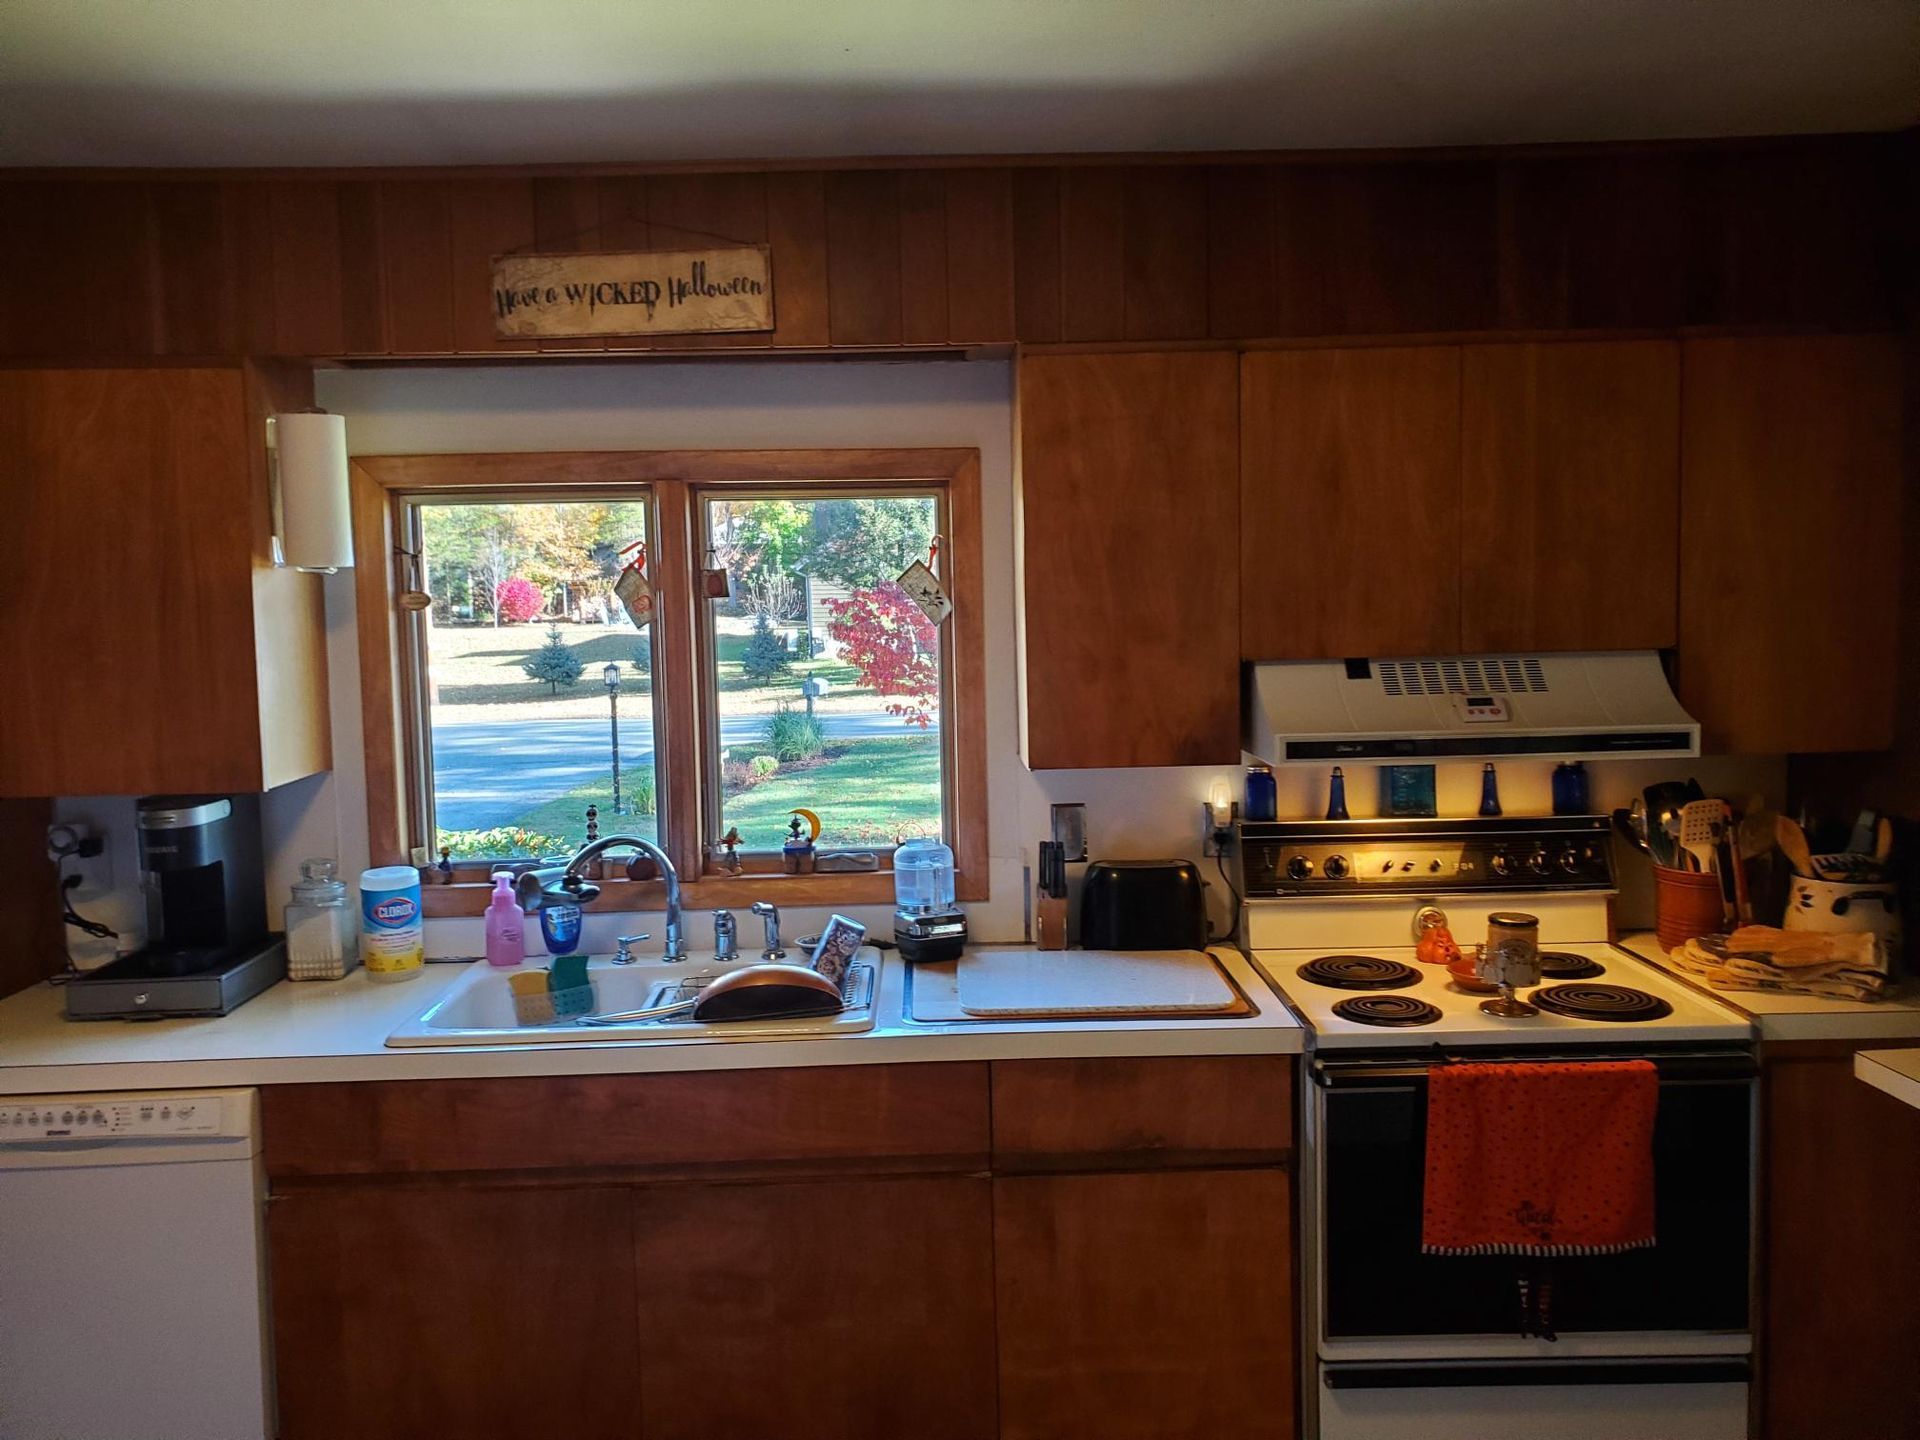
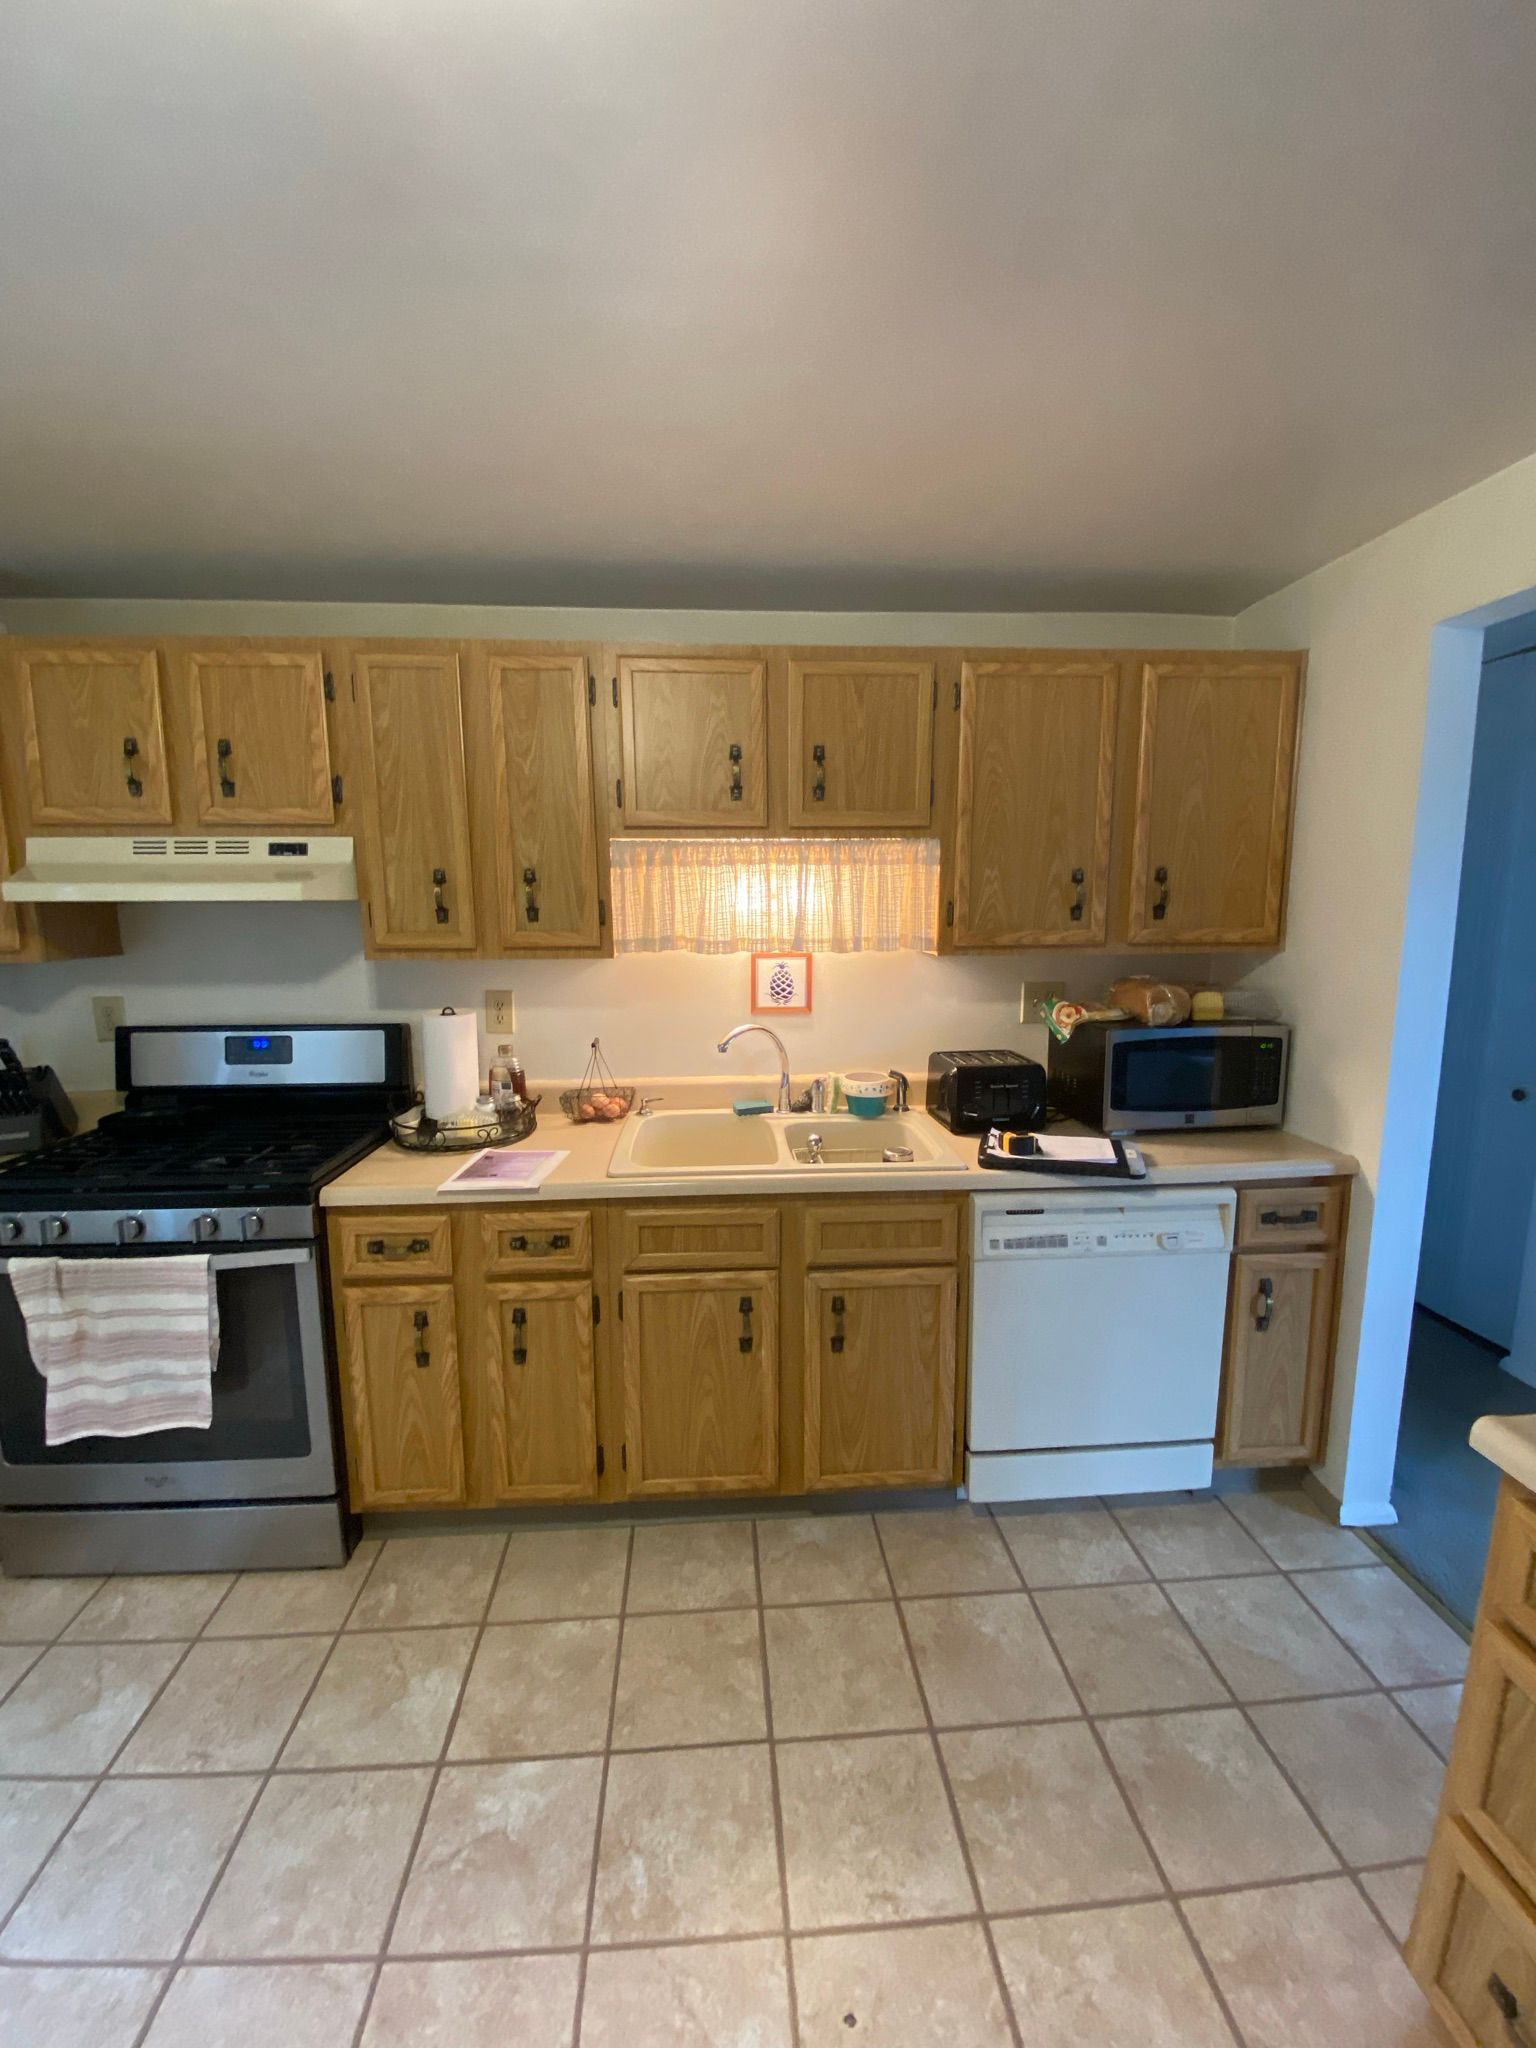
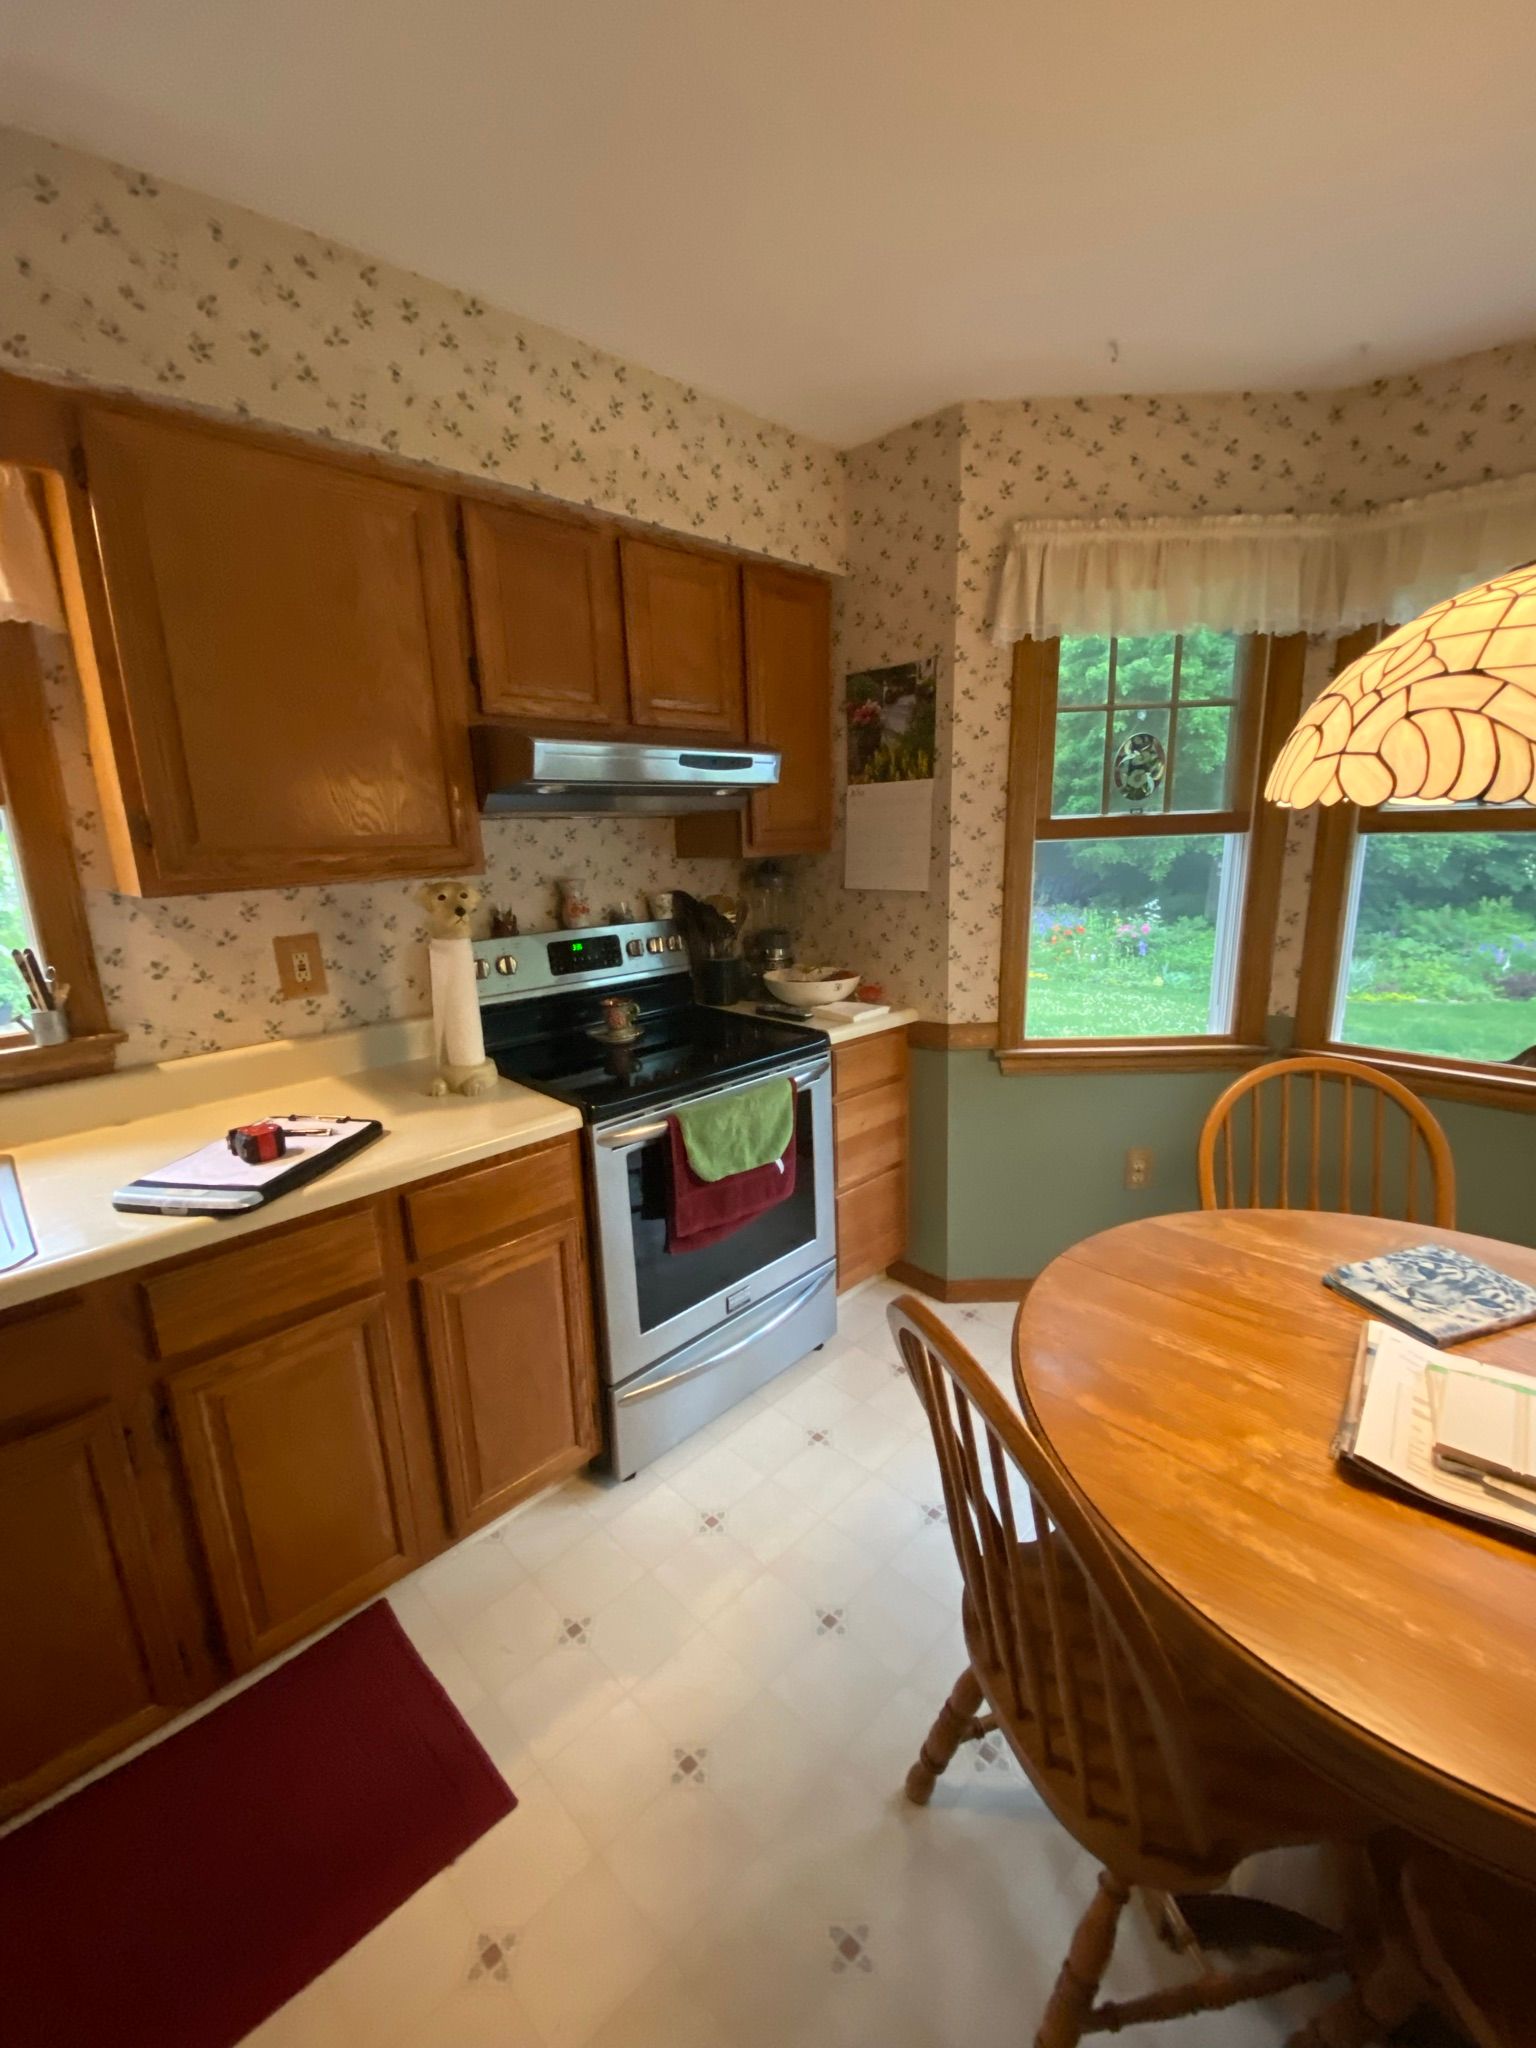
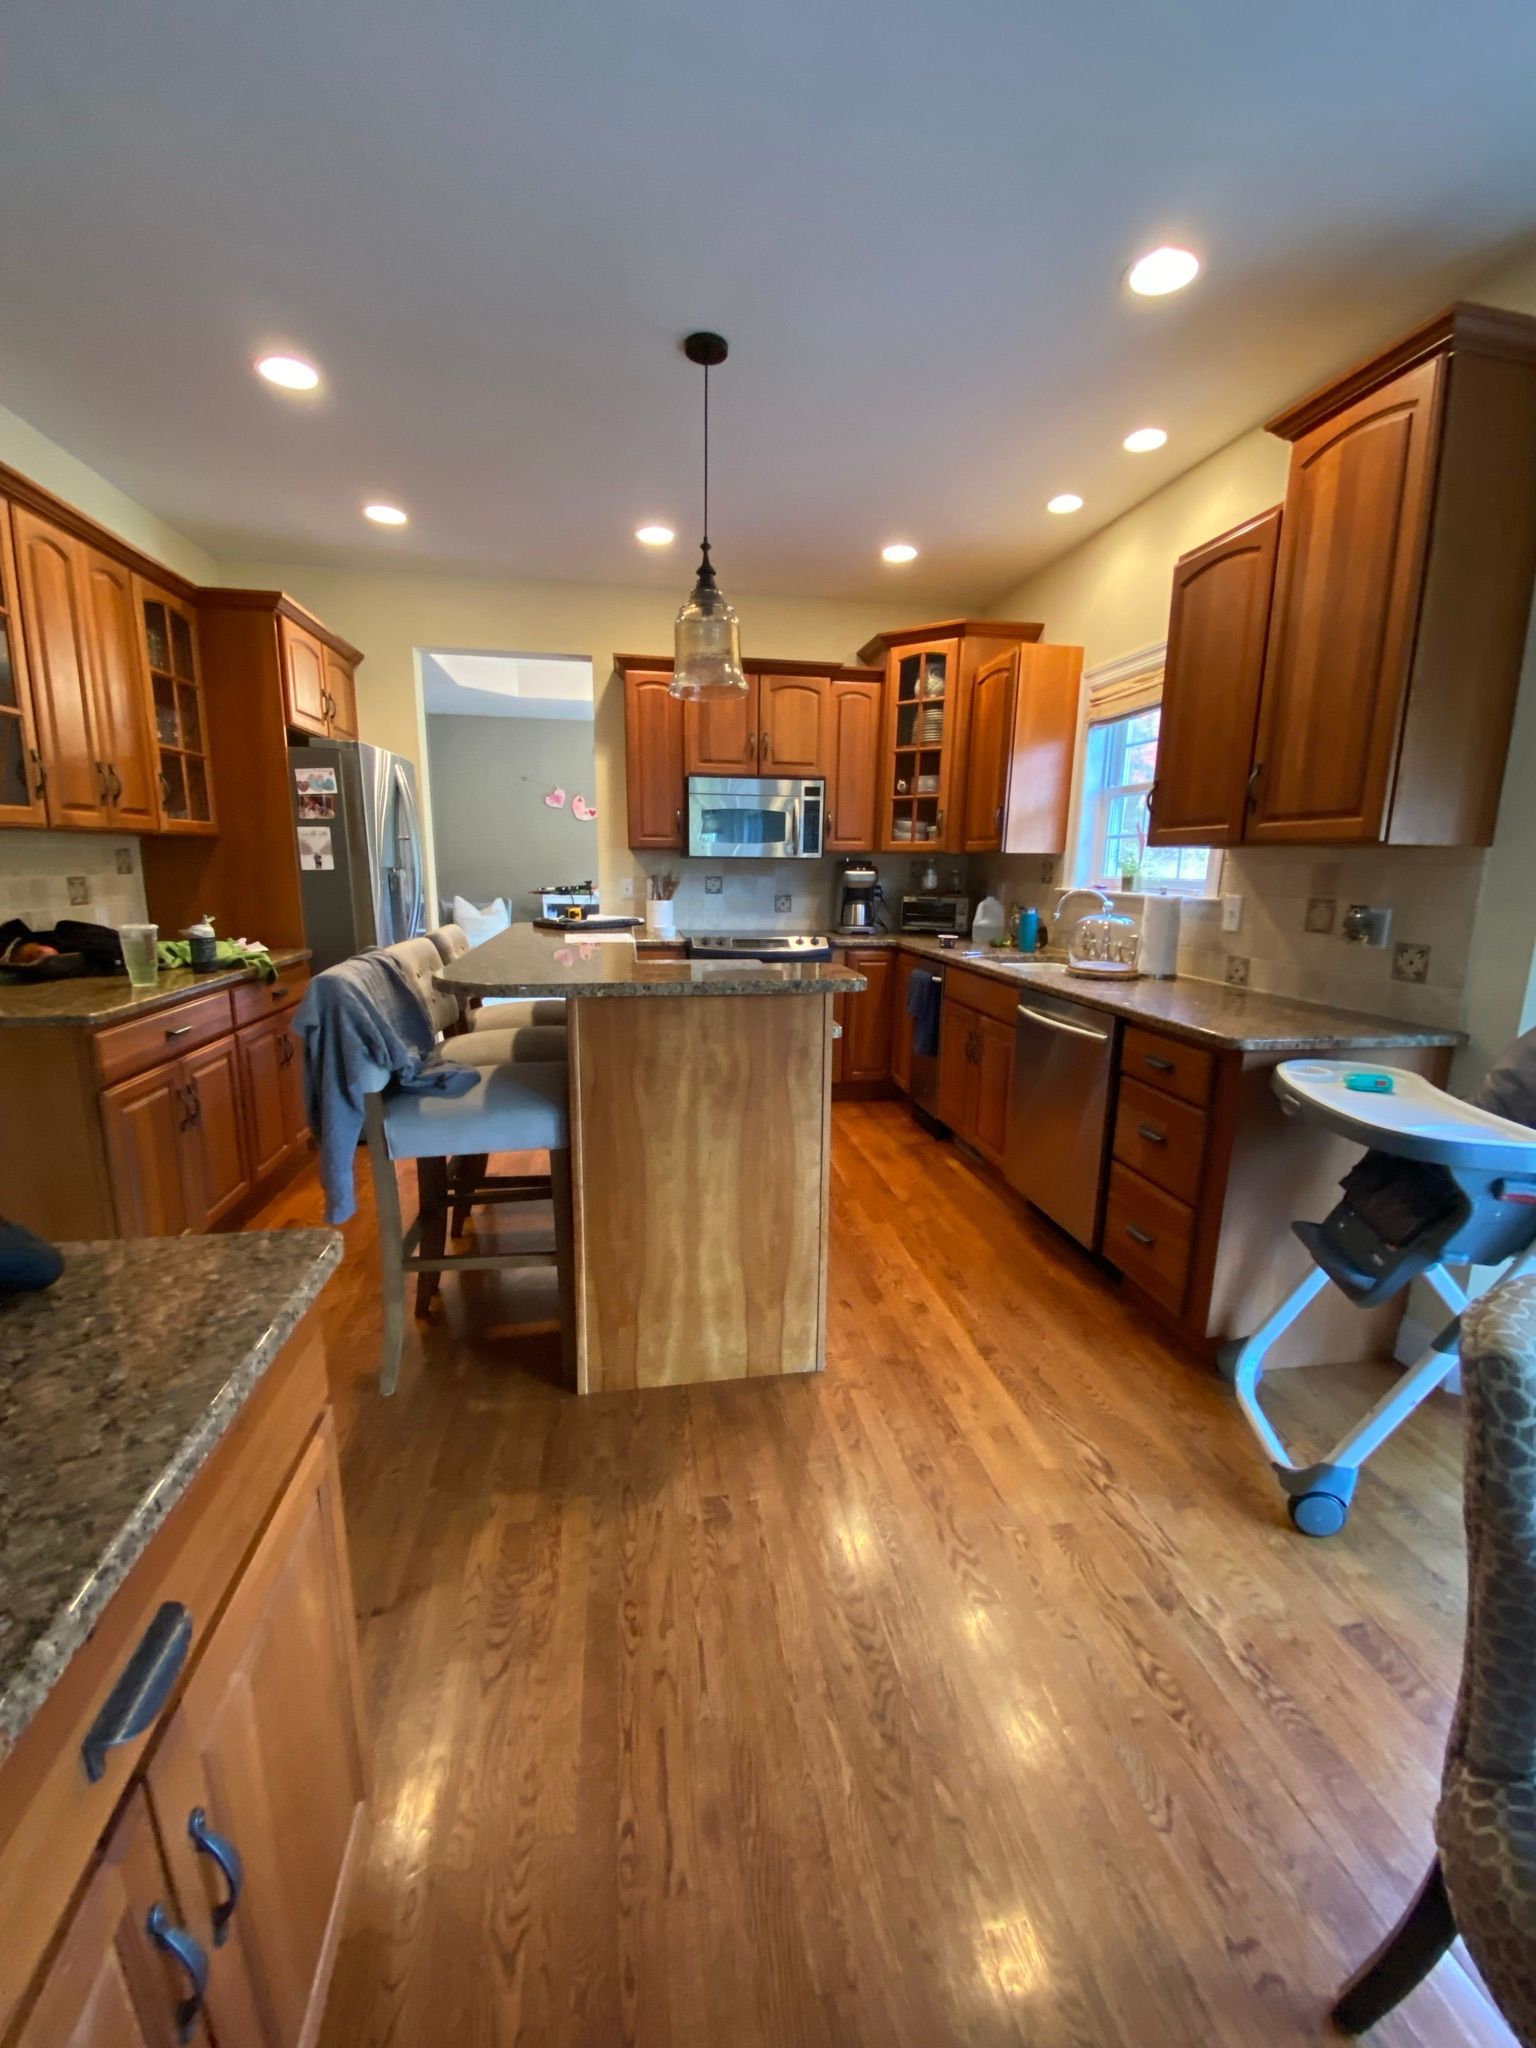
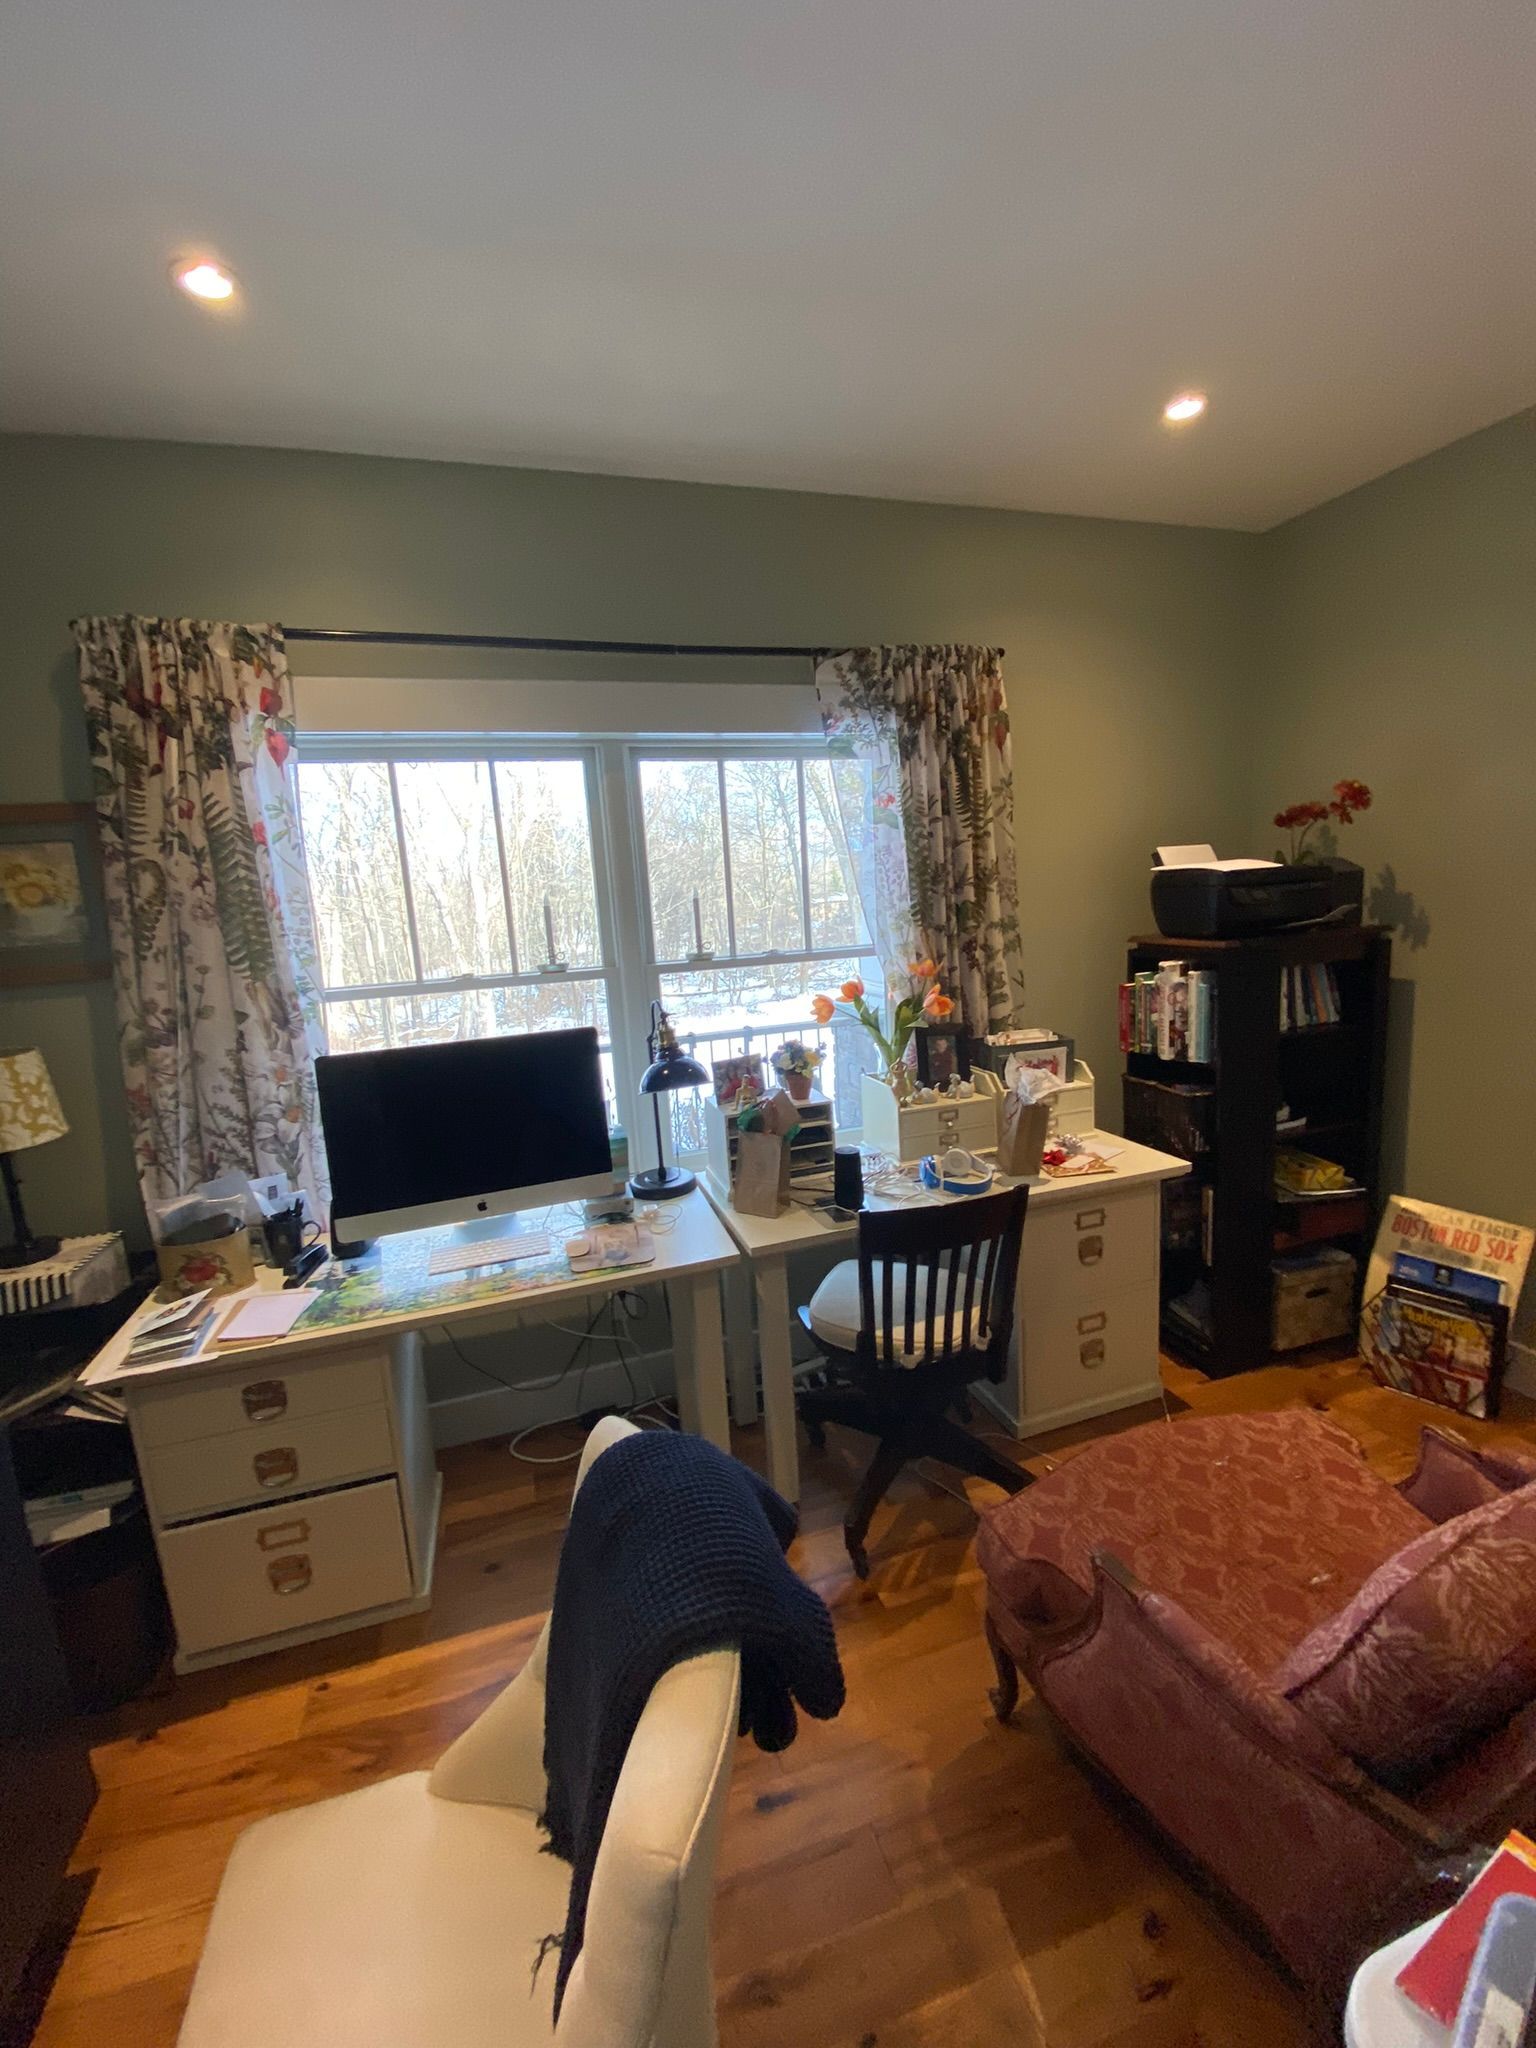
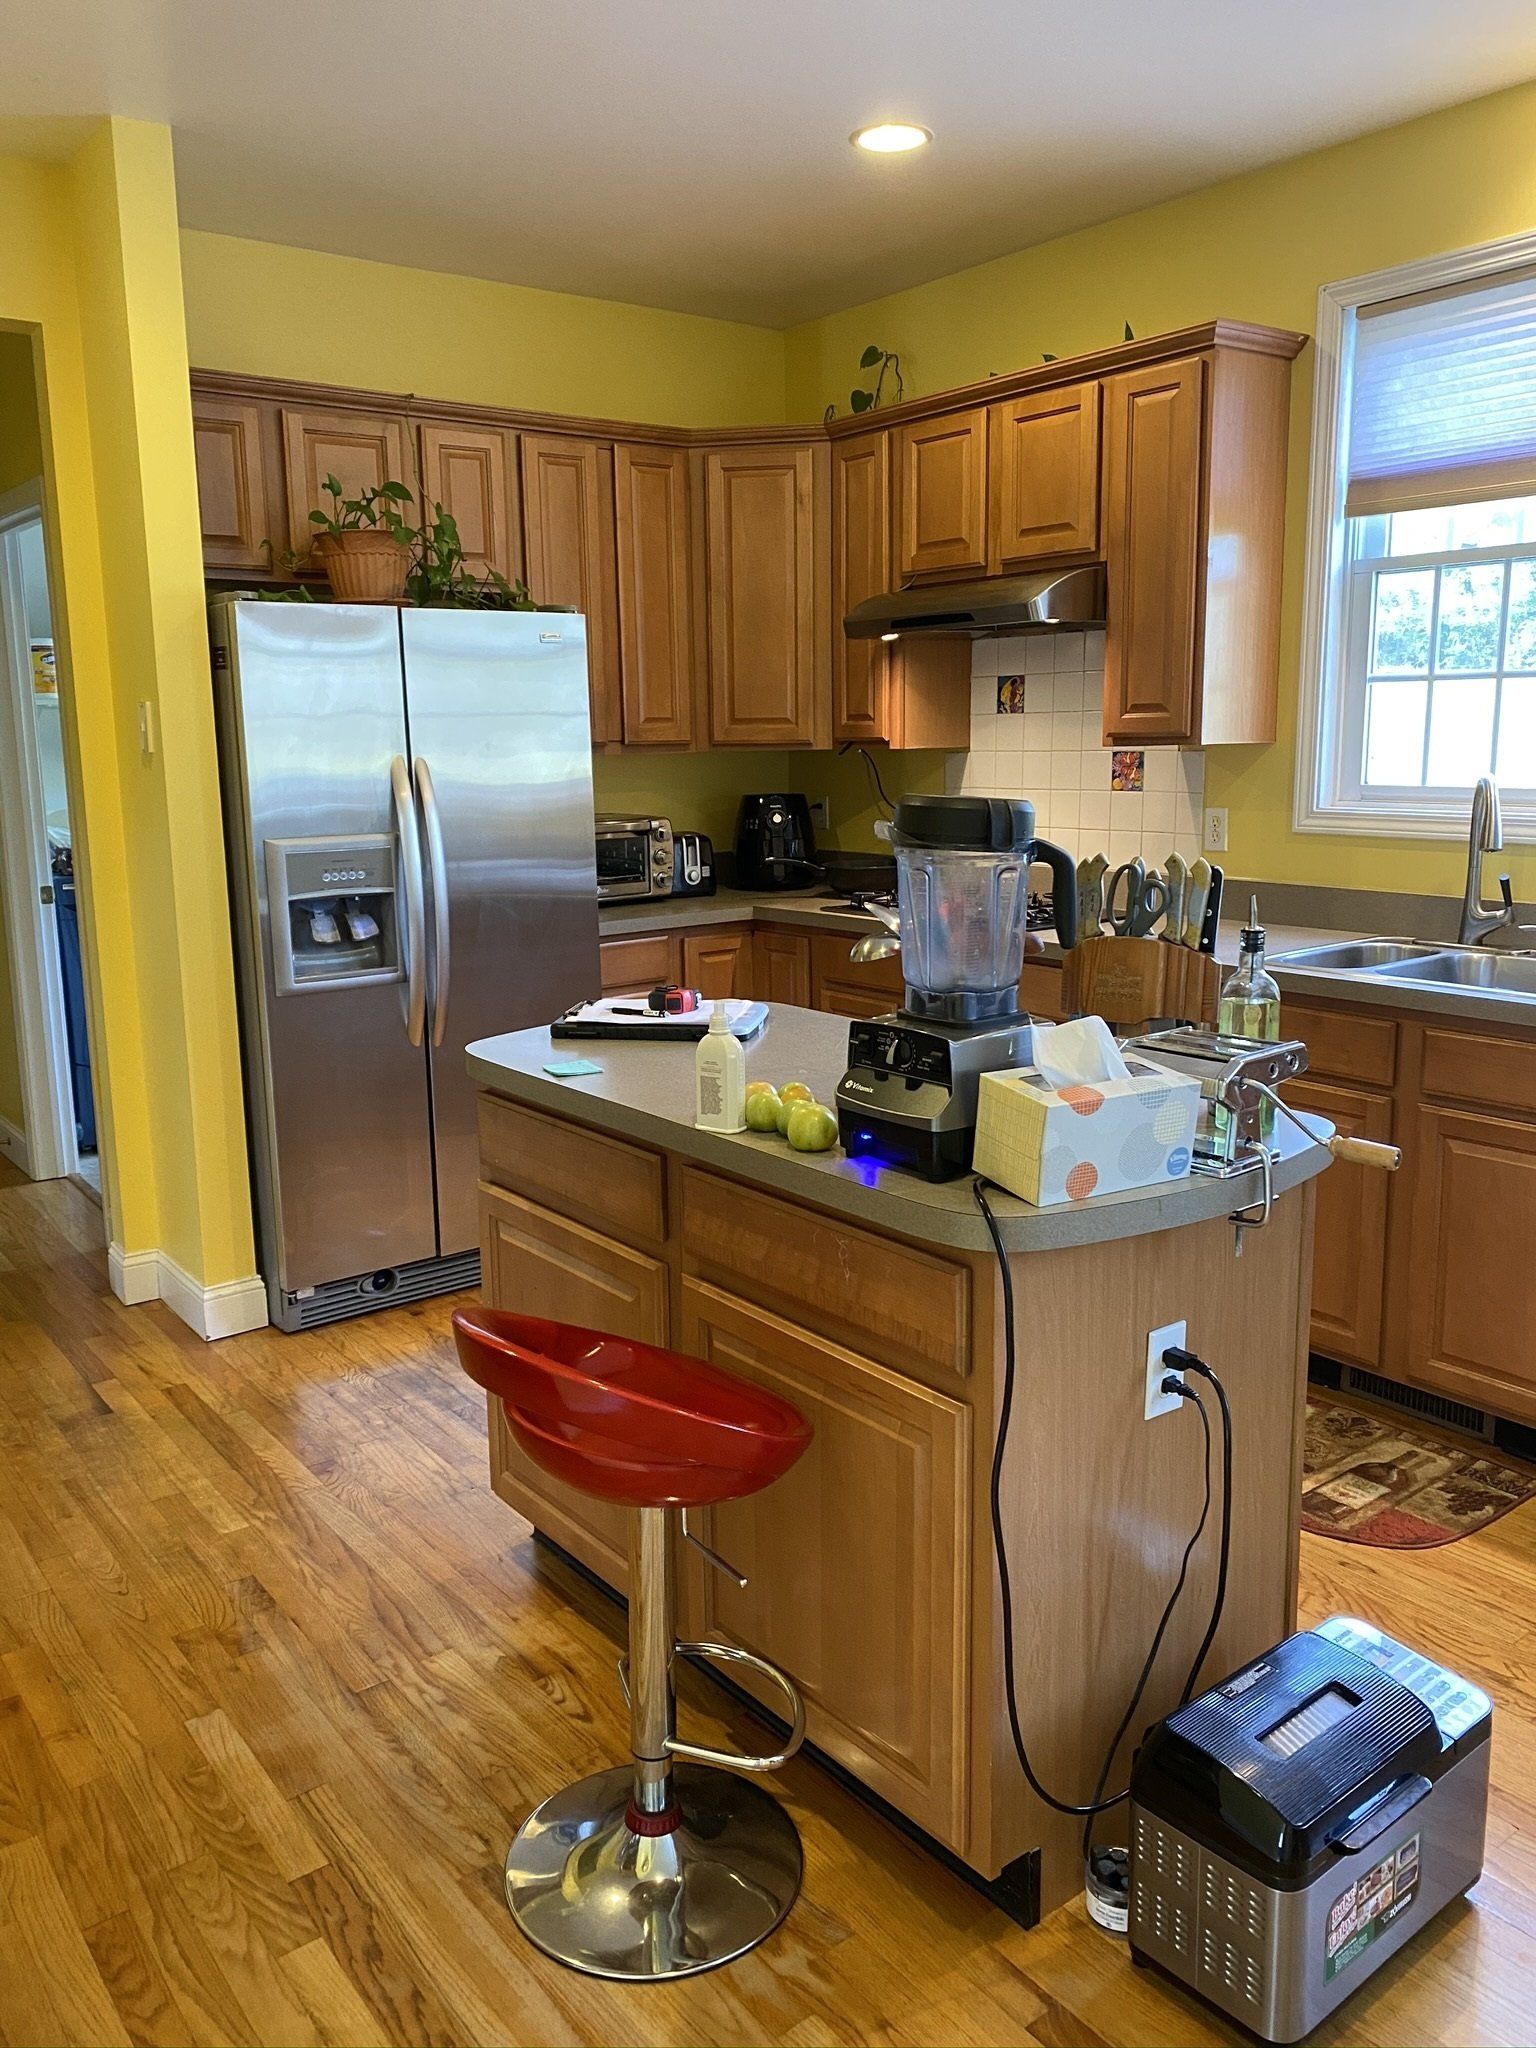
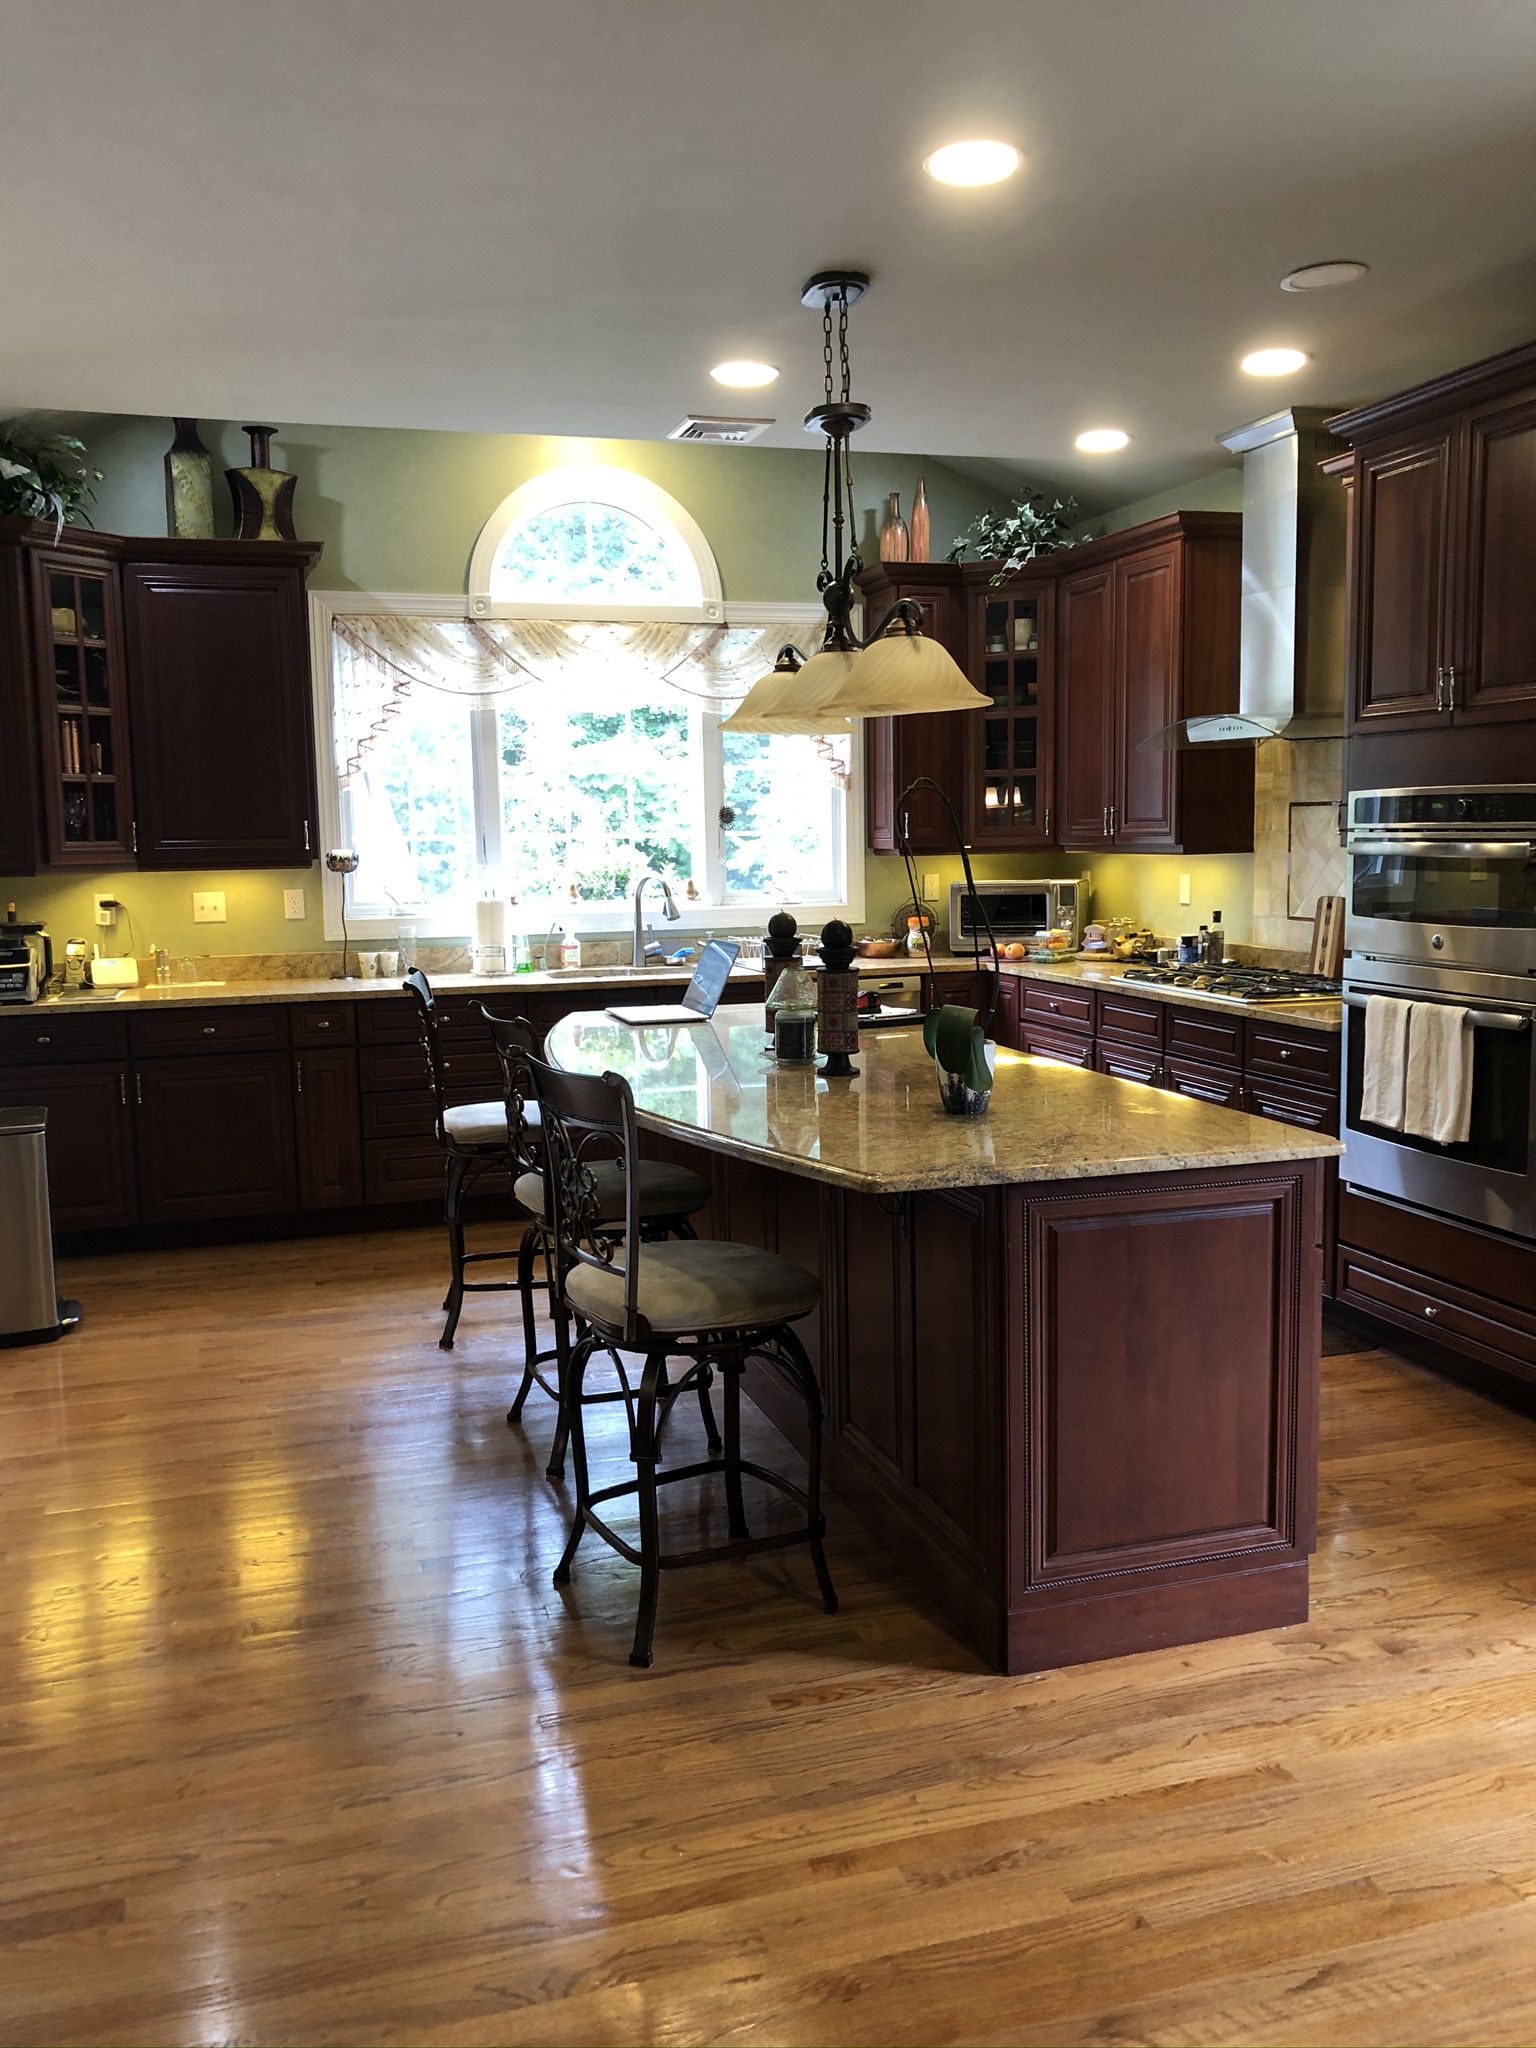
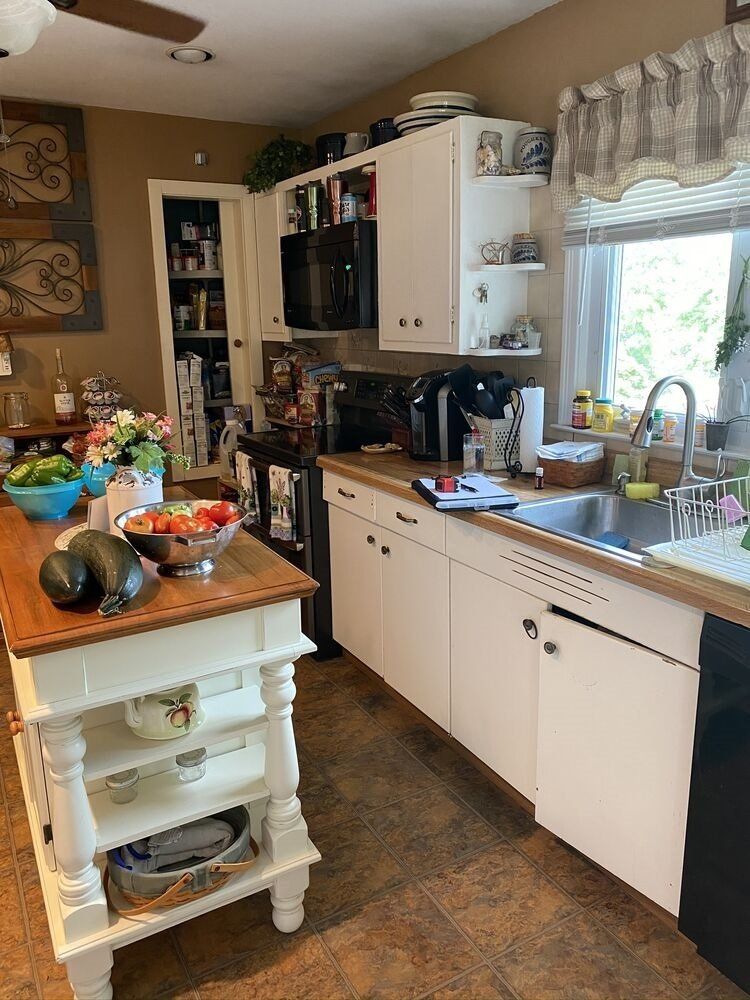
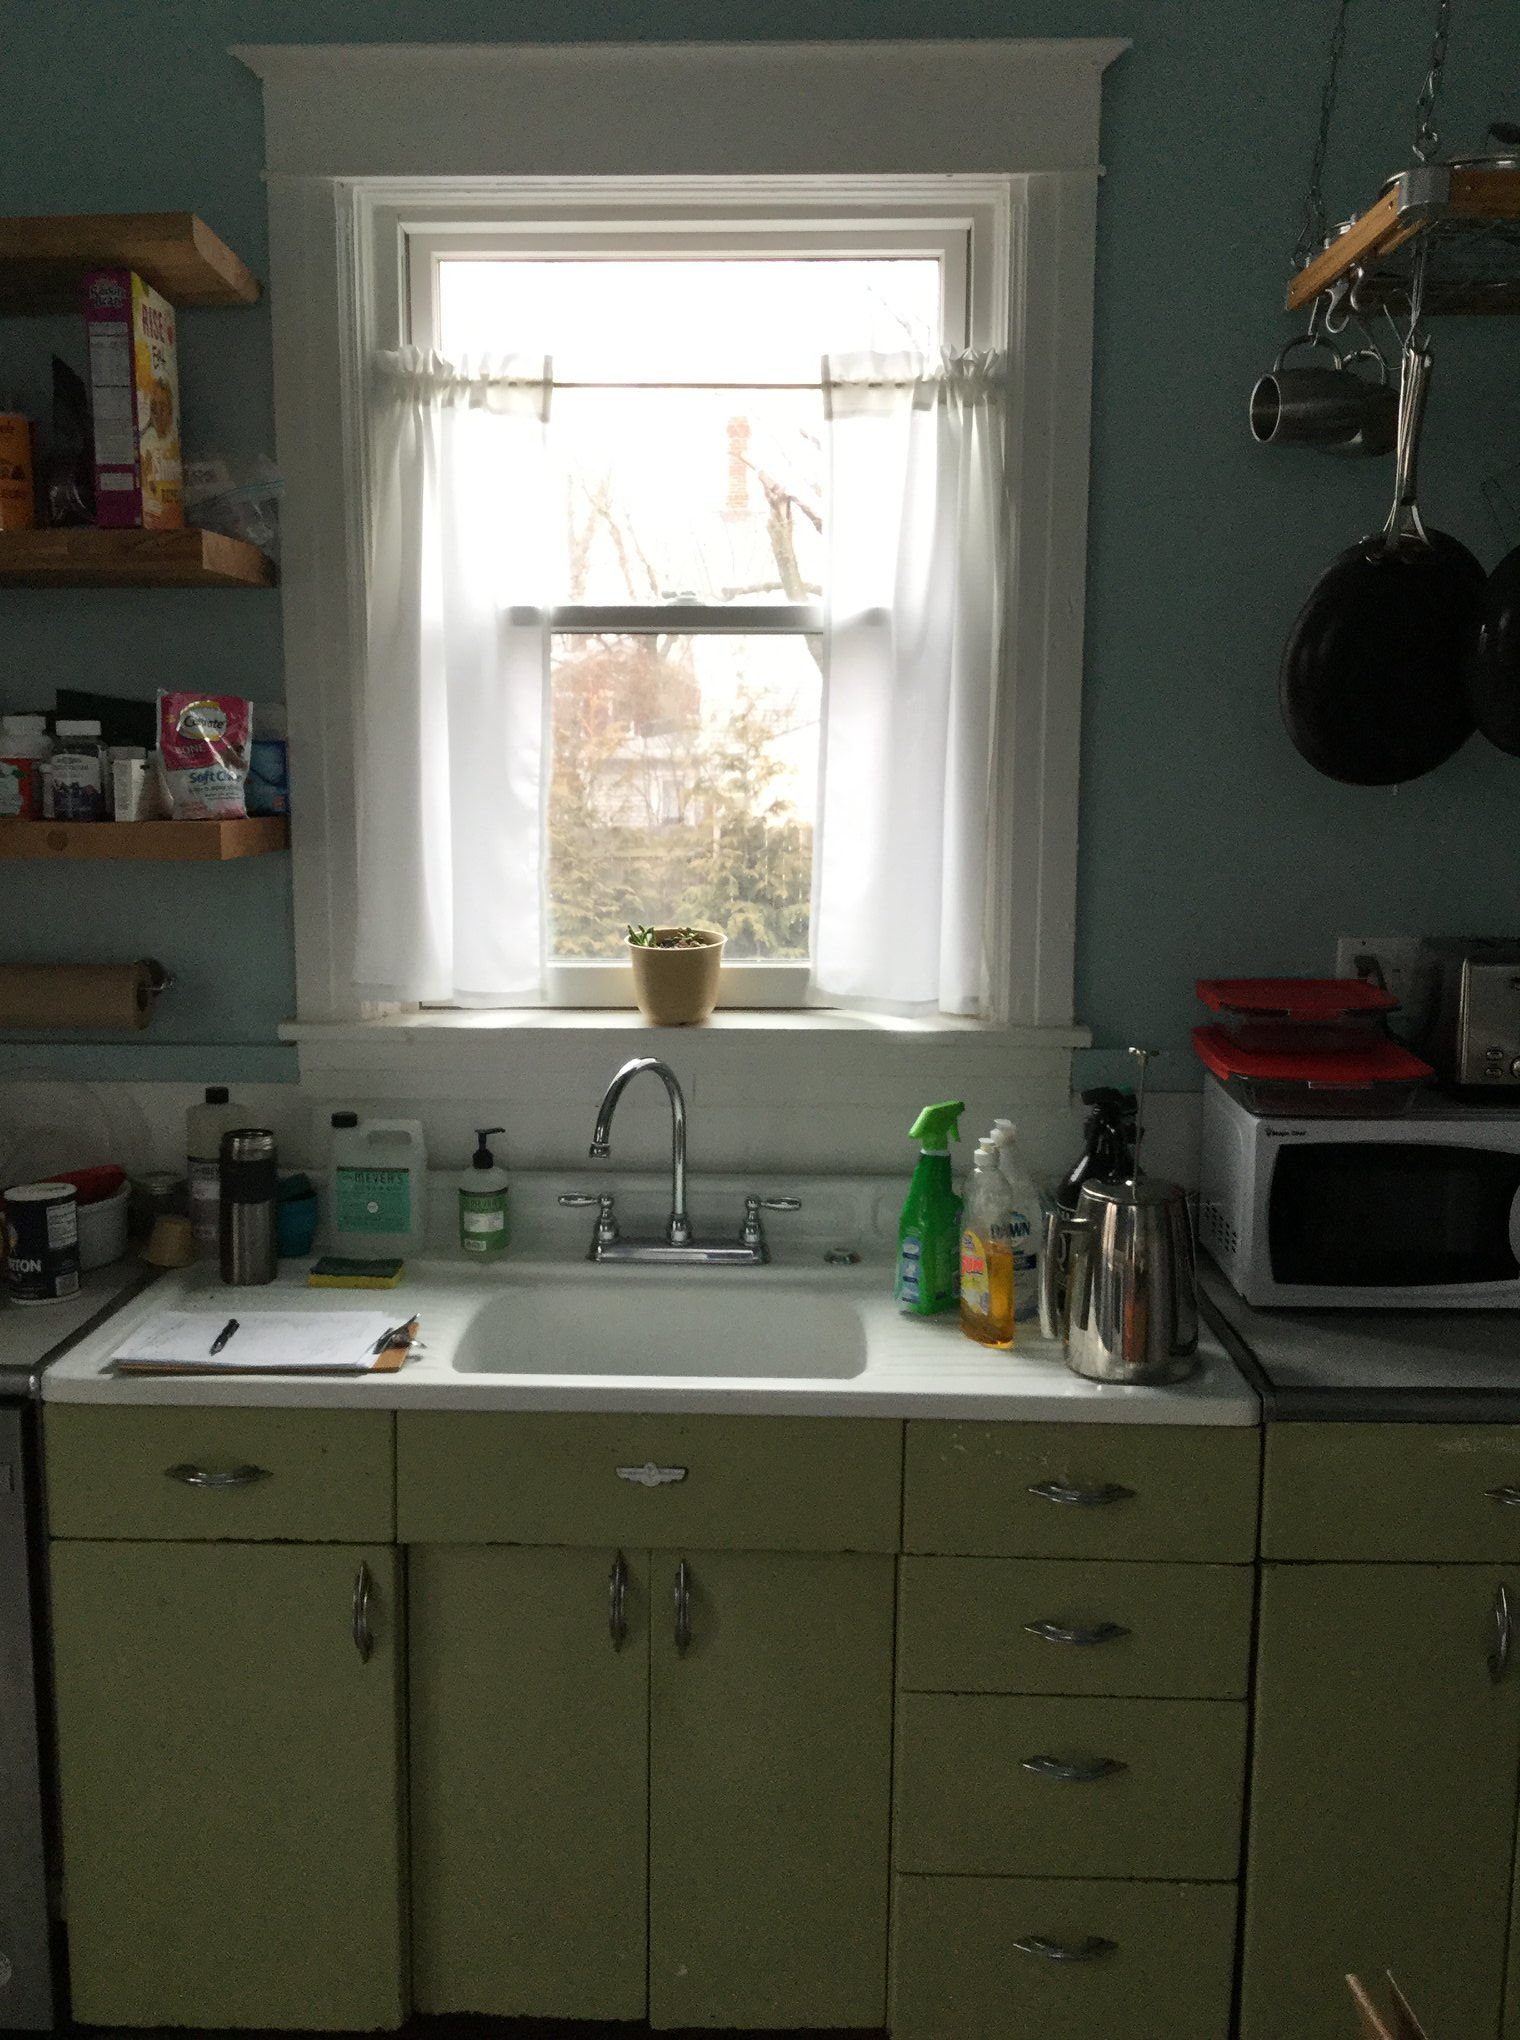
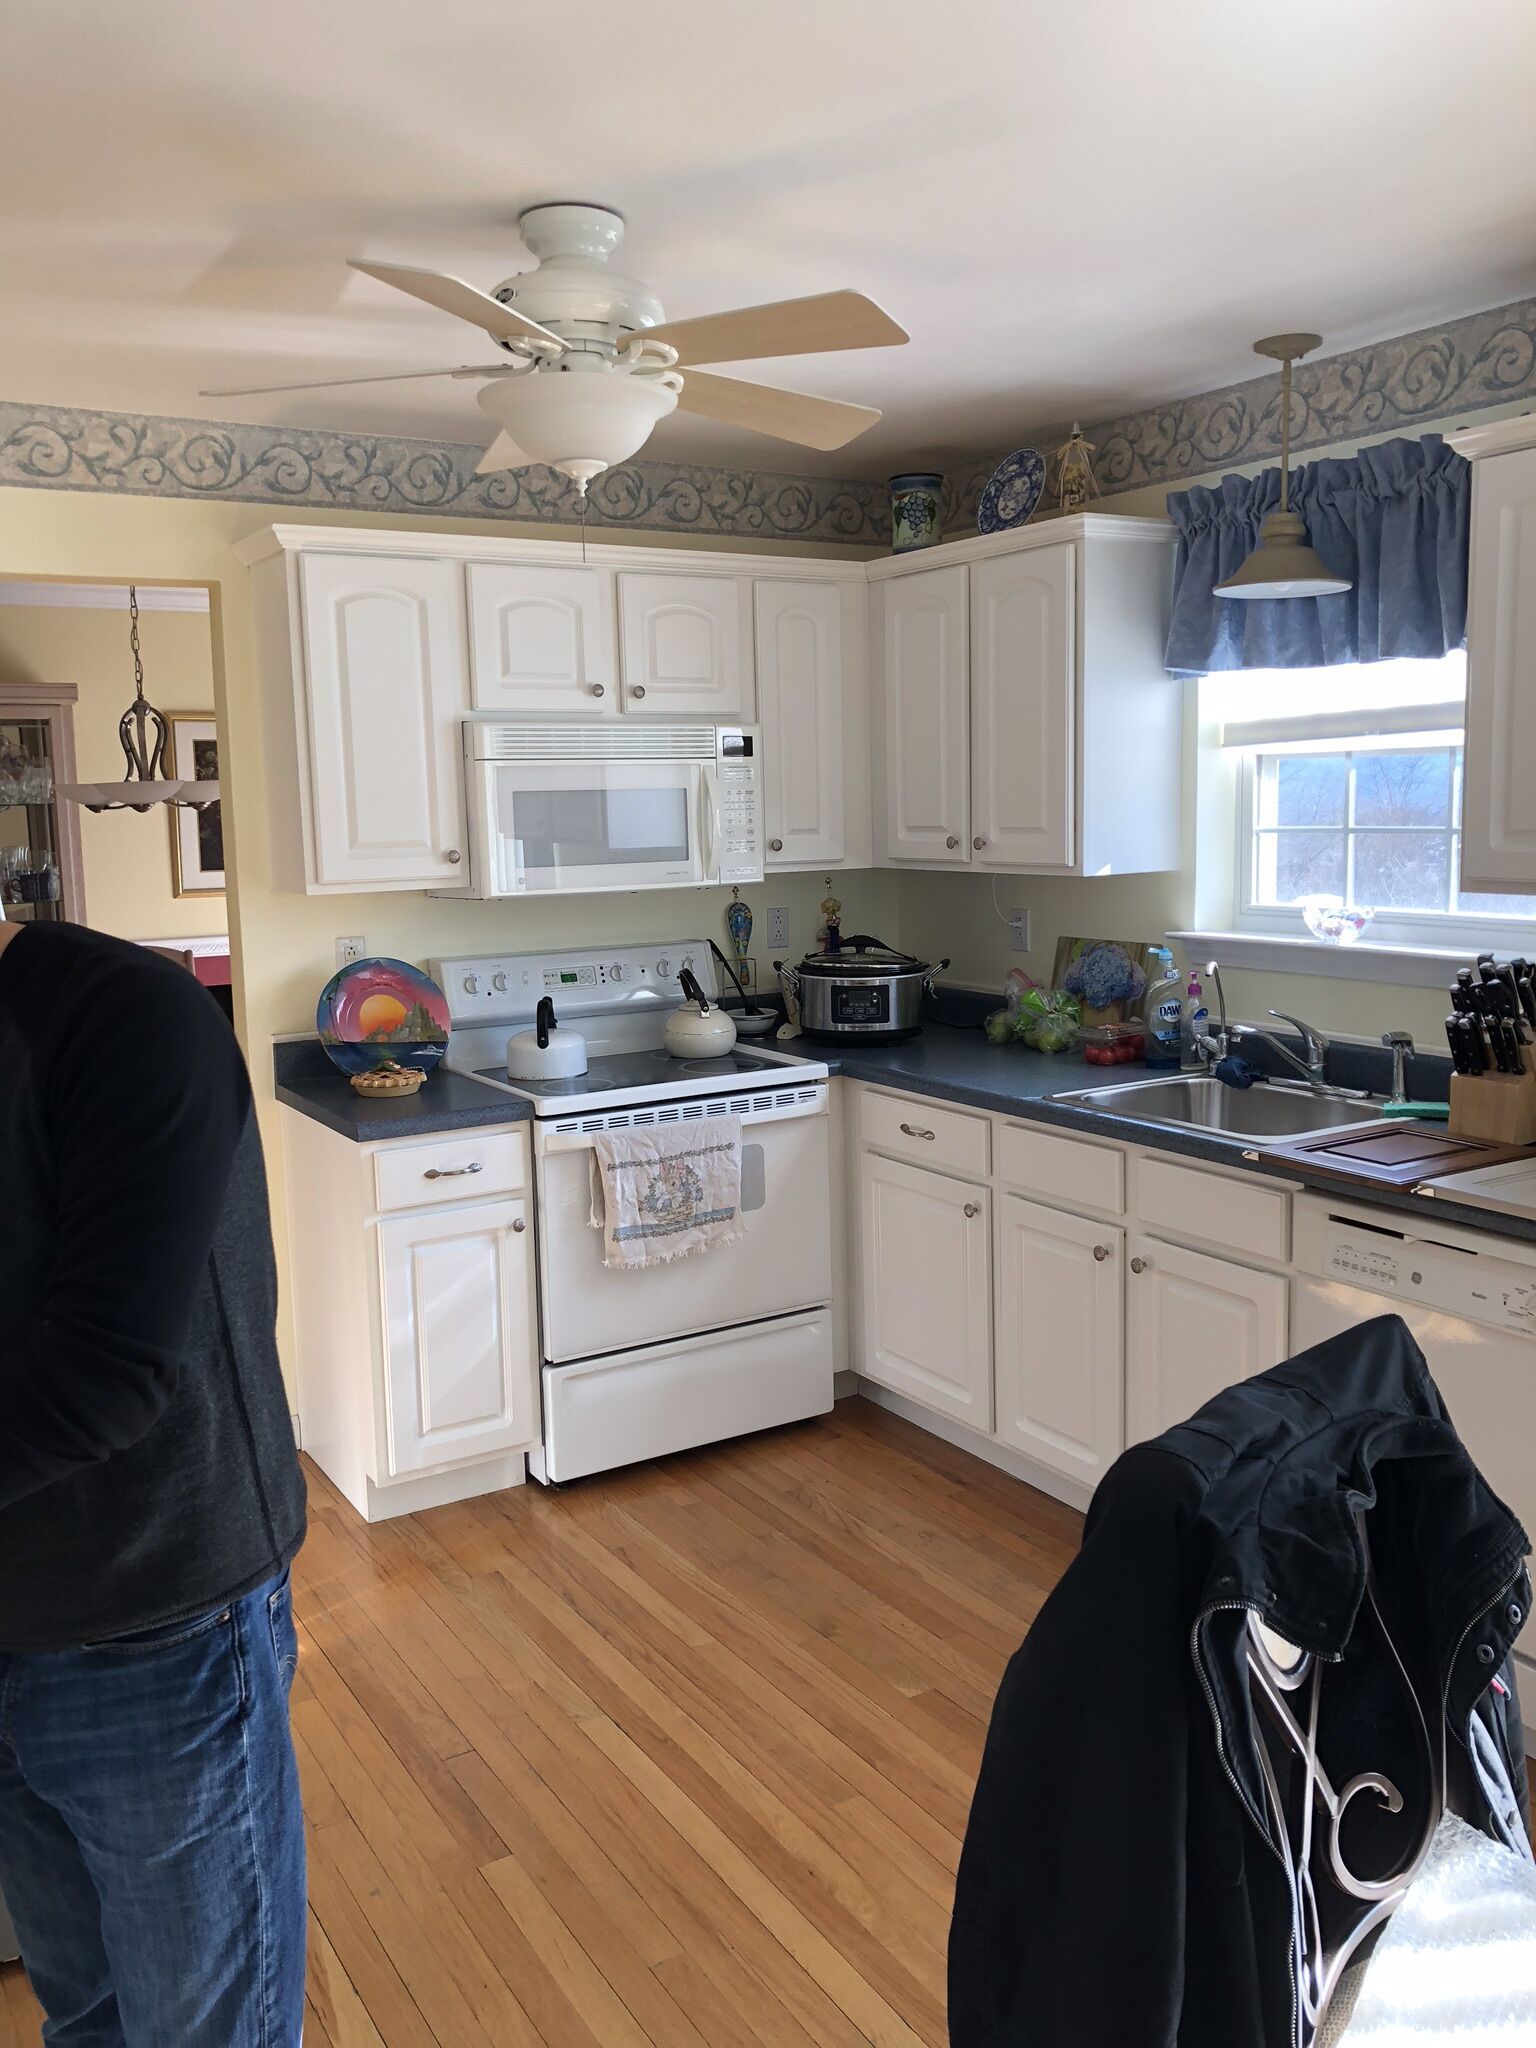
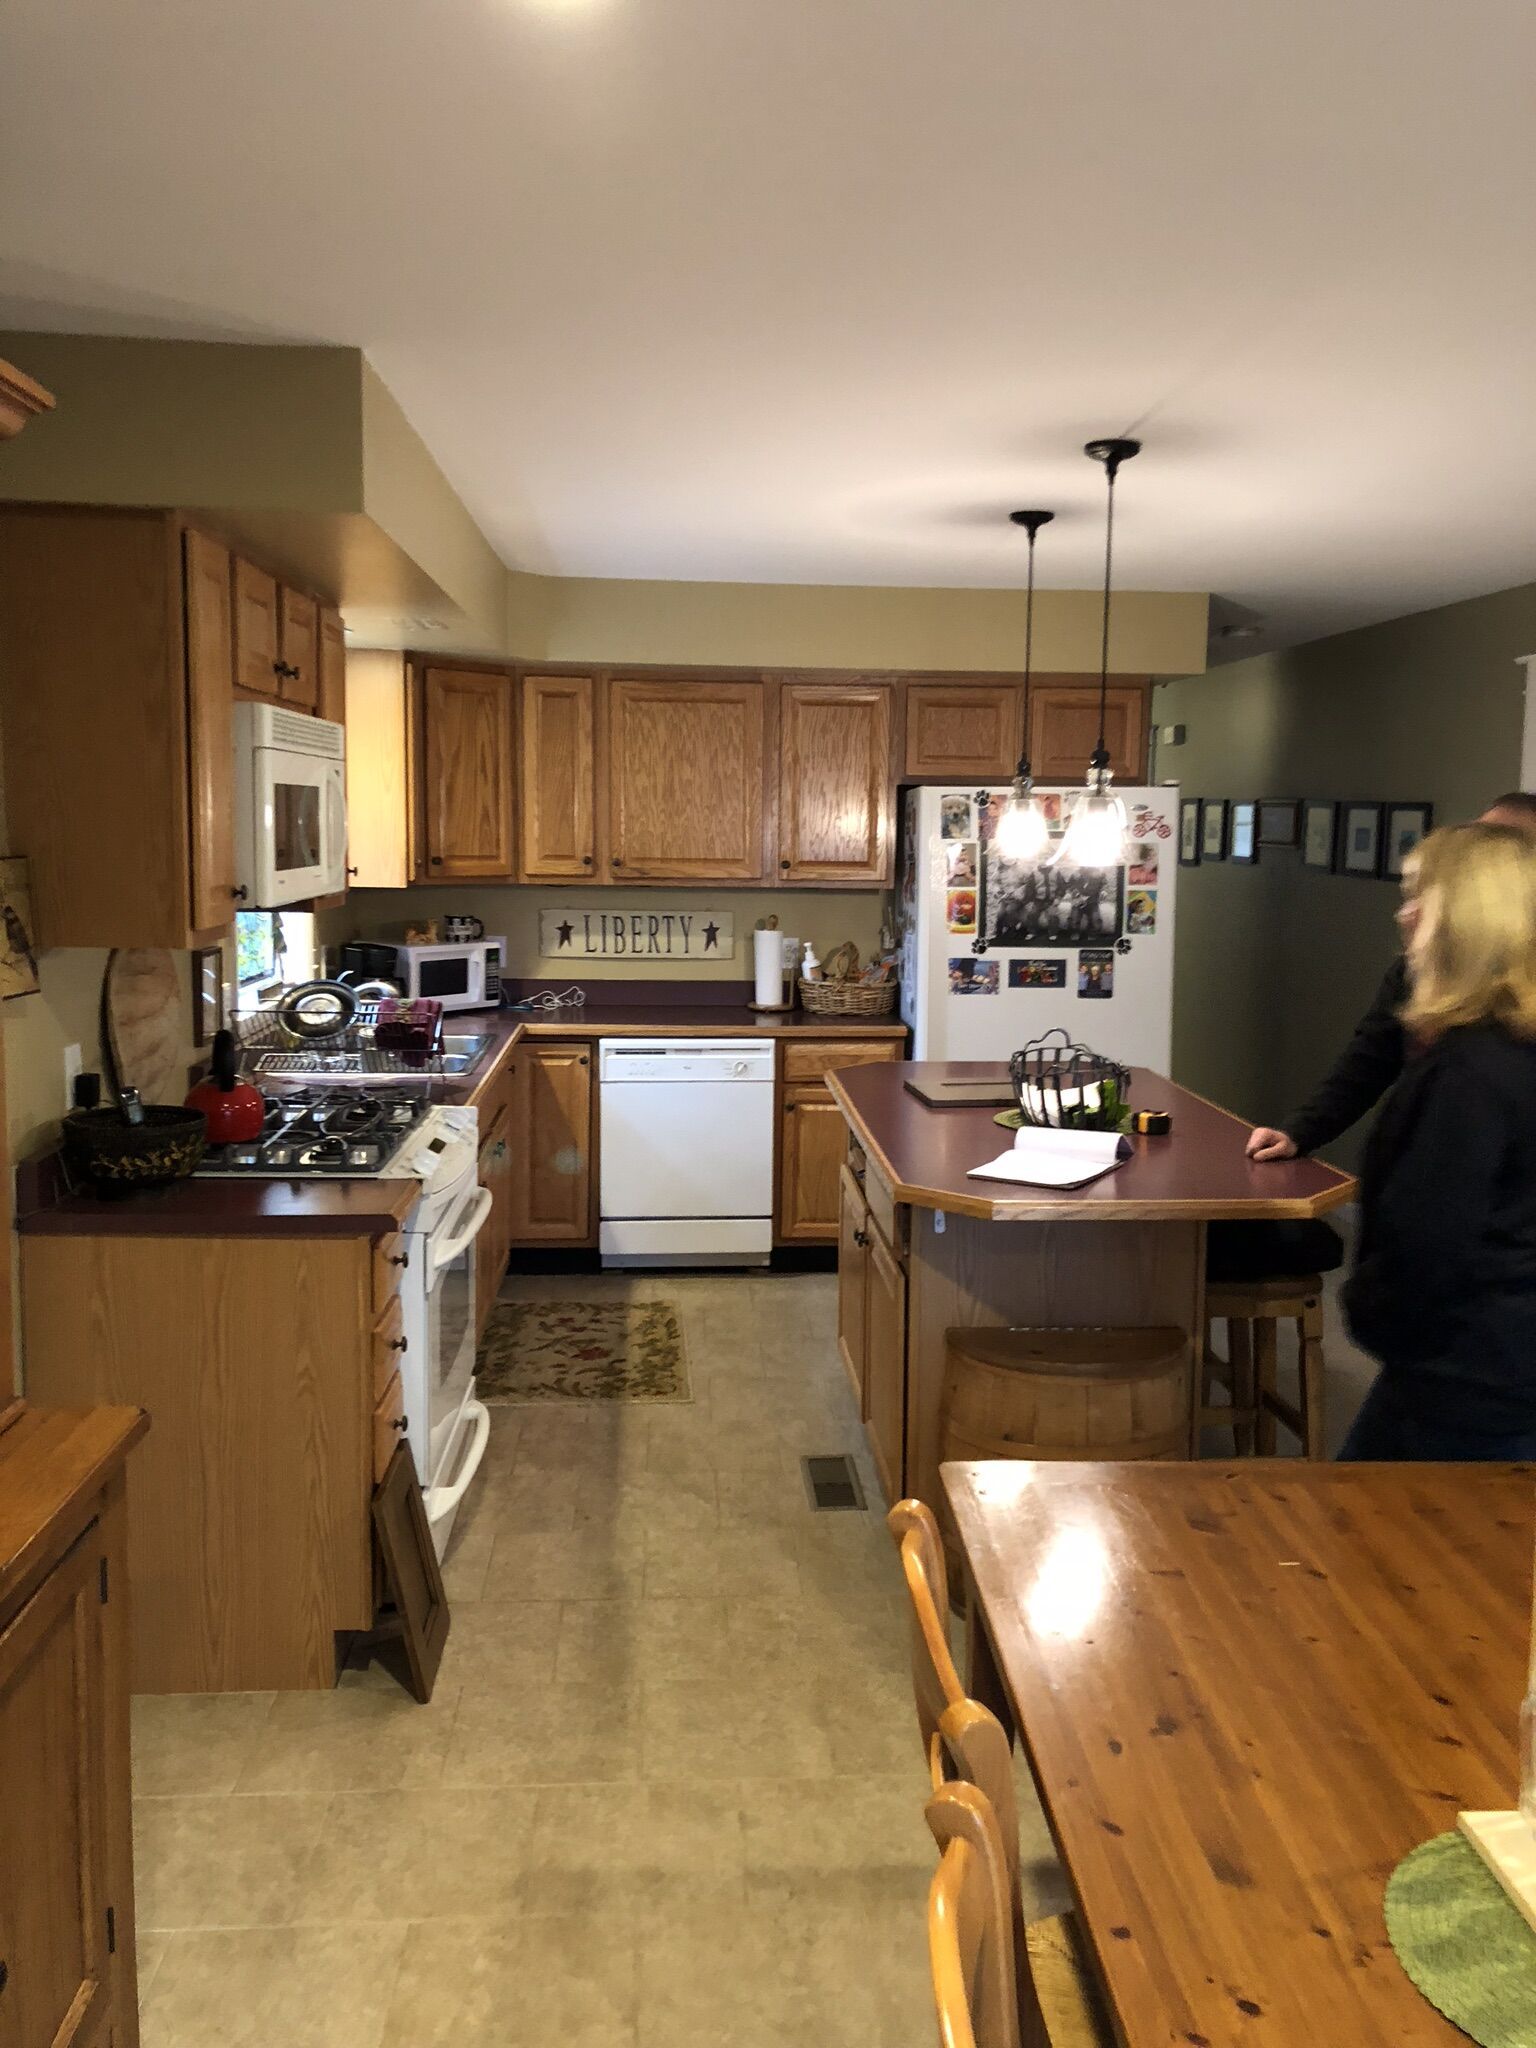
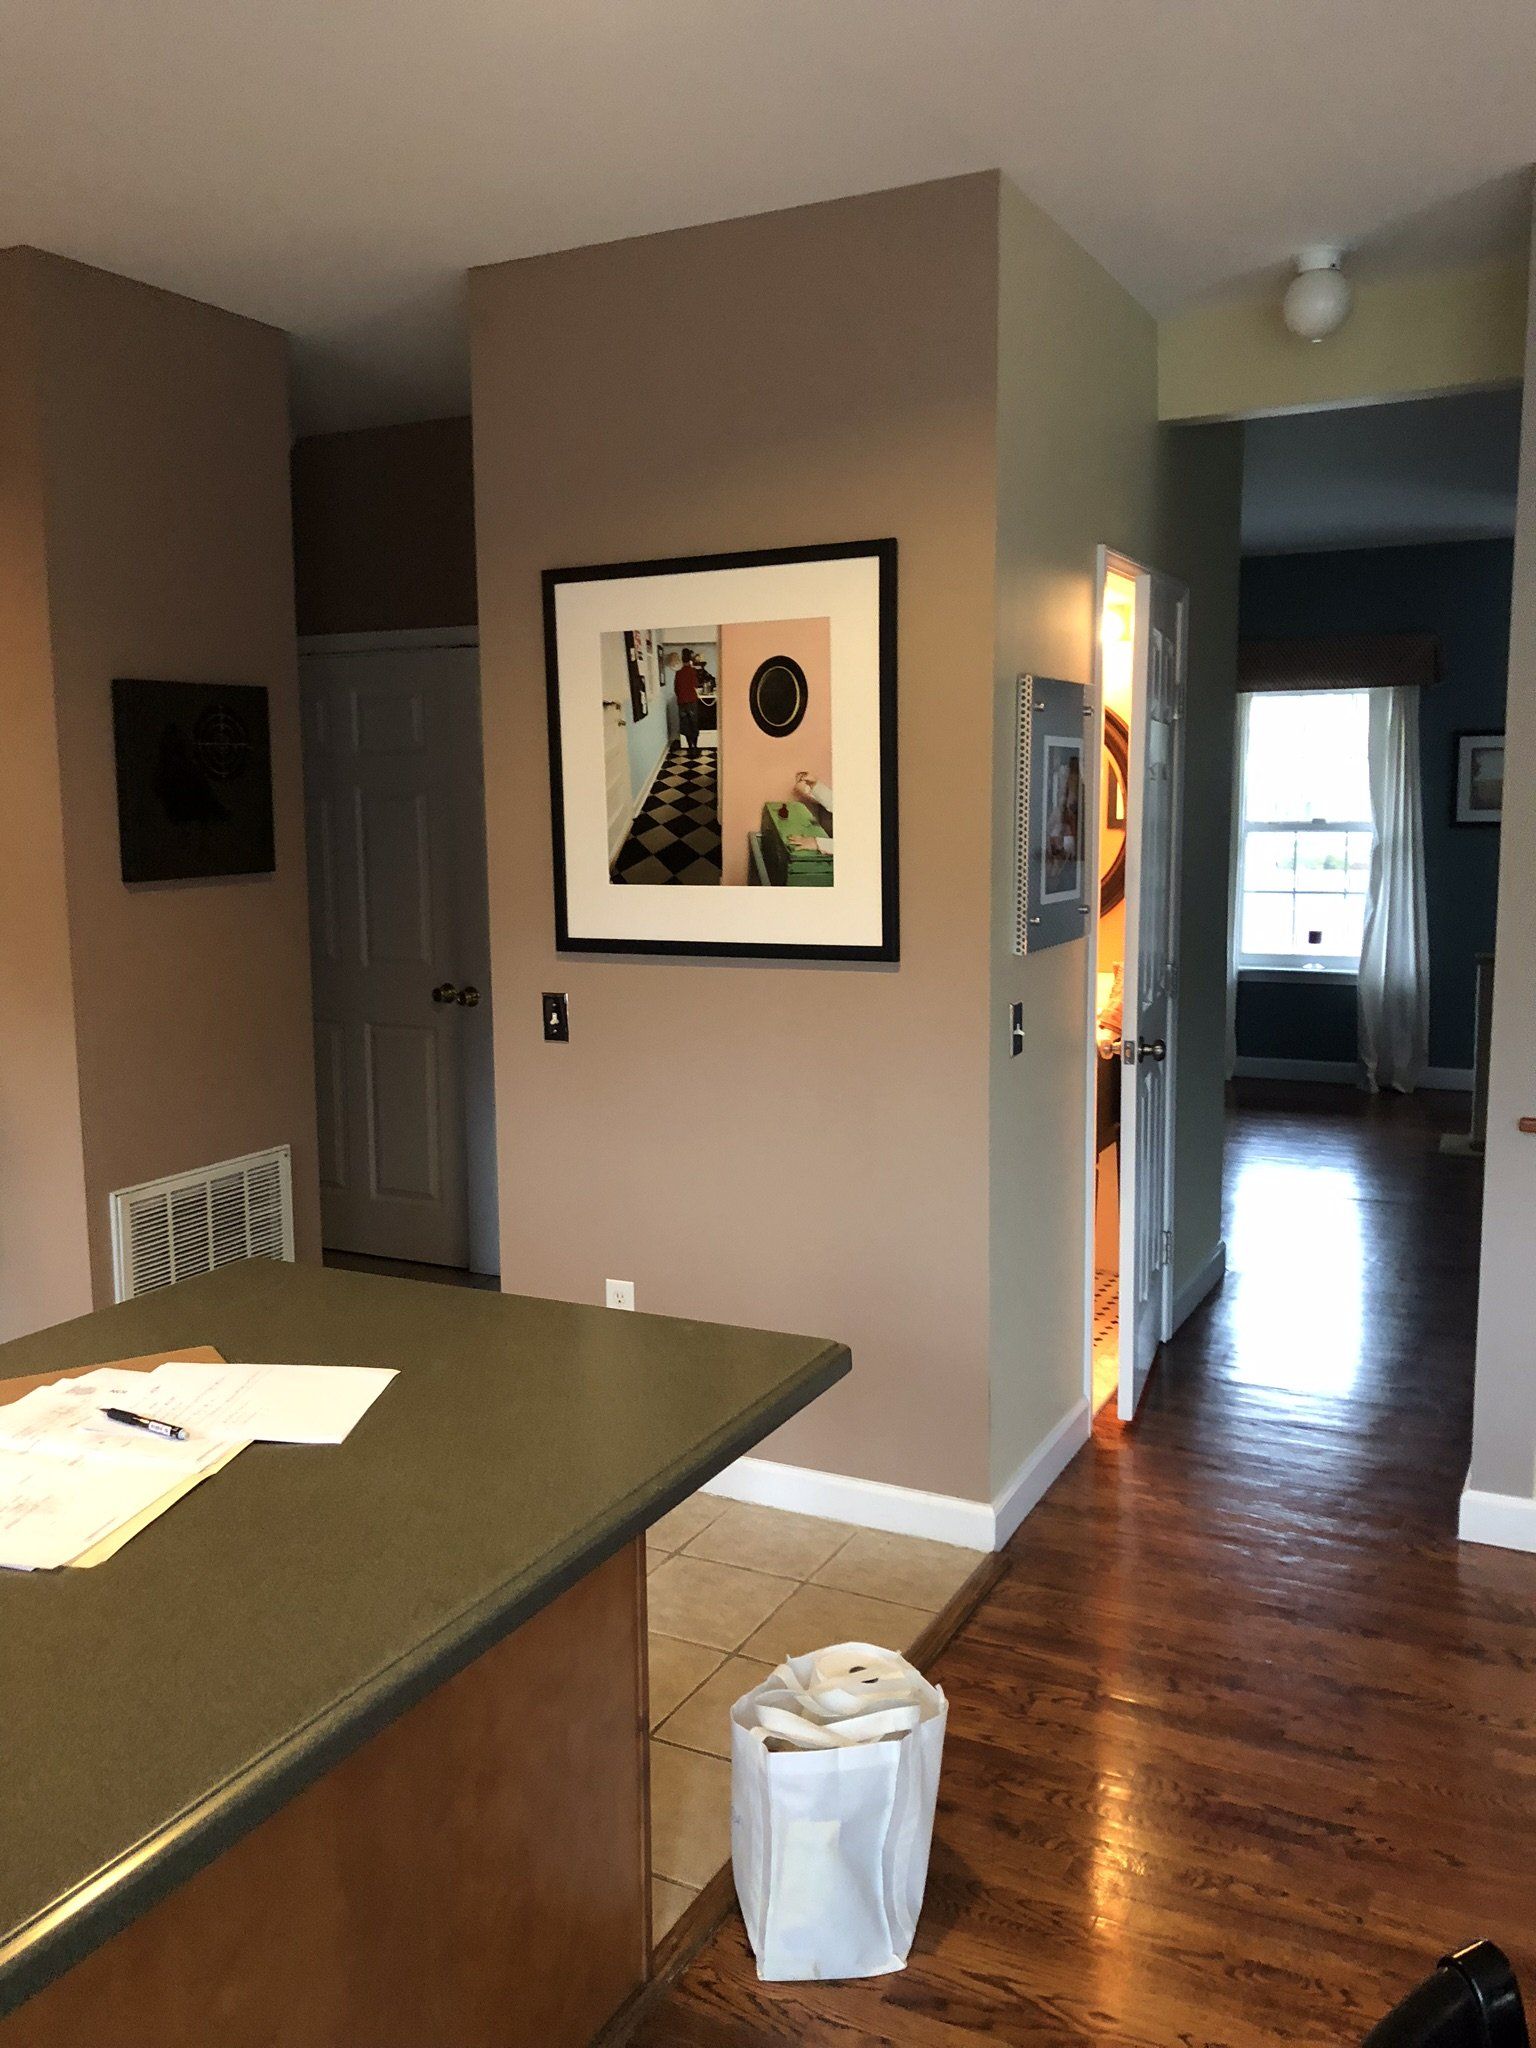
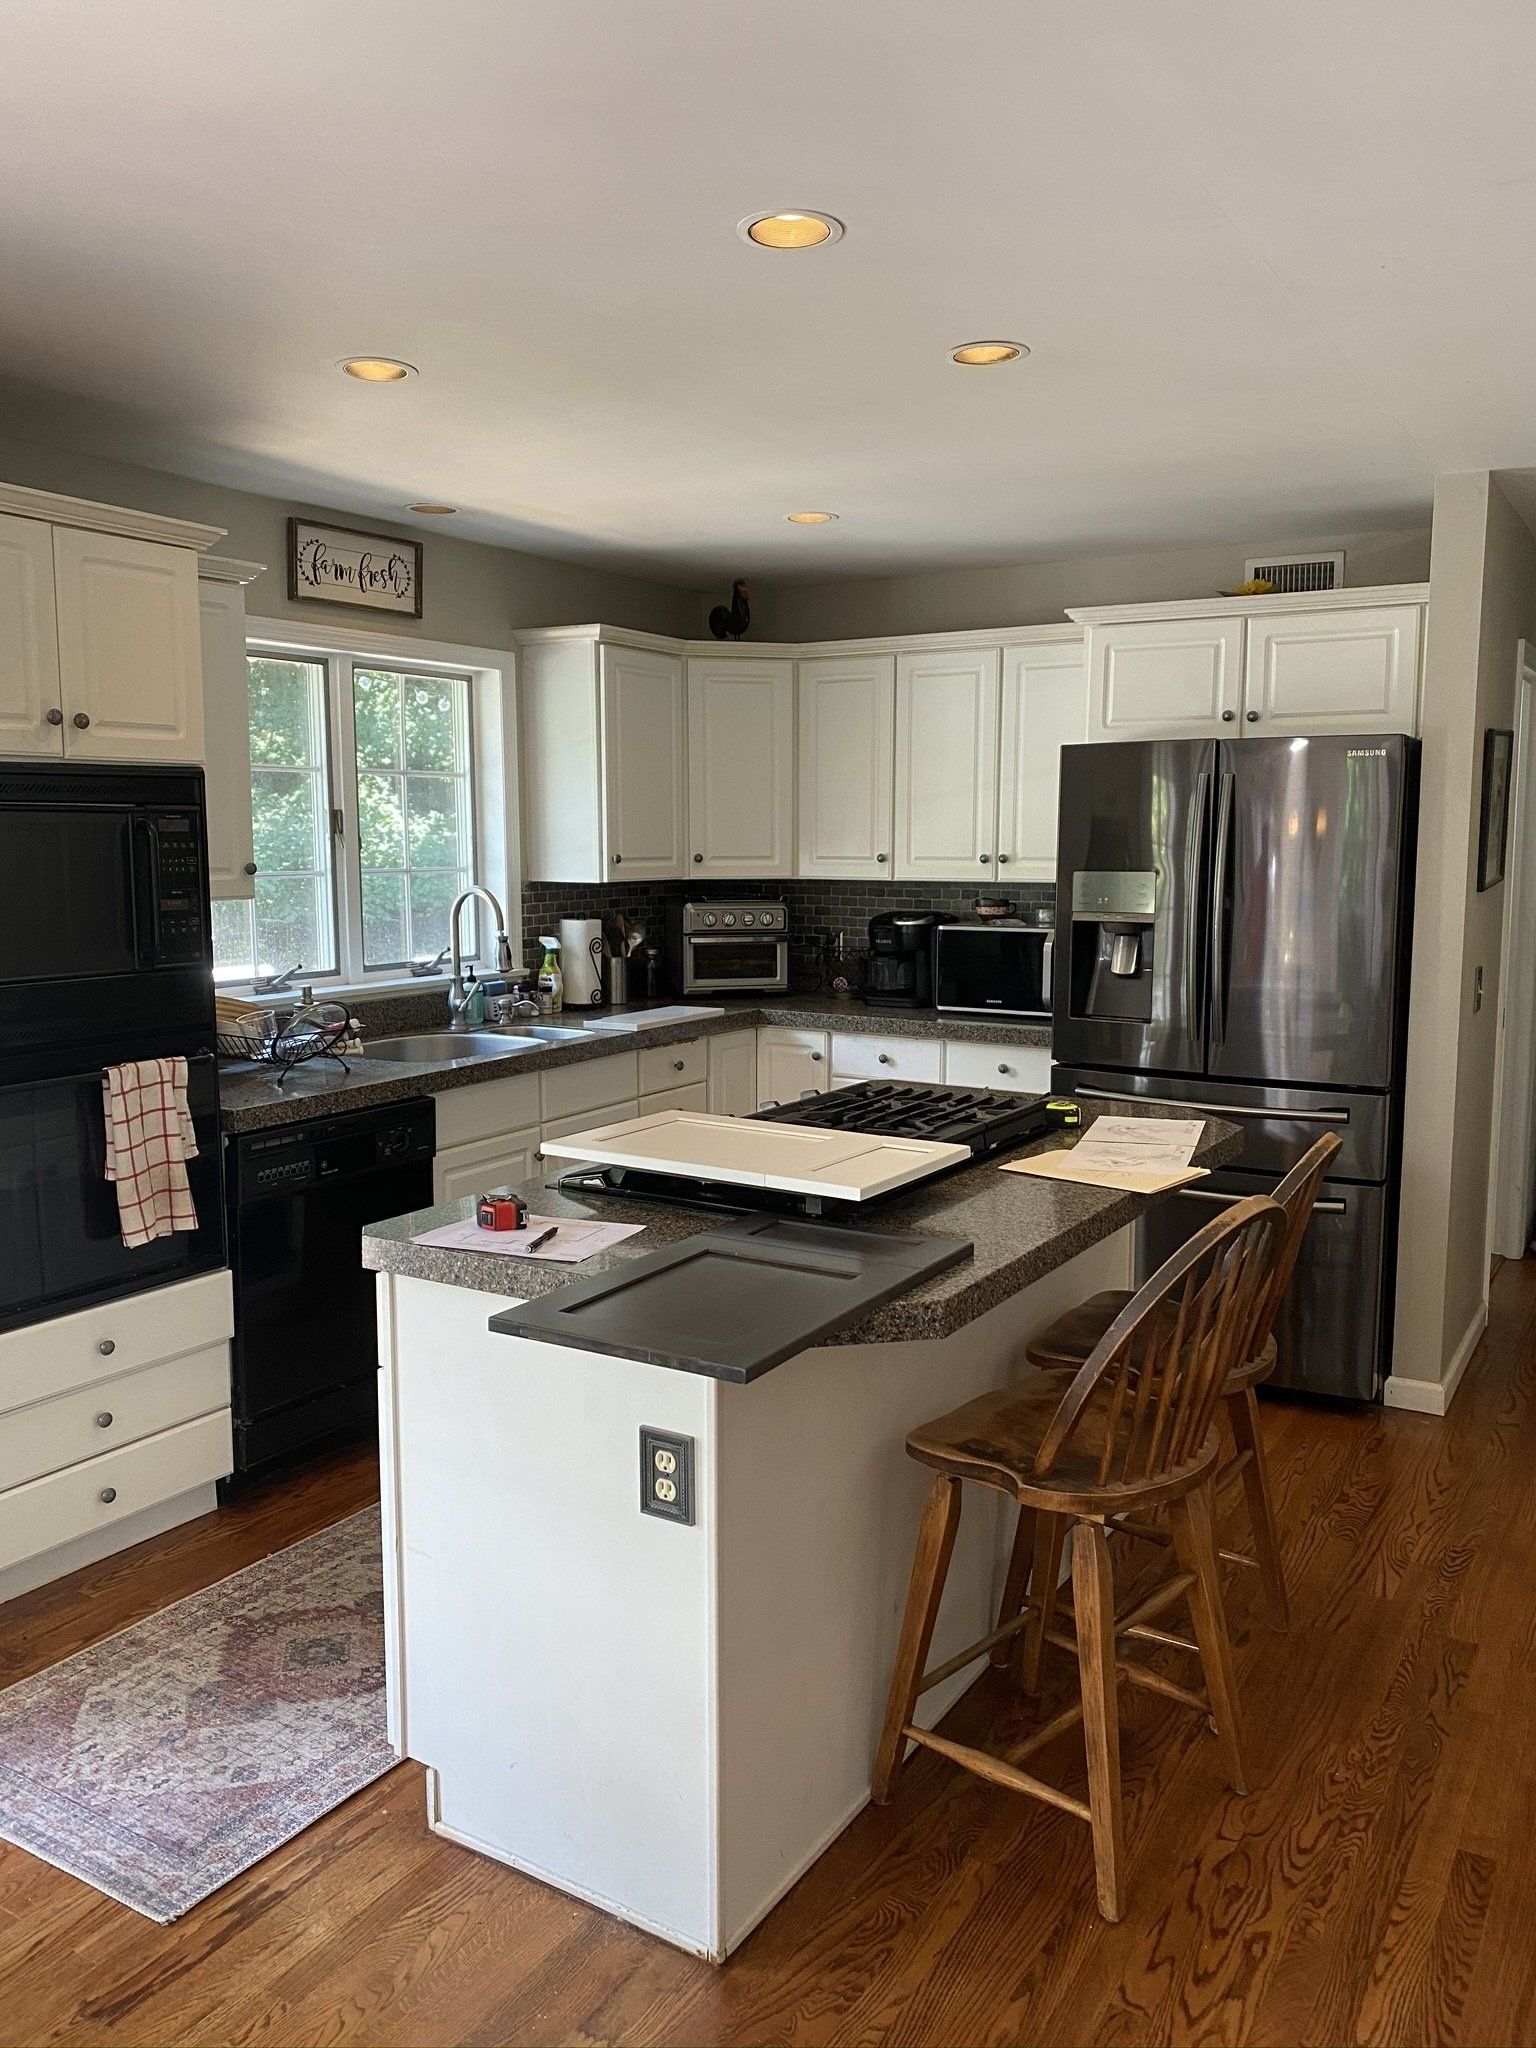
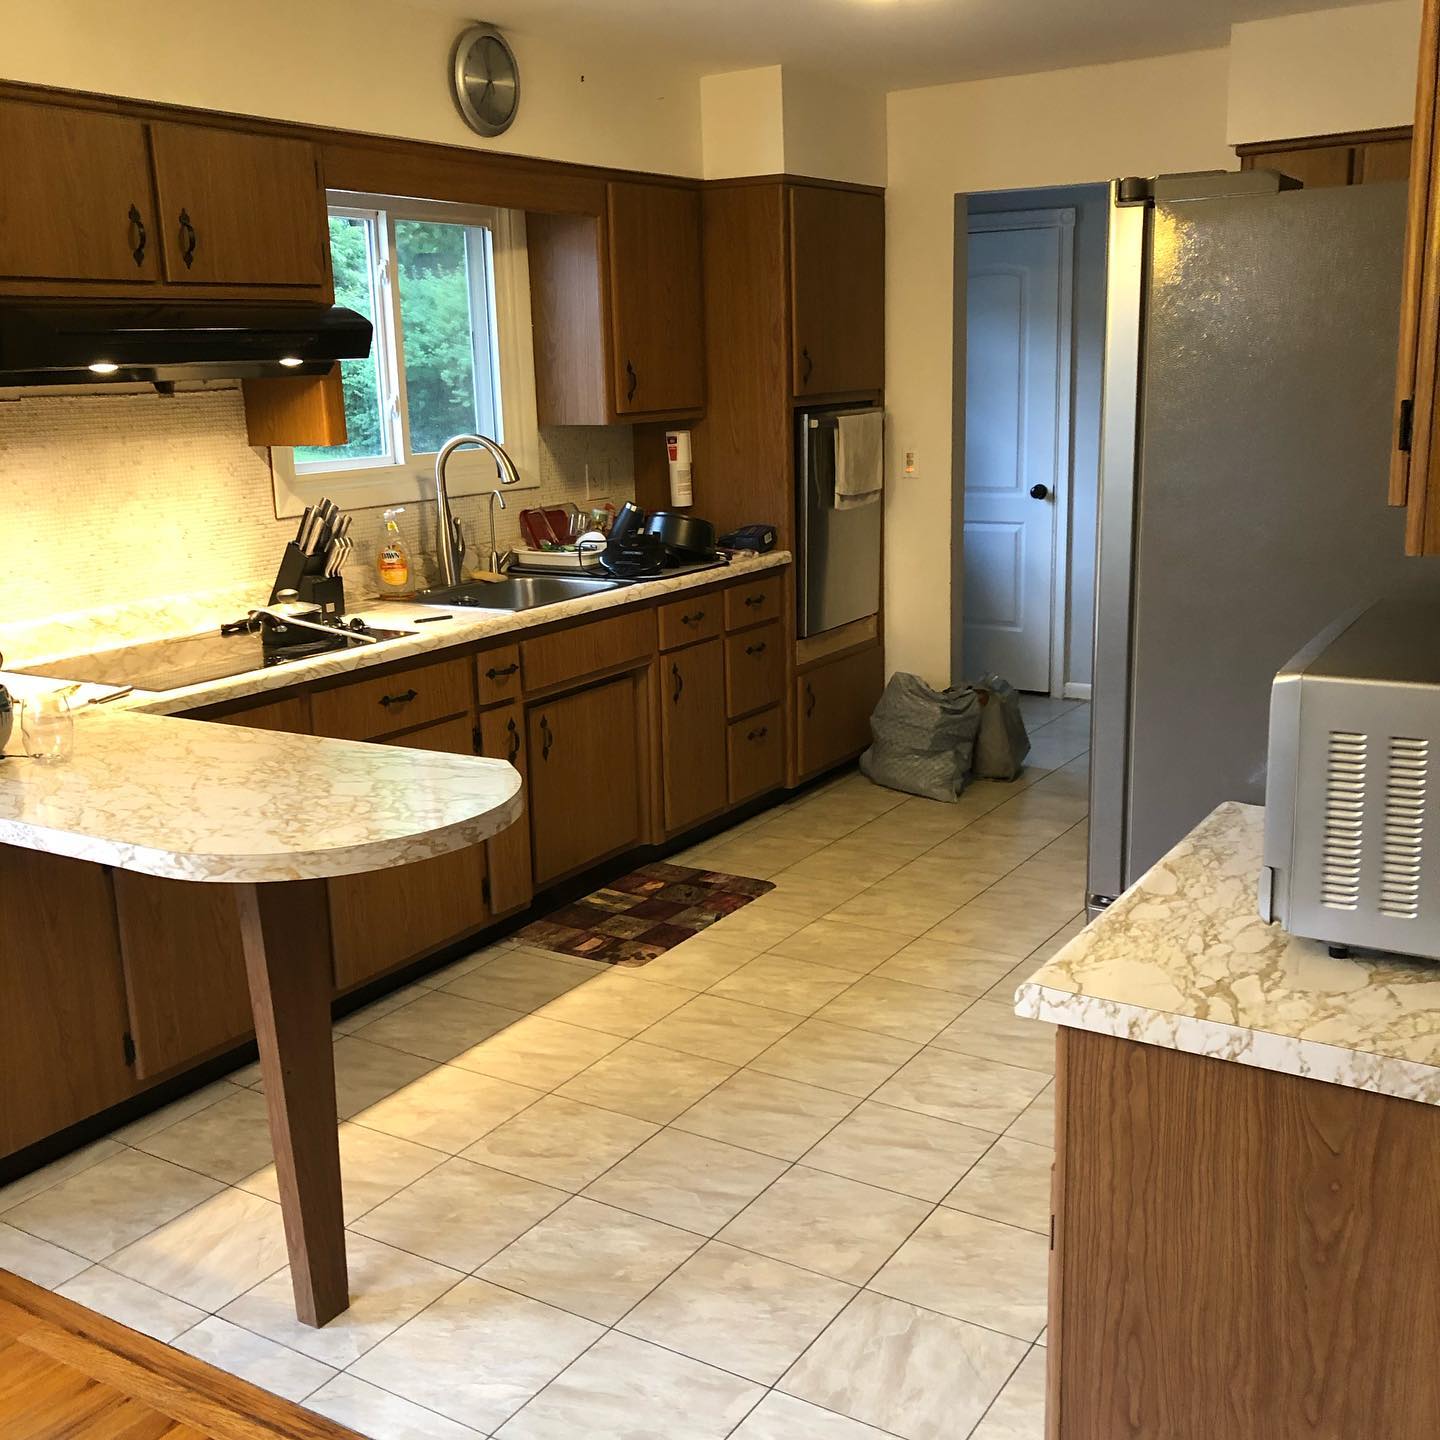
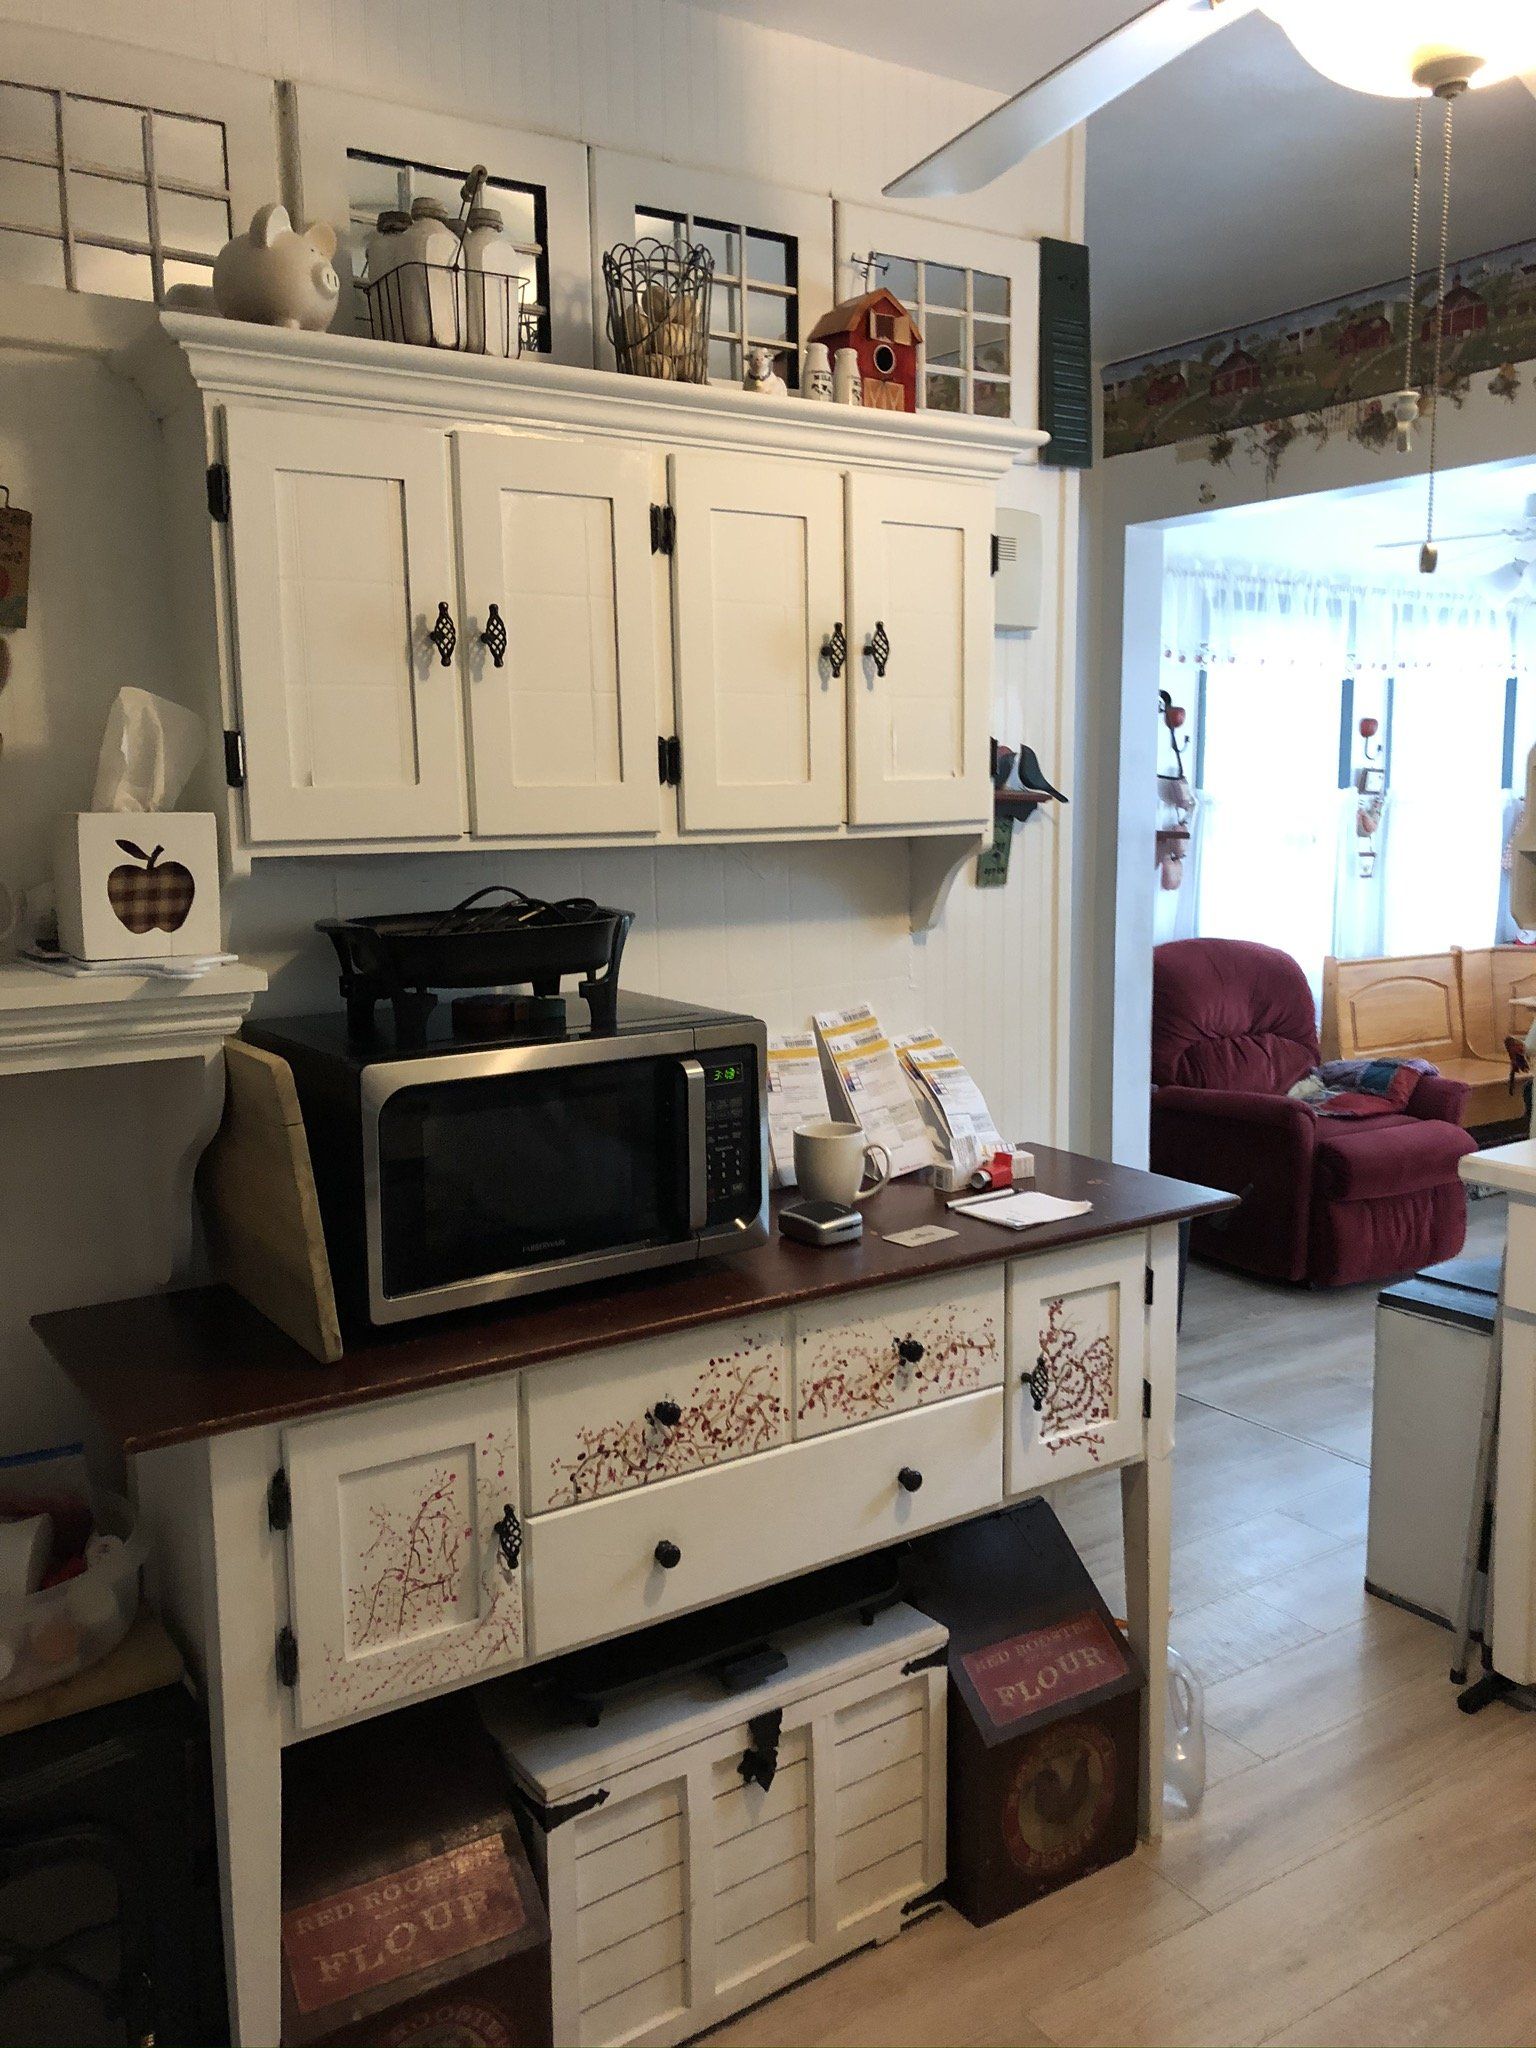
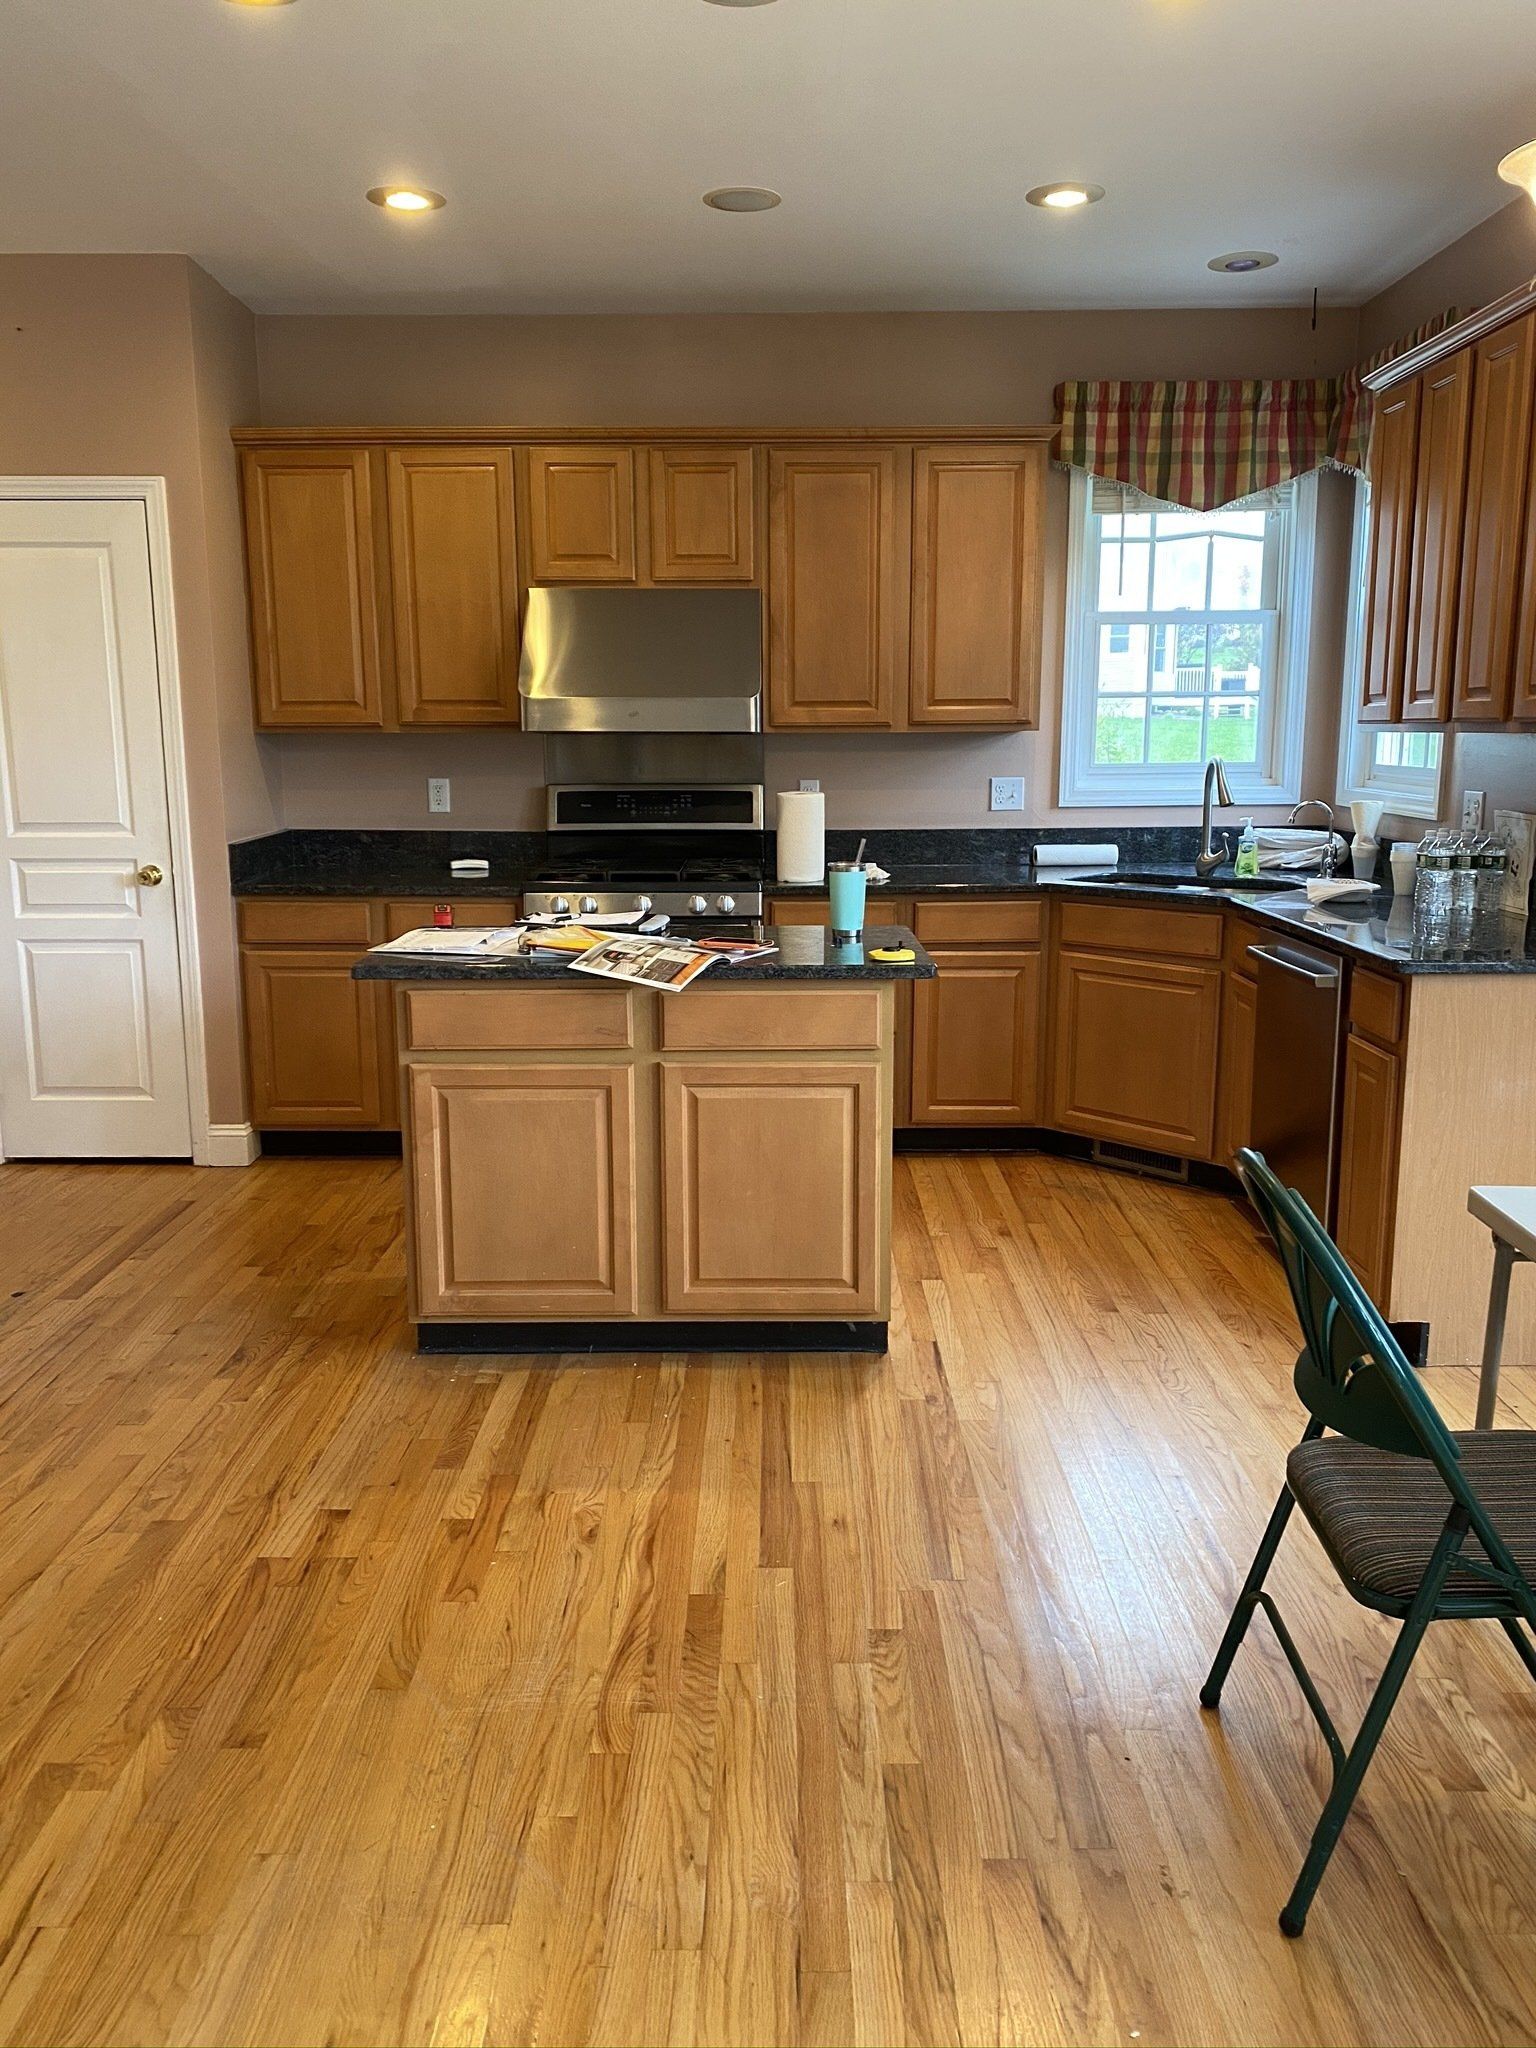
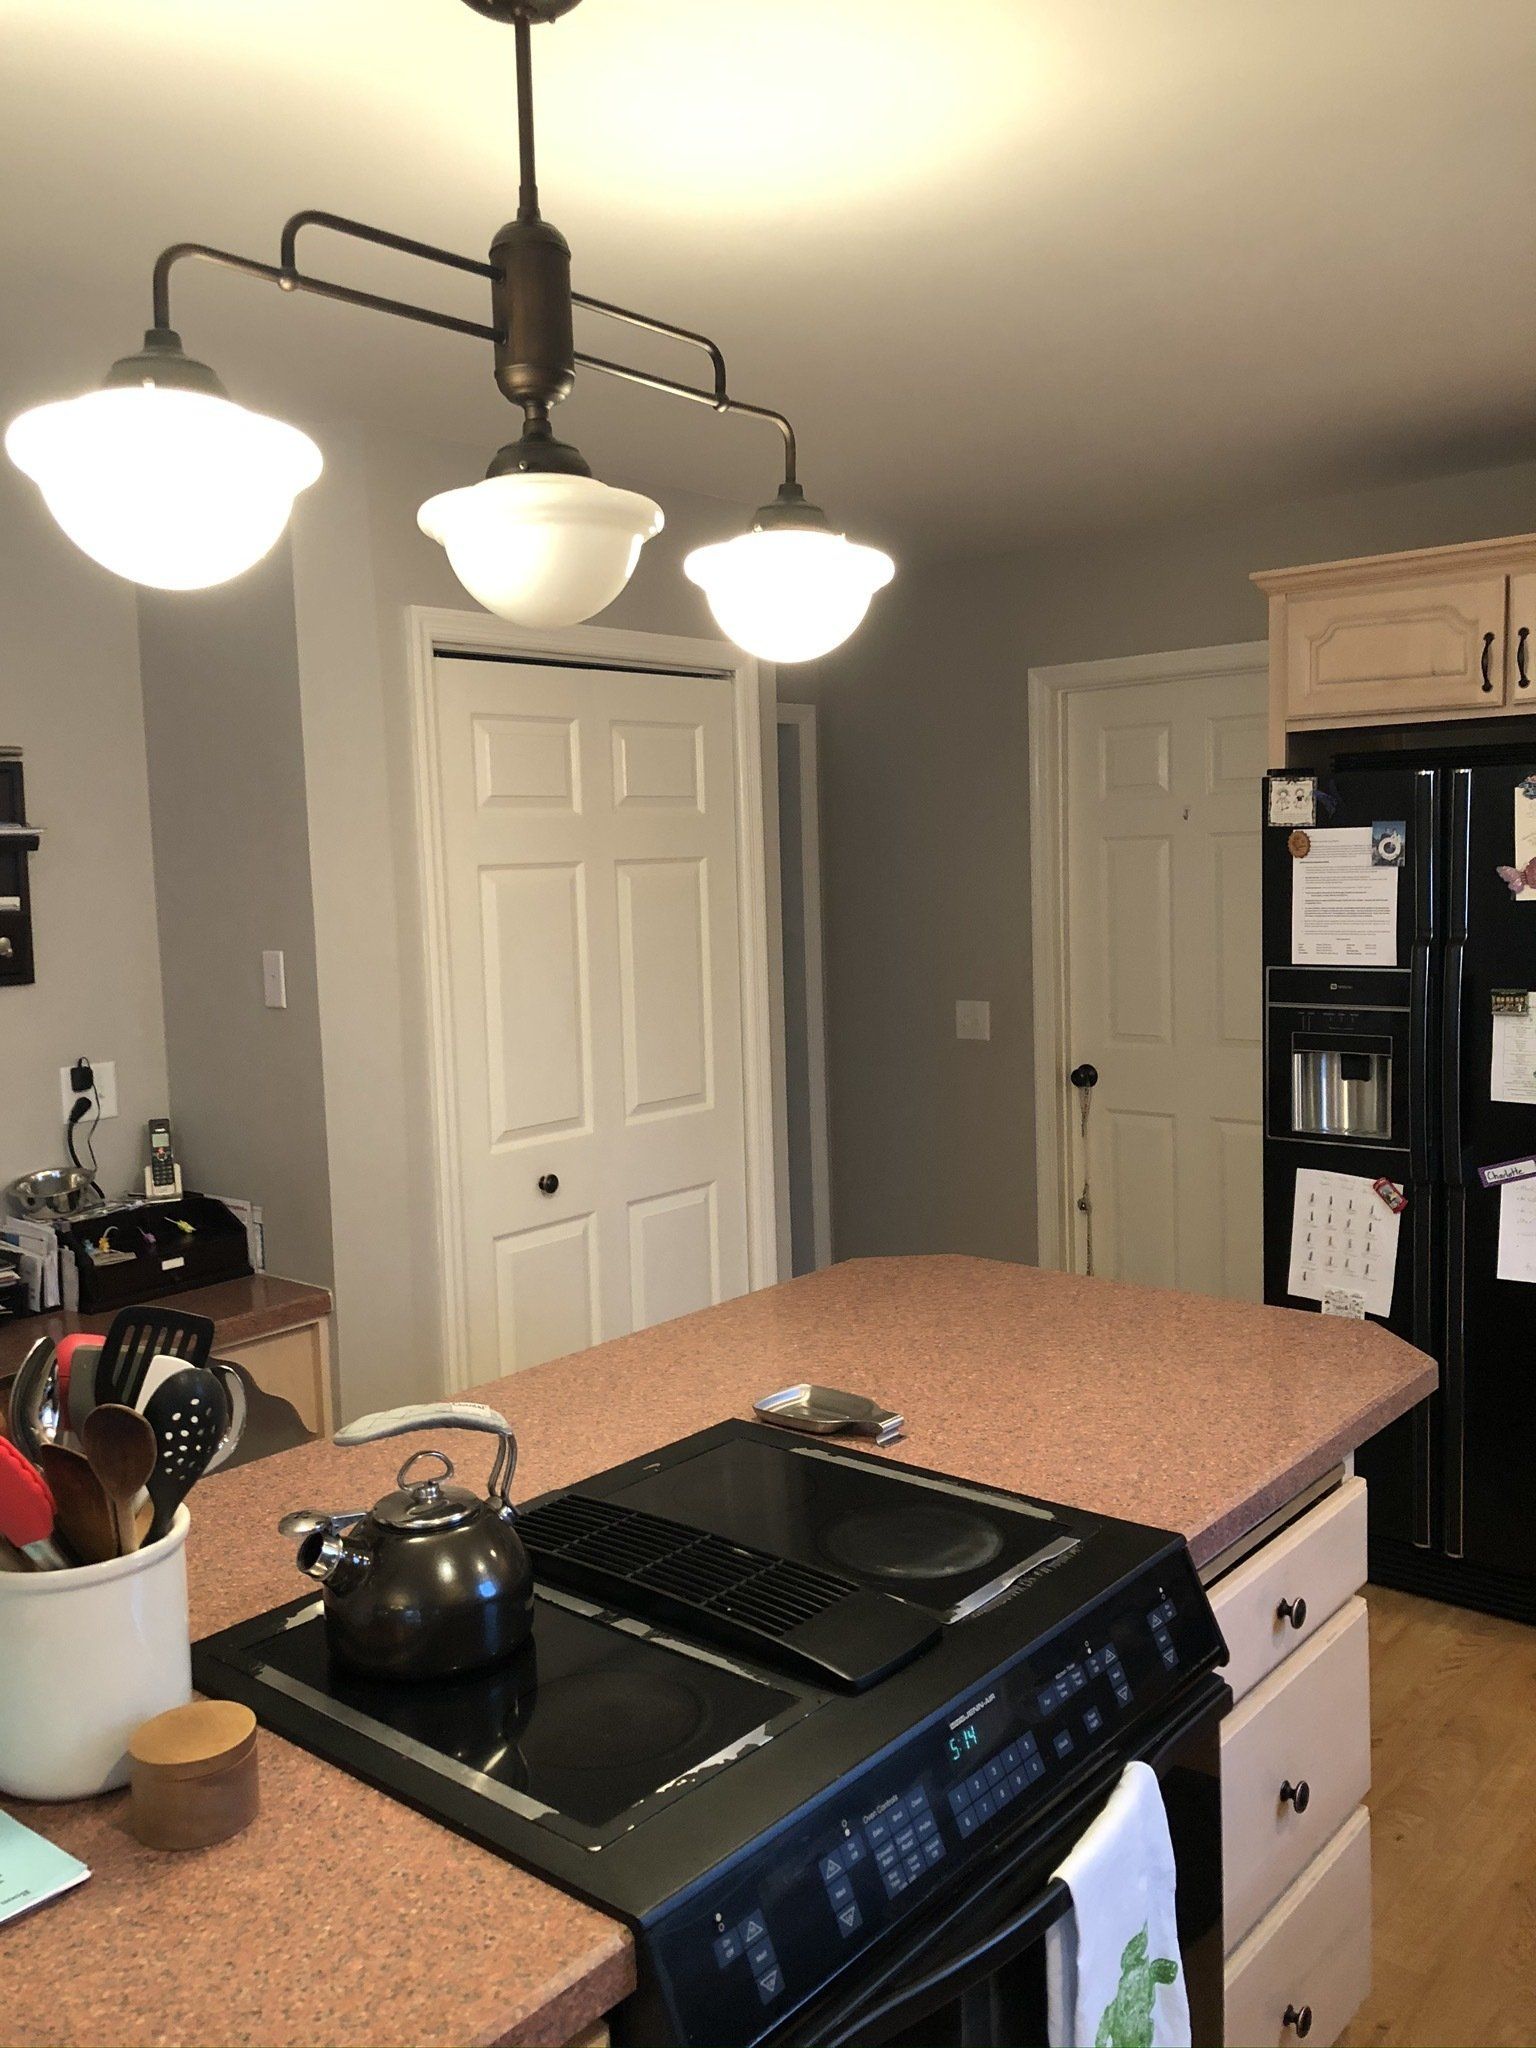
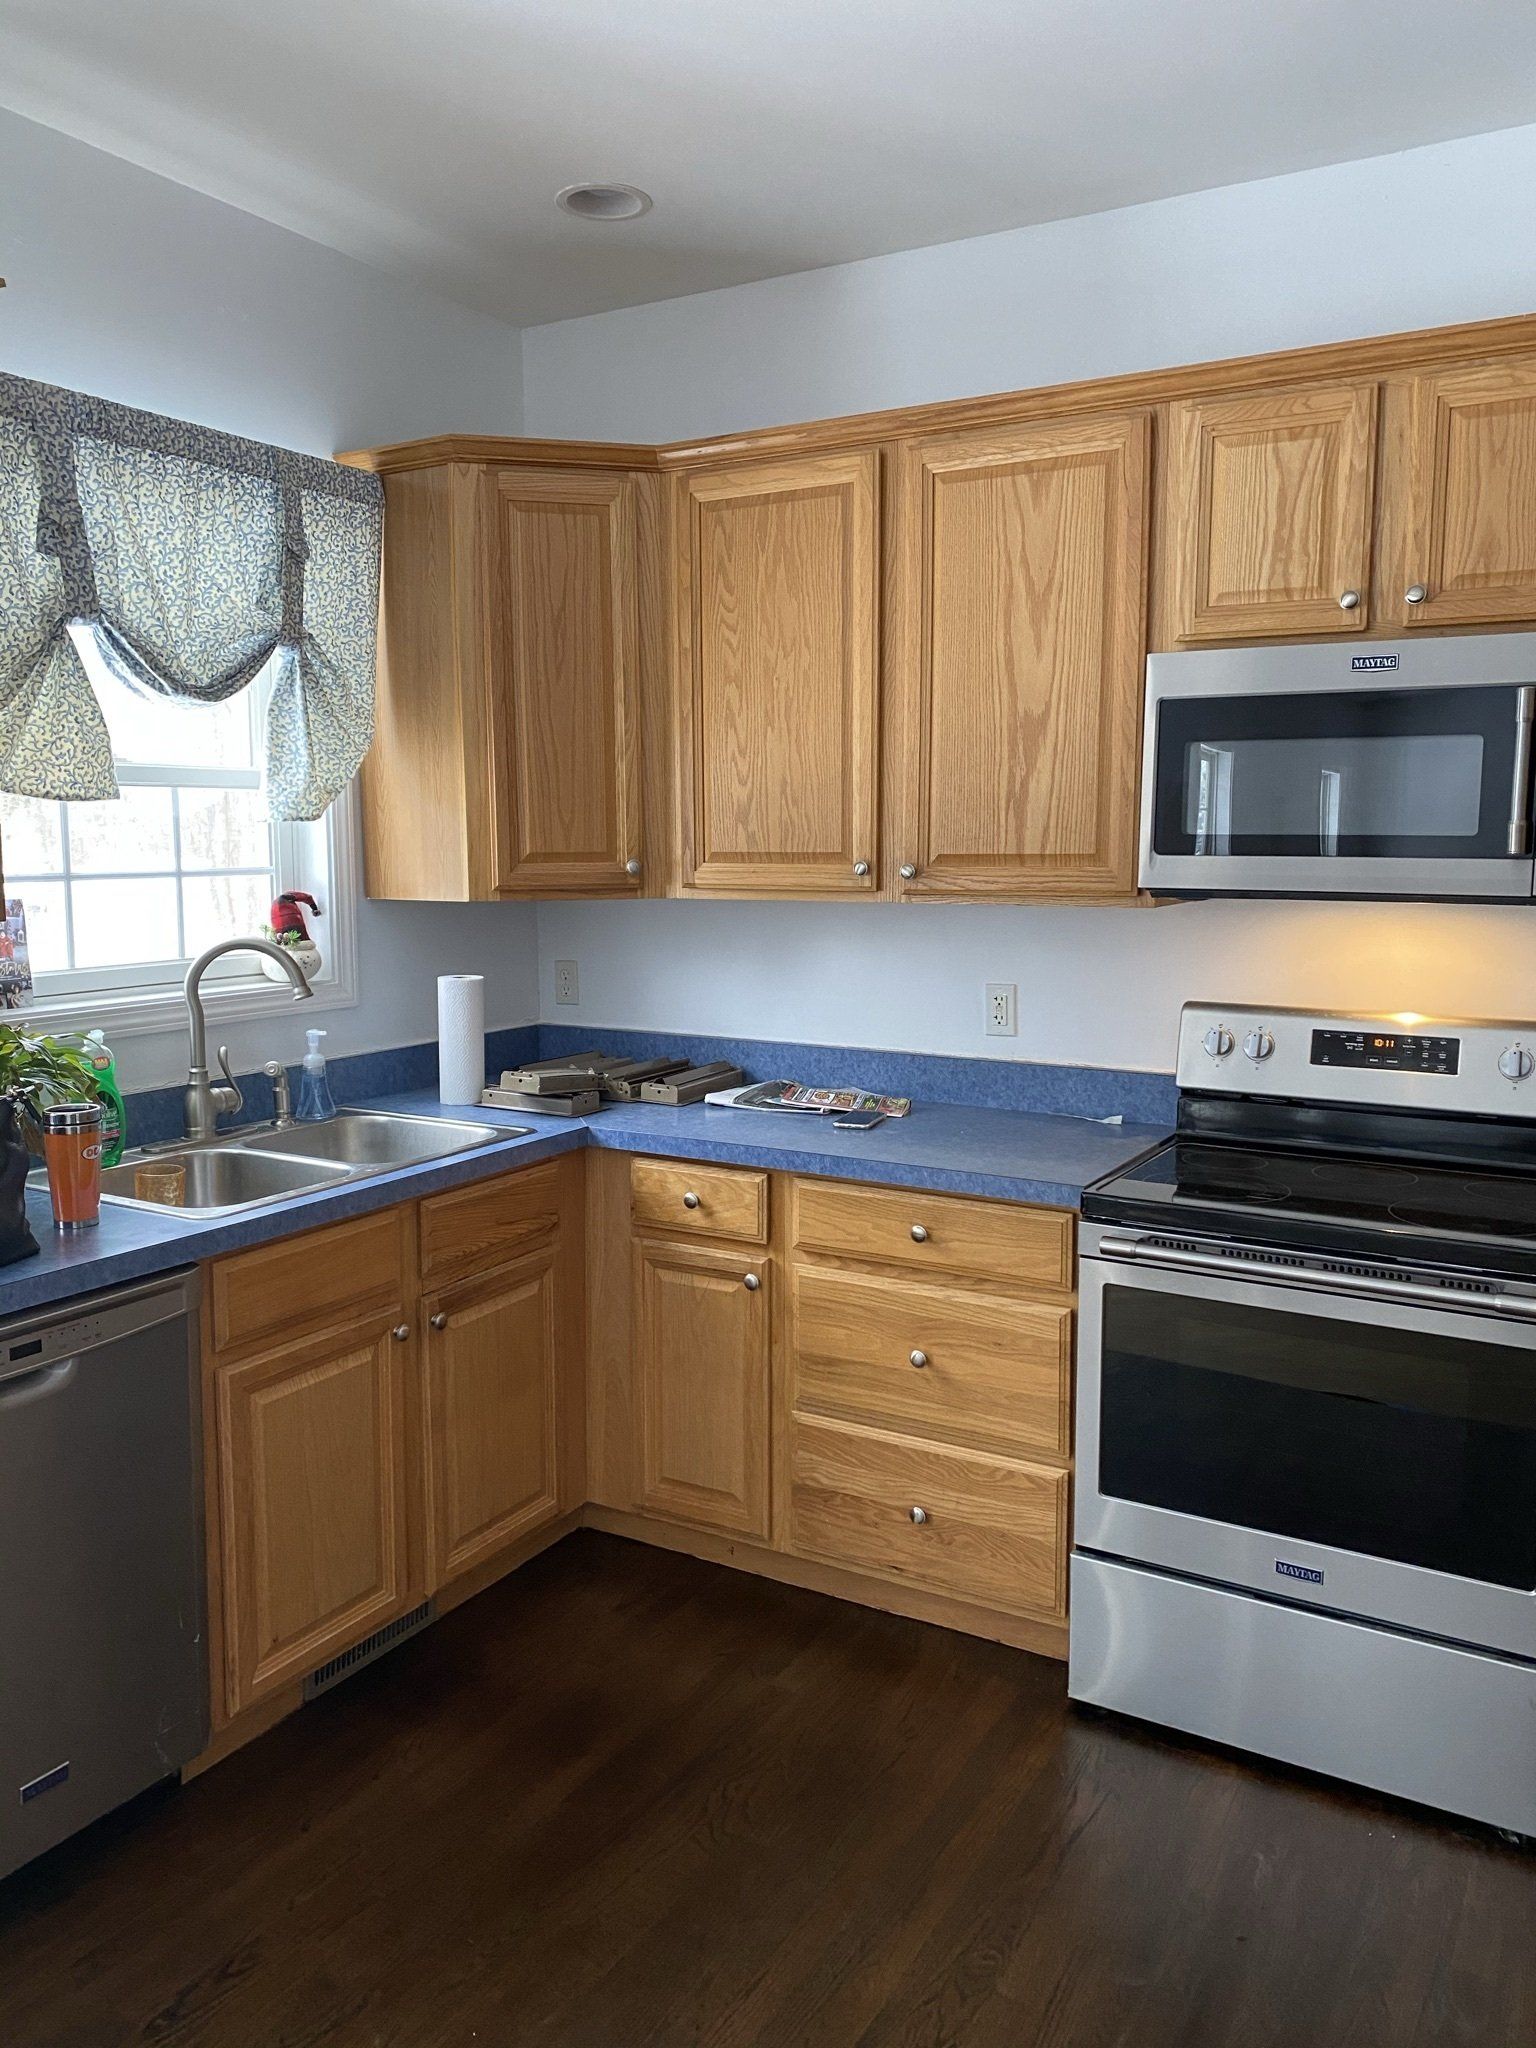
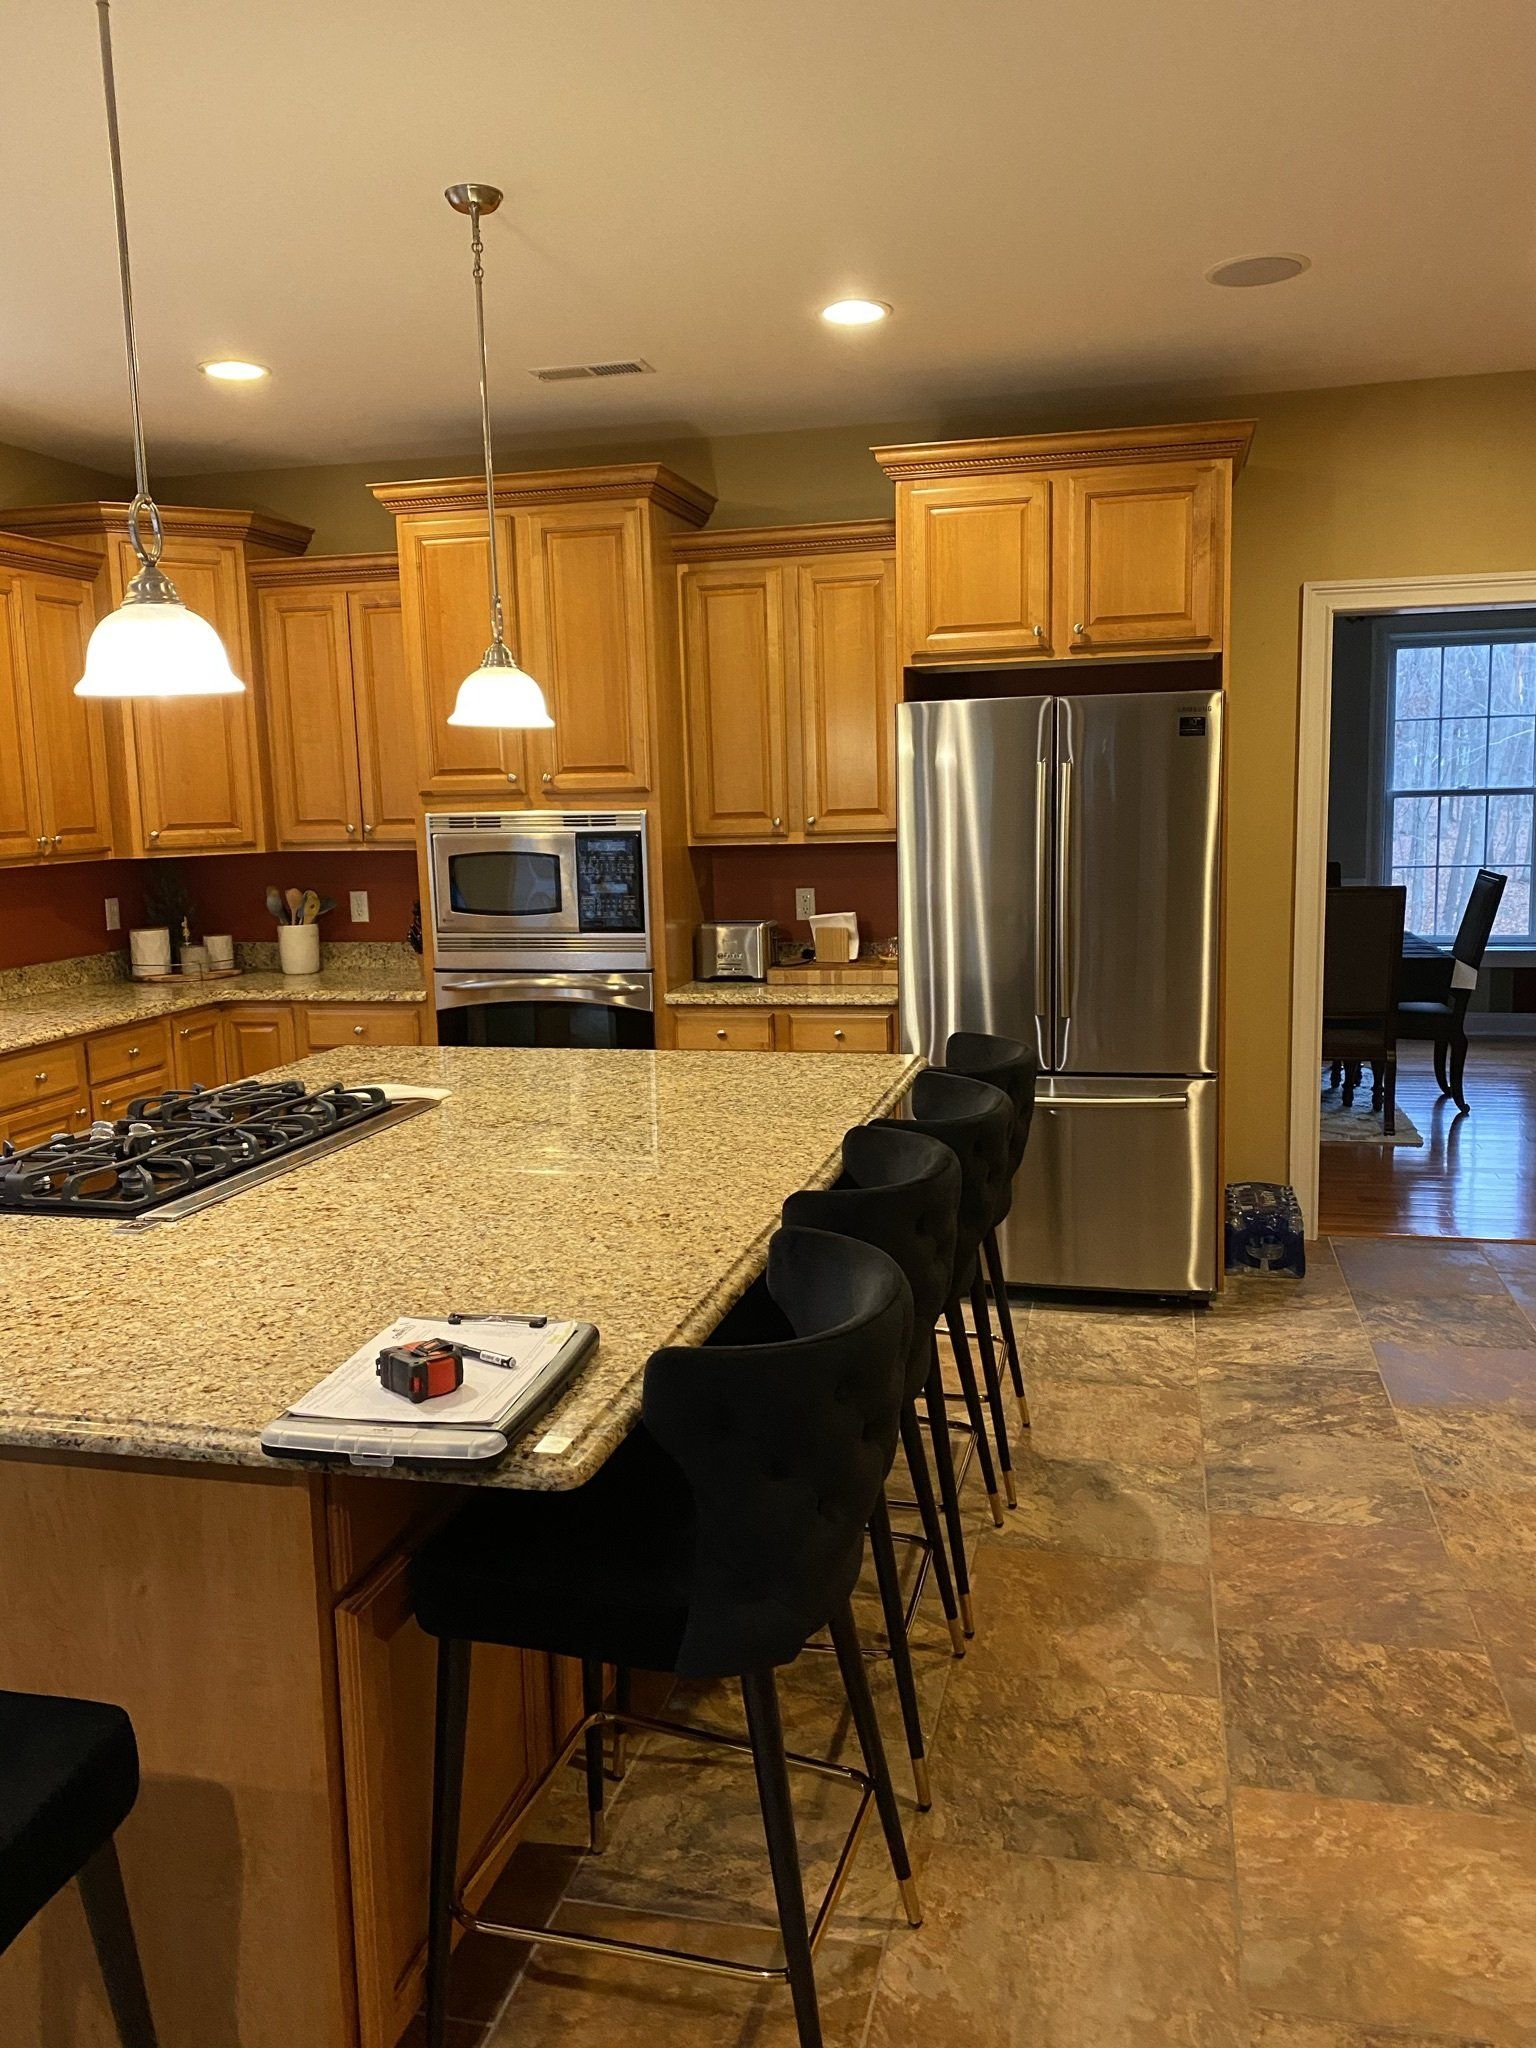
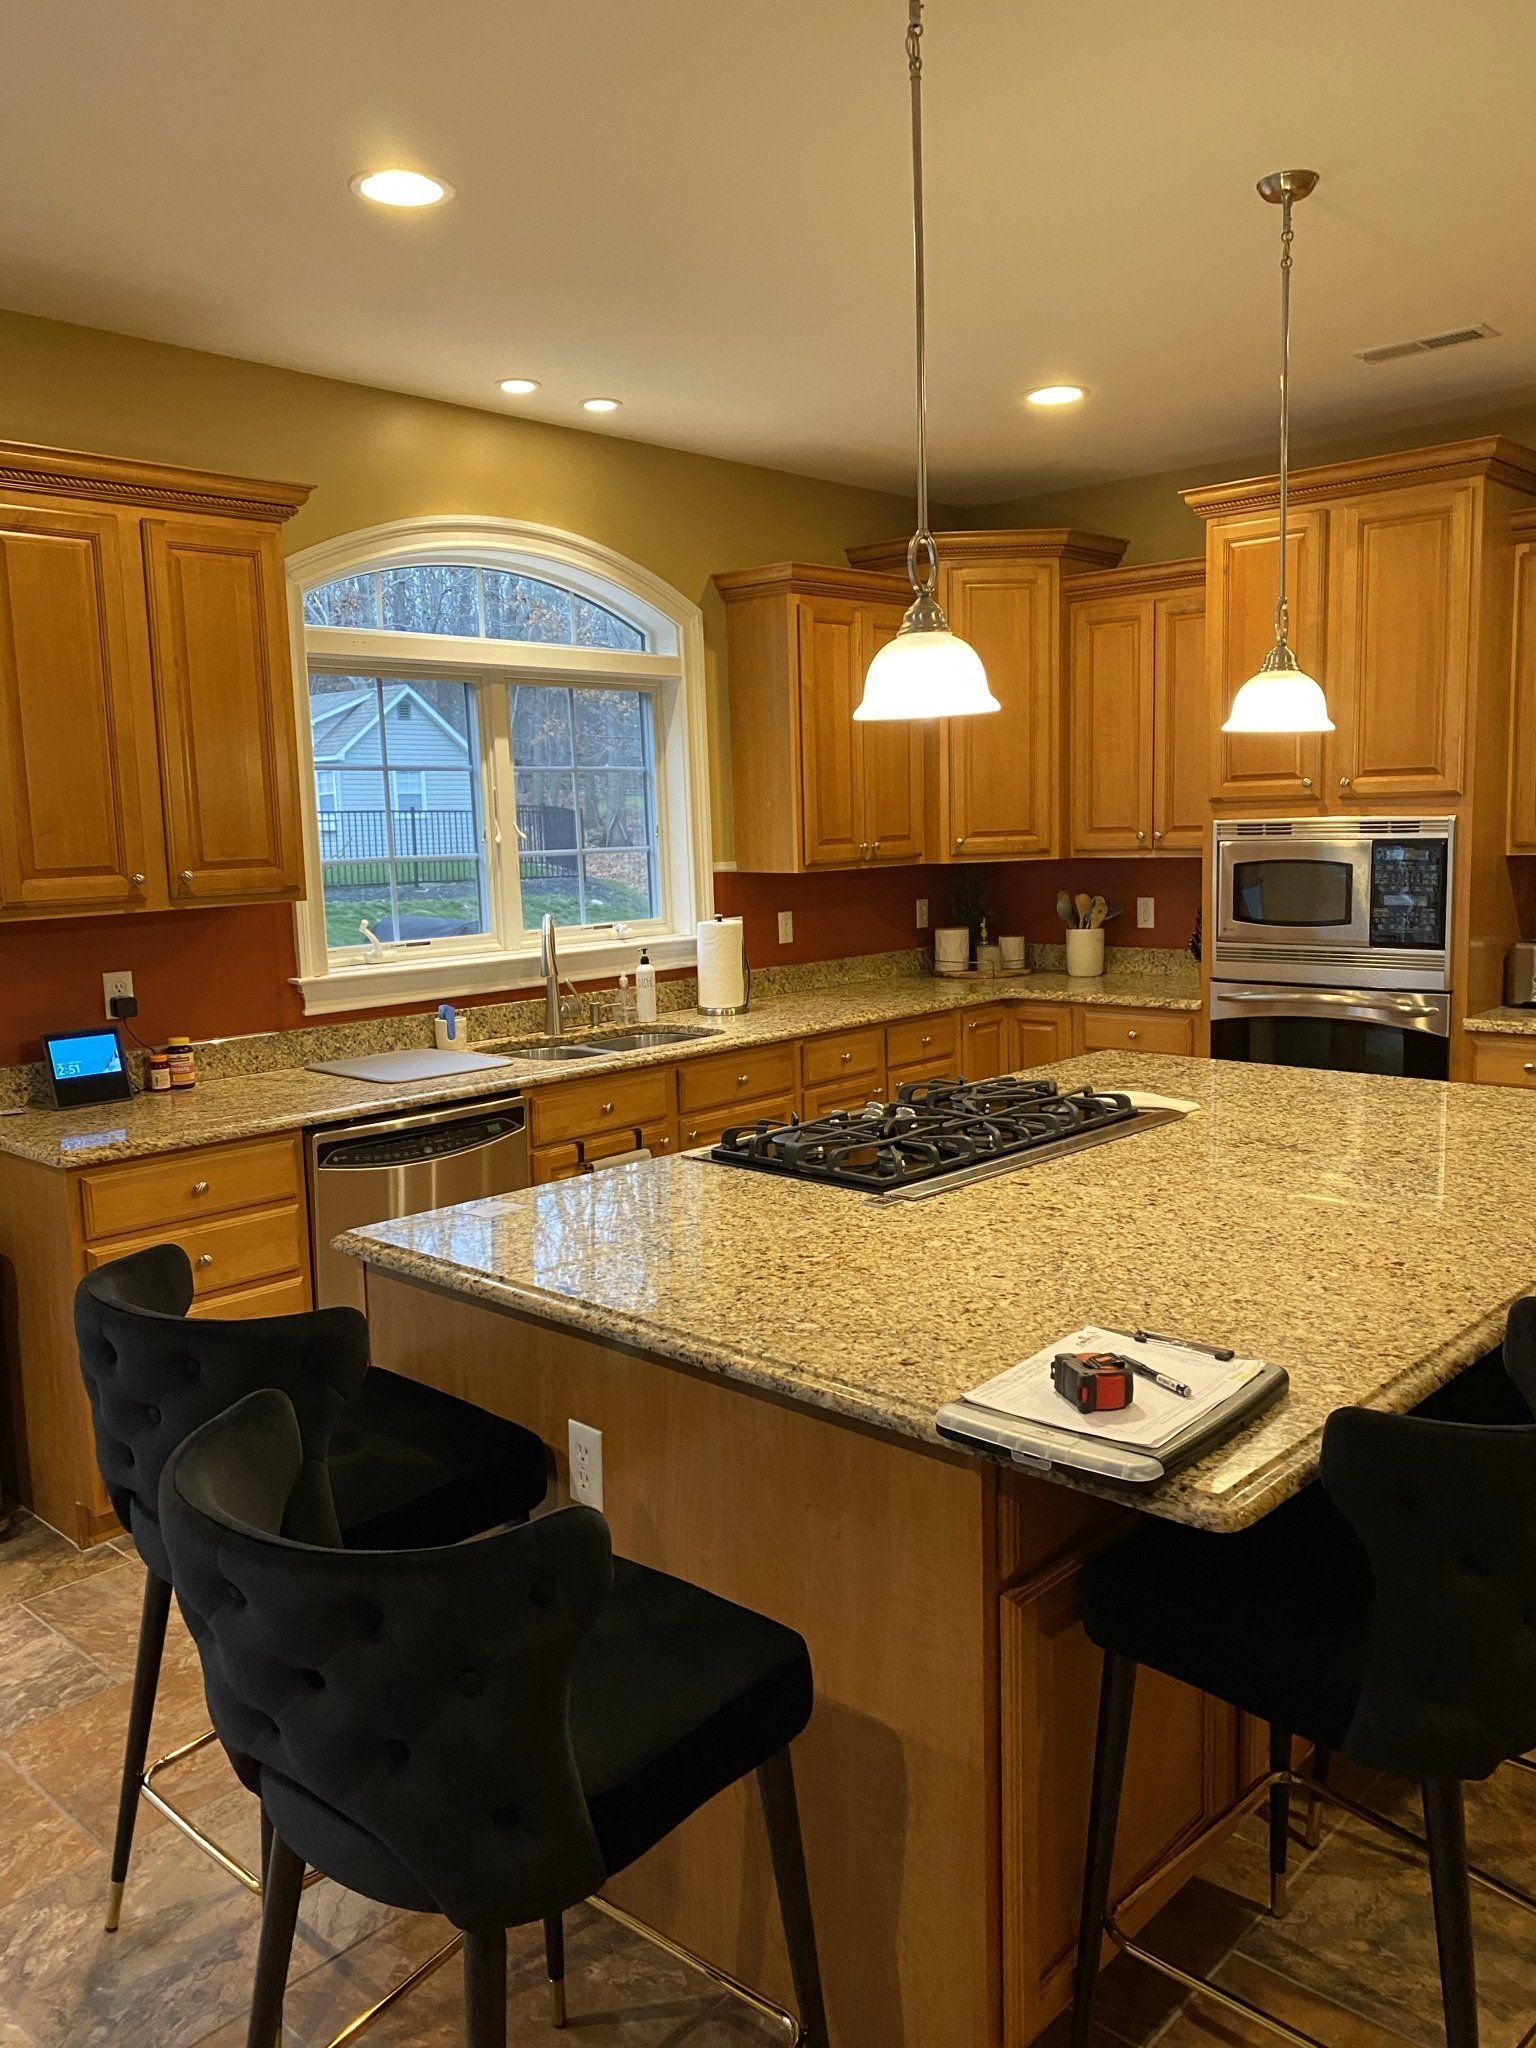
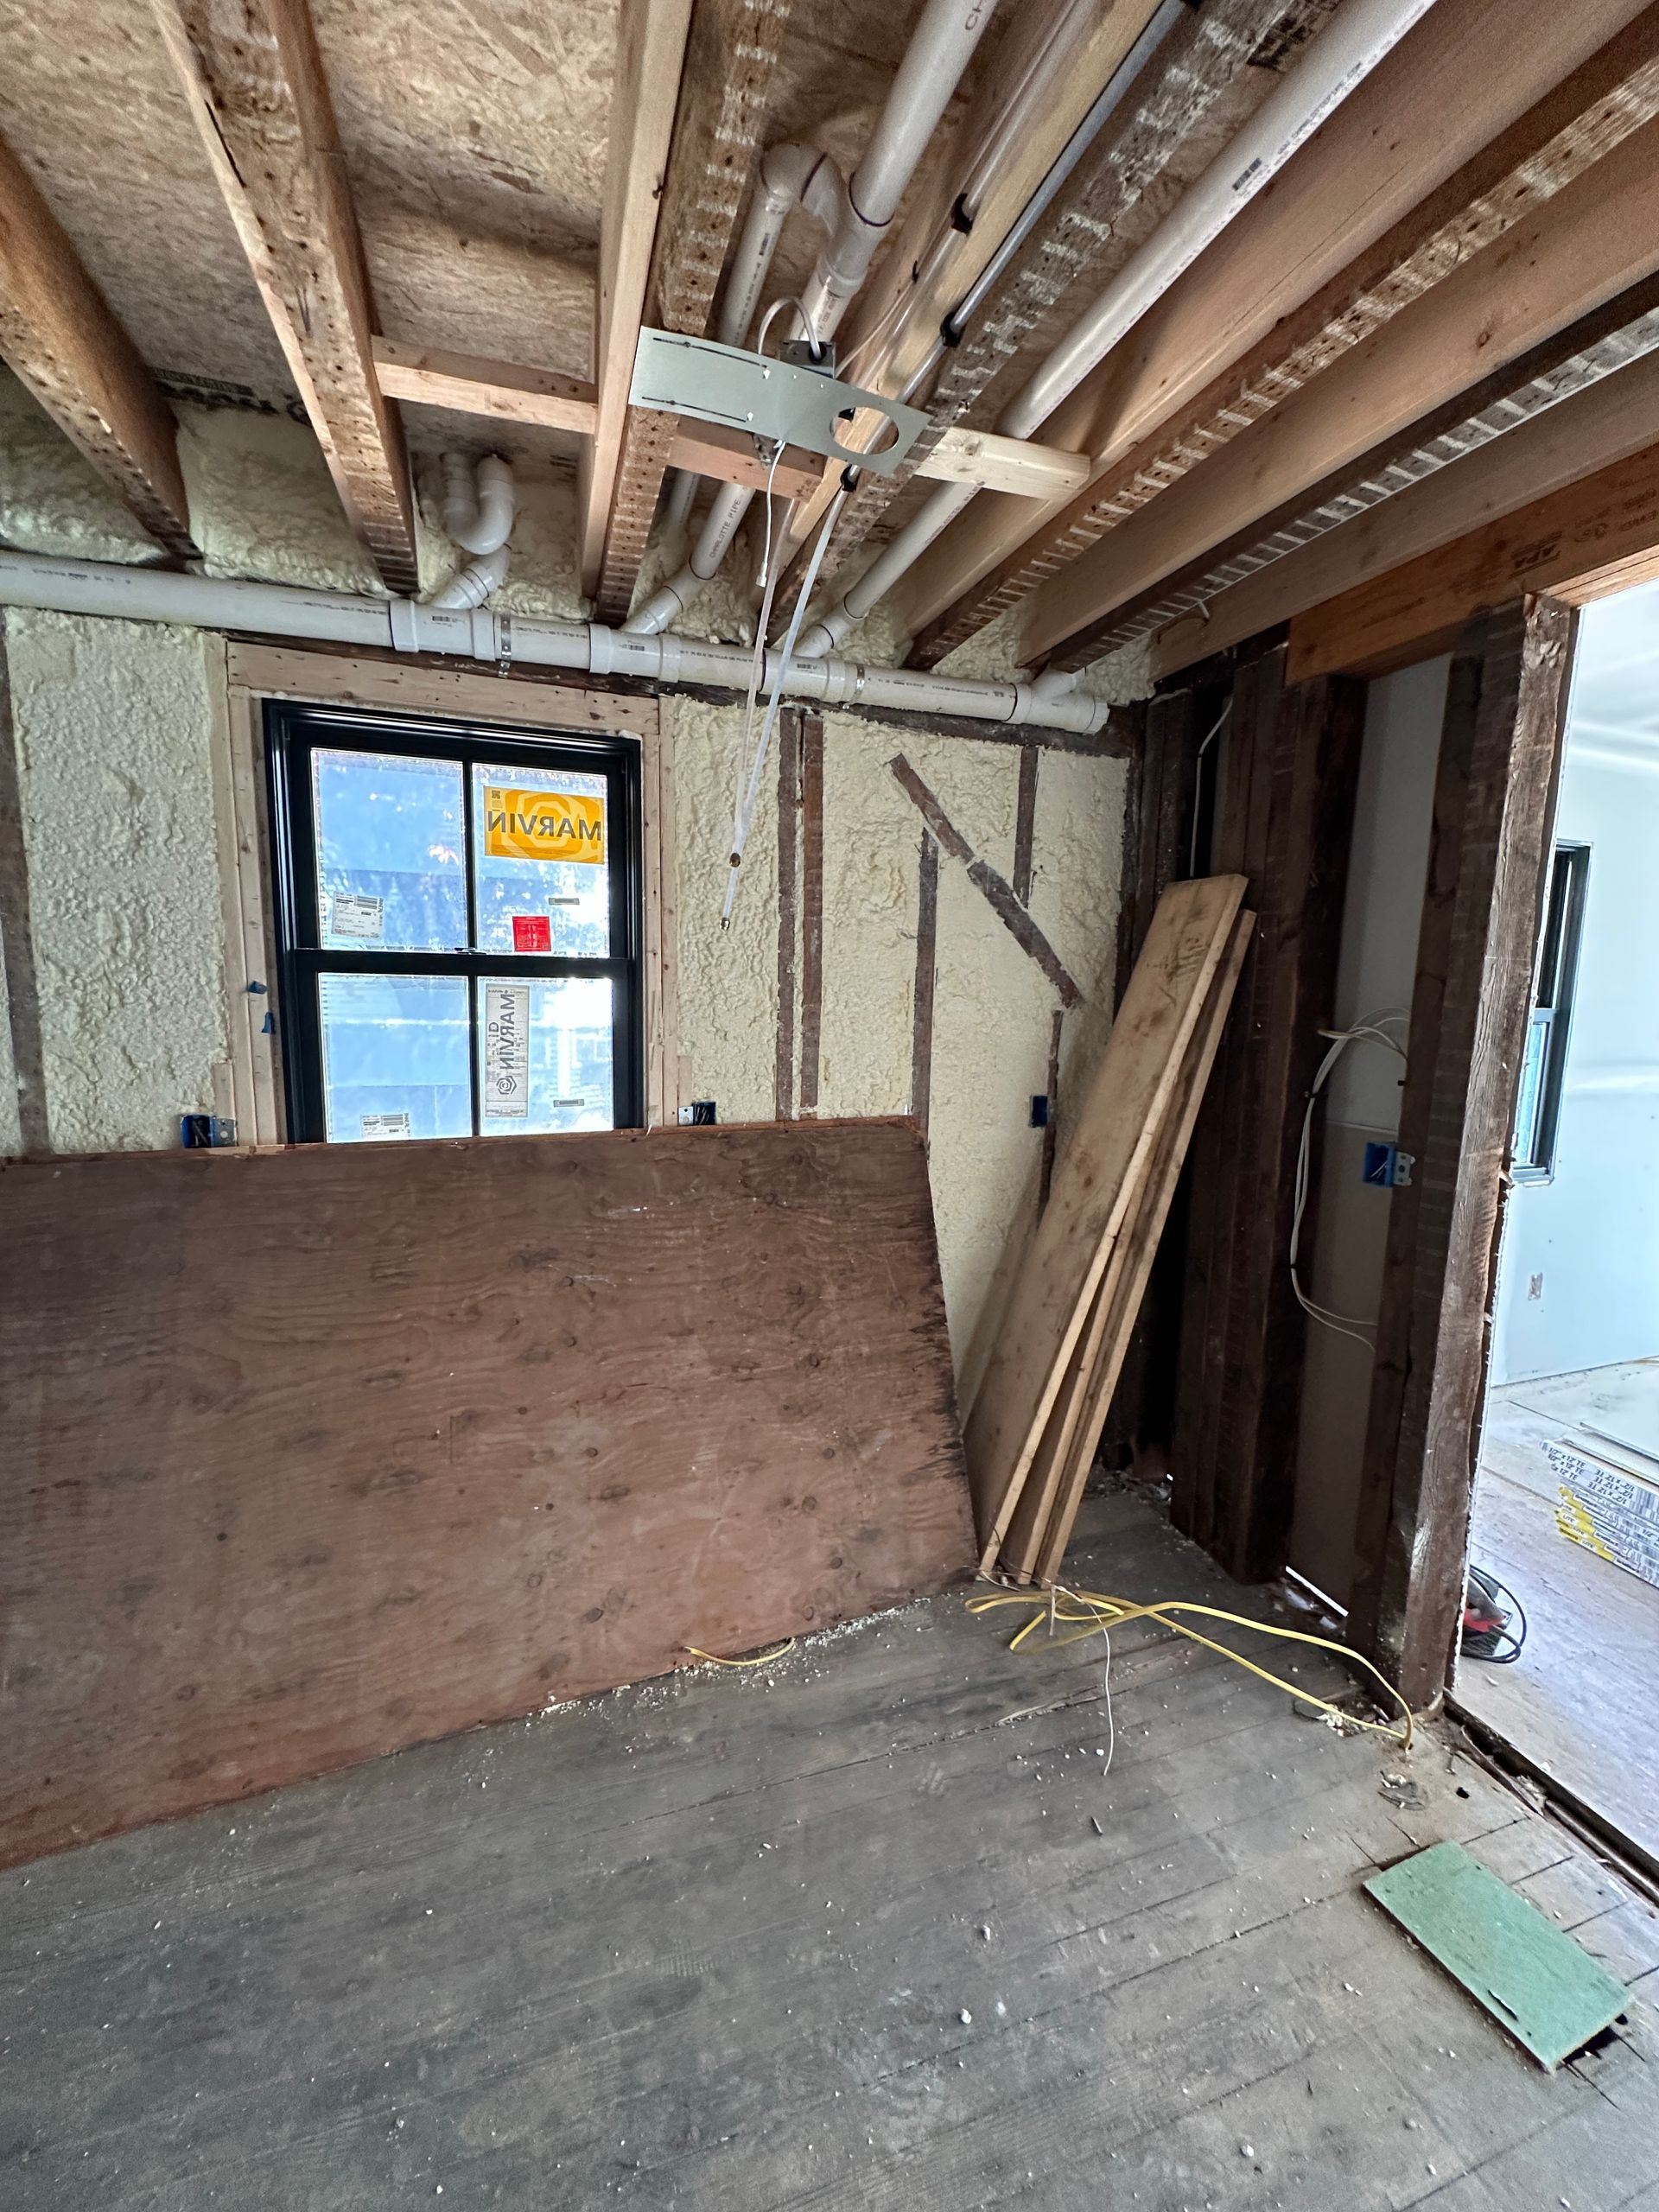
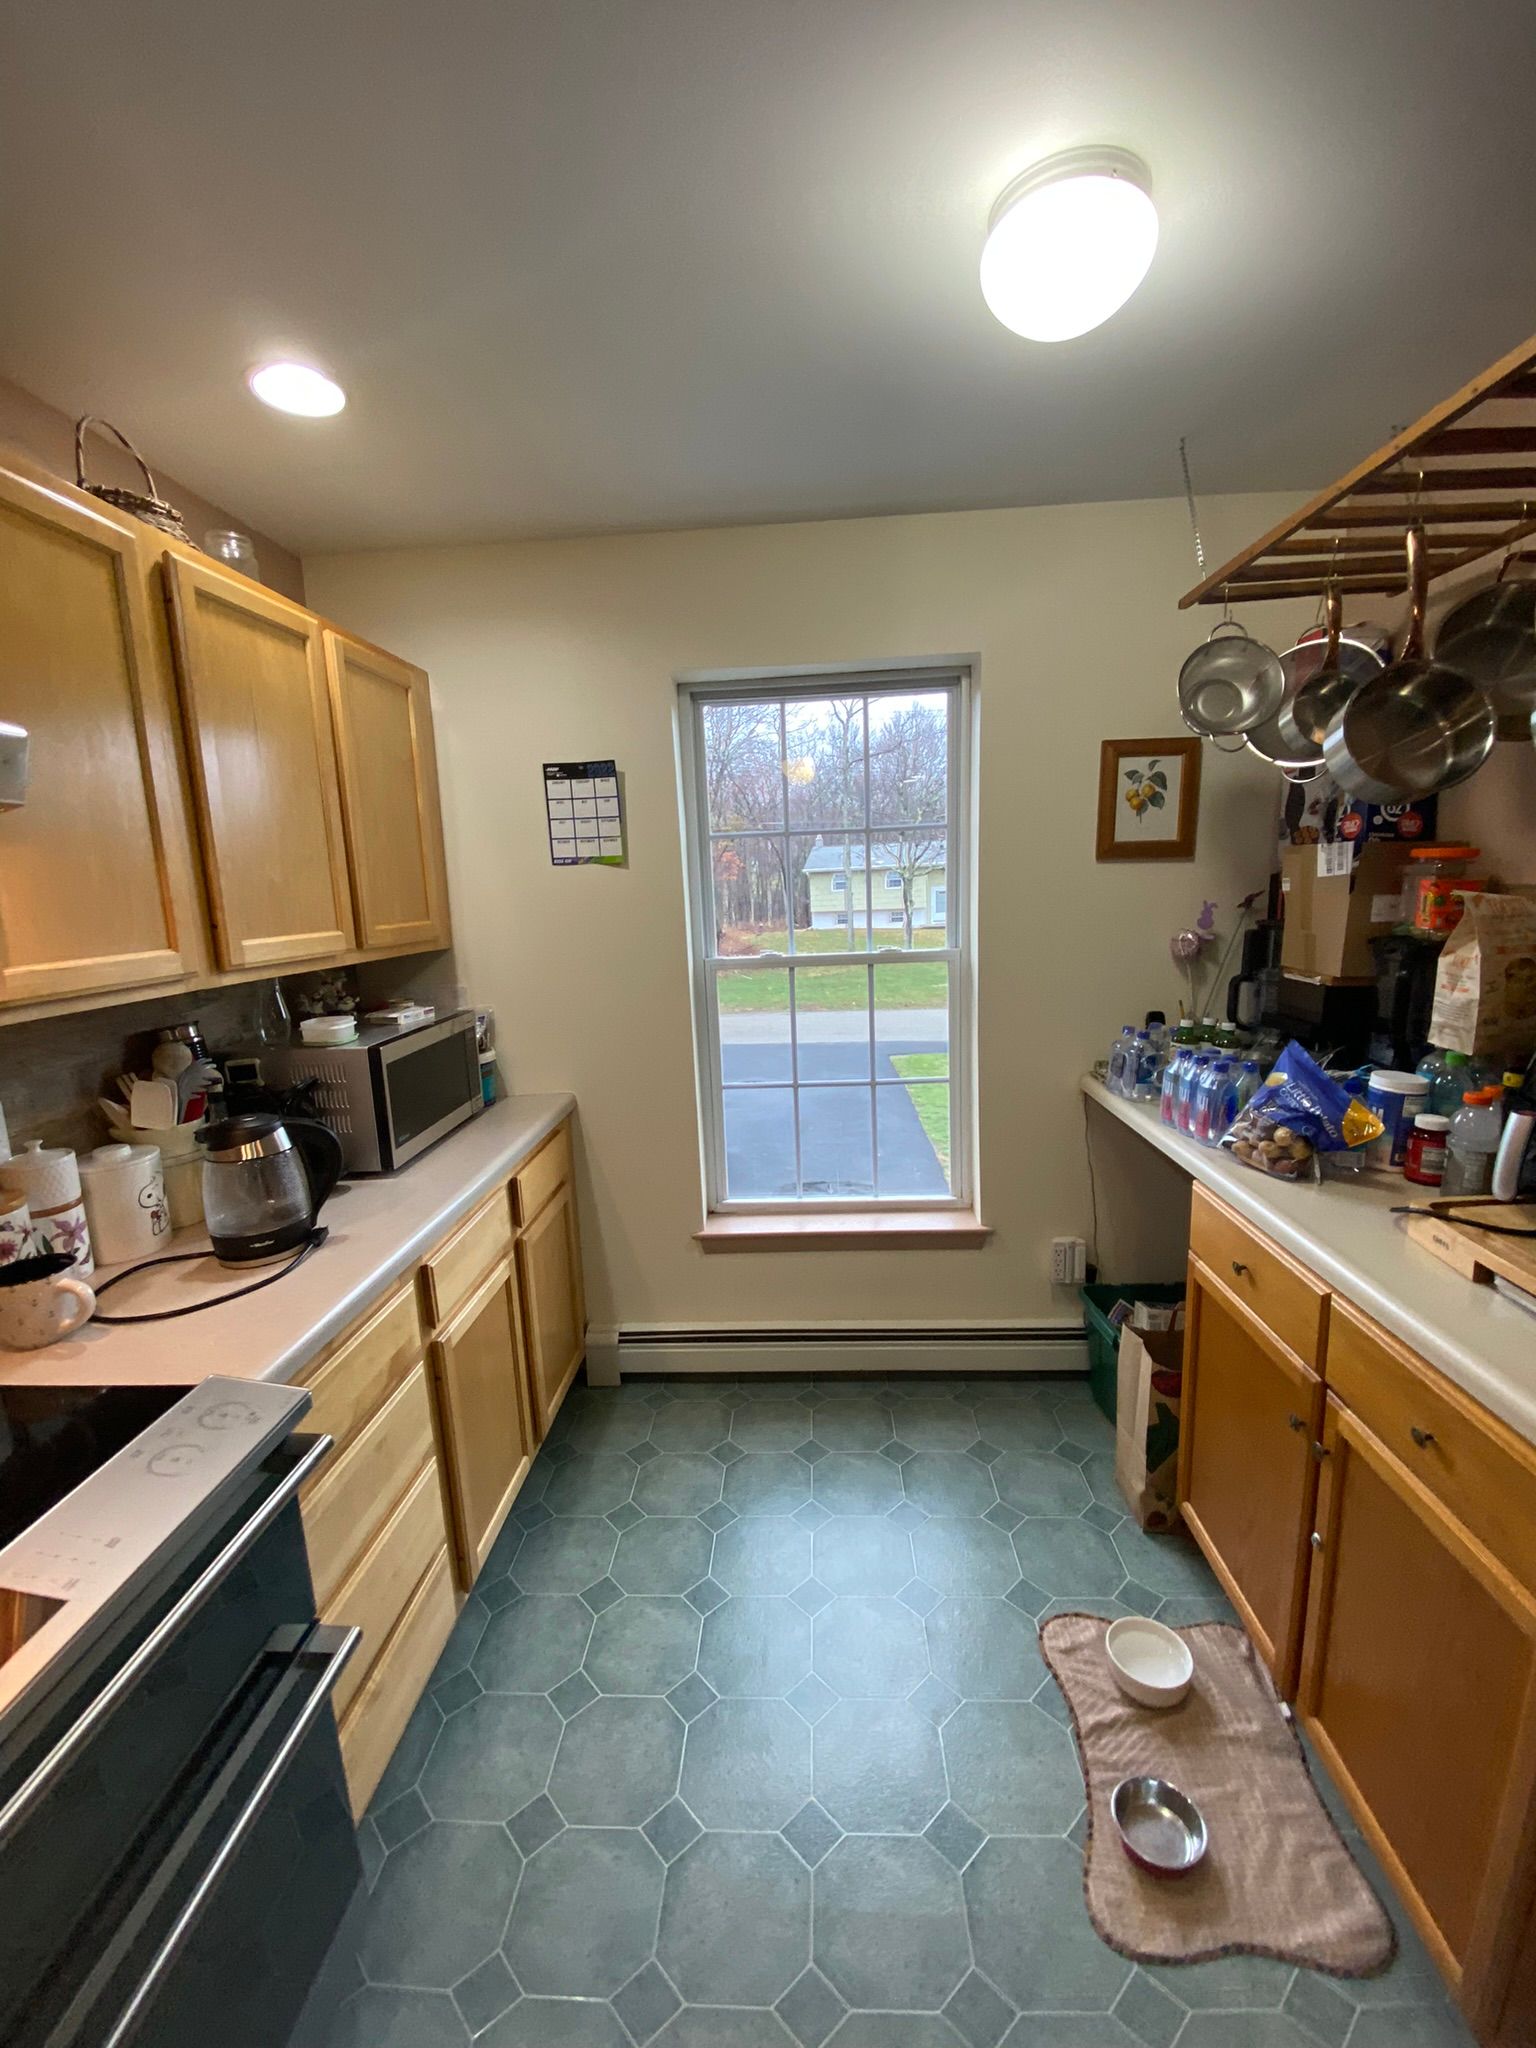
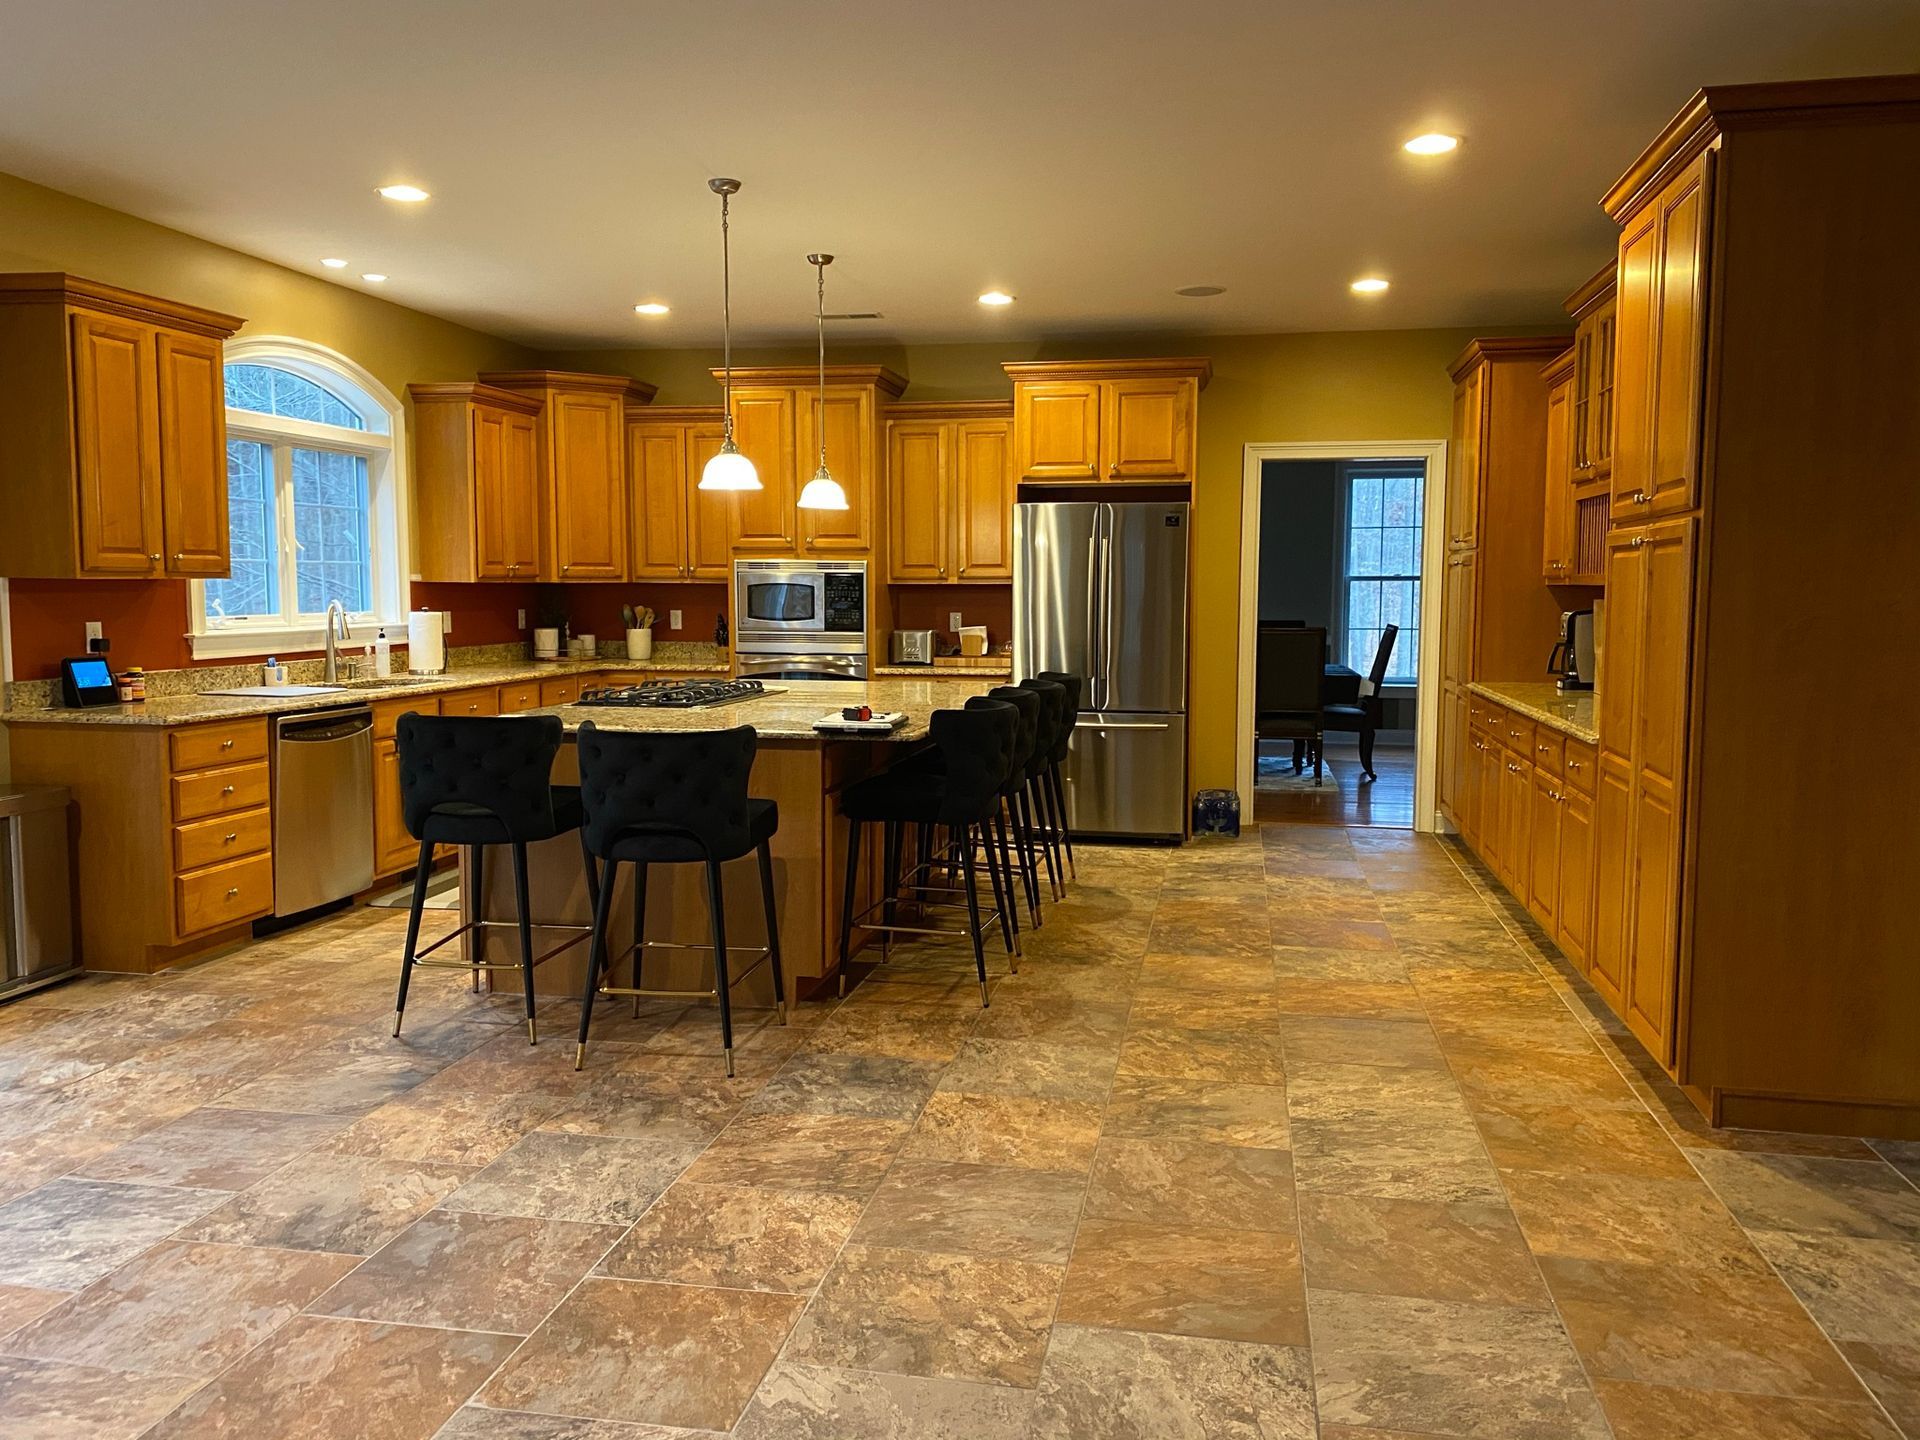
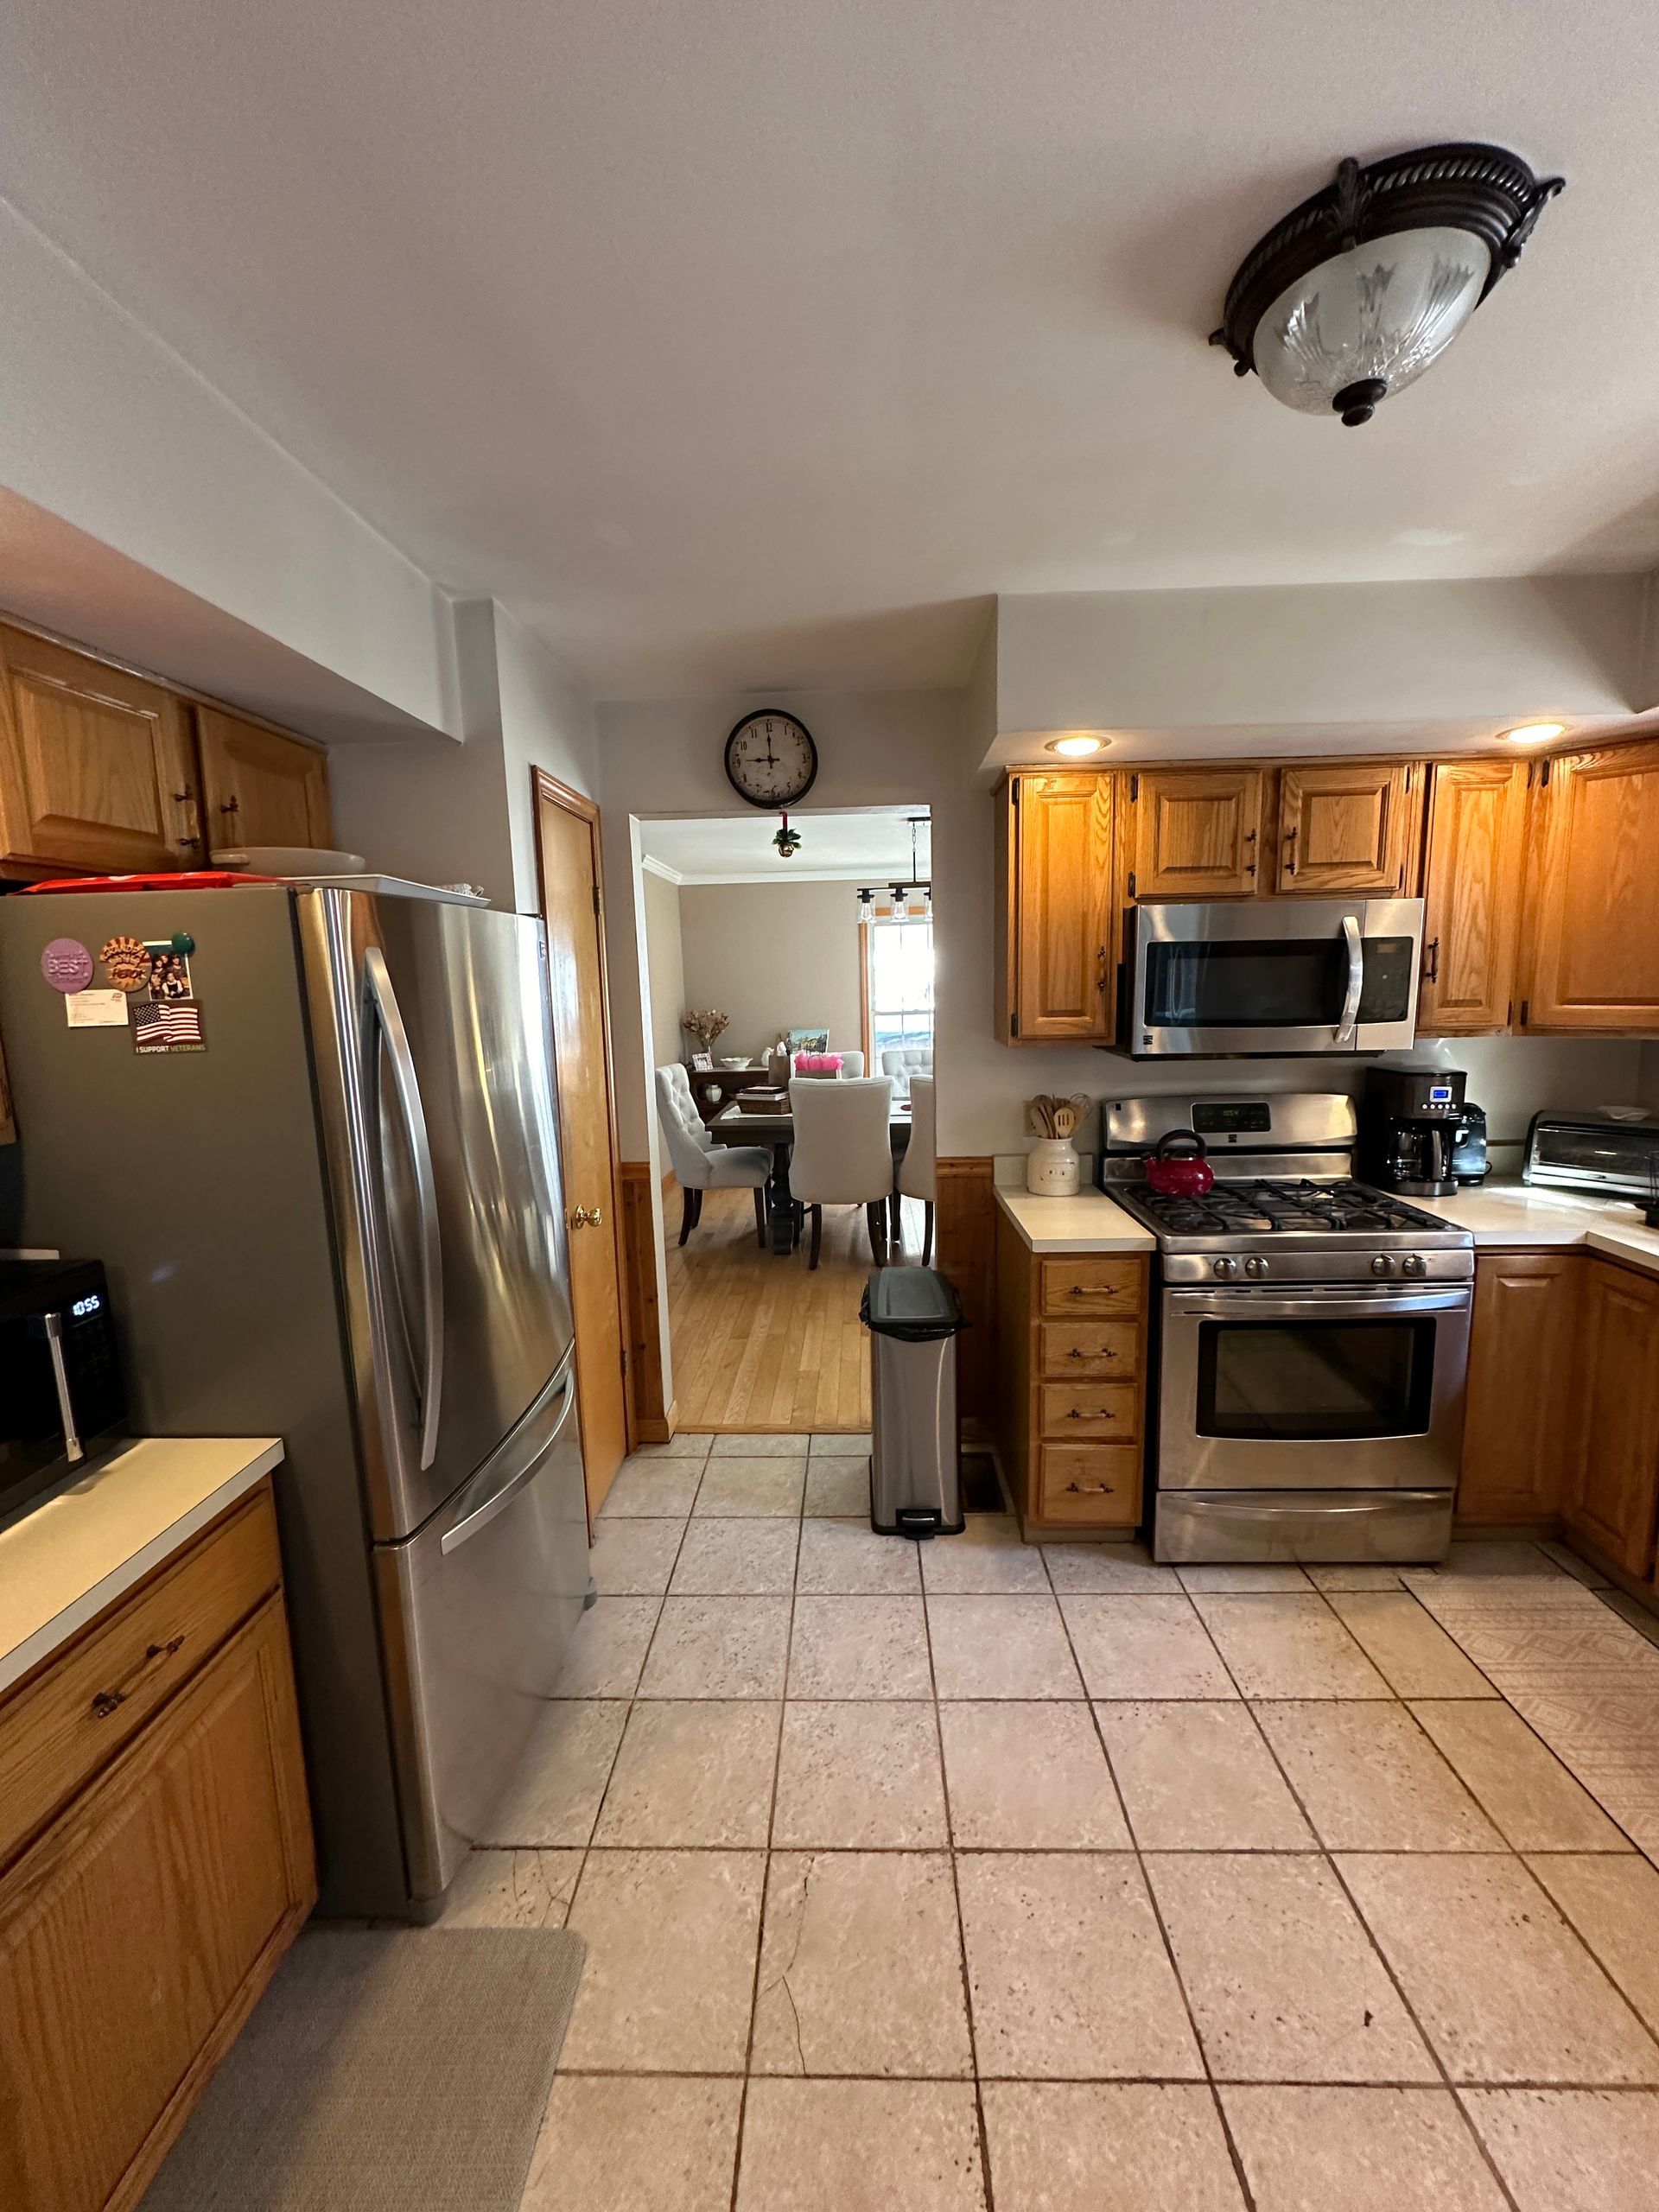
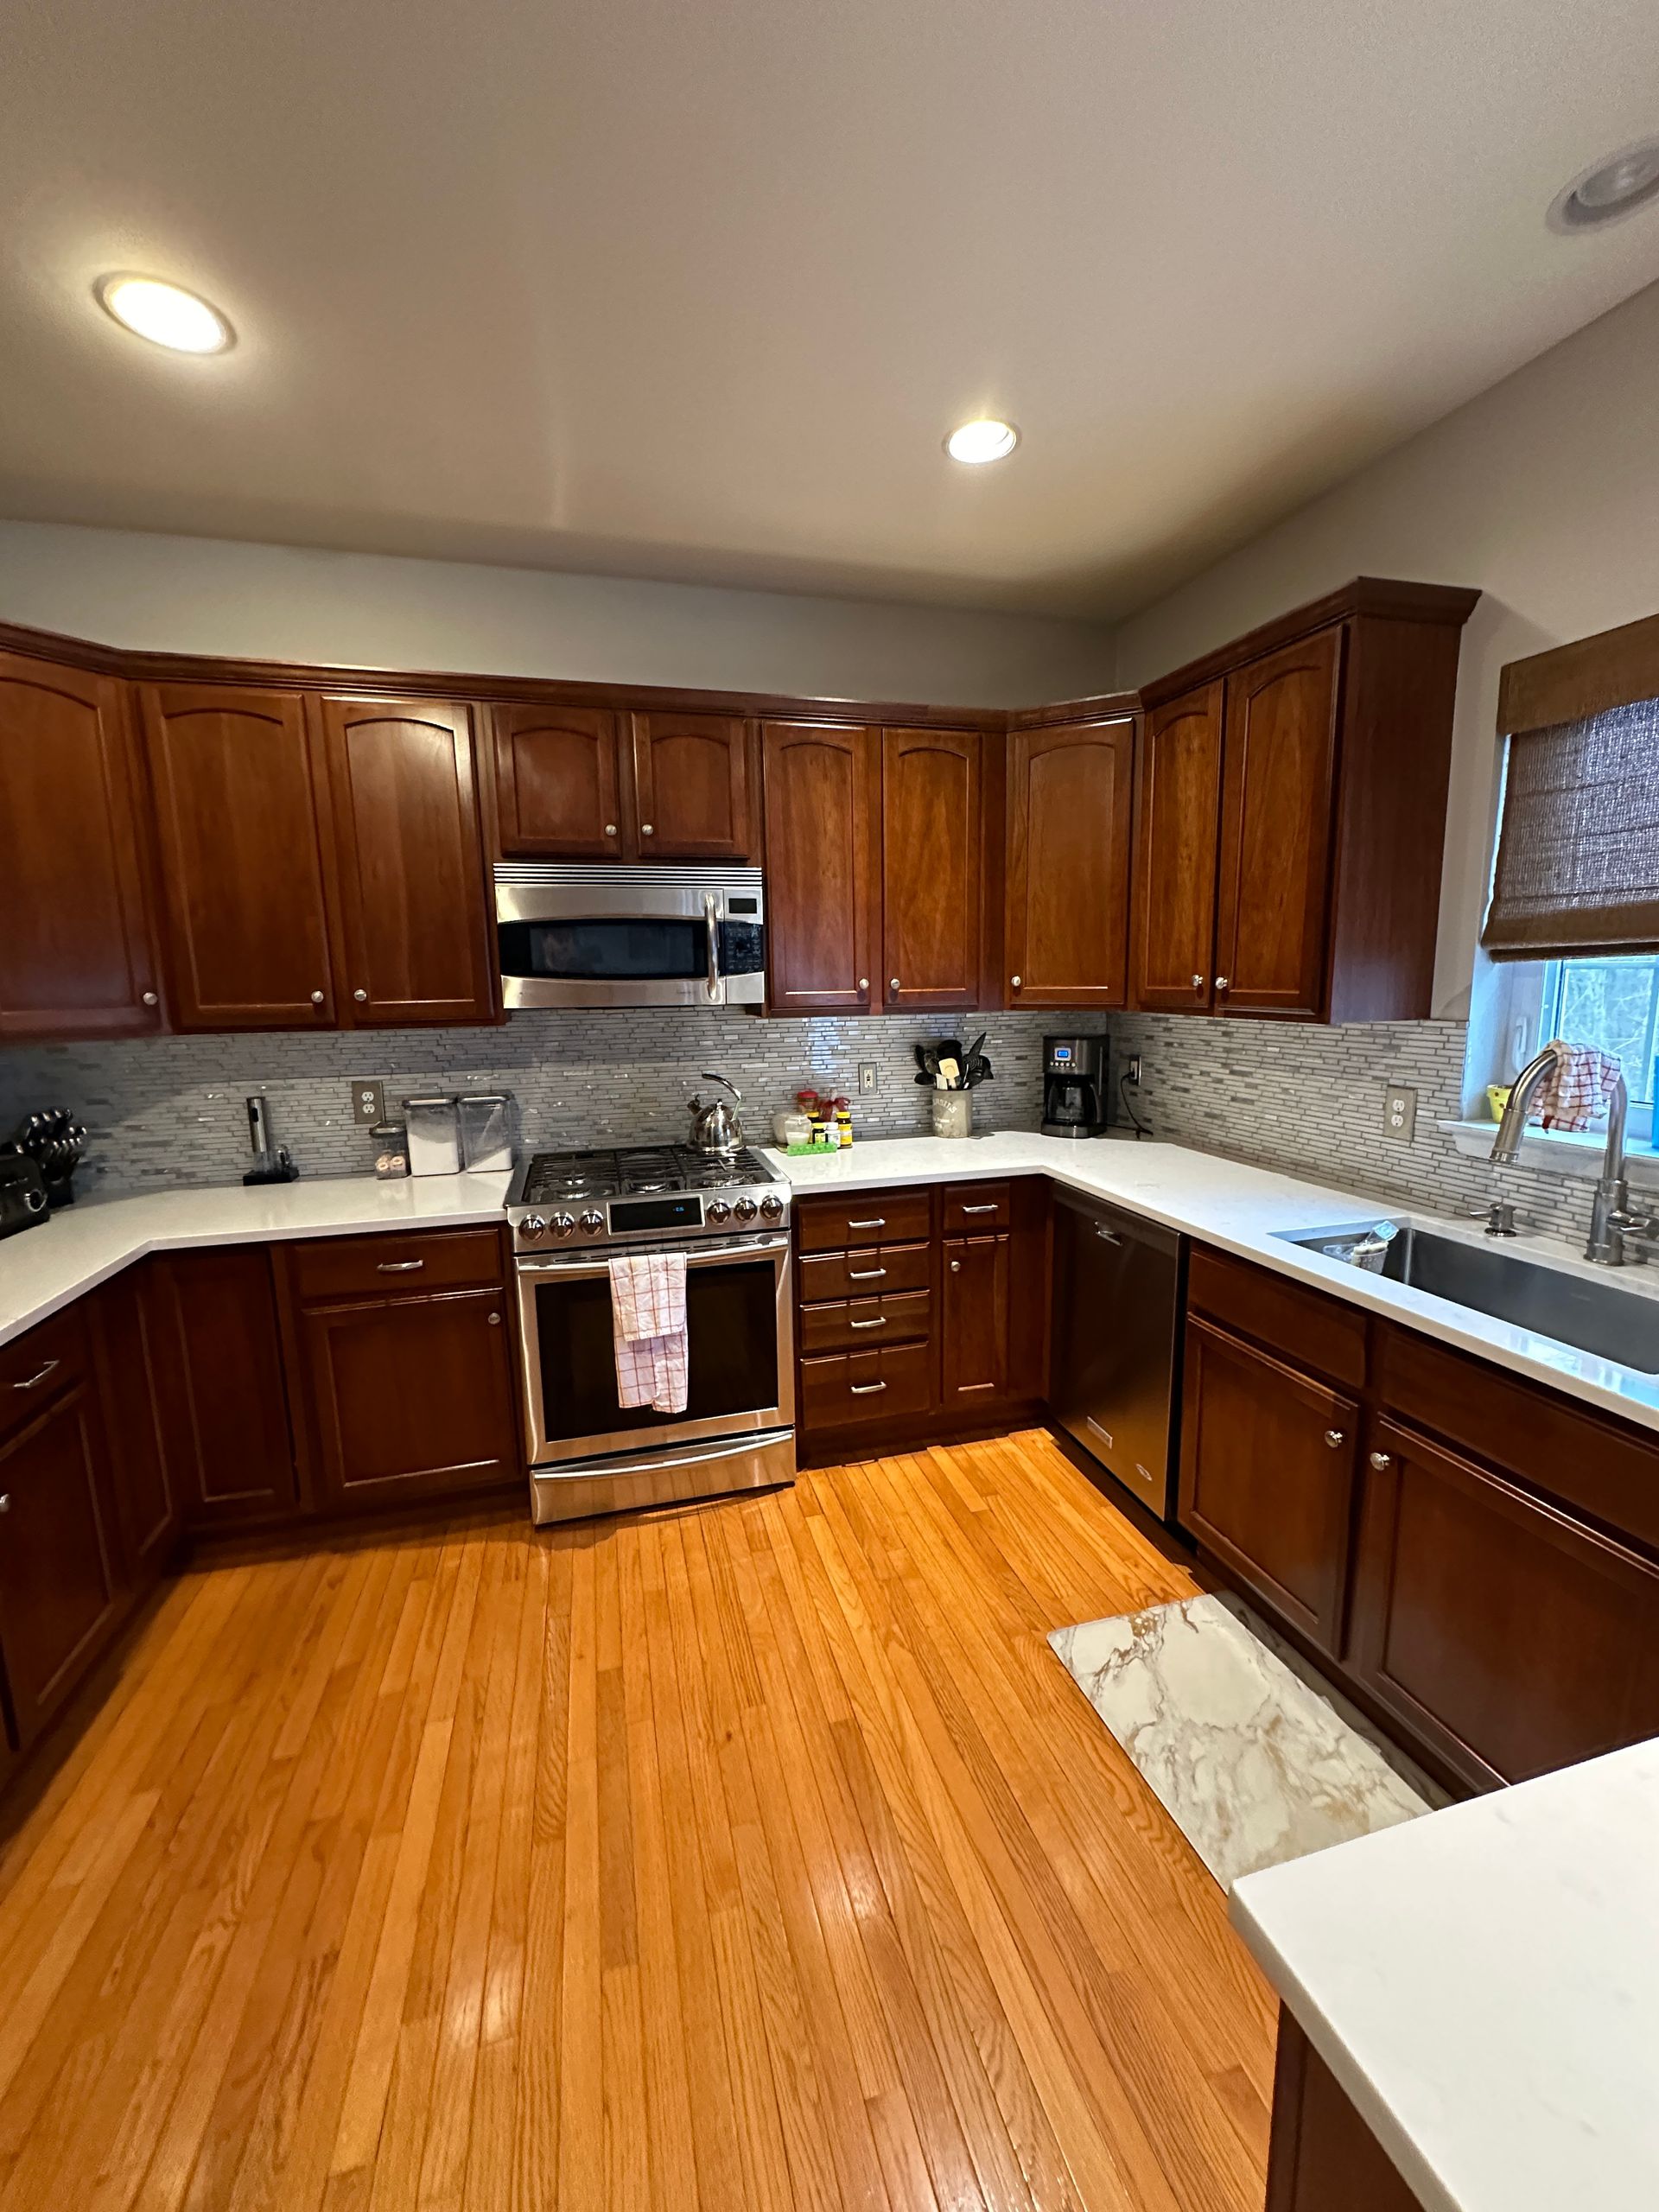
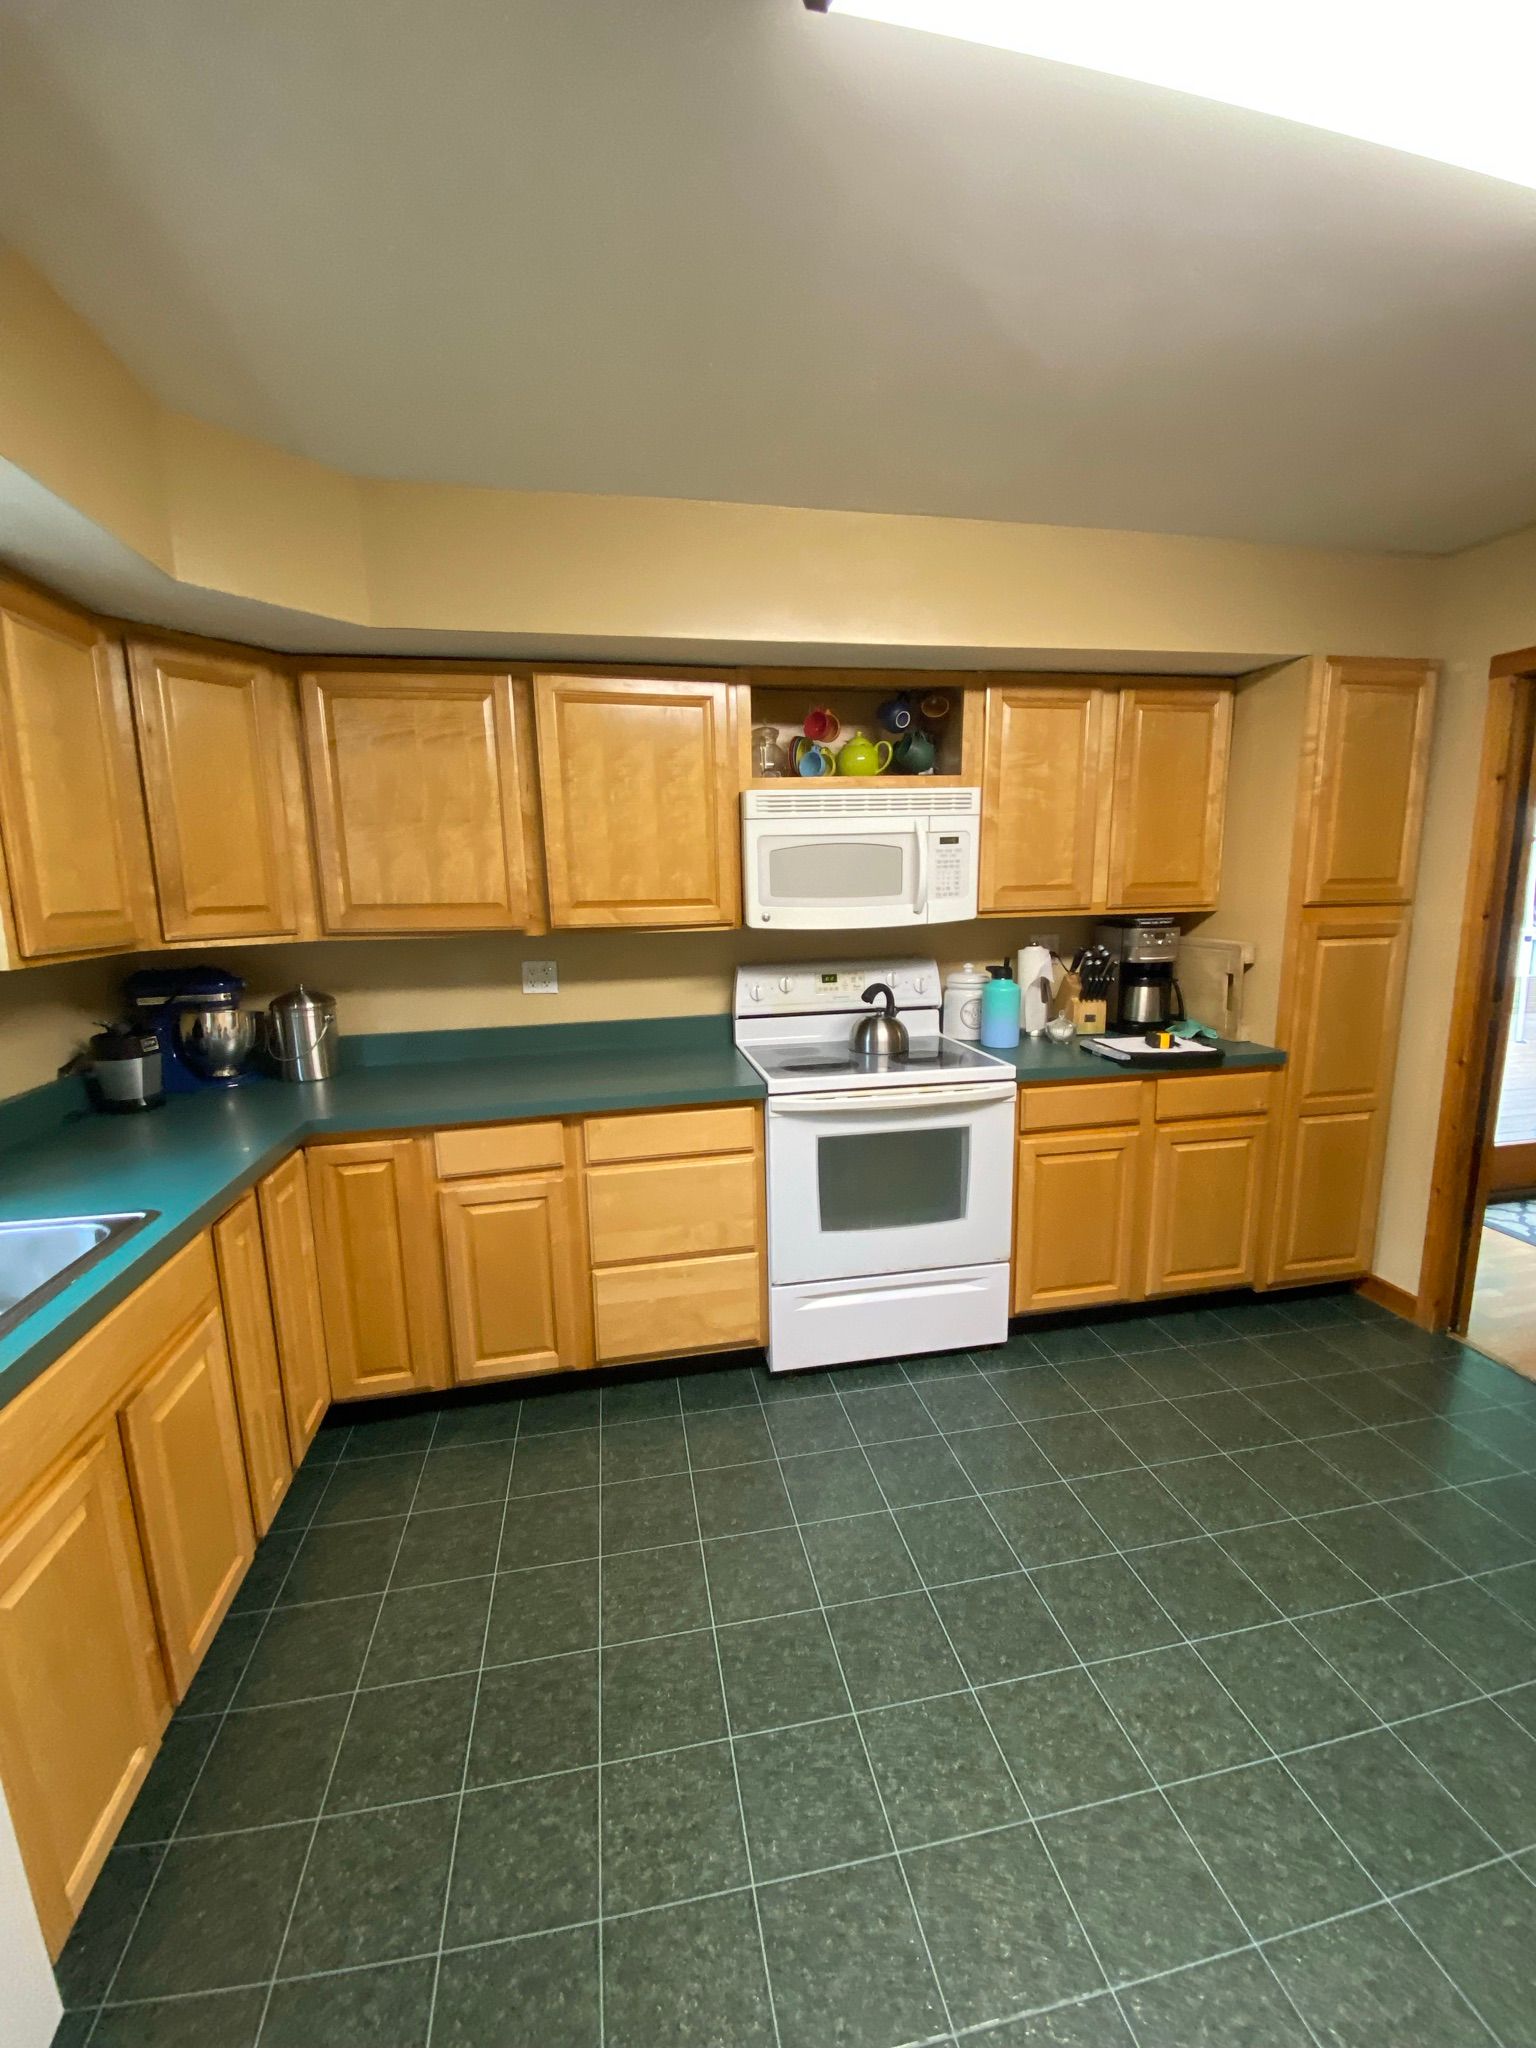
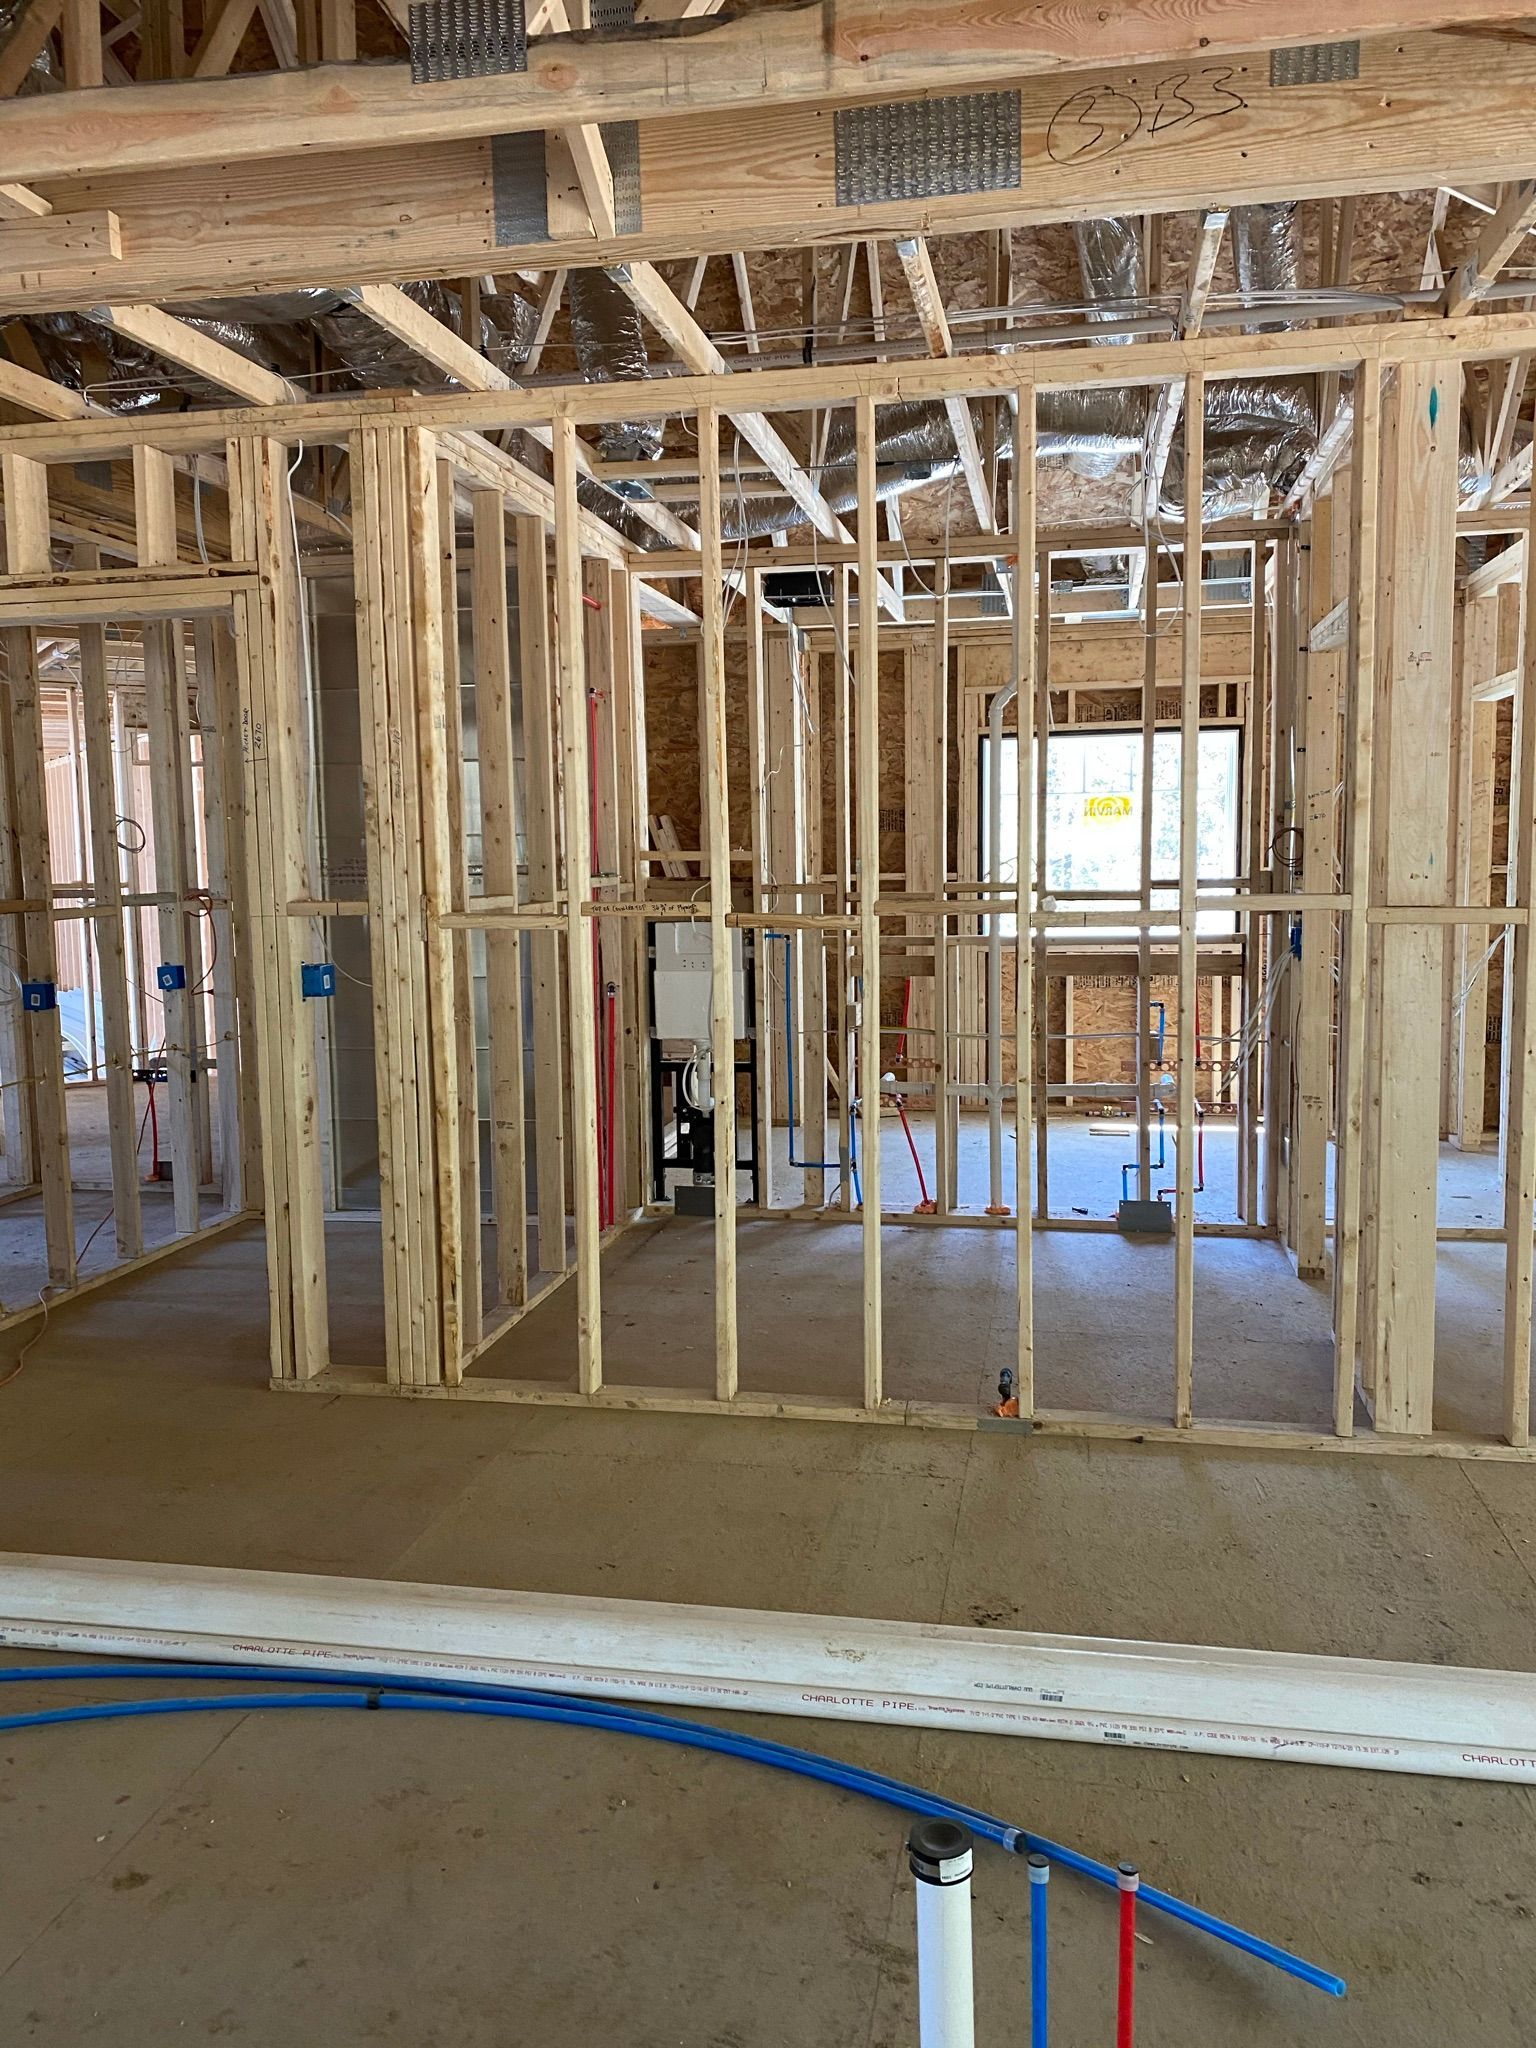
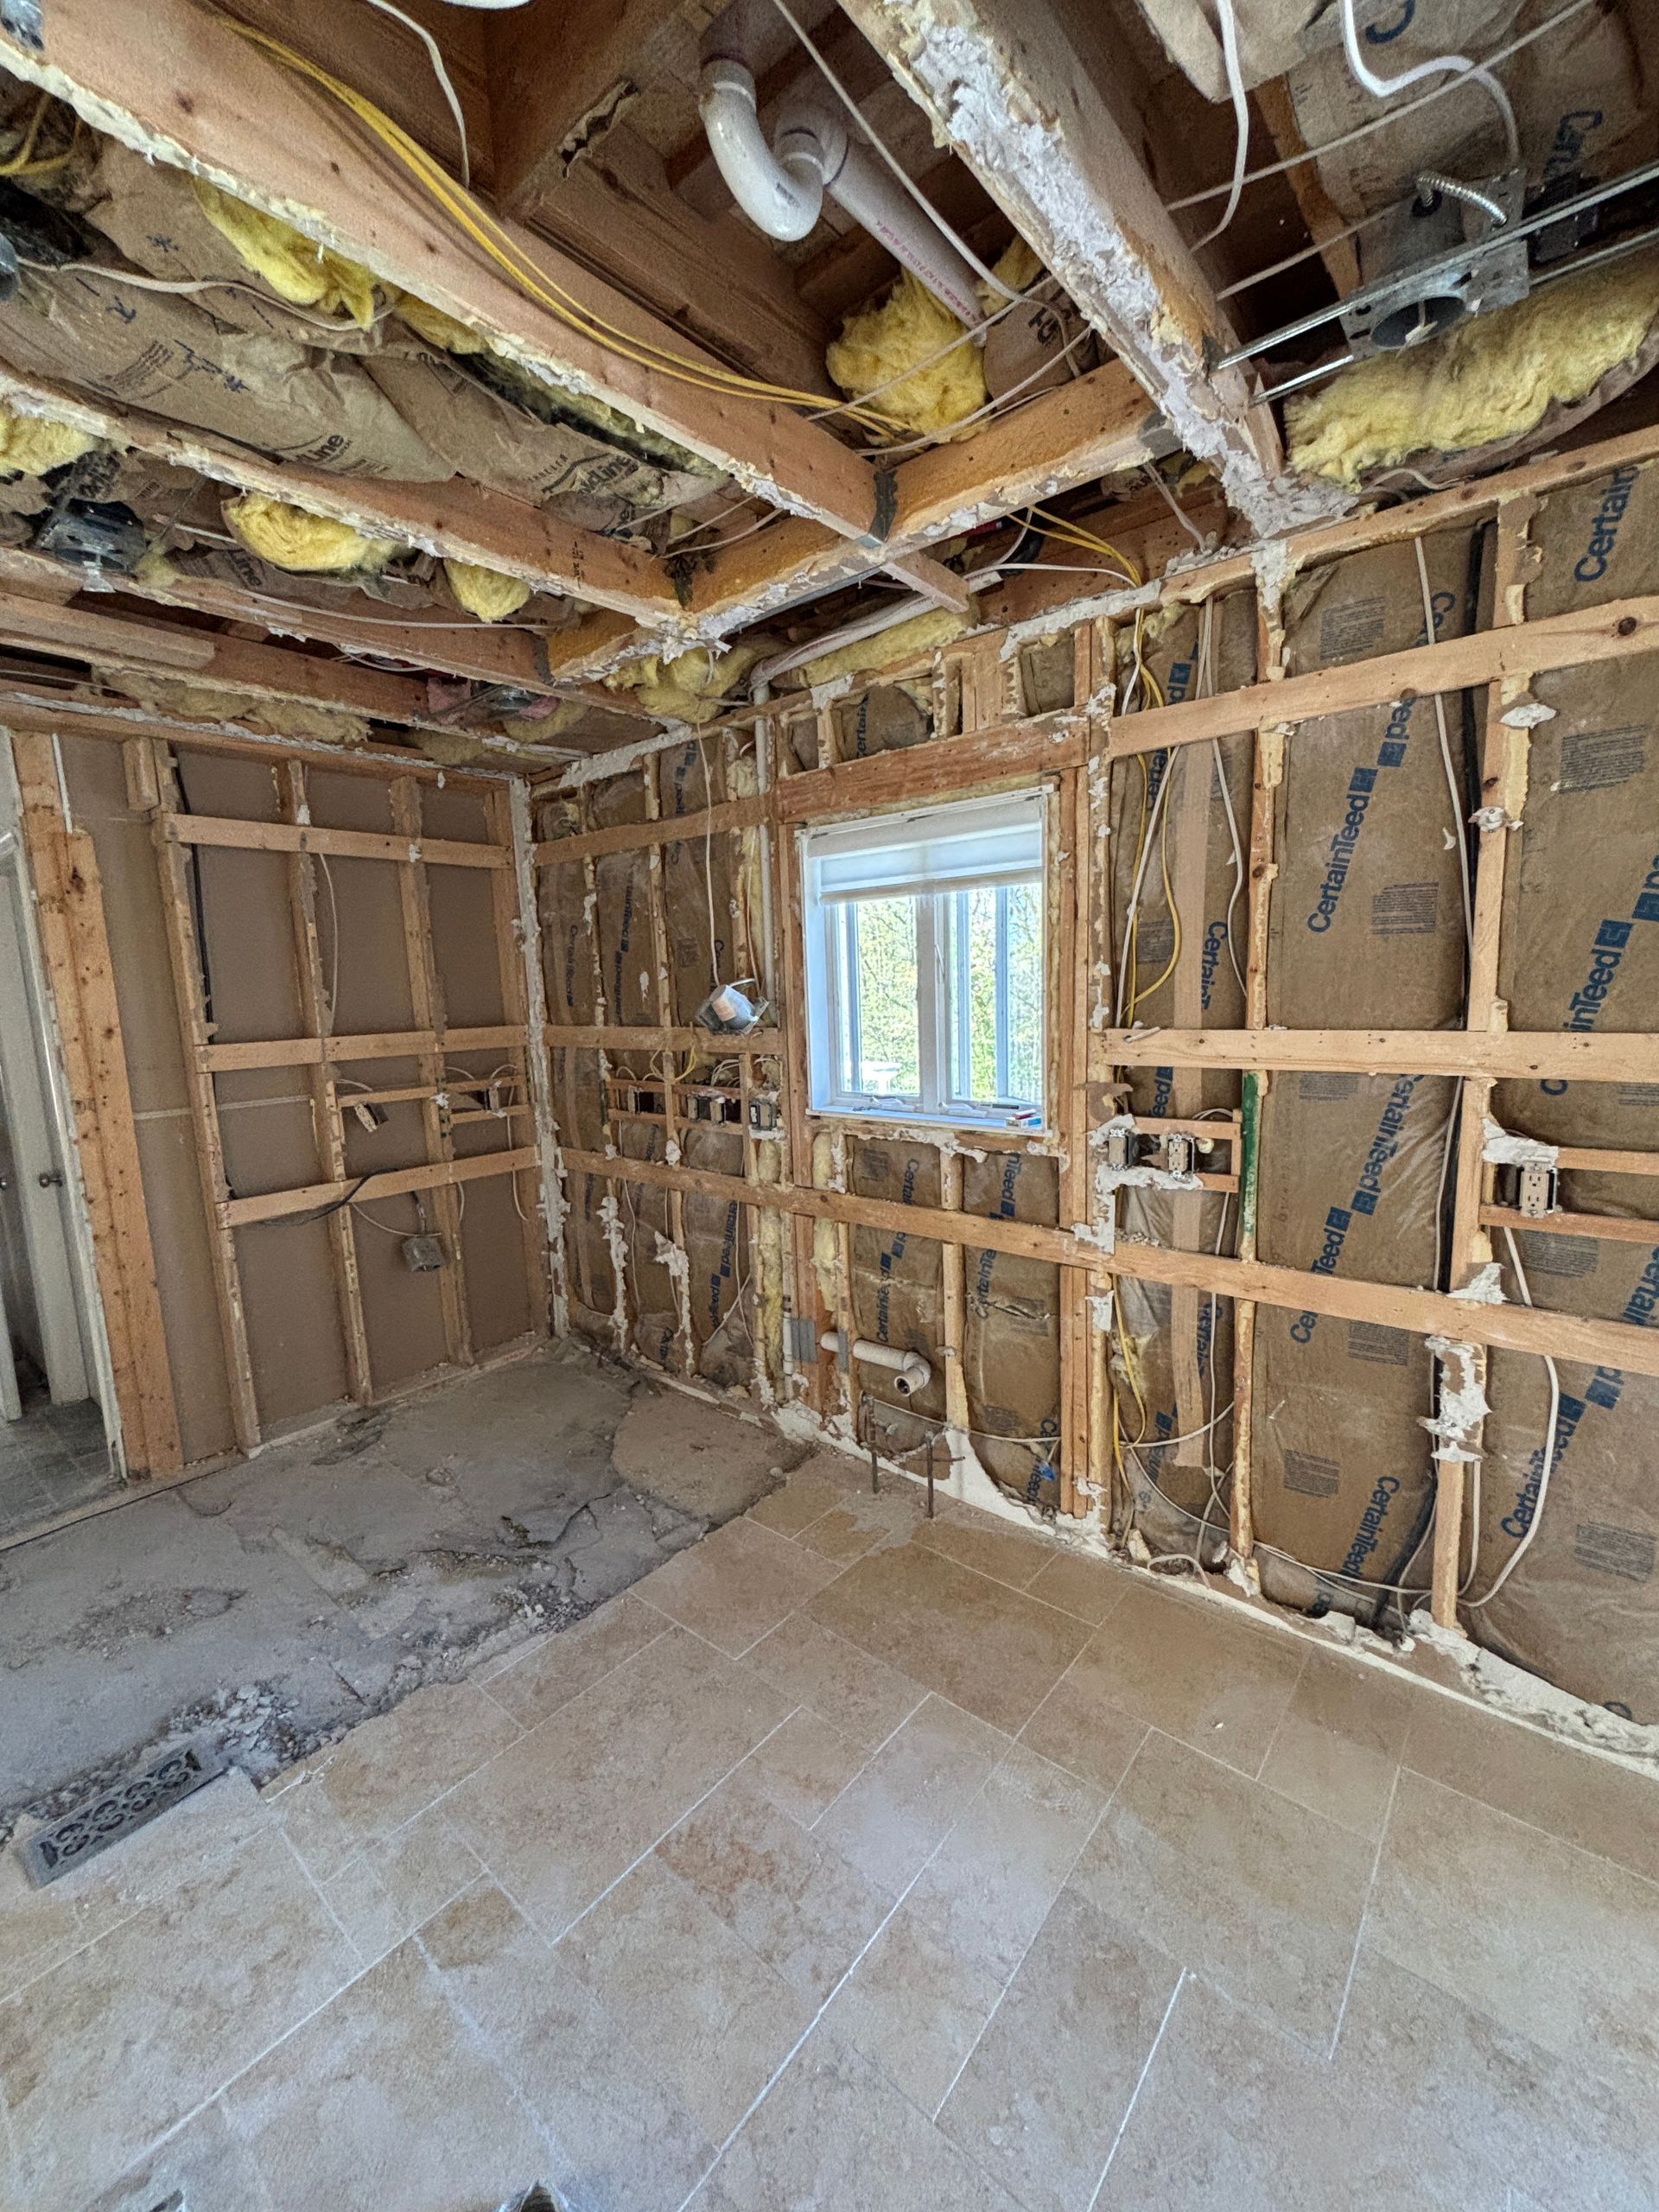
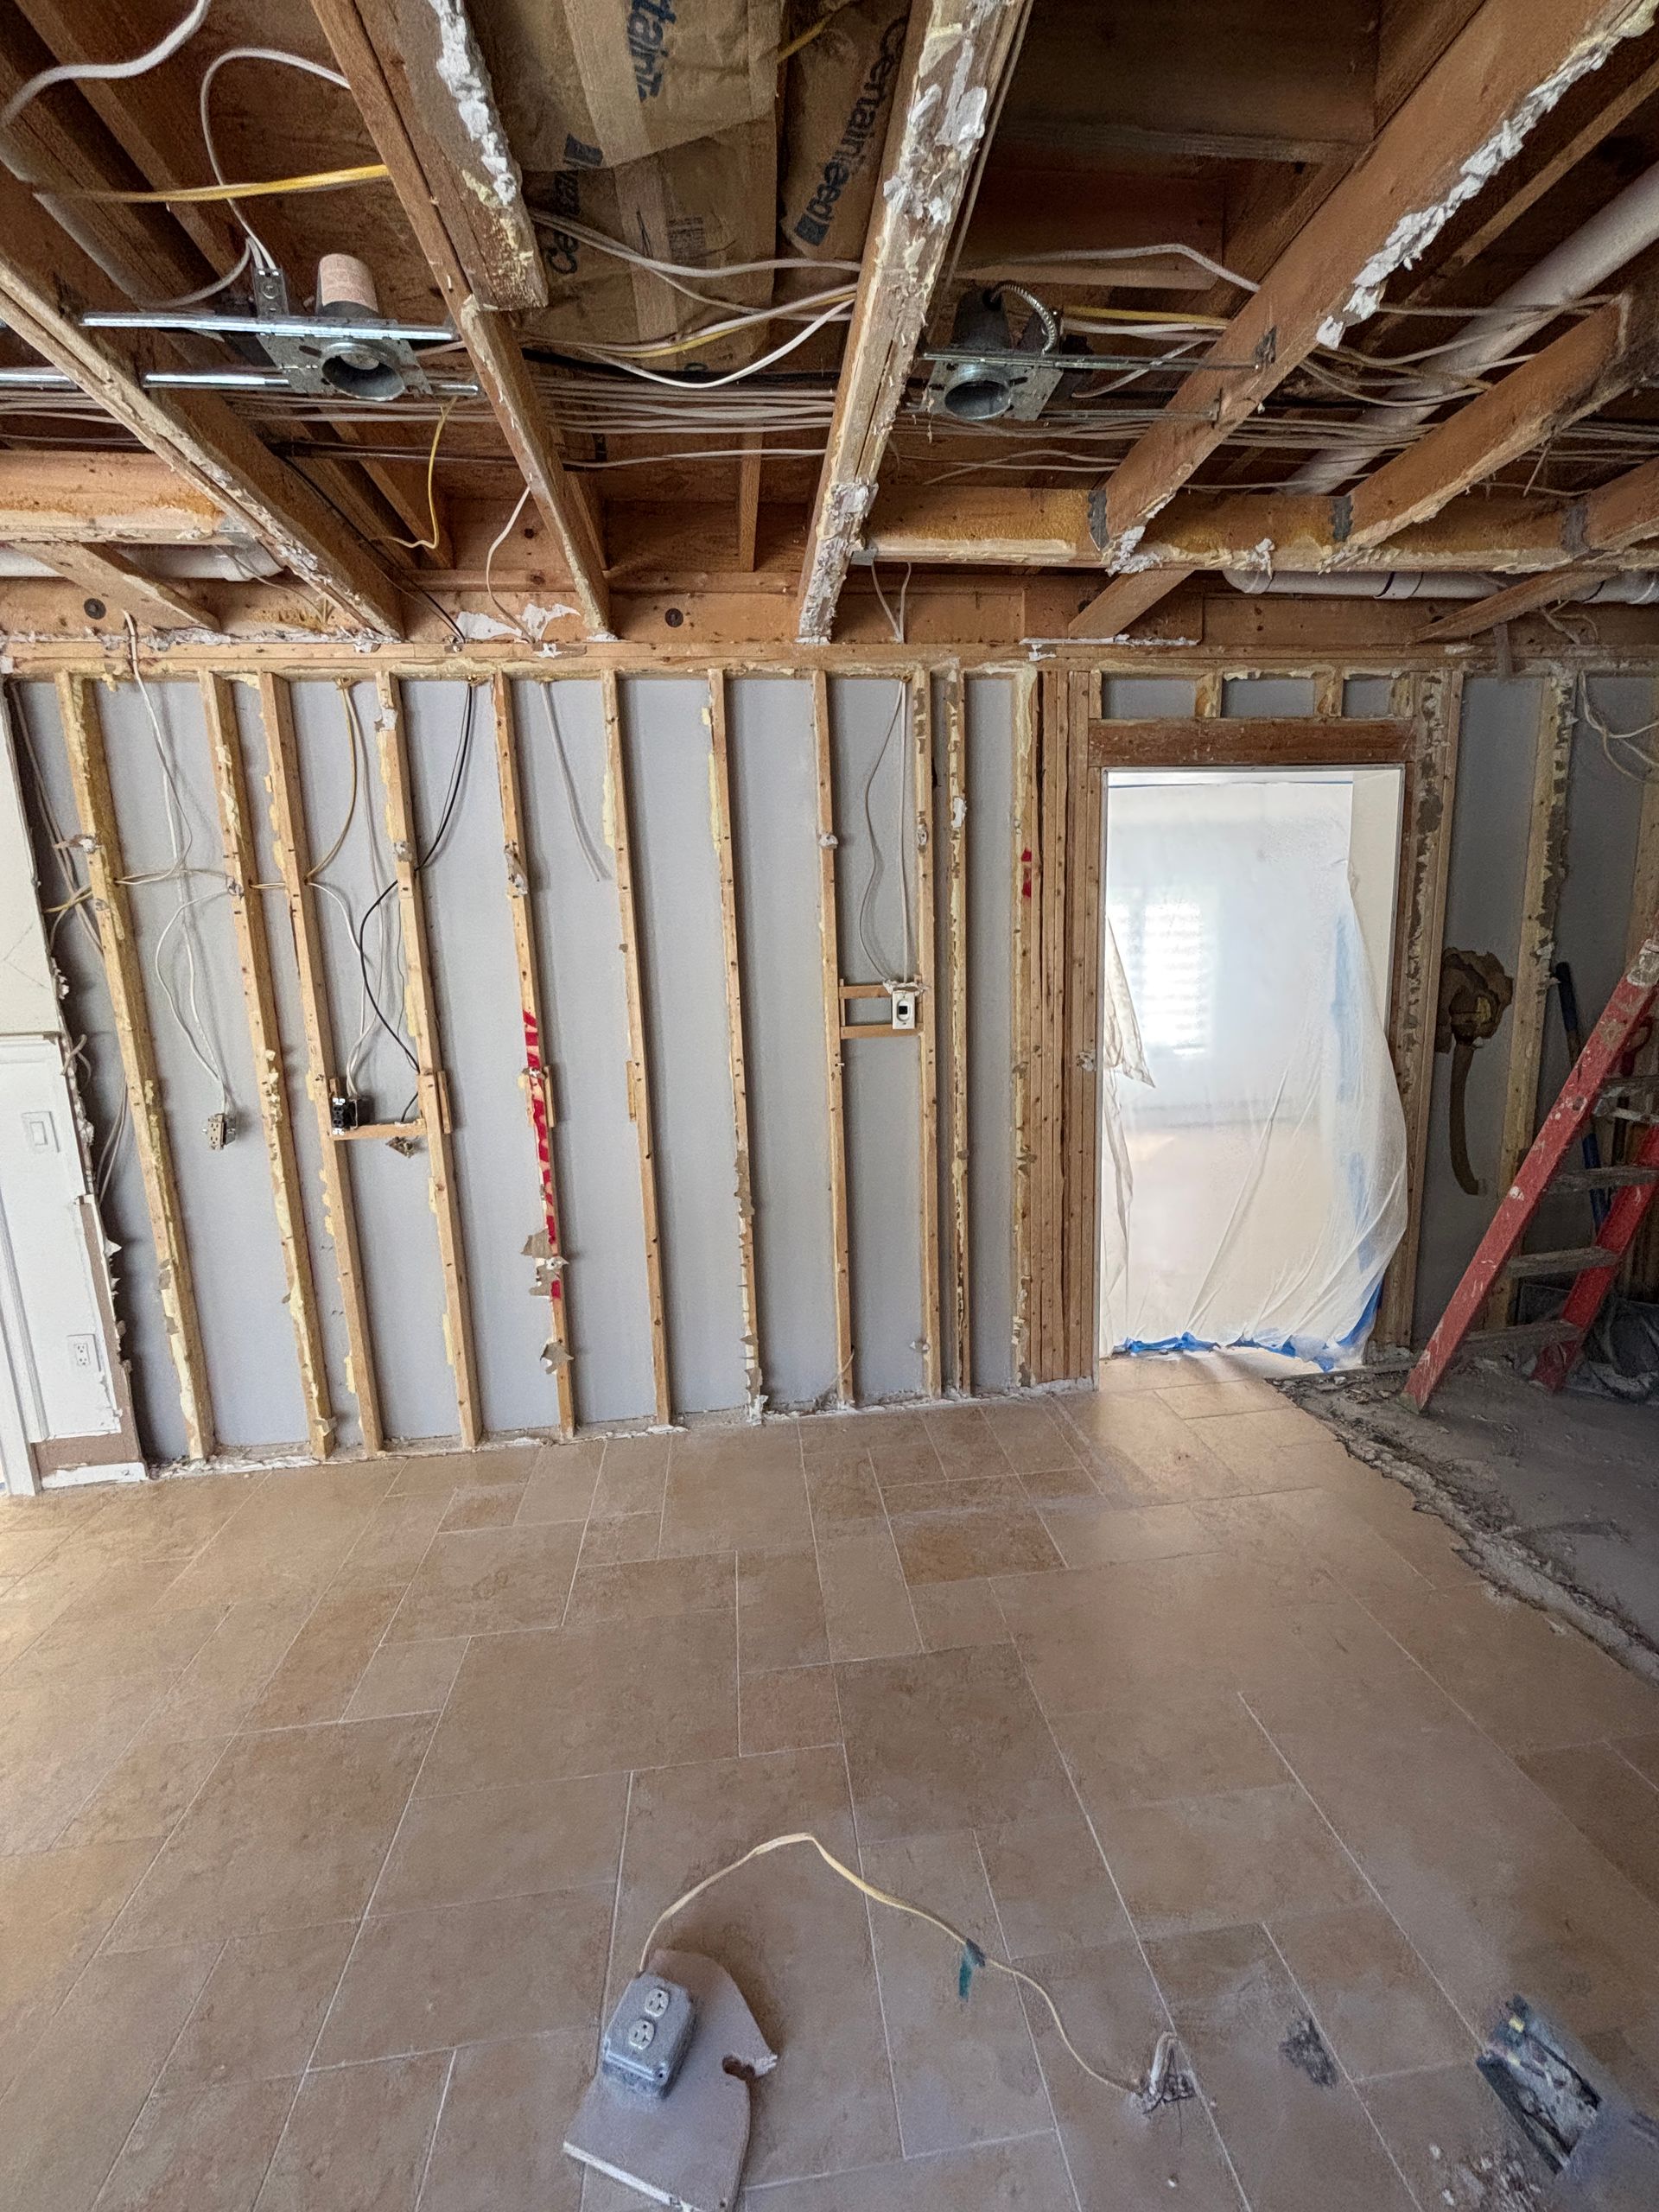
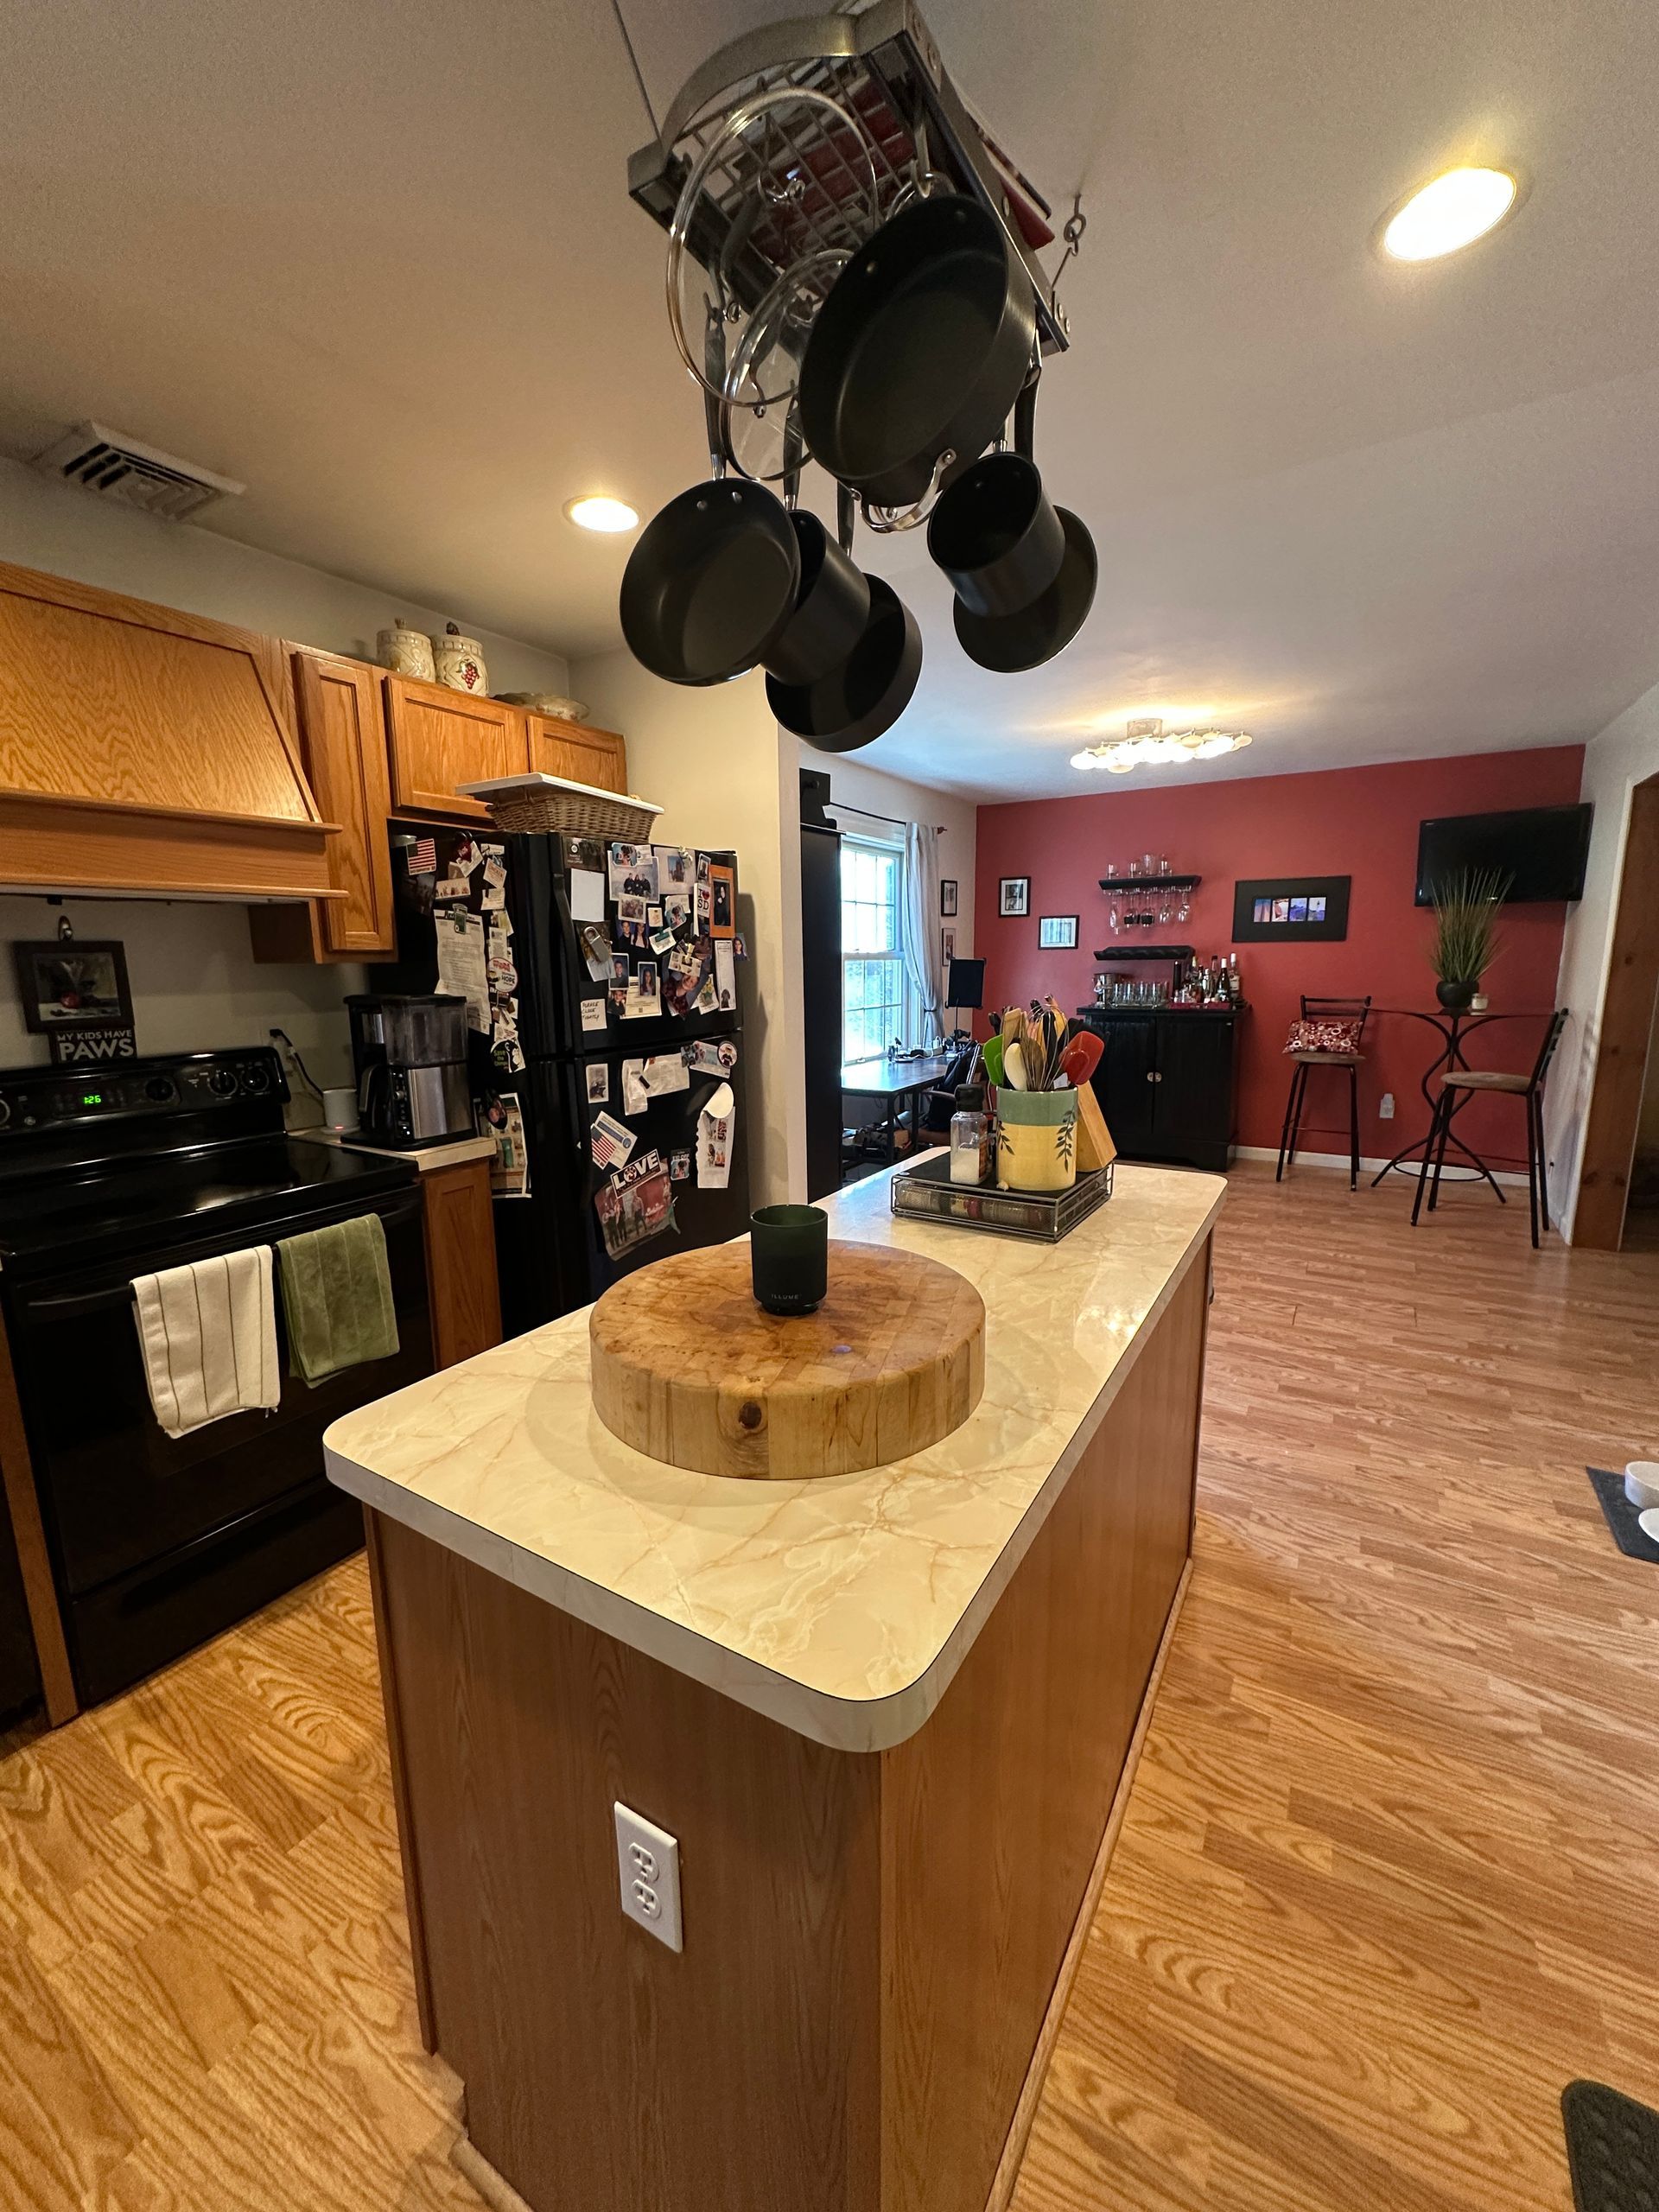
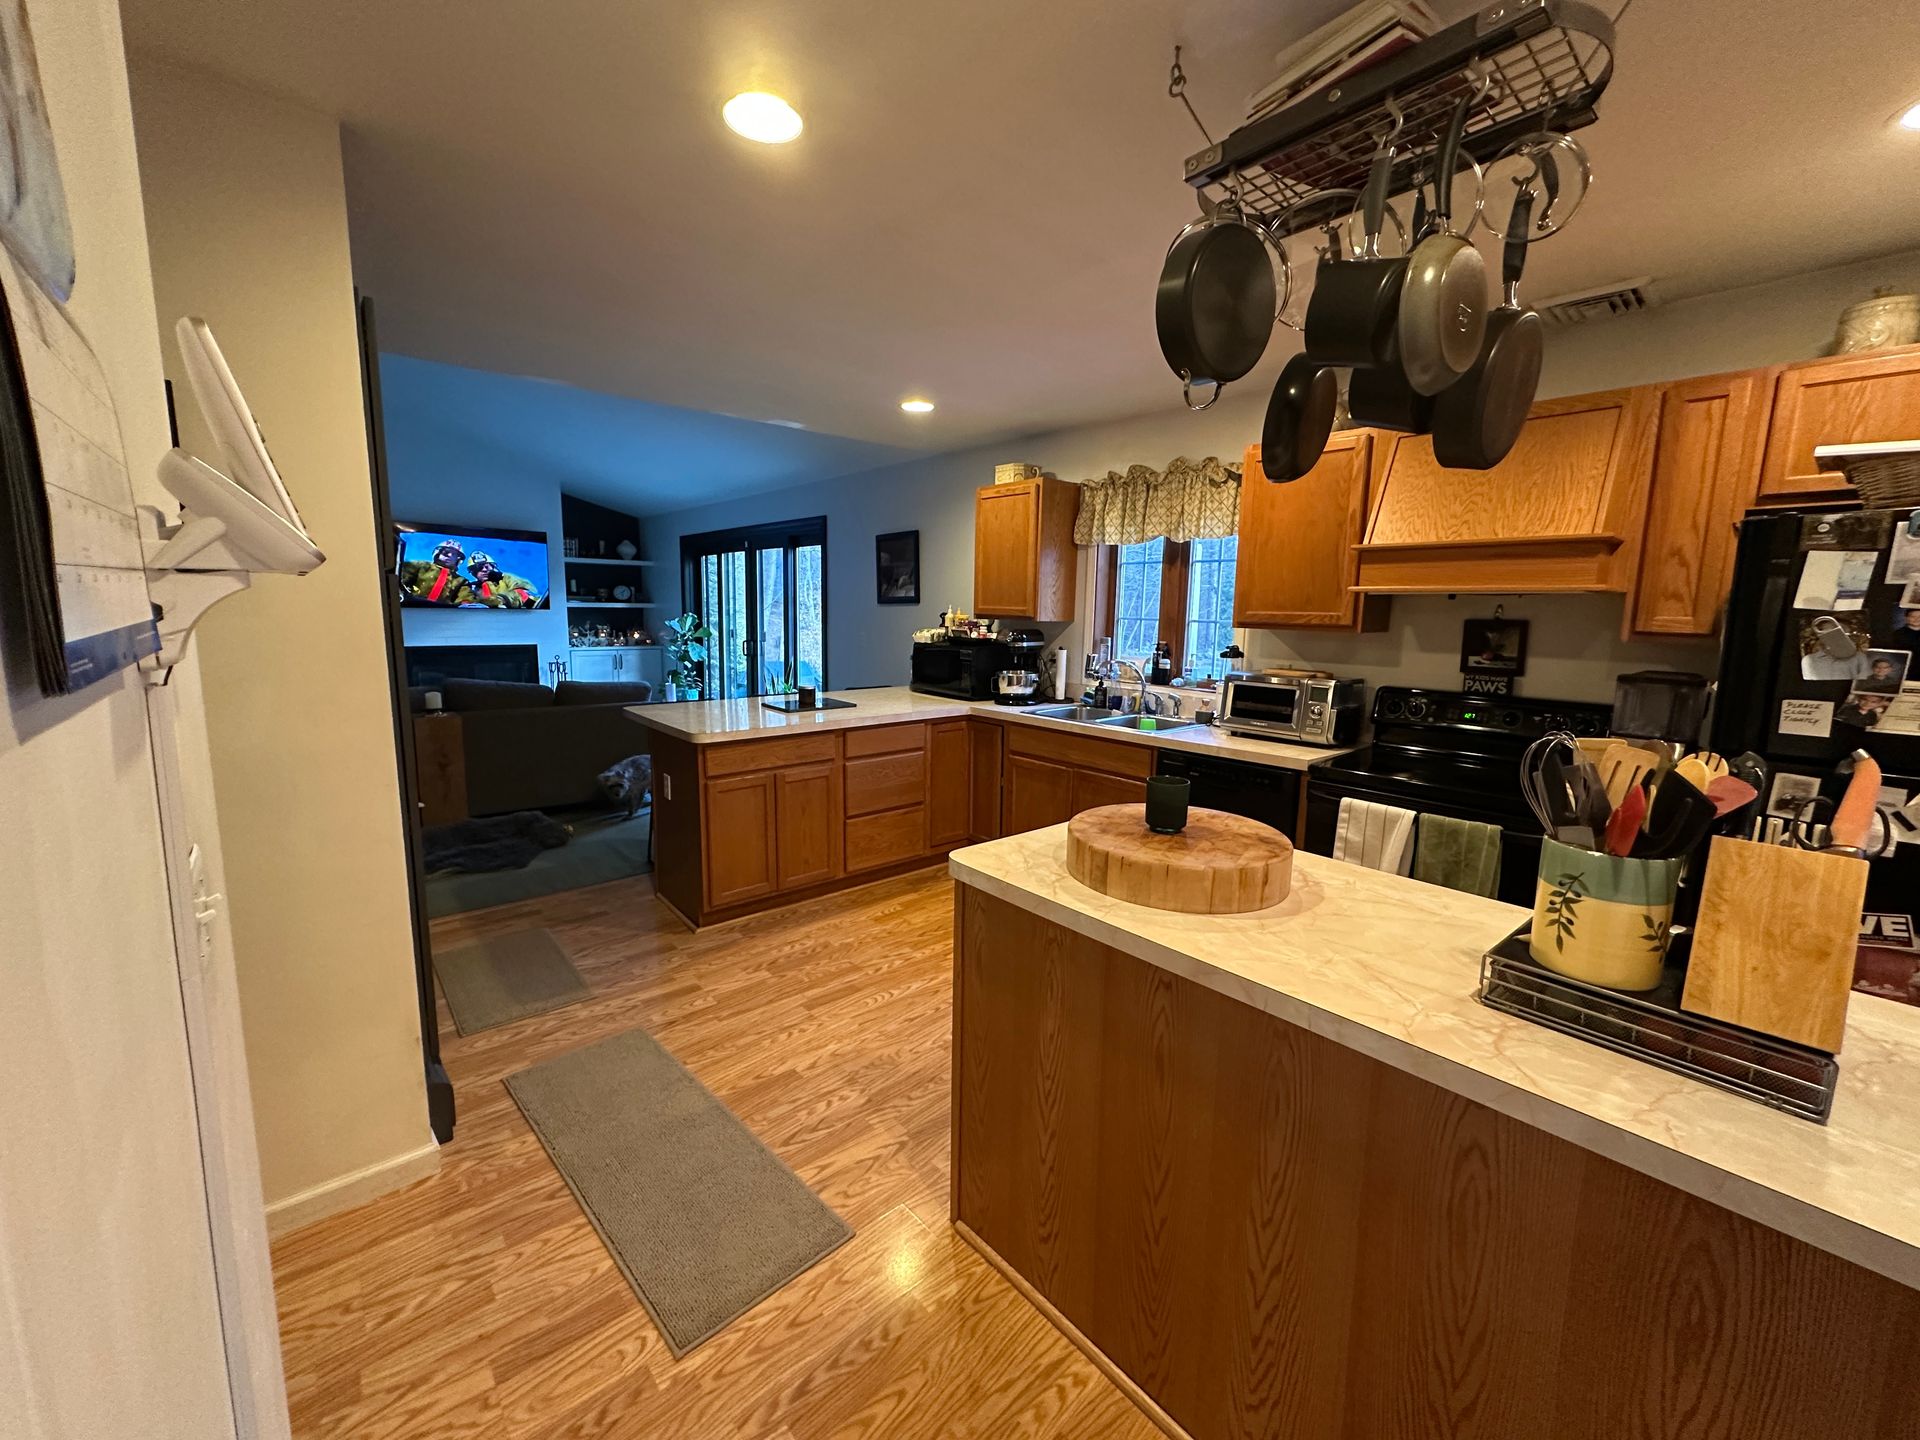
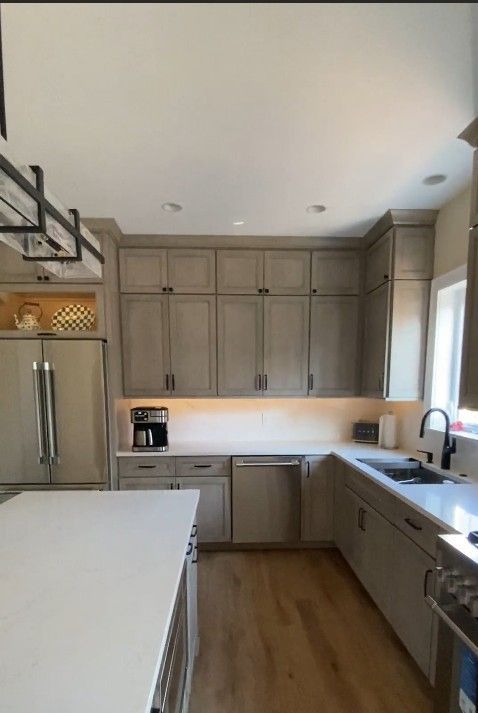
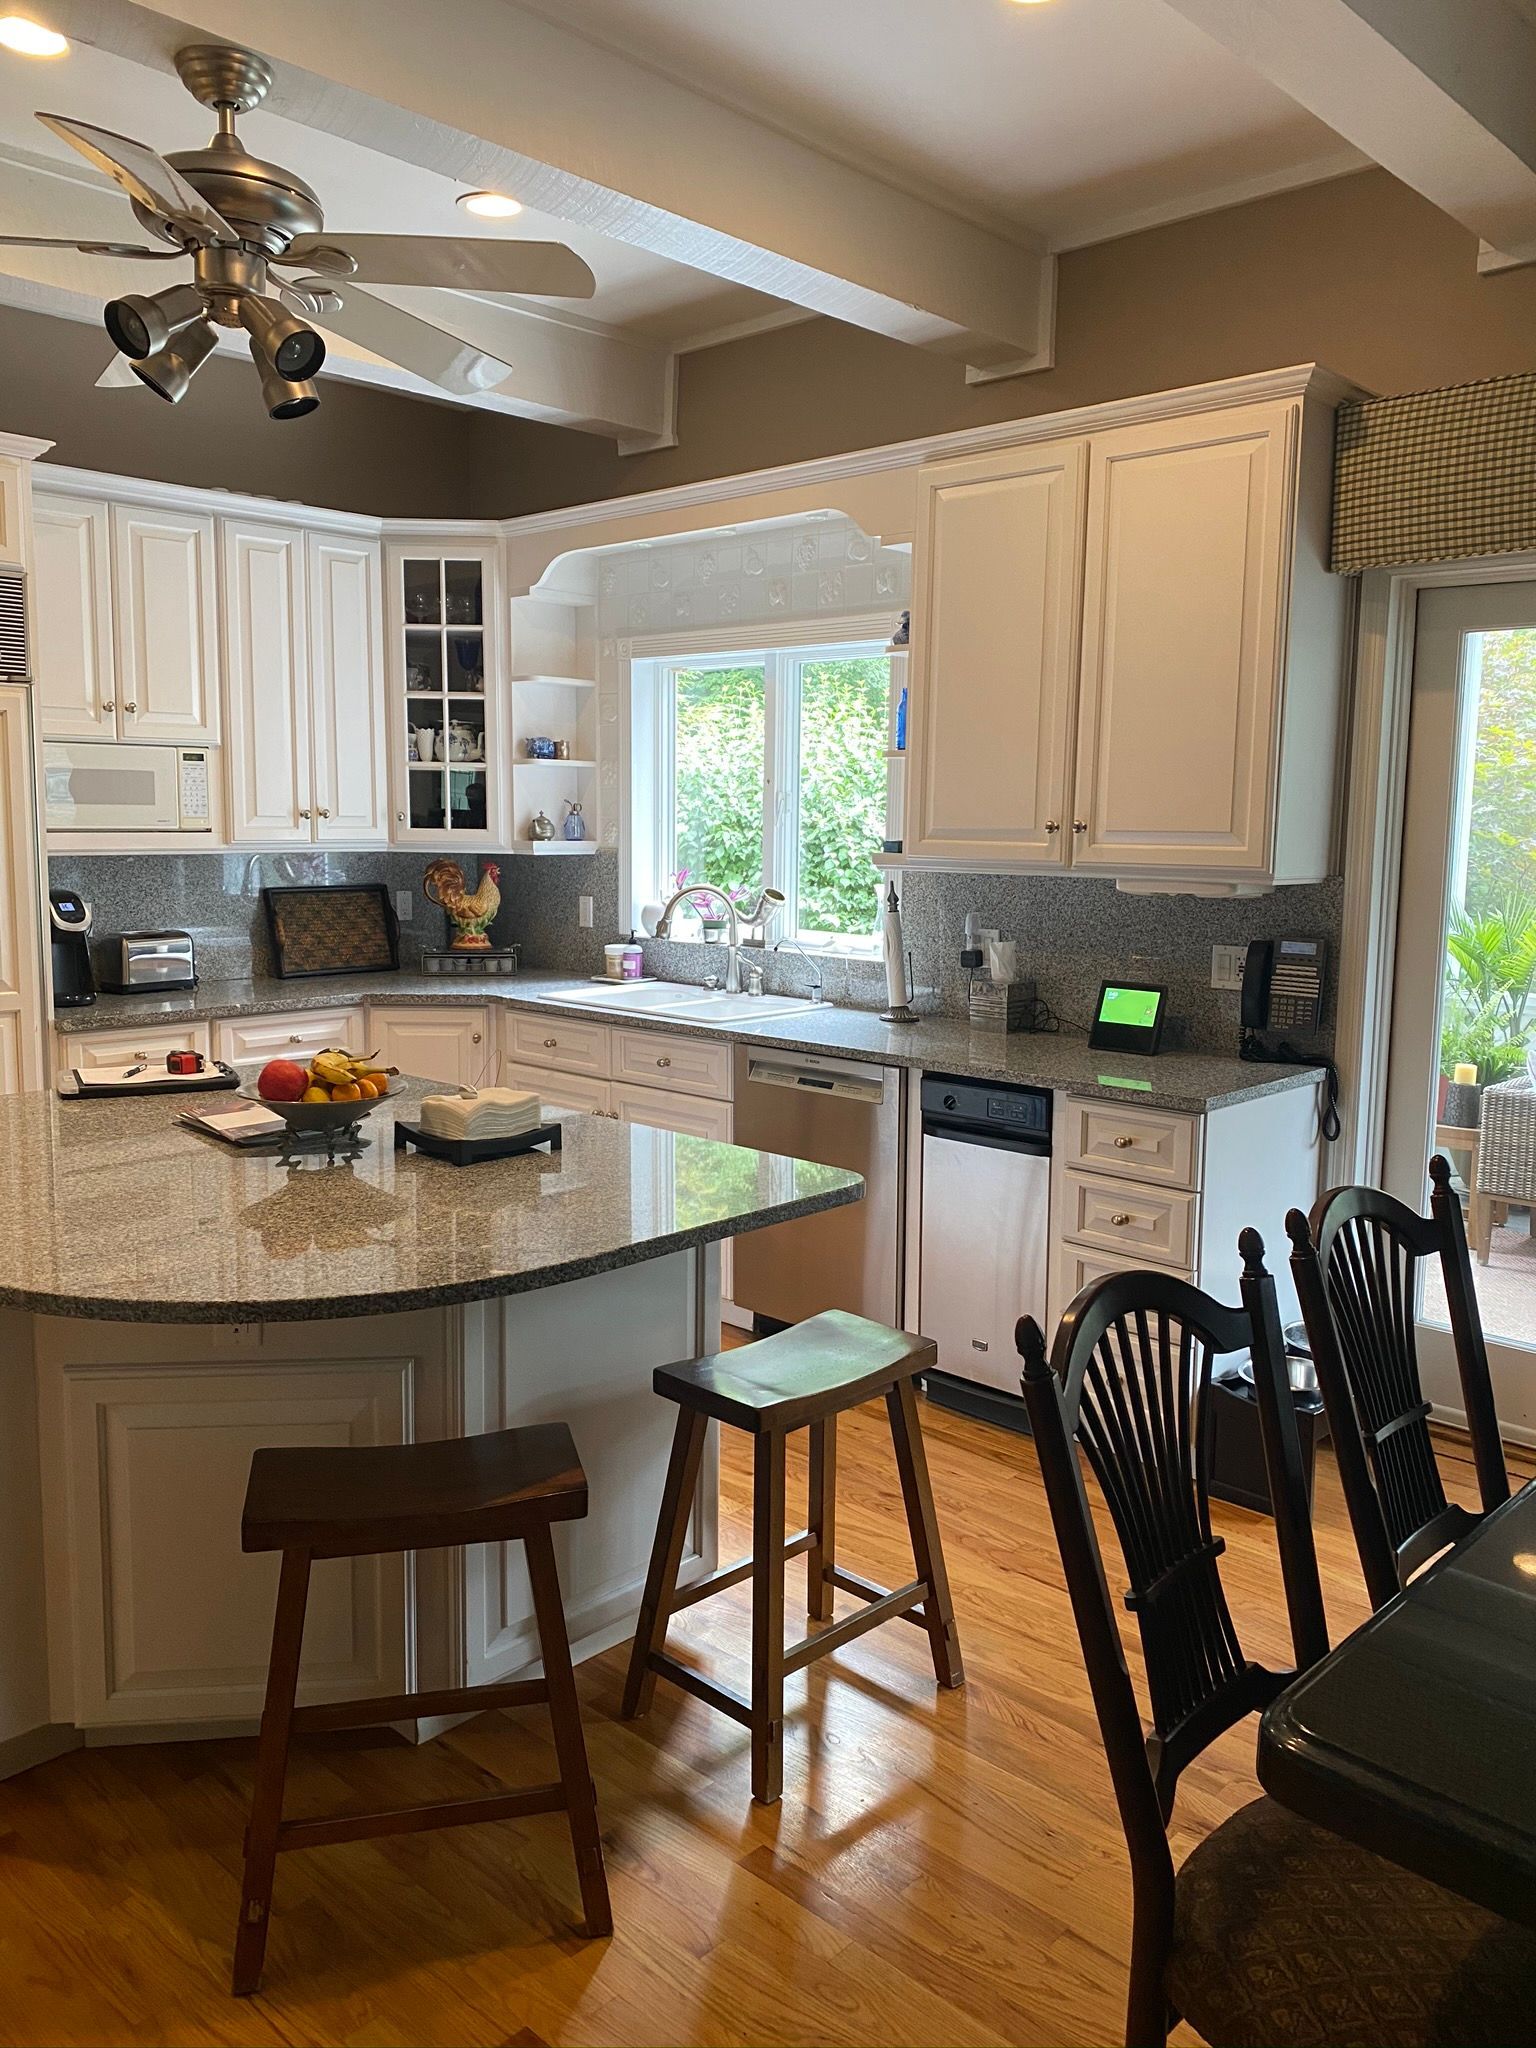
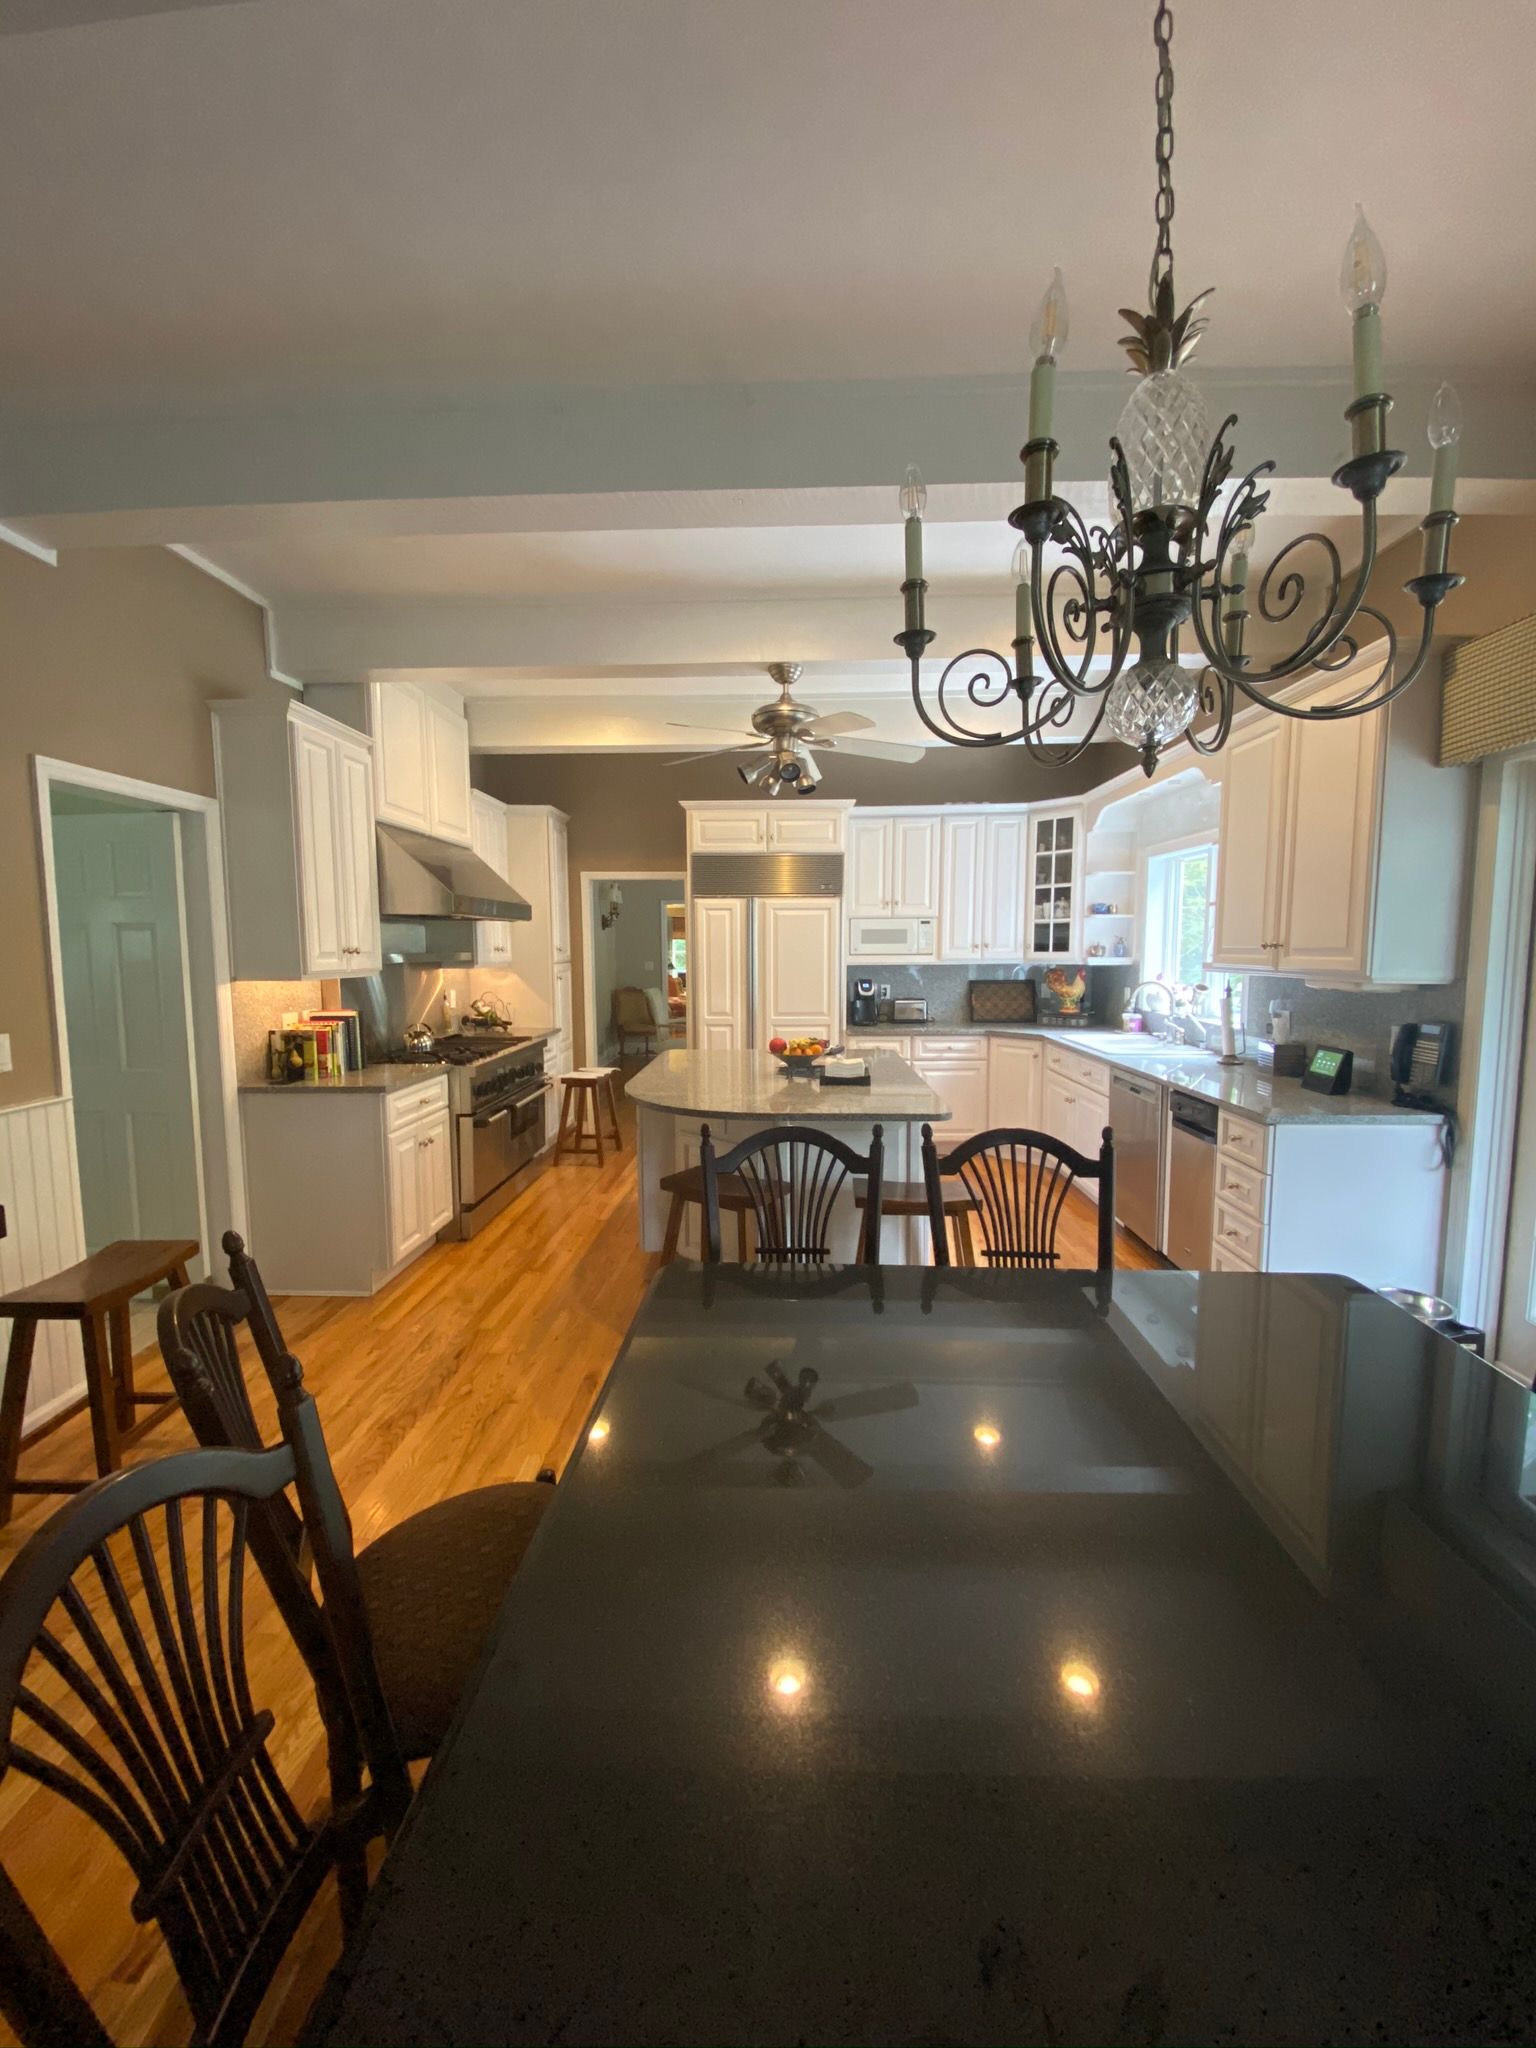
Before
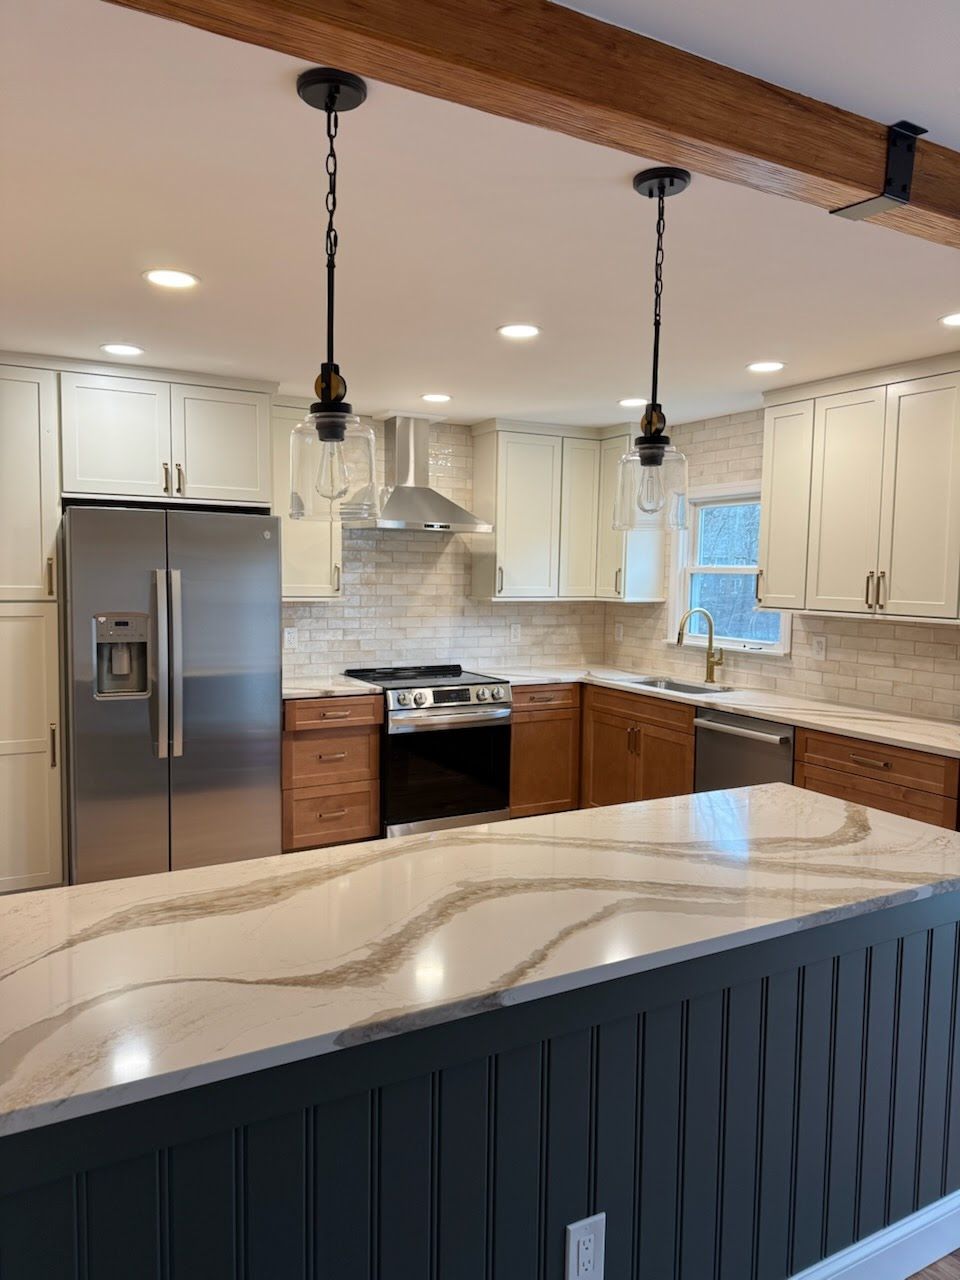
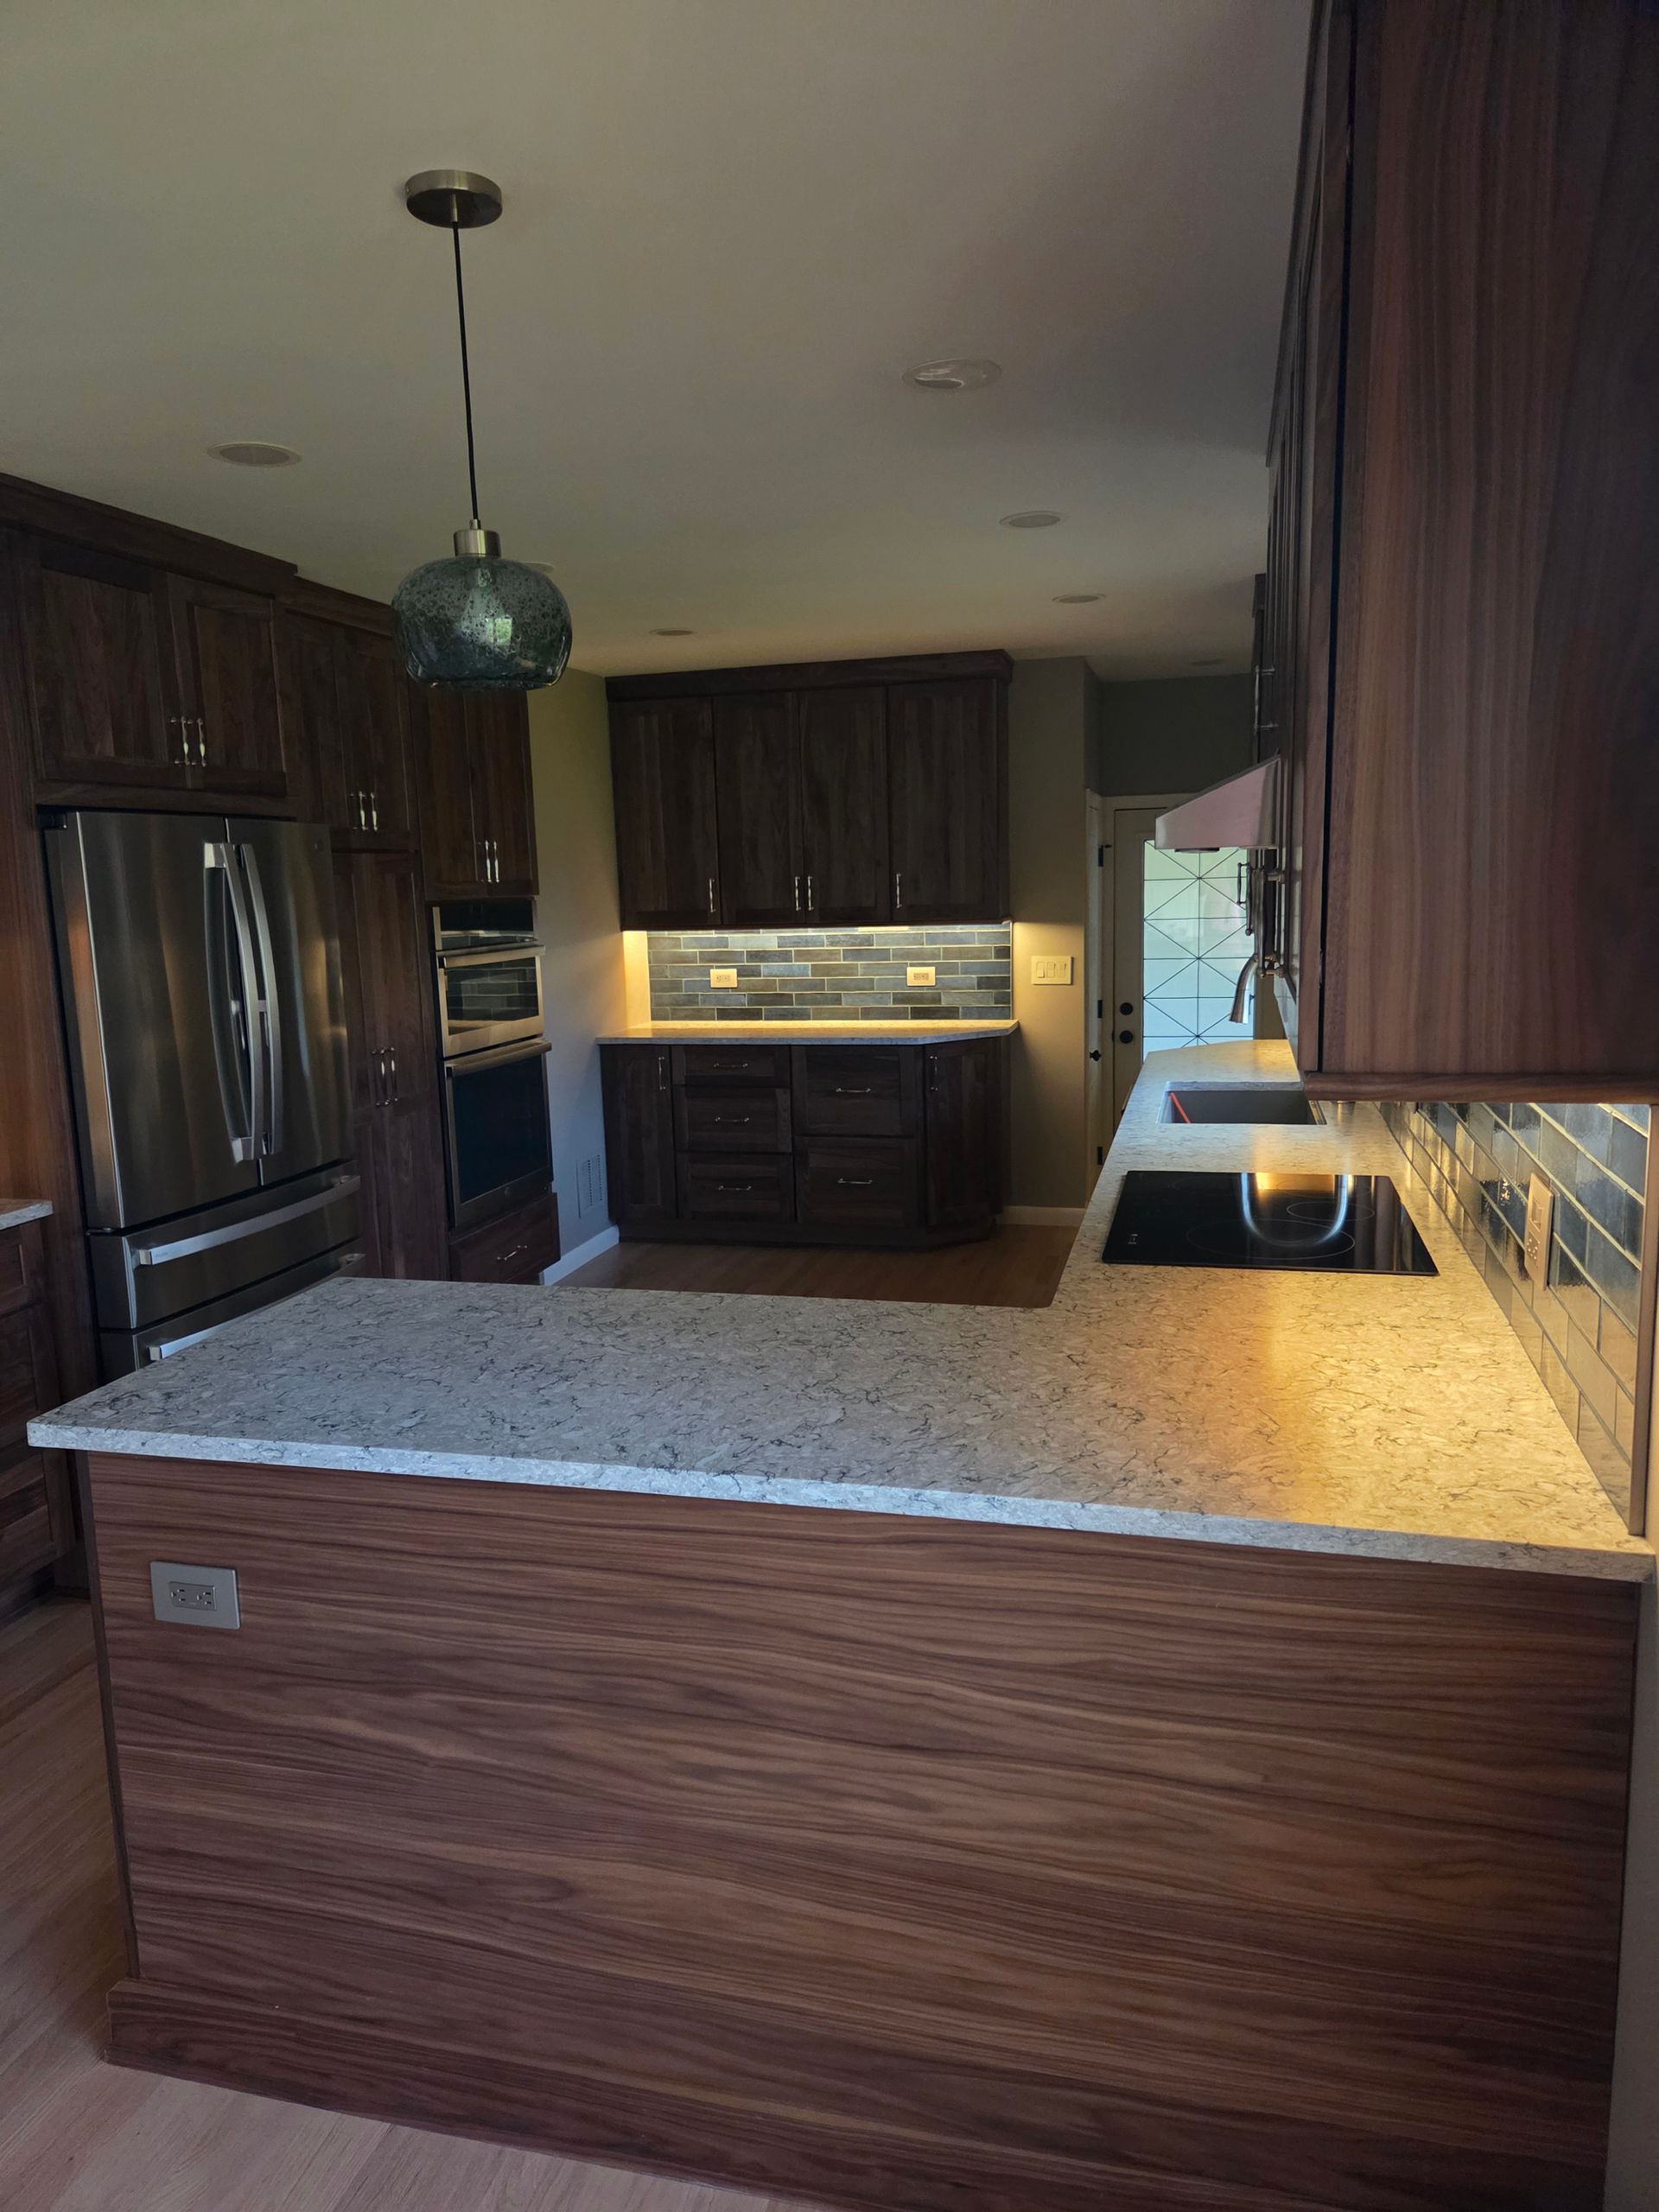
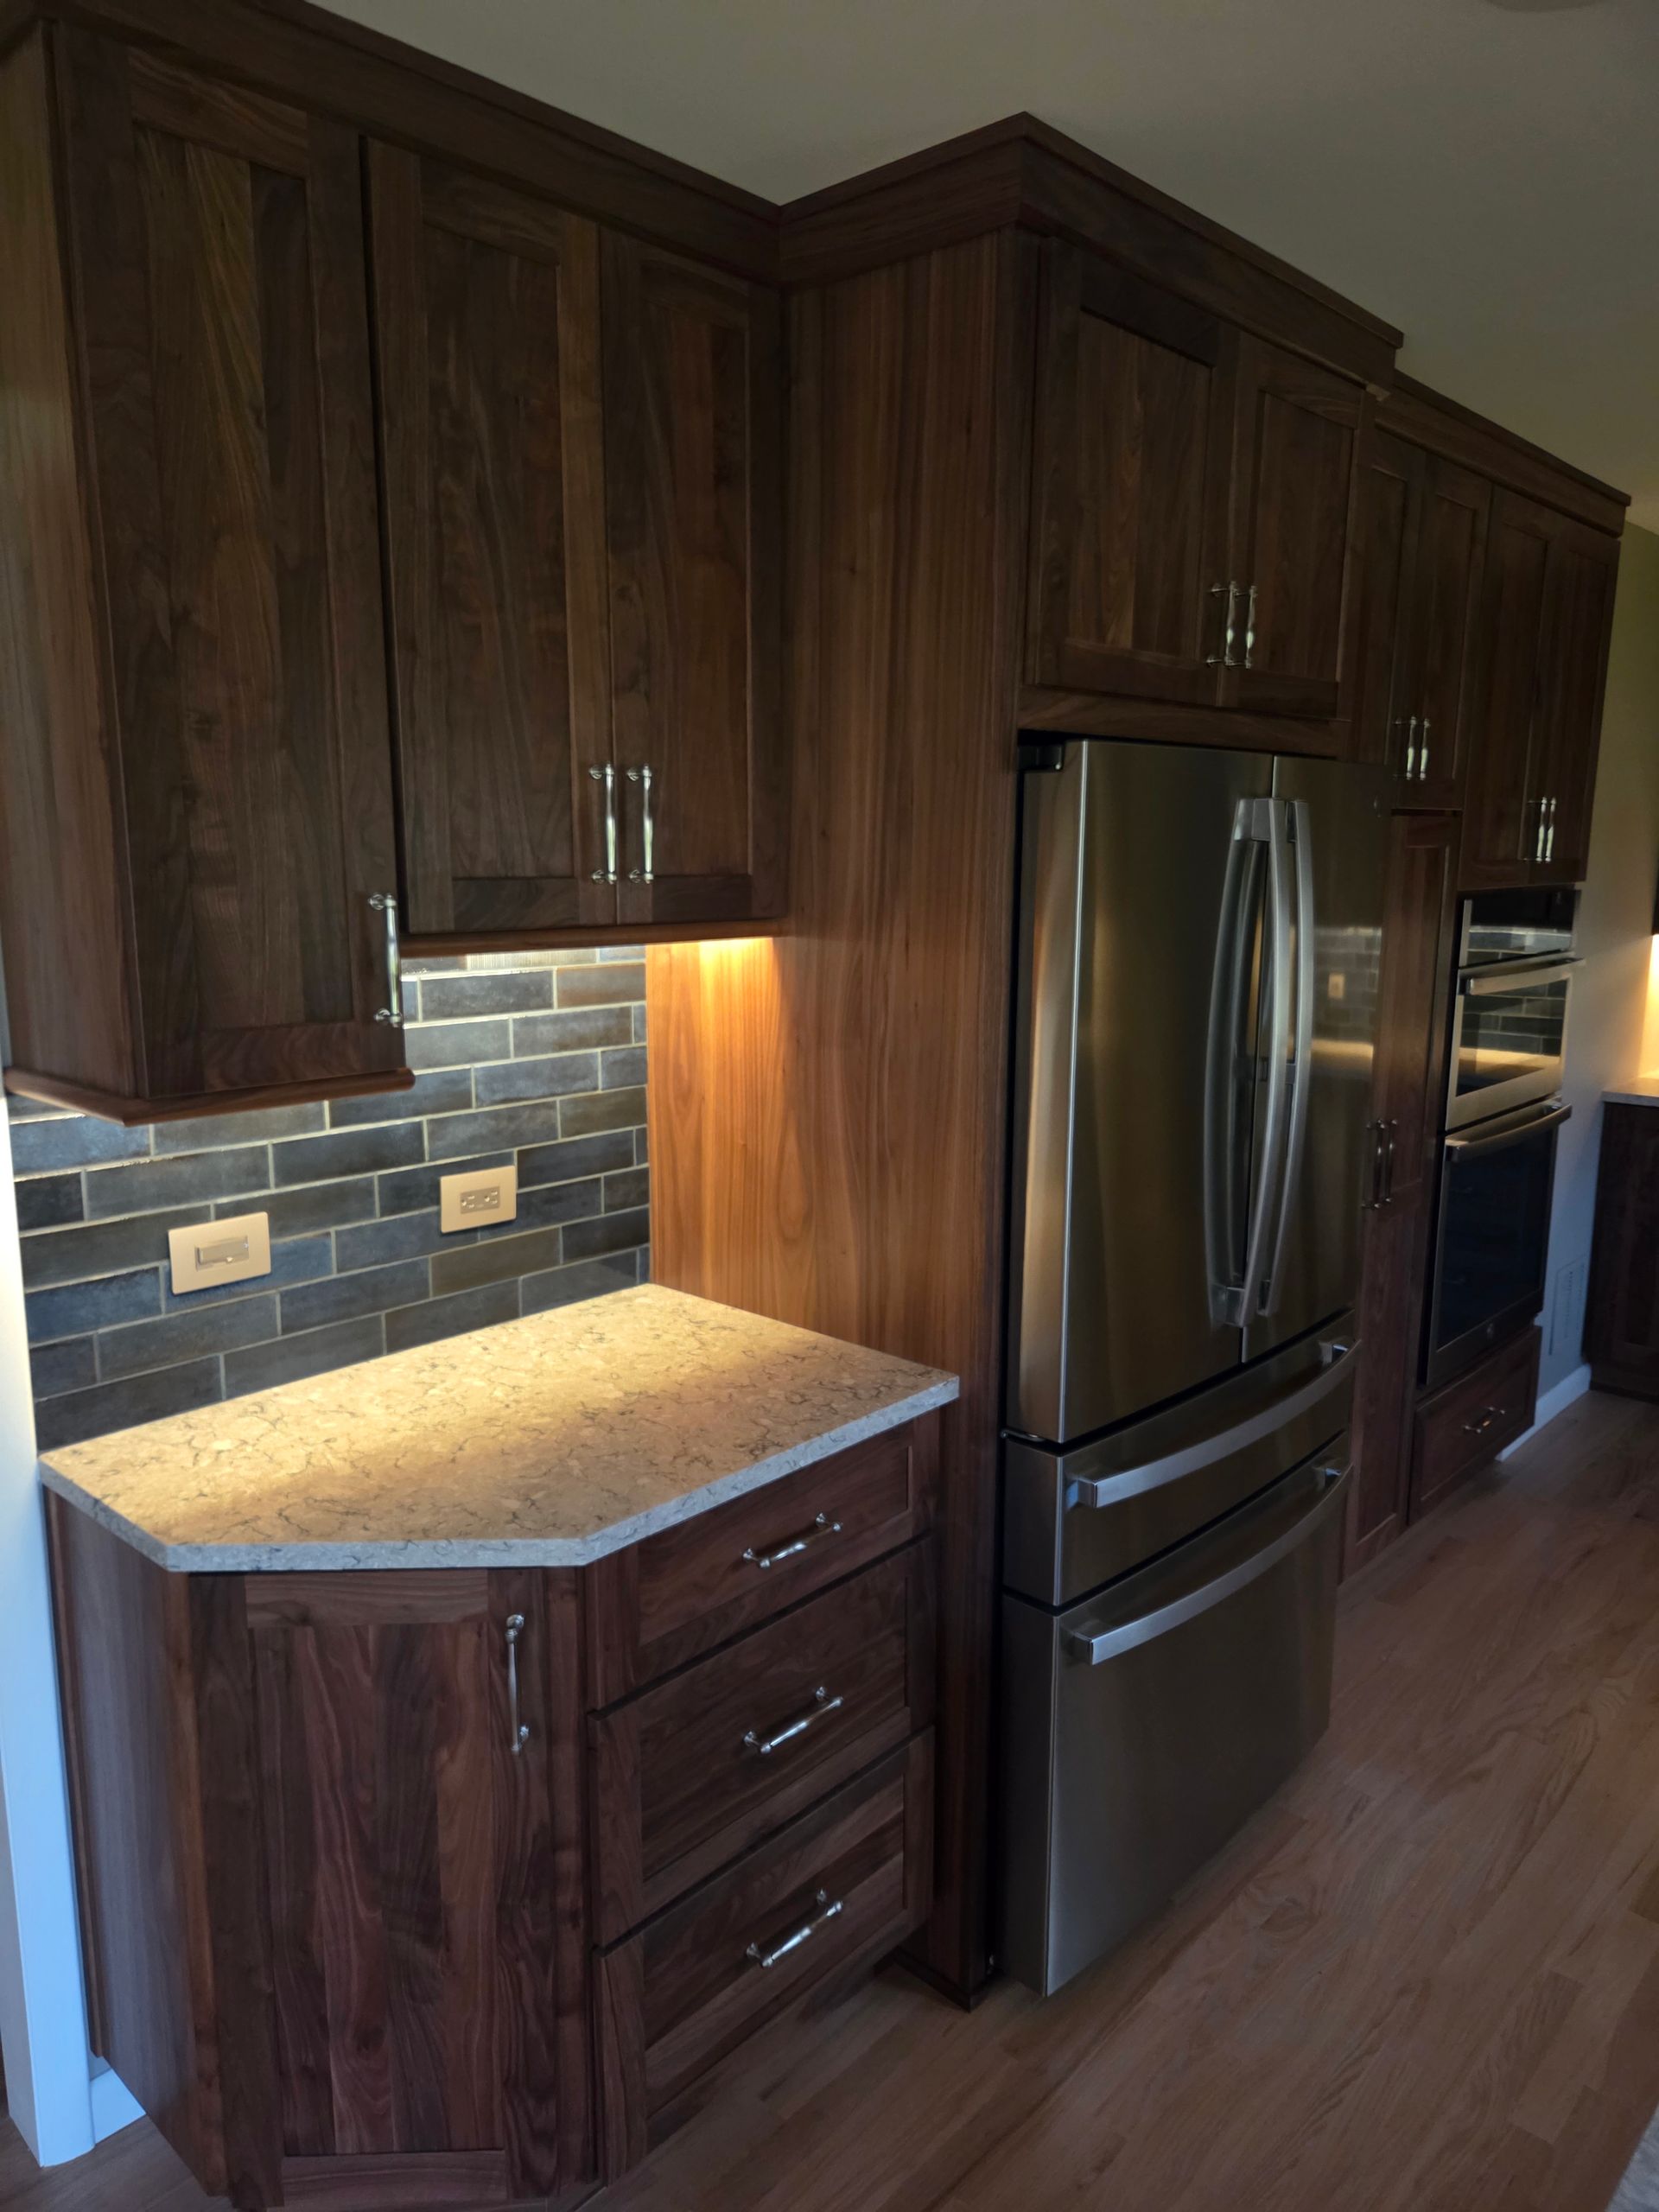
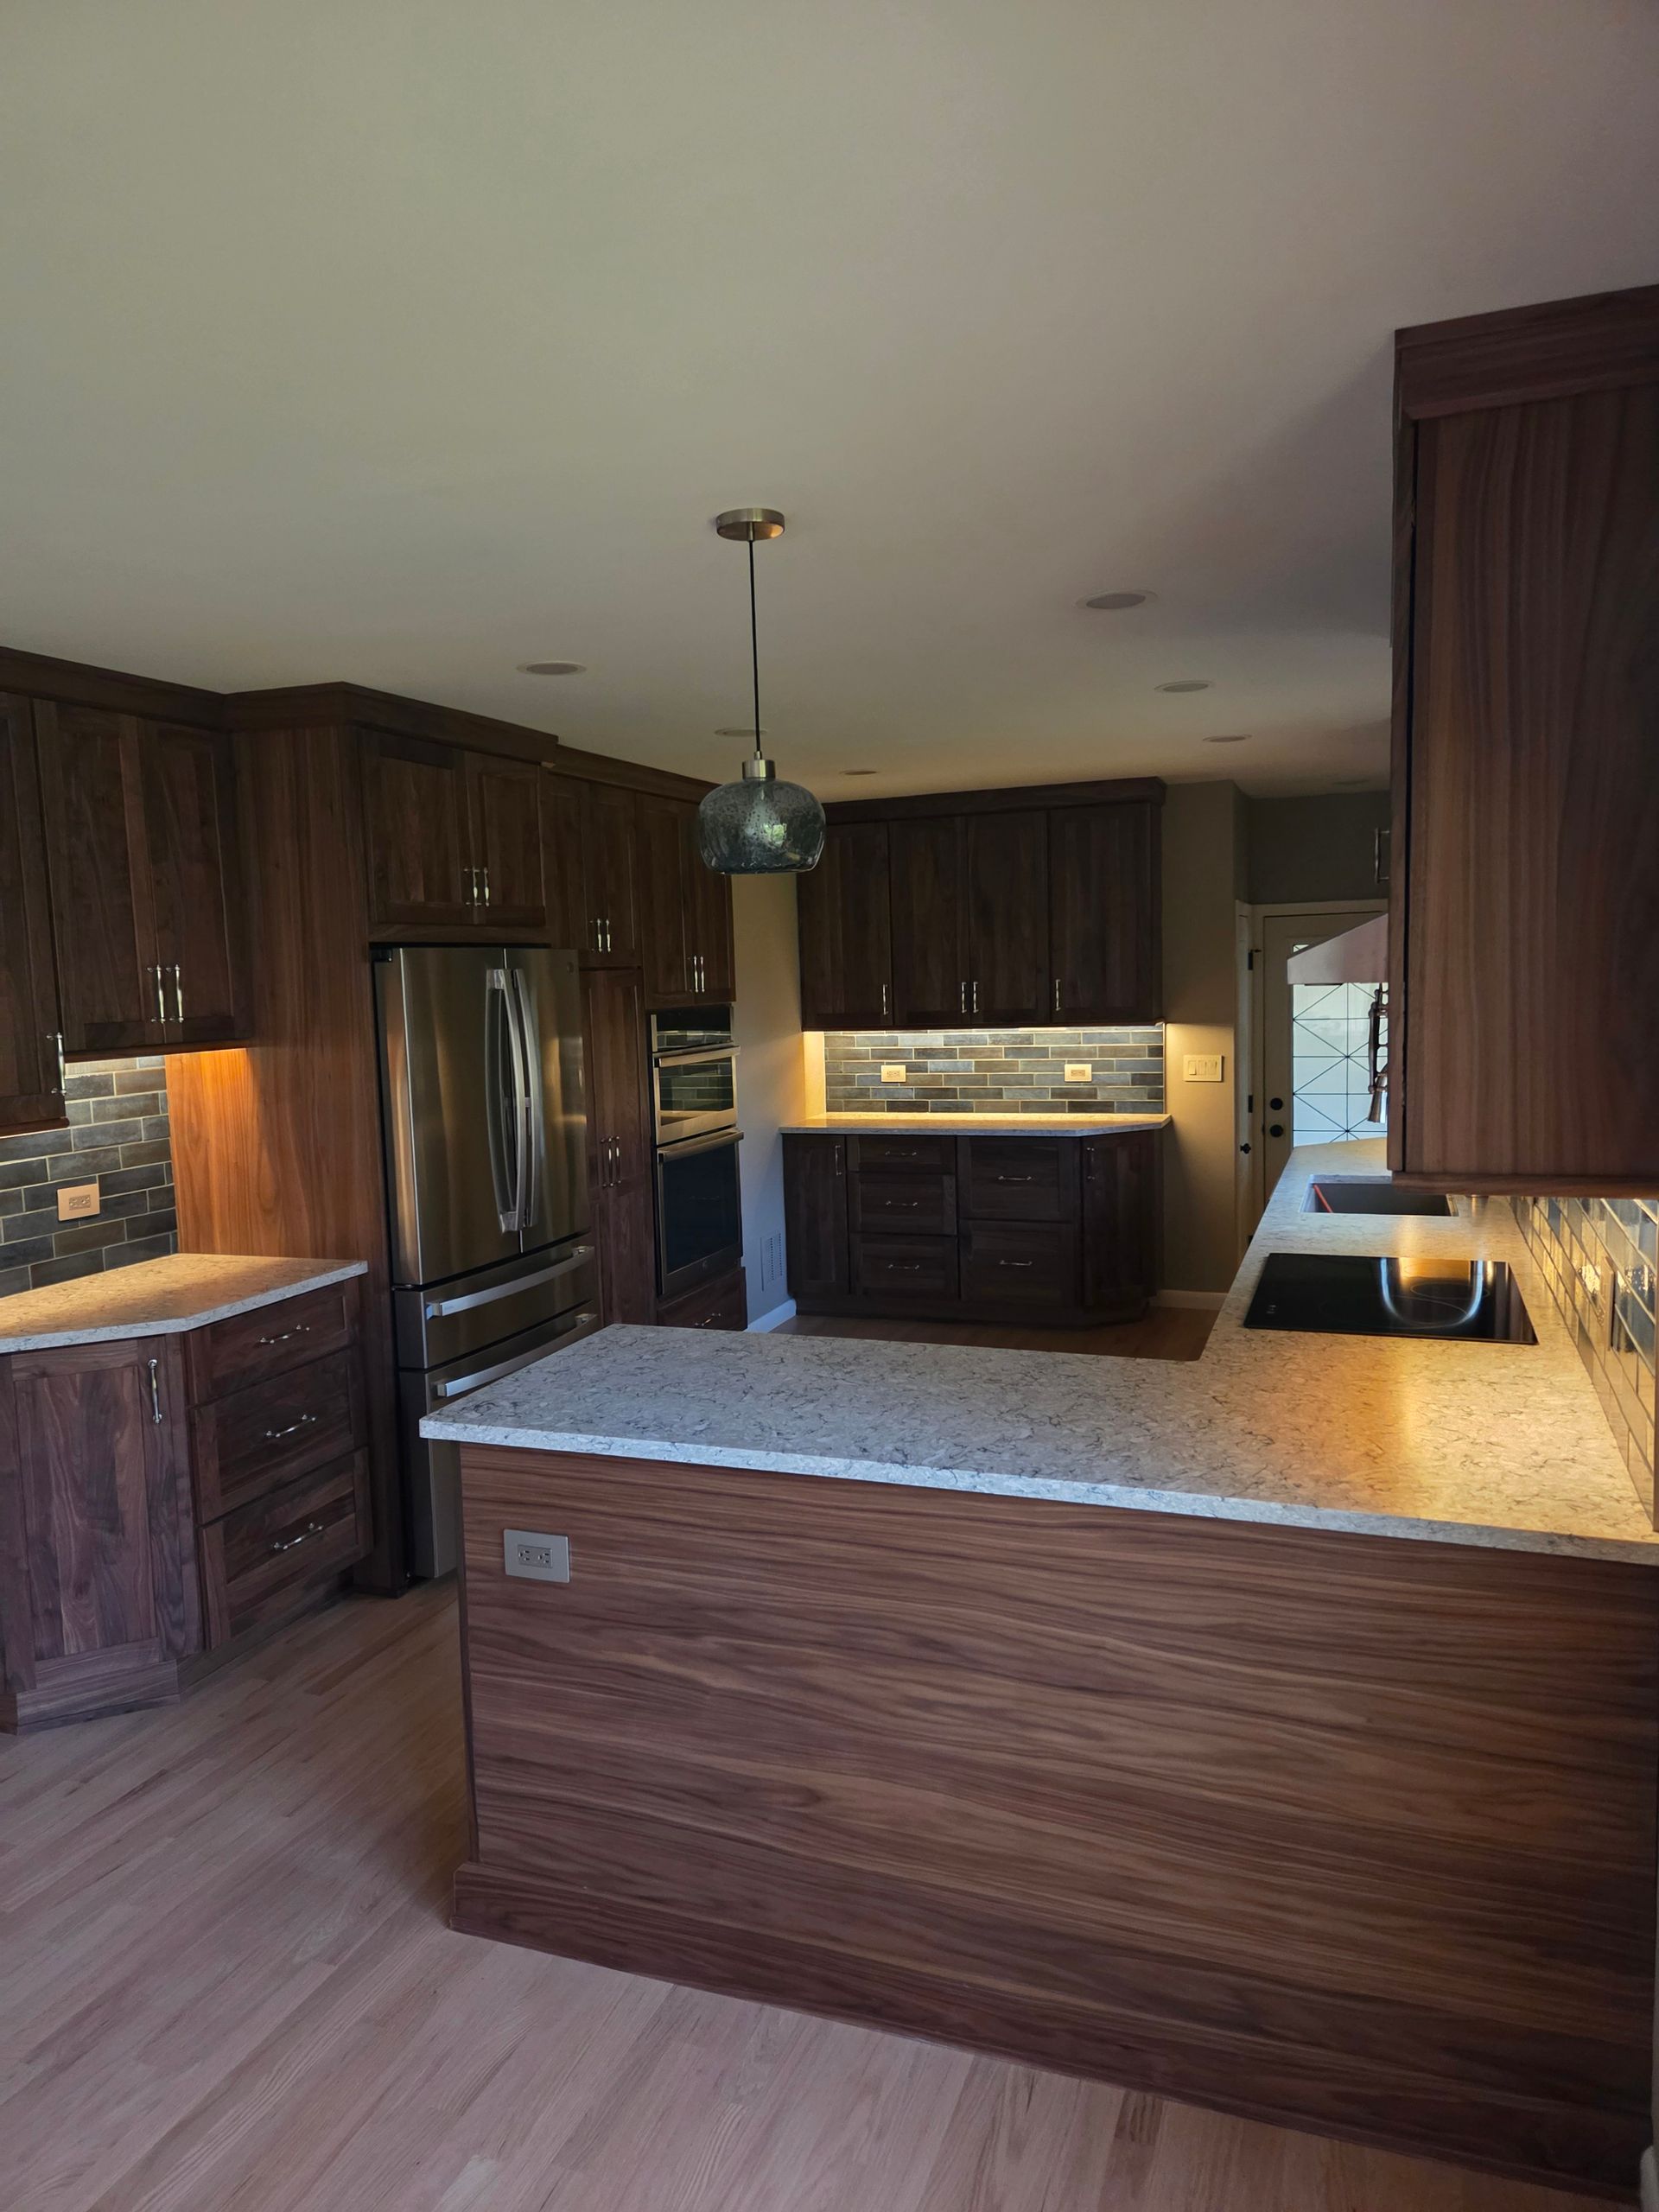
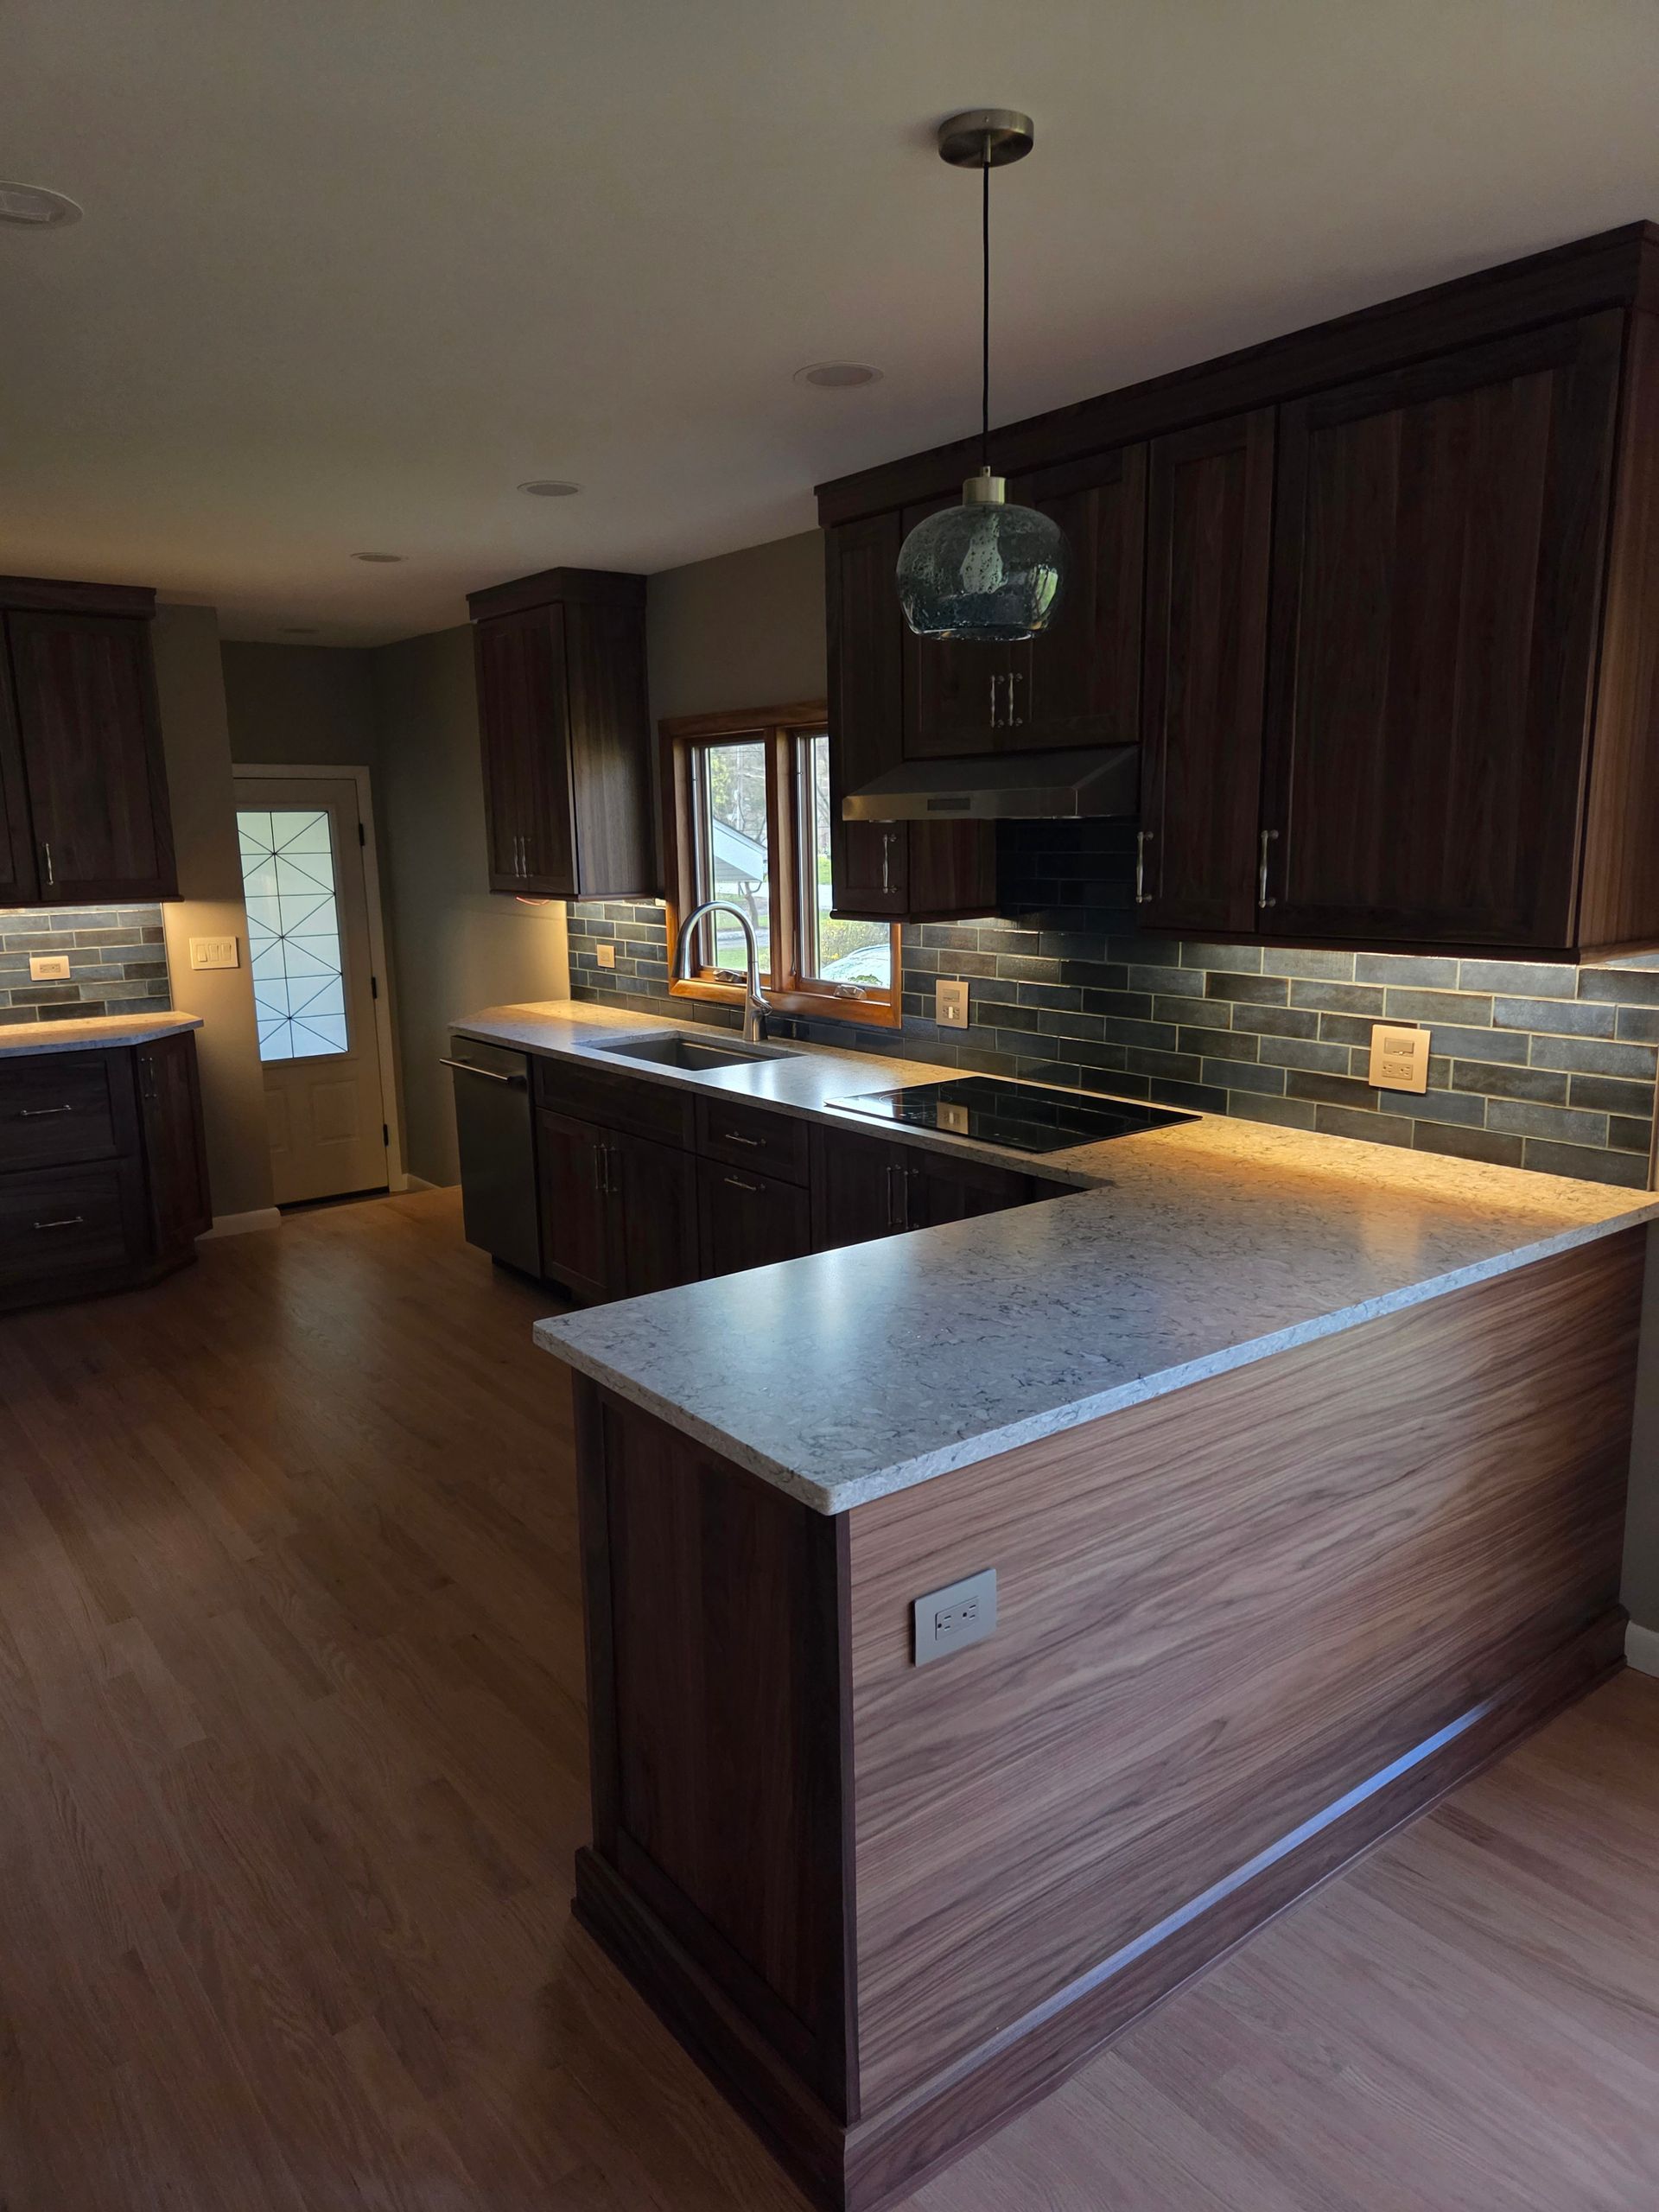
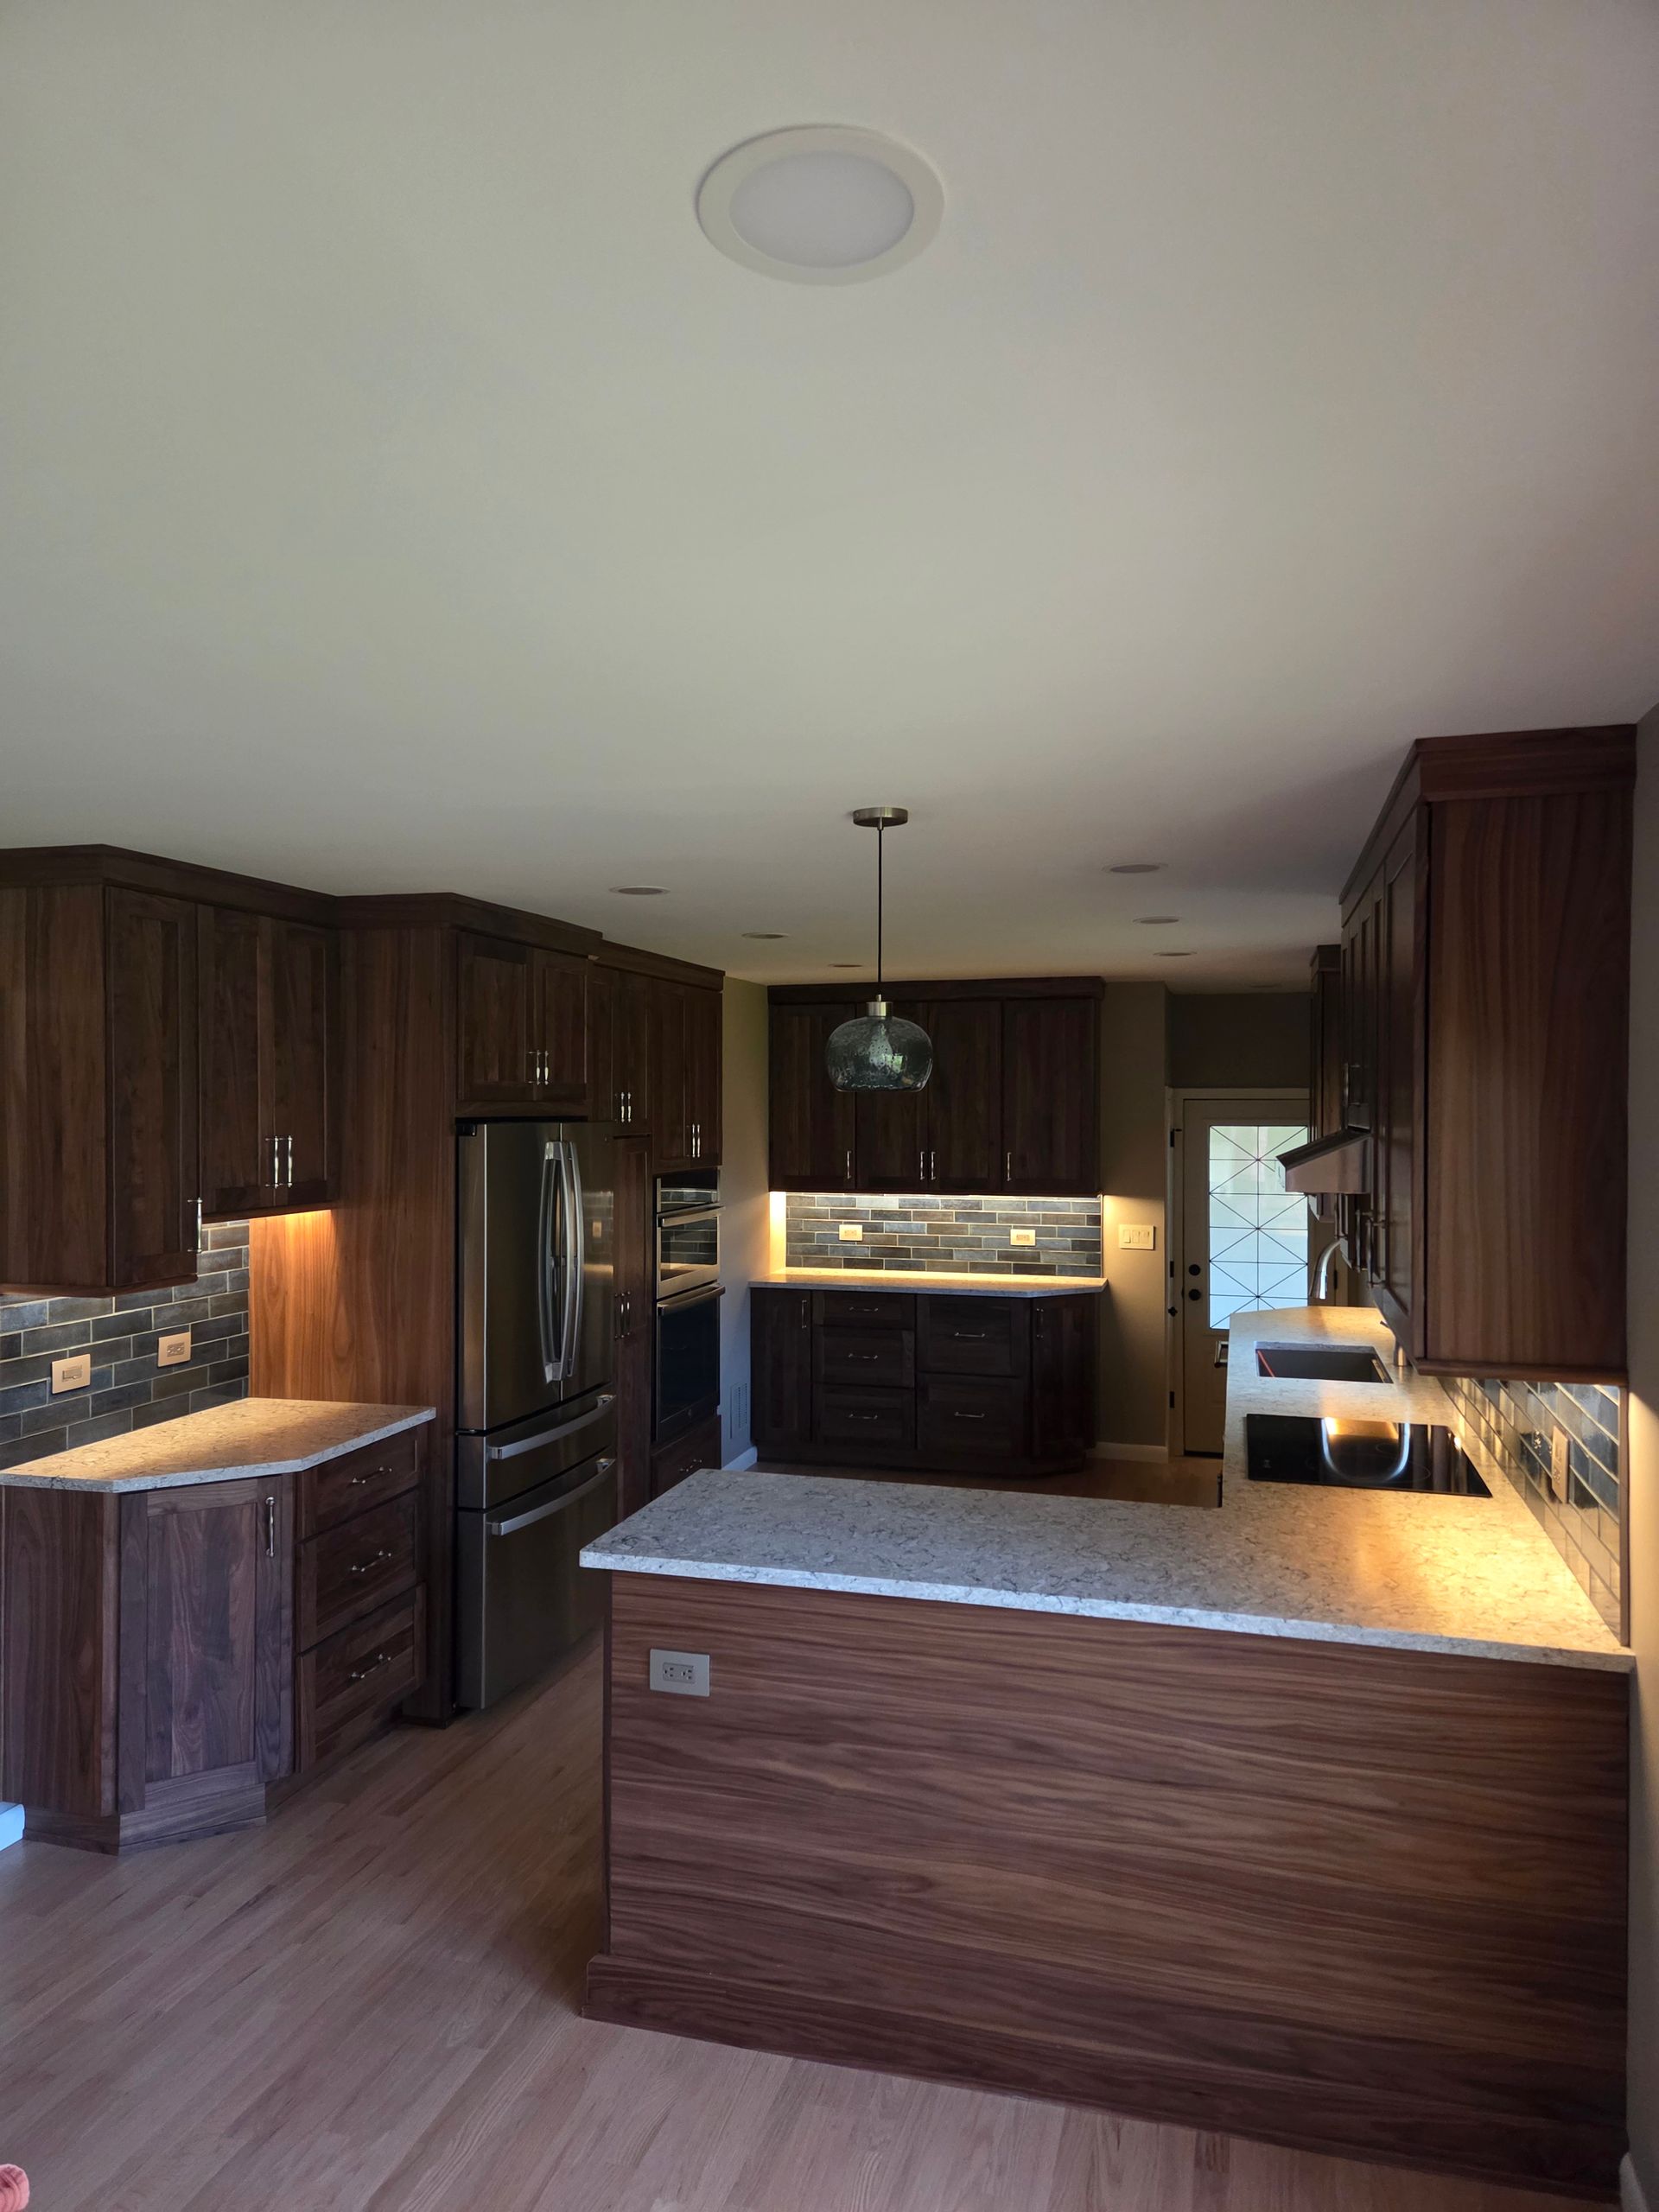
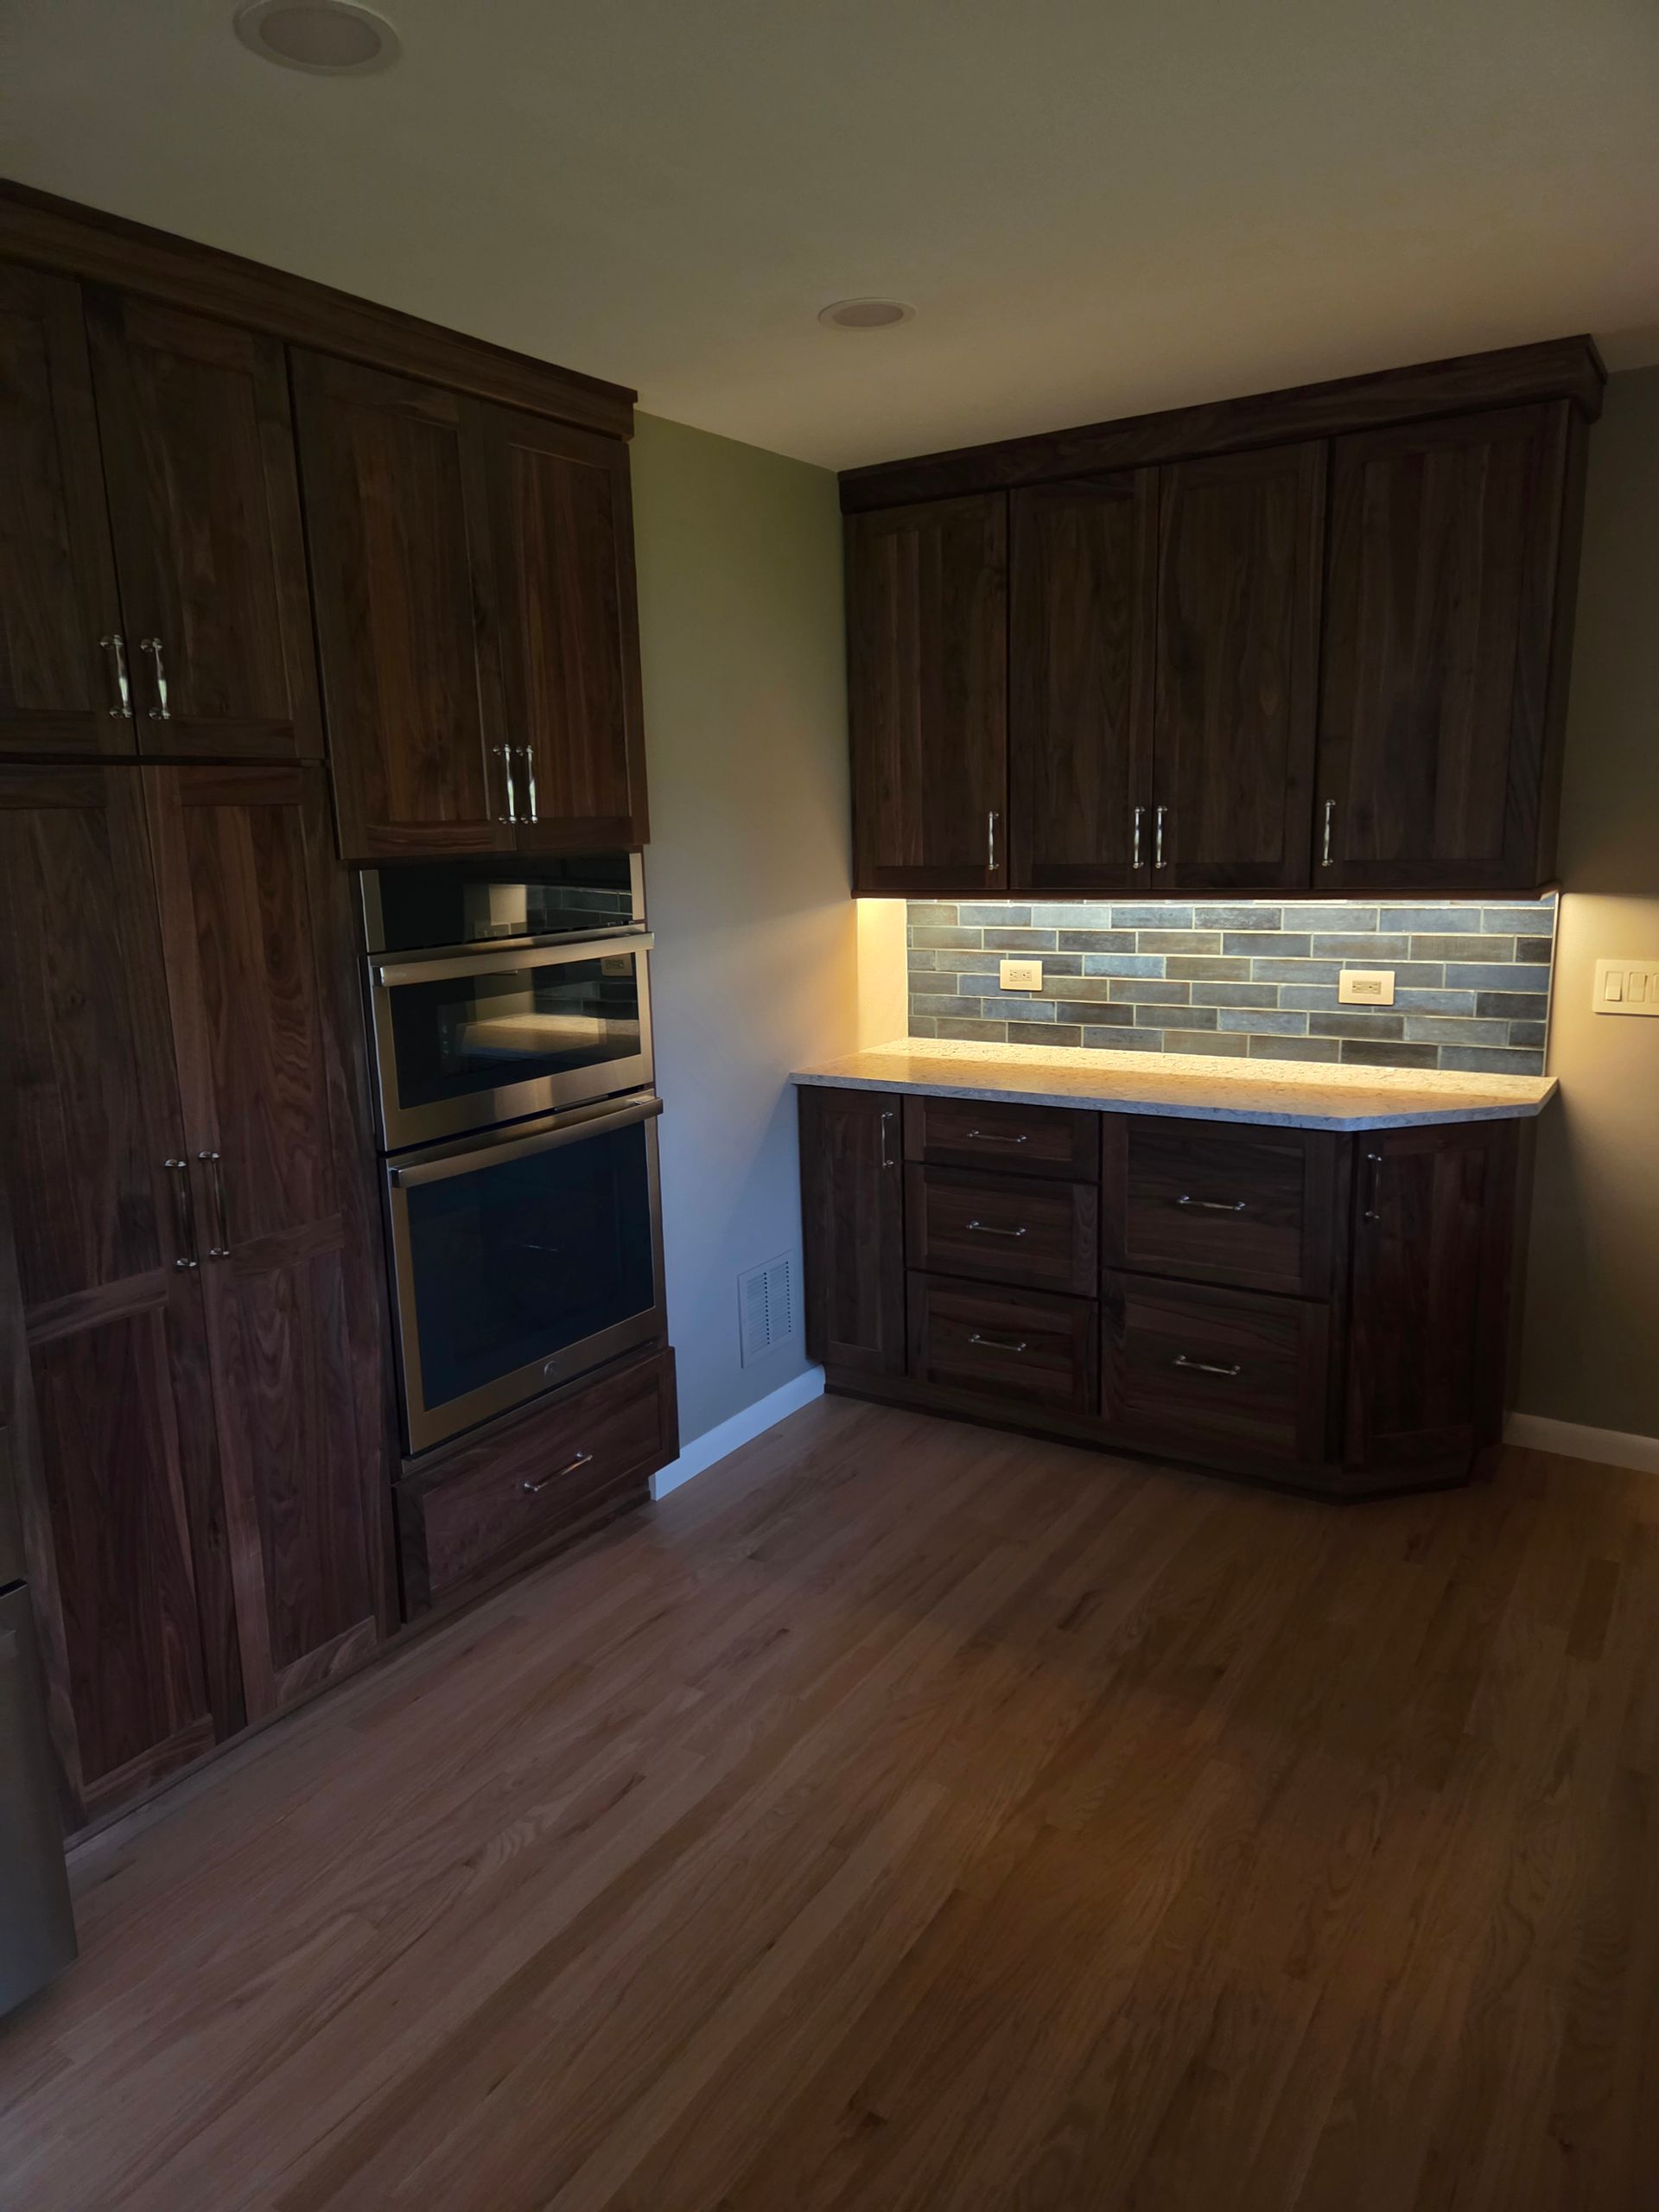
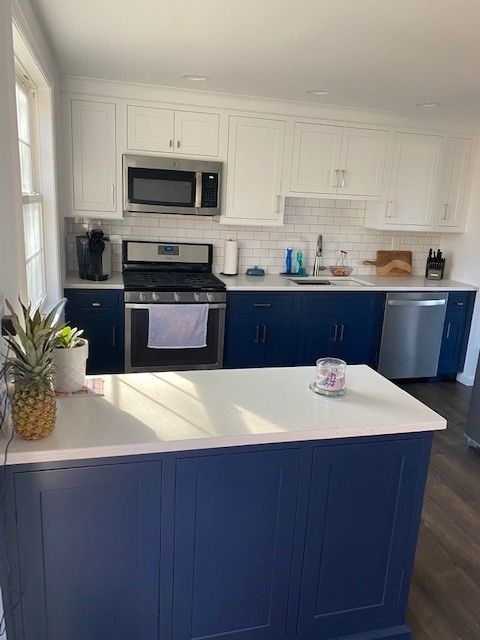
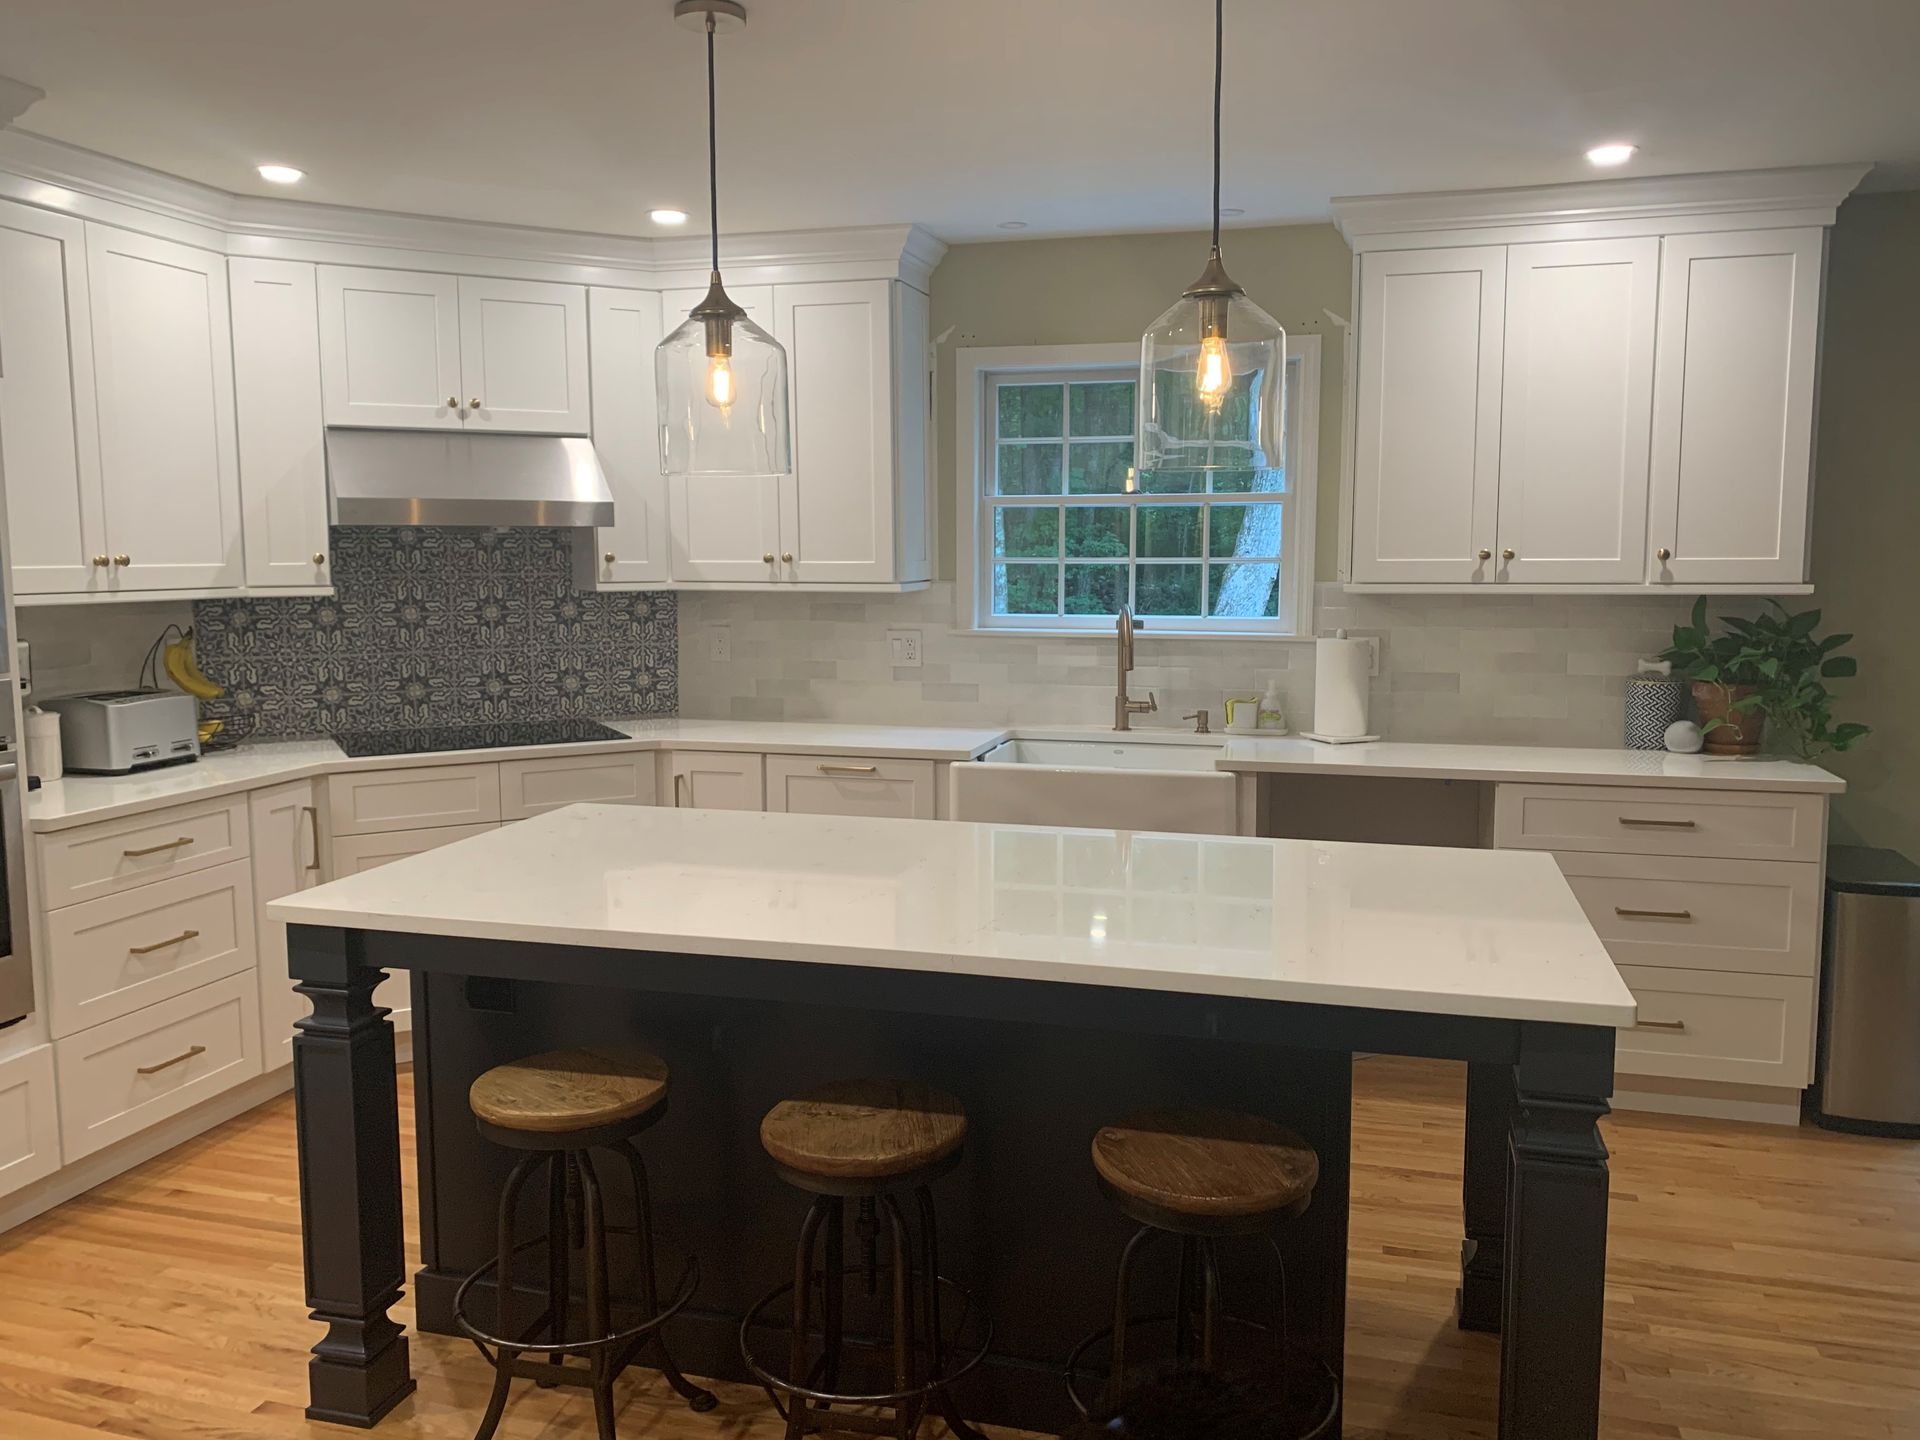
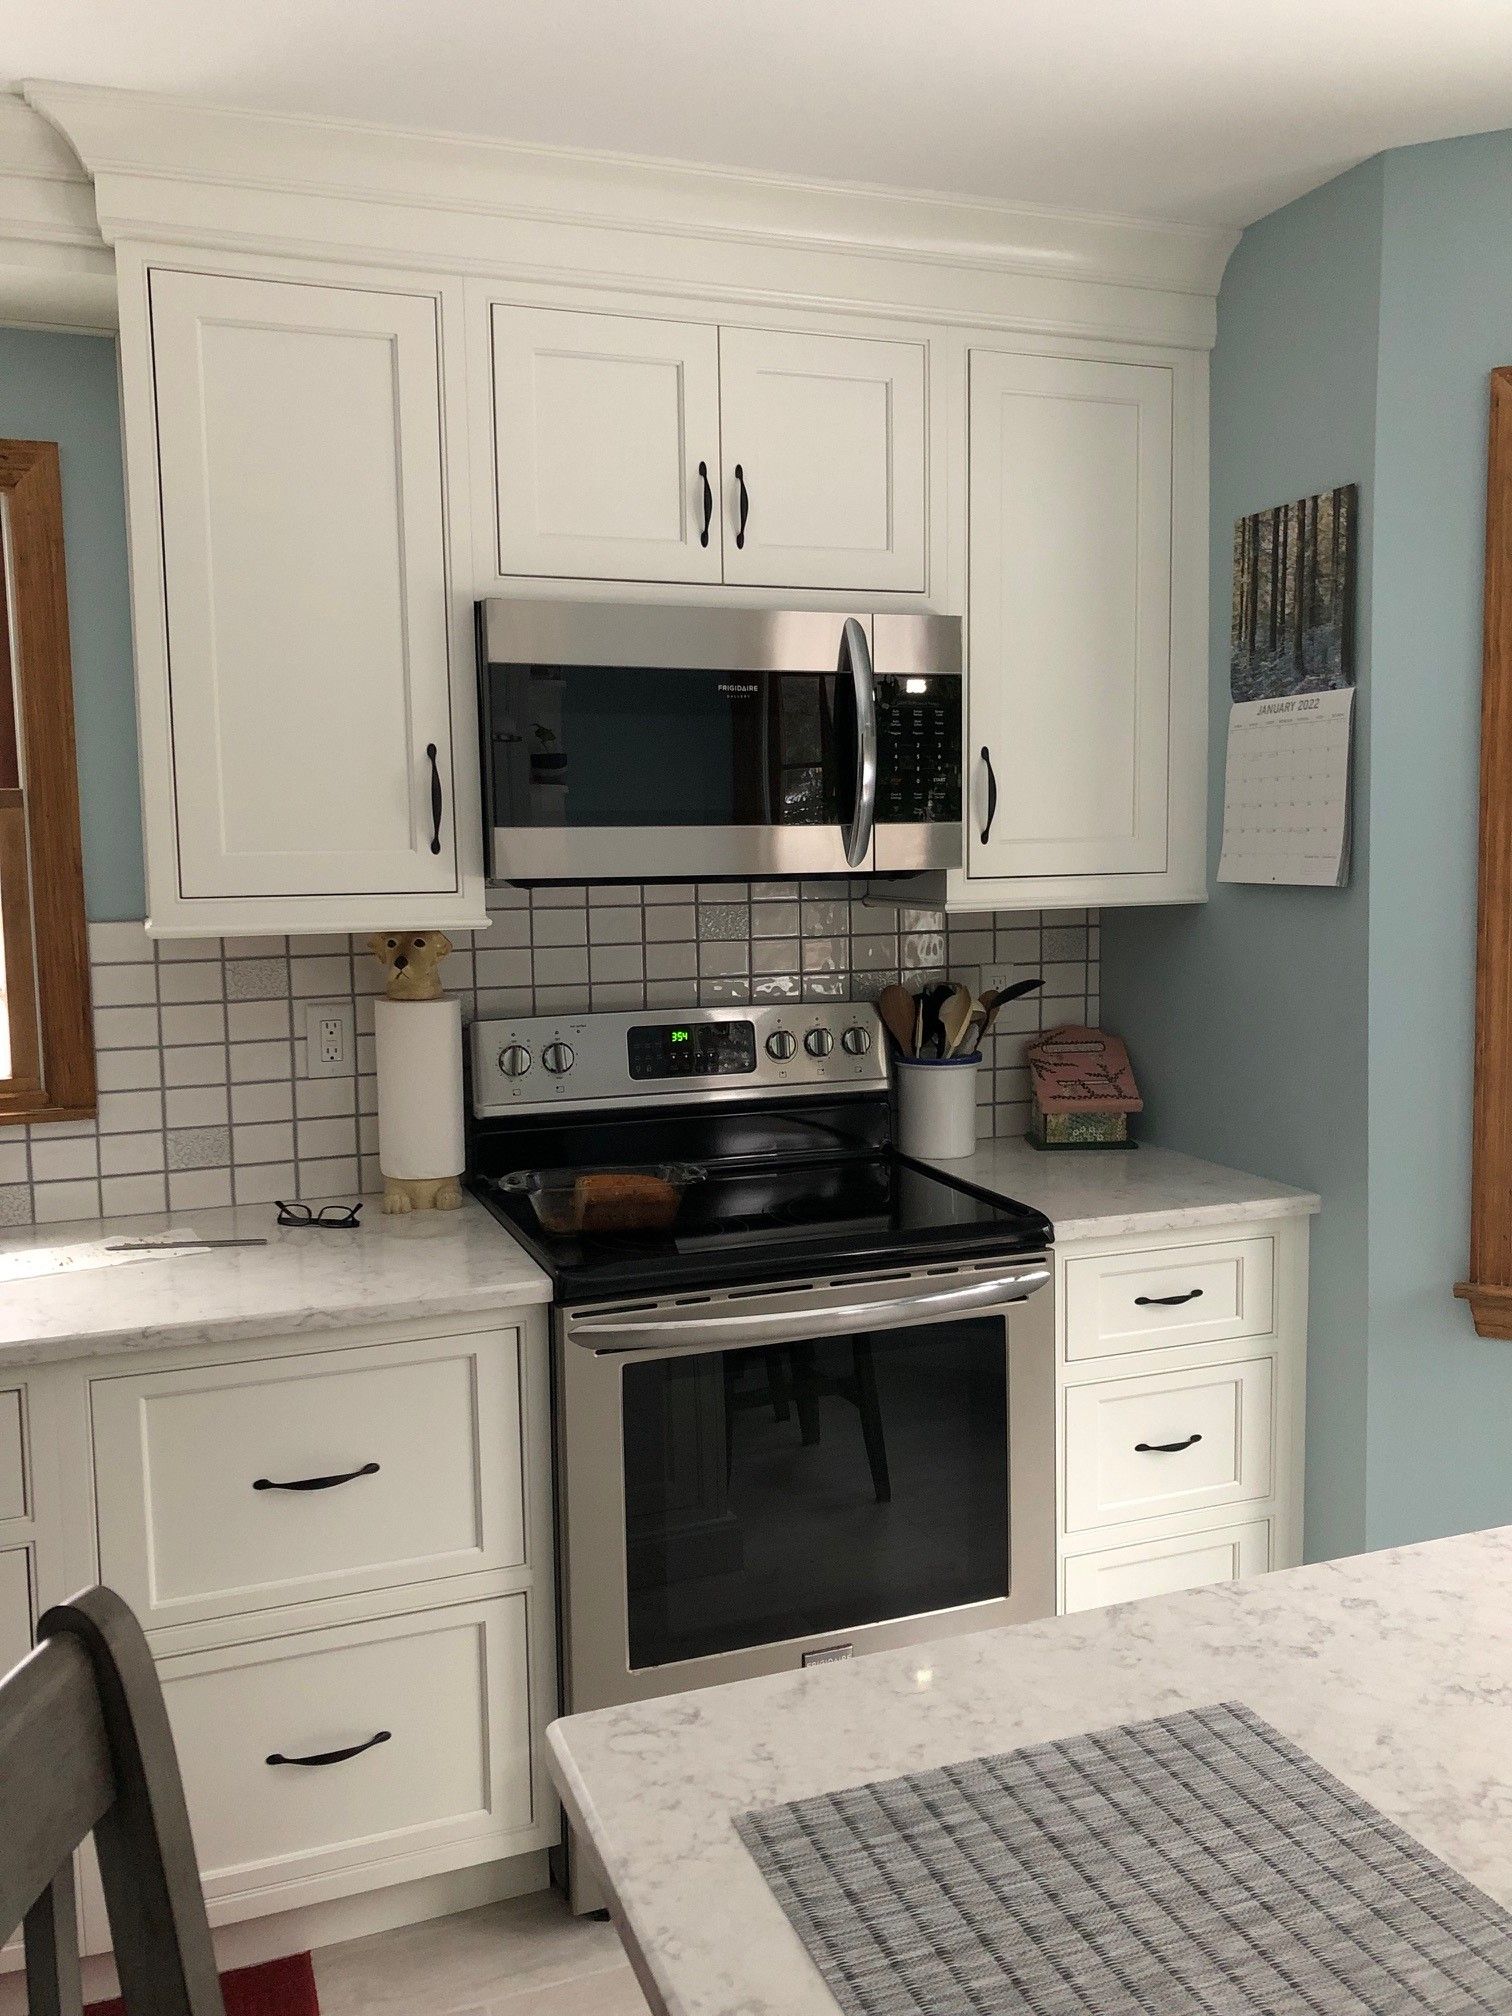
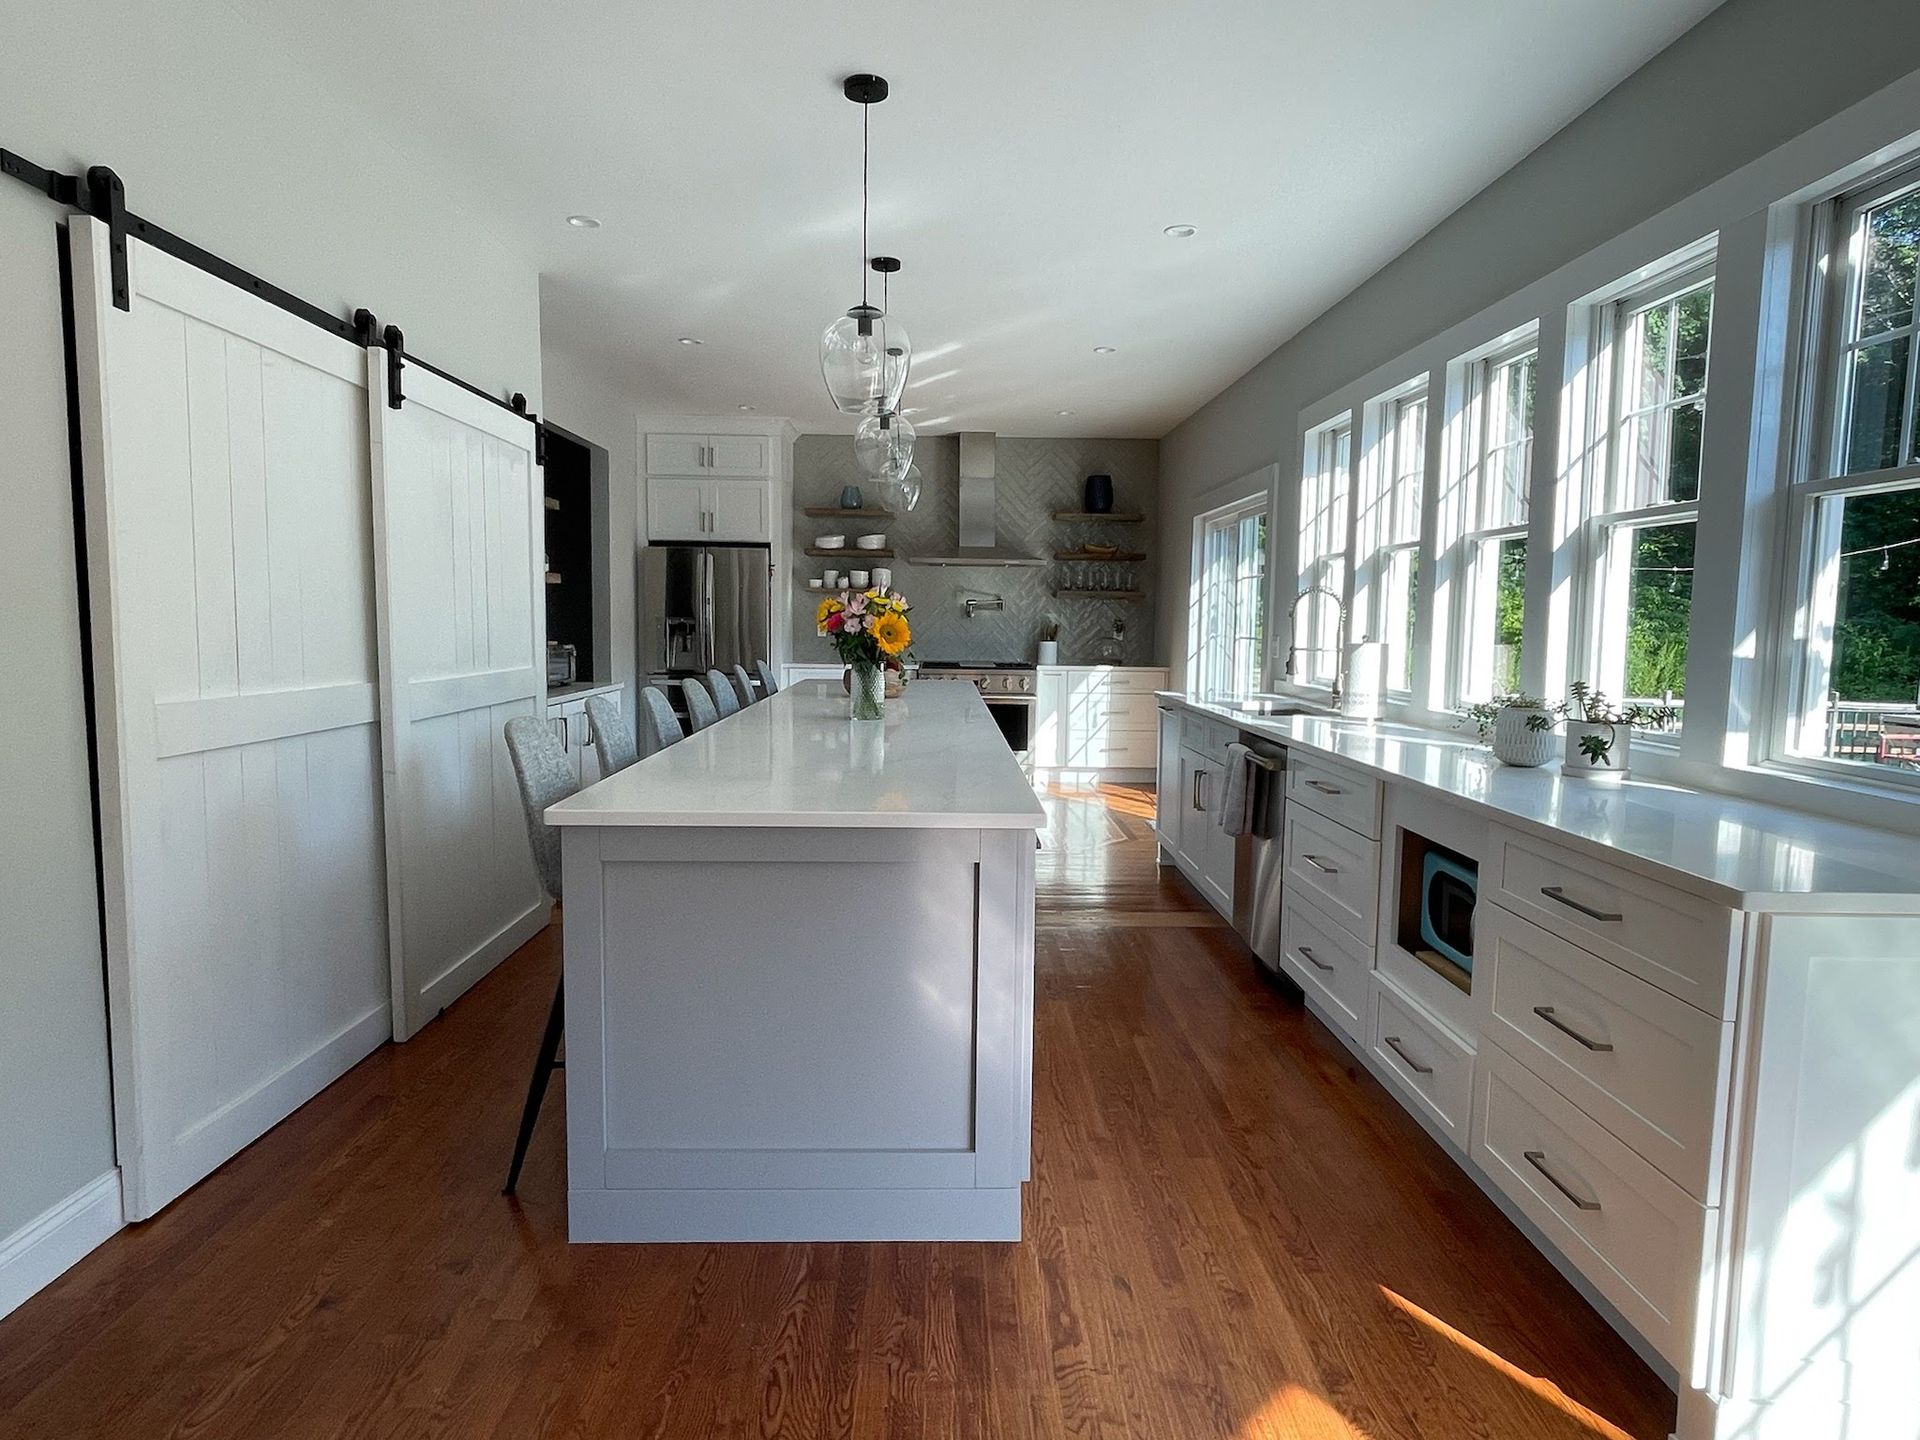
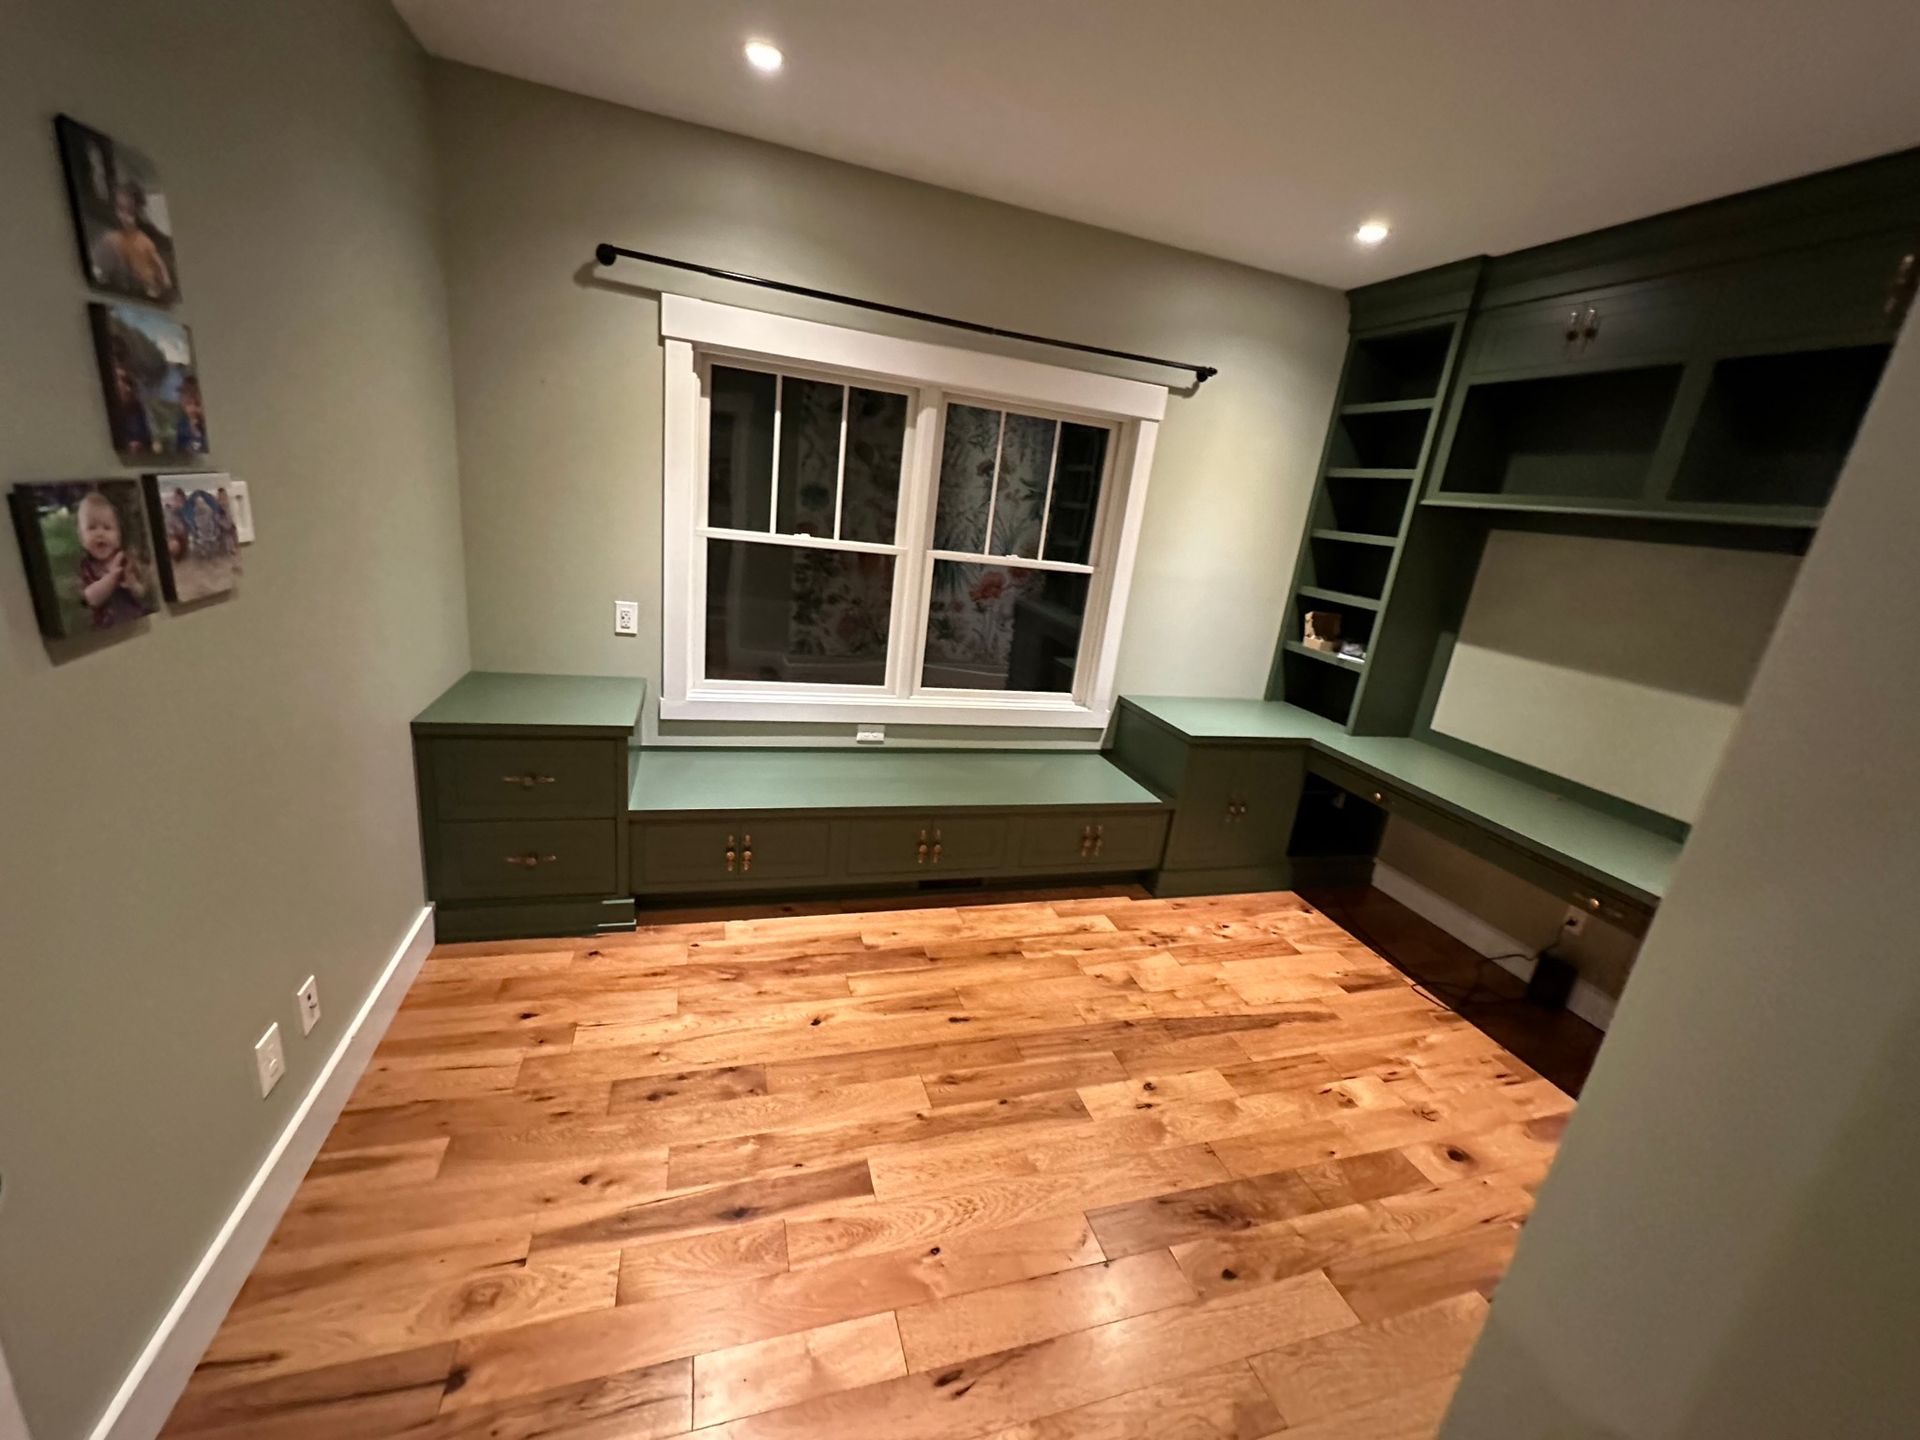
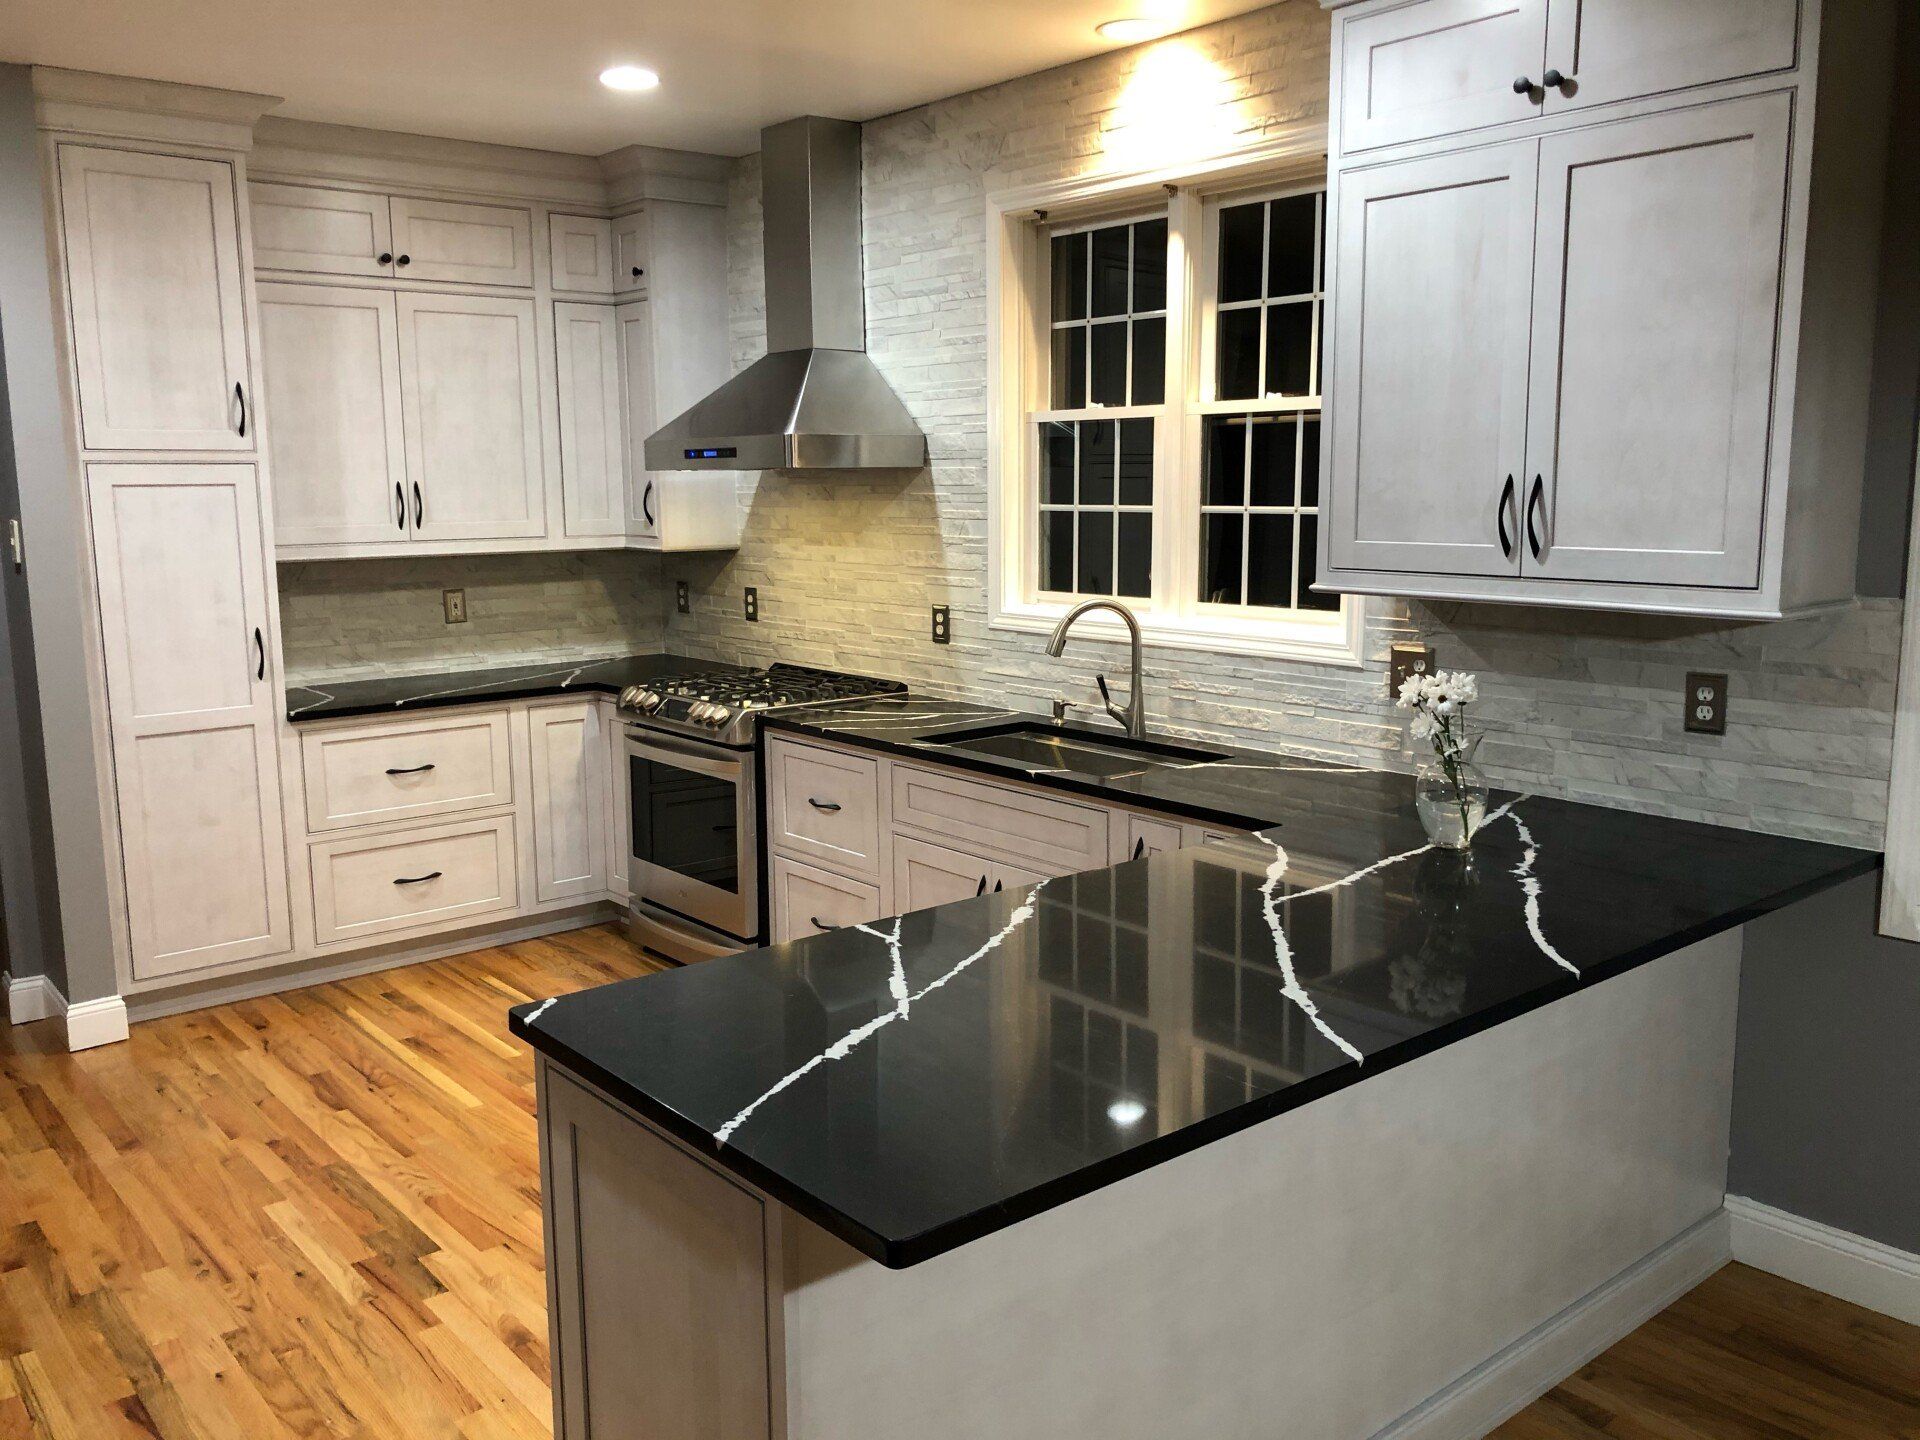
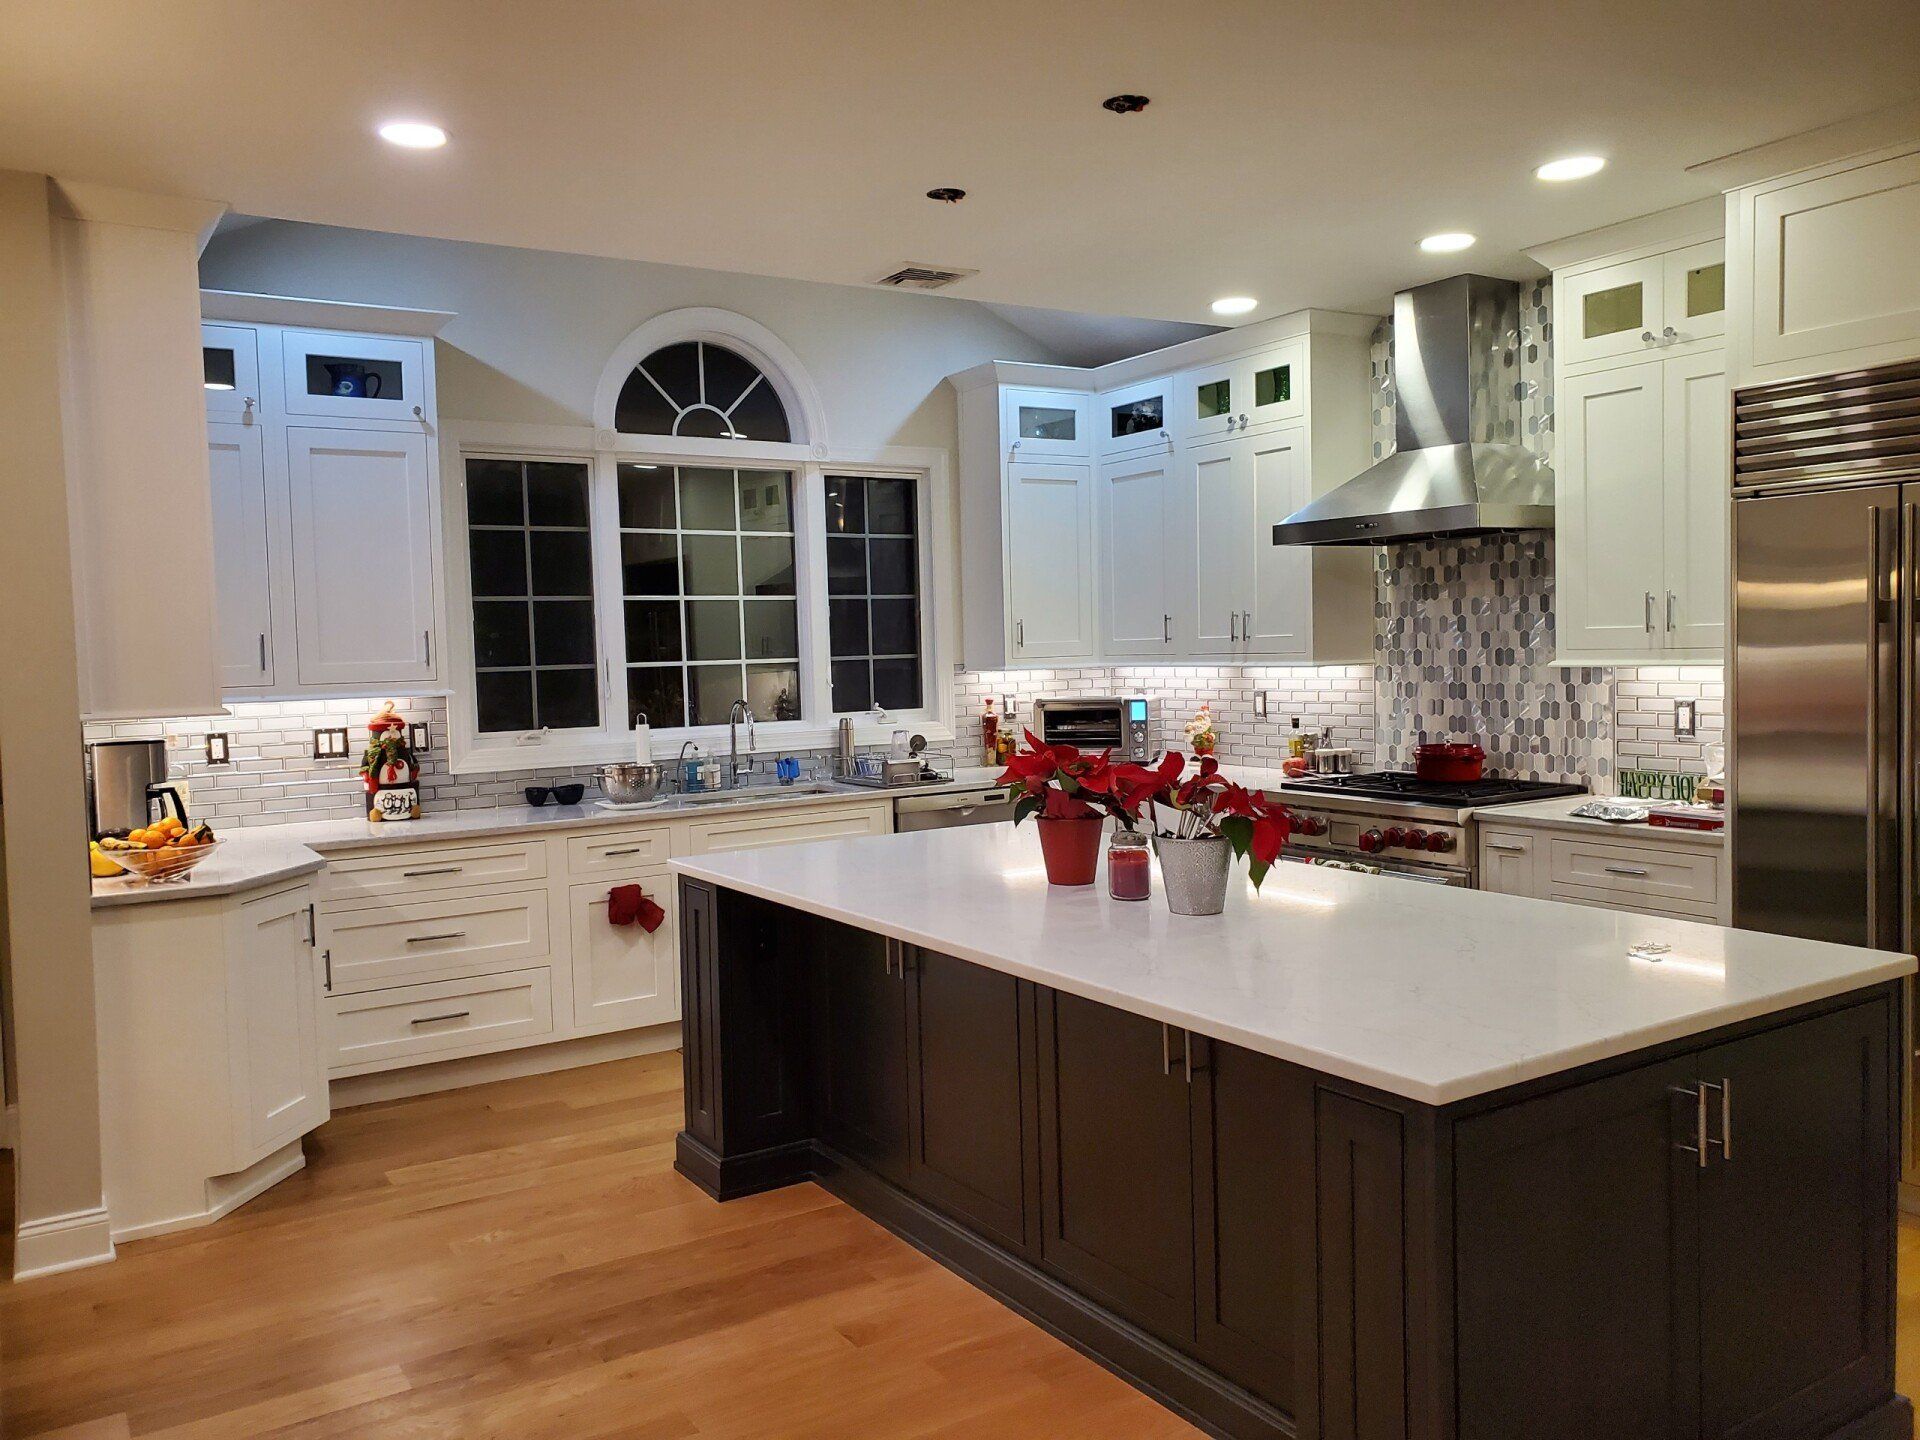
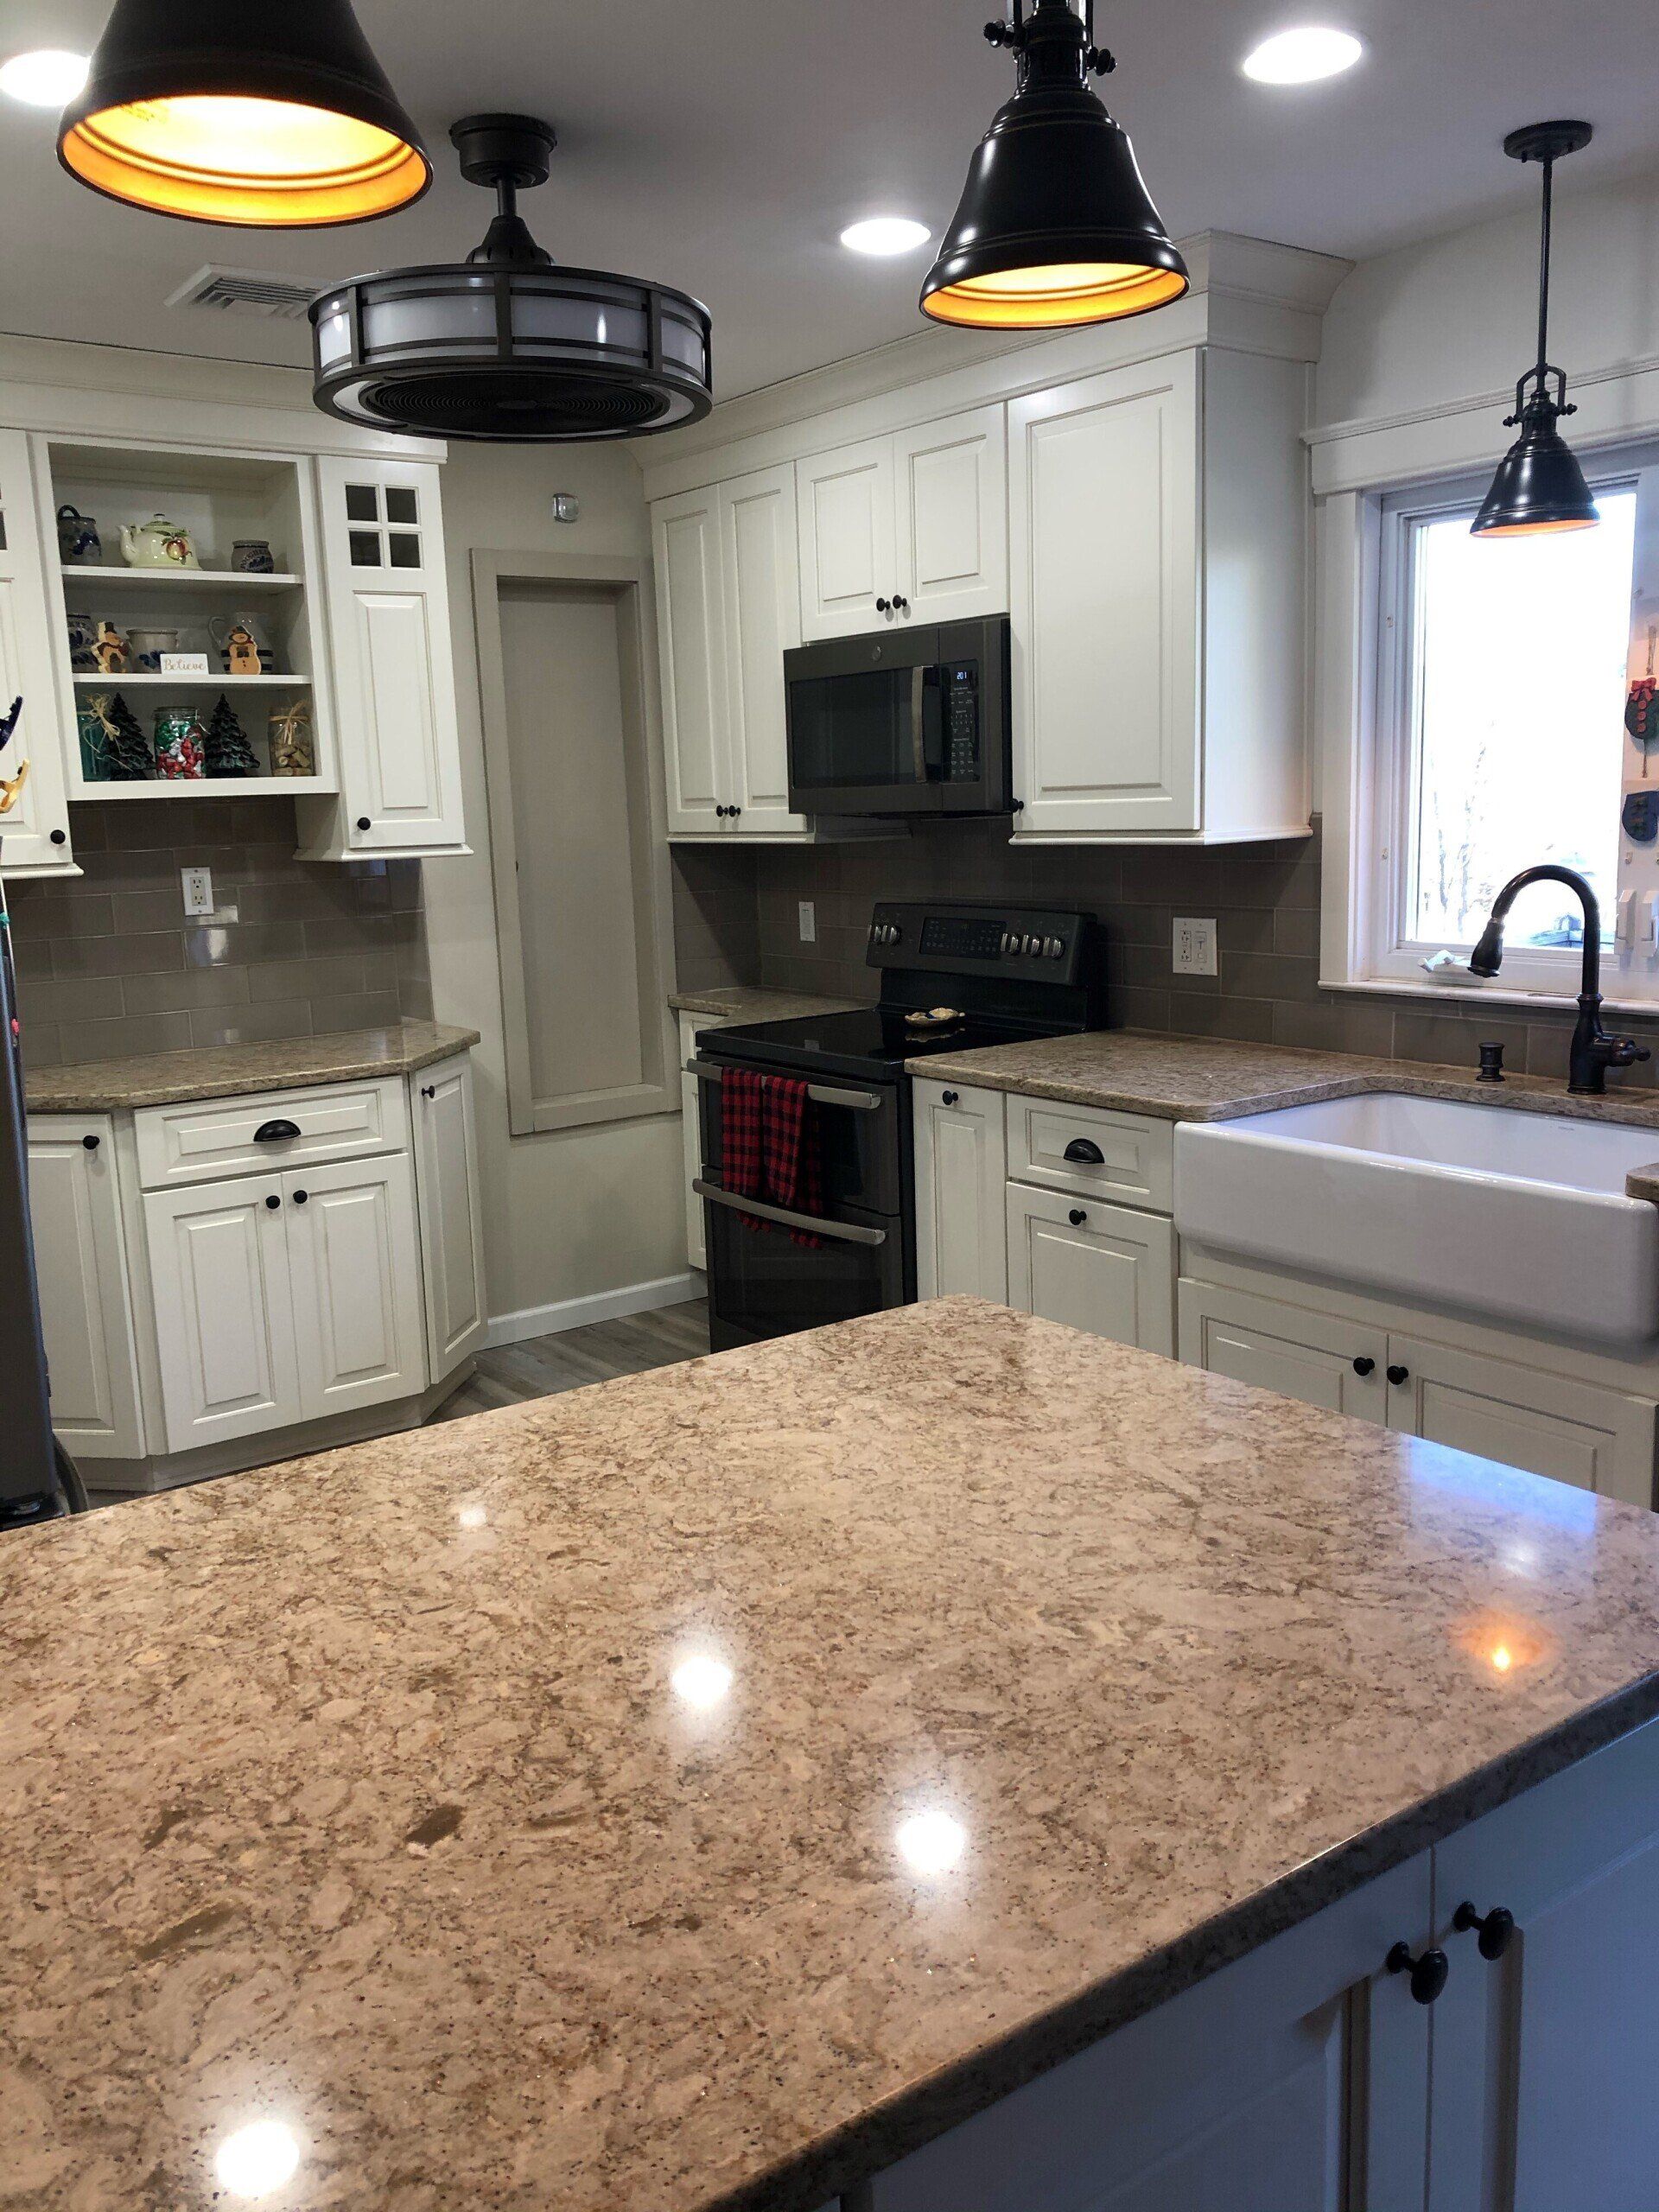
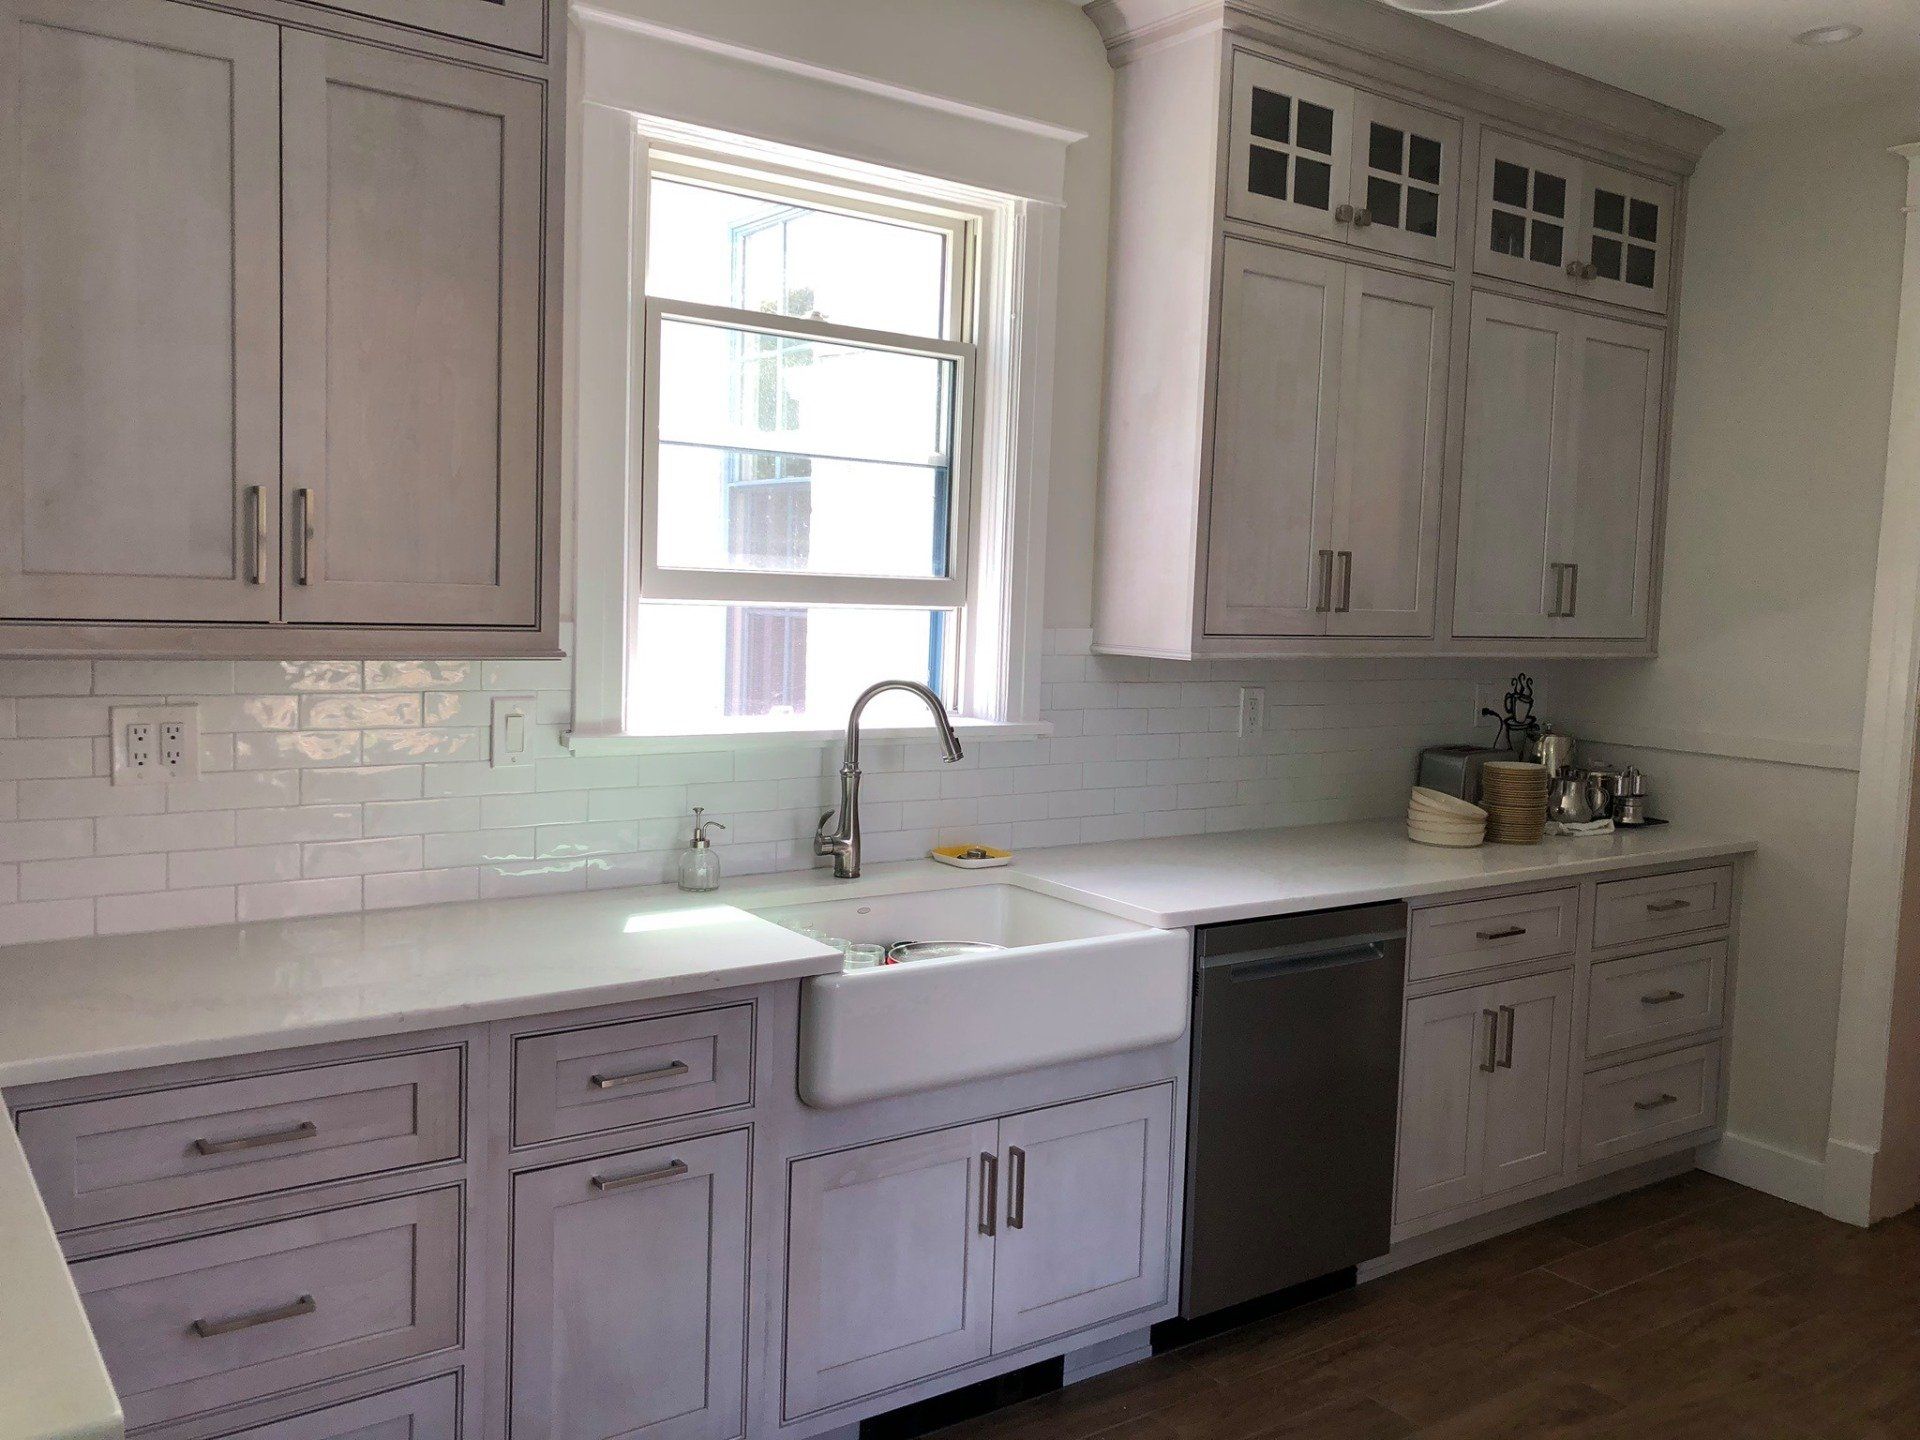
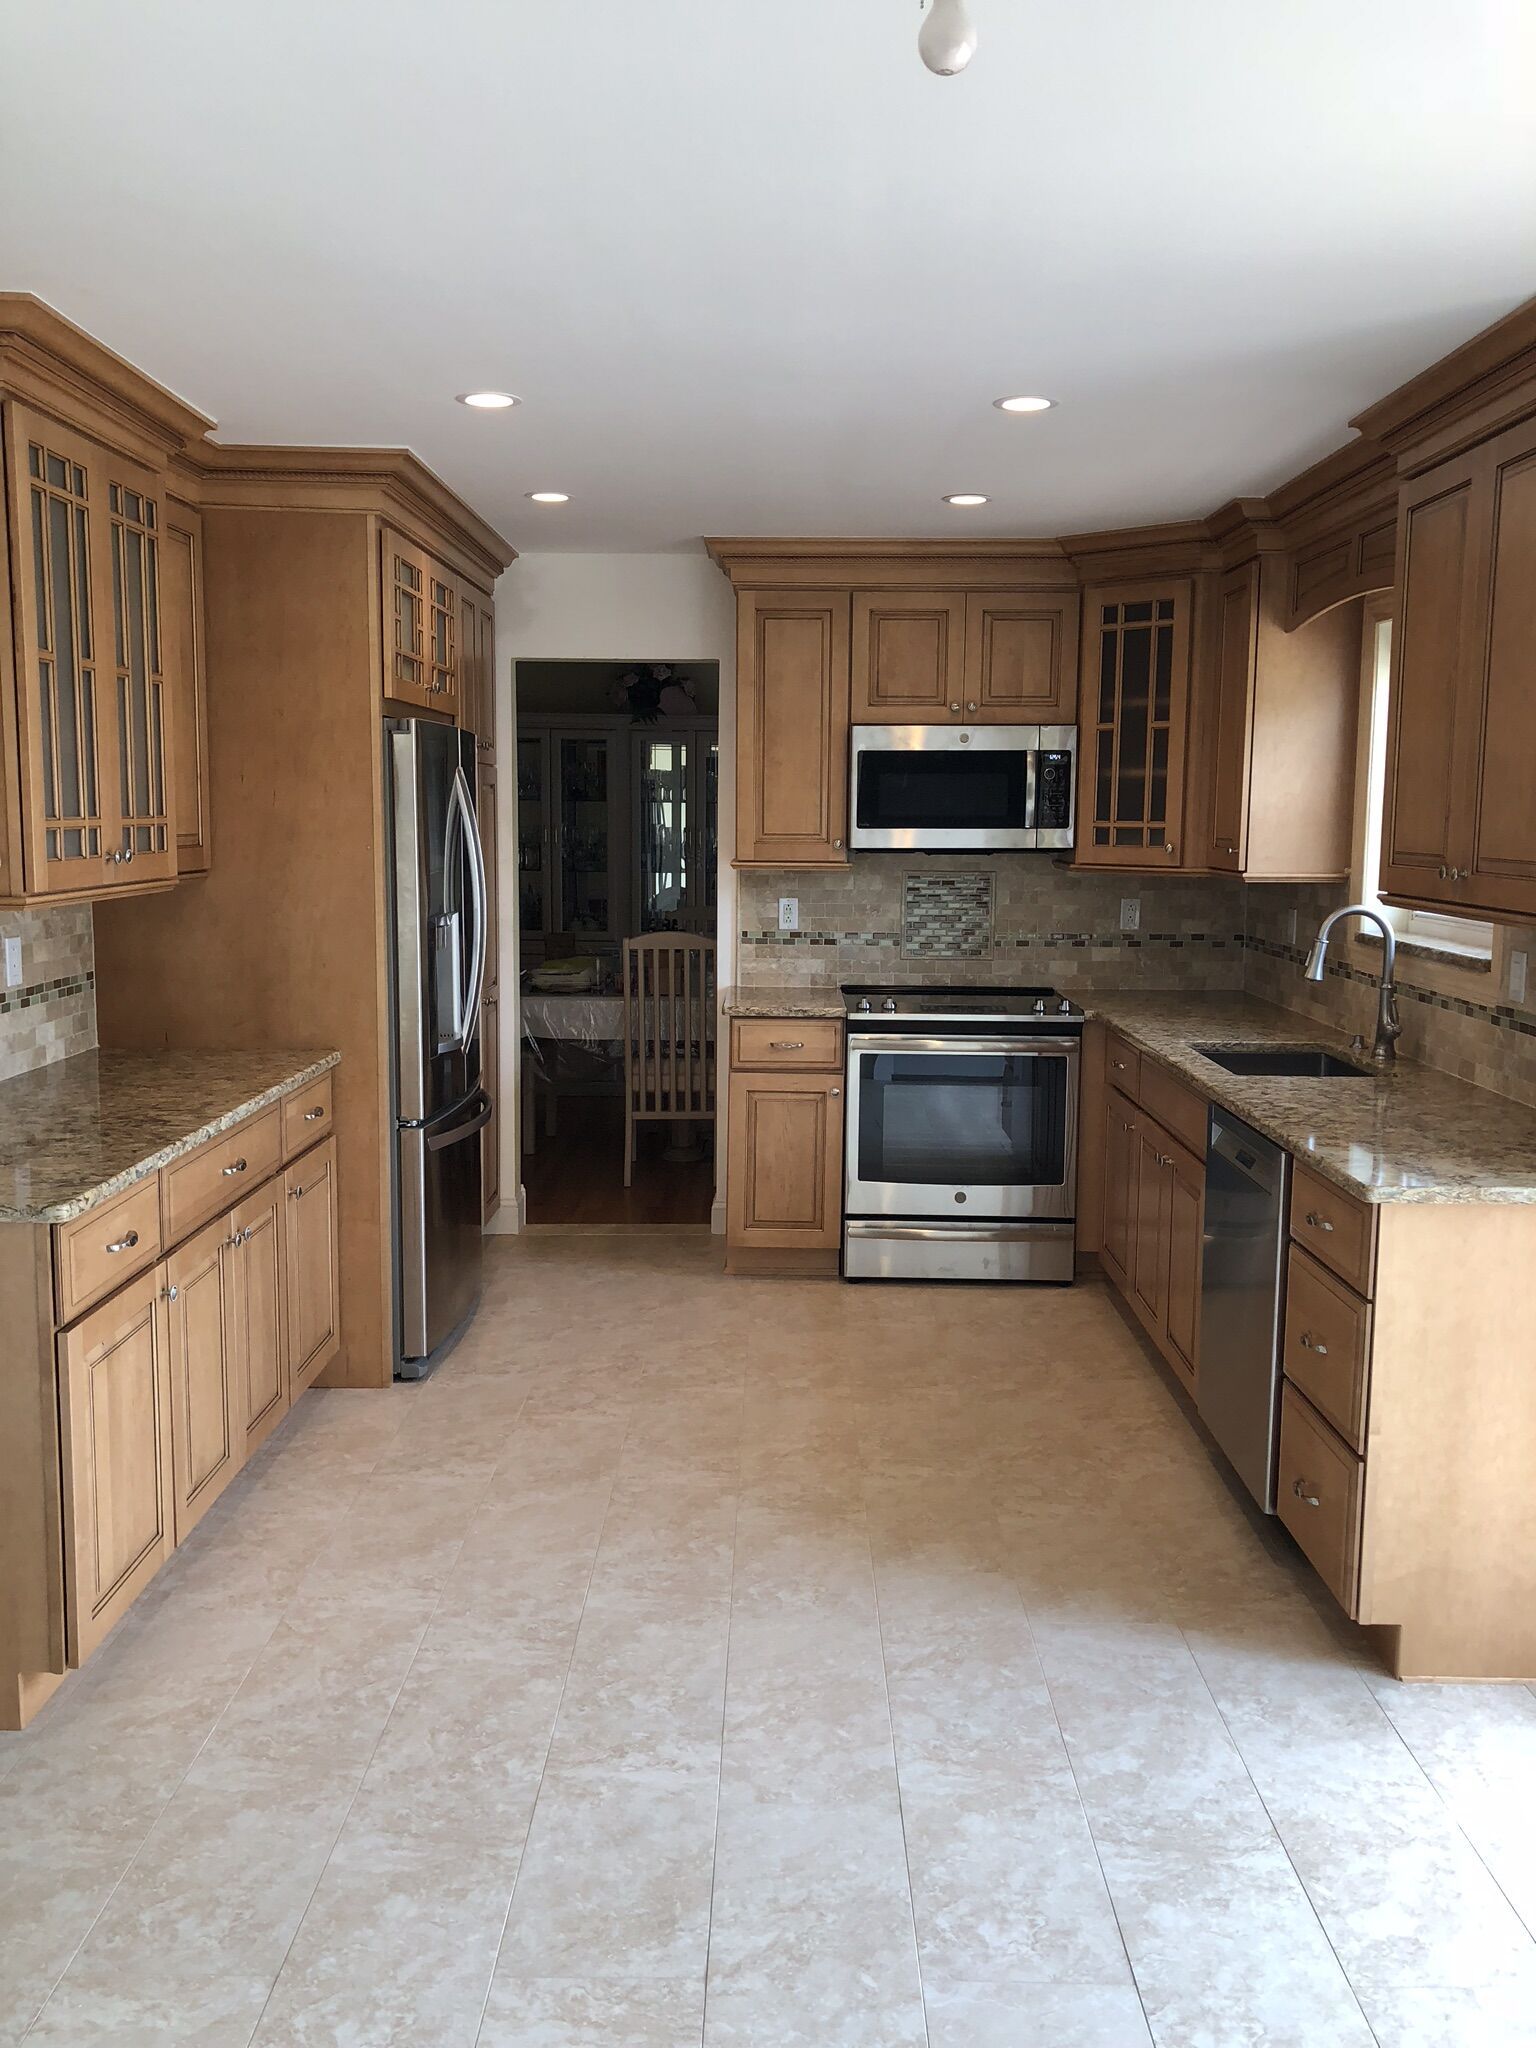
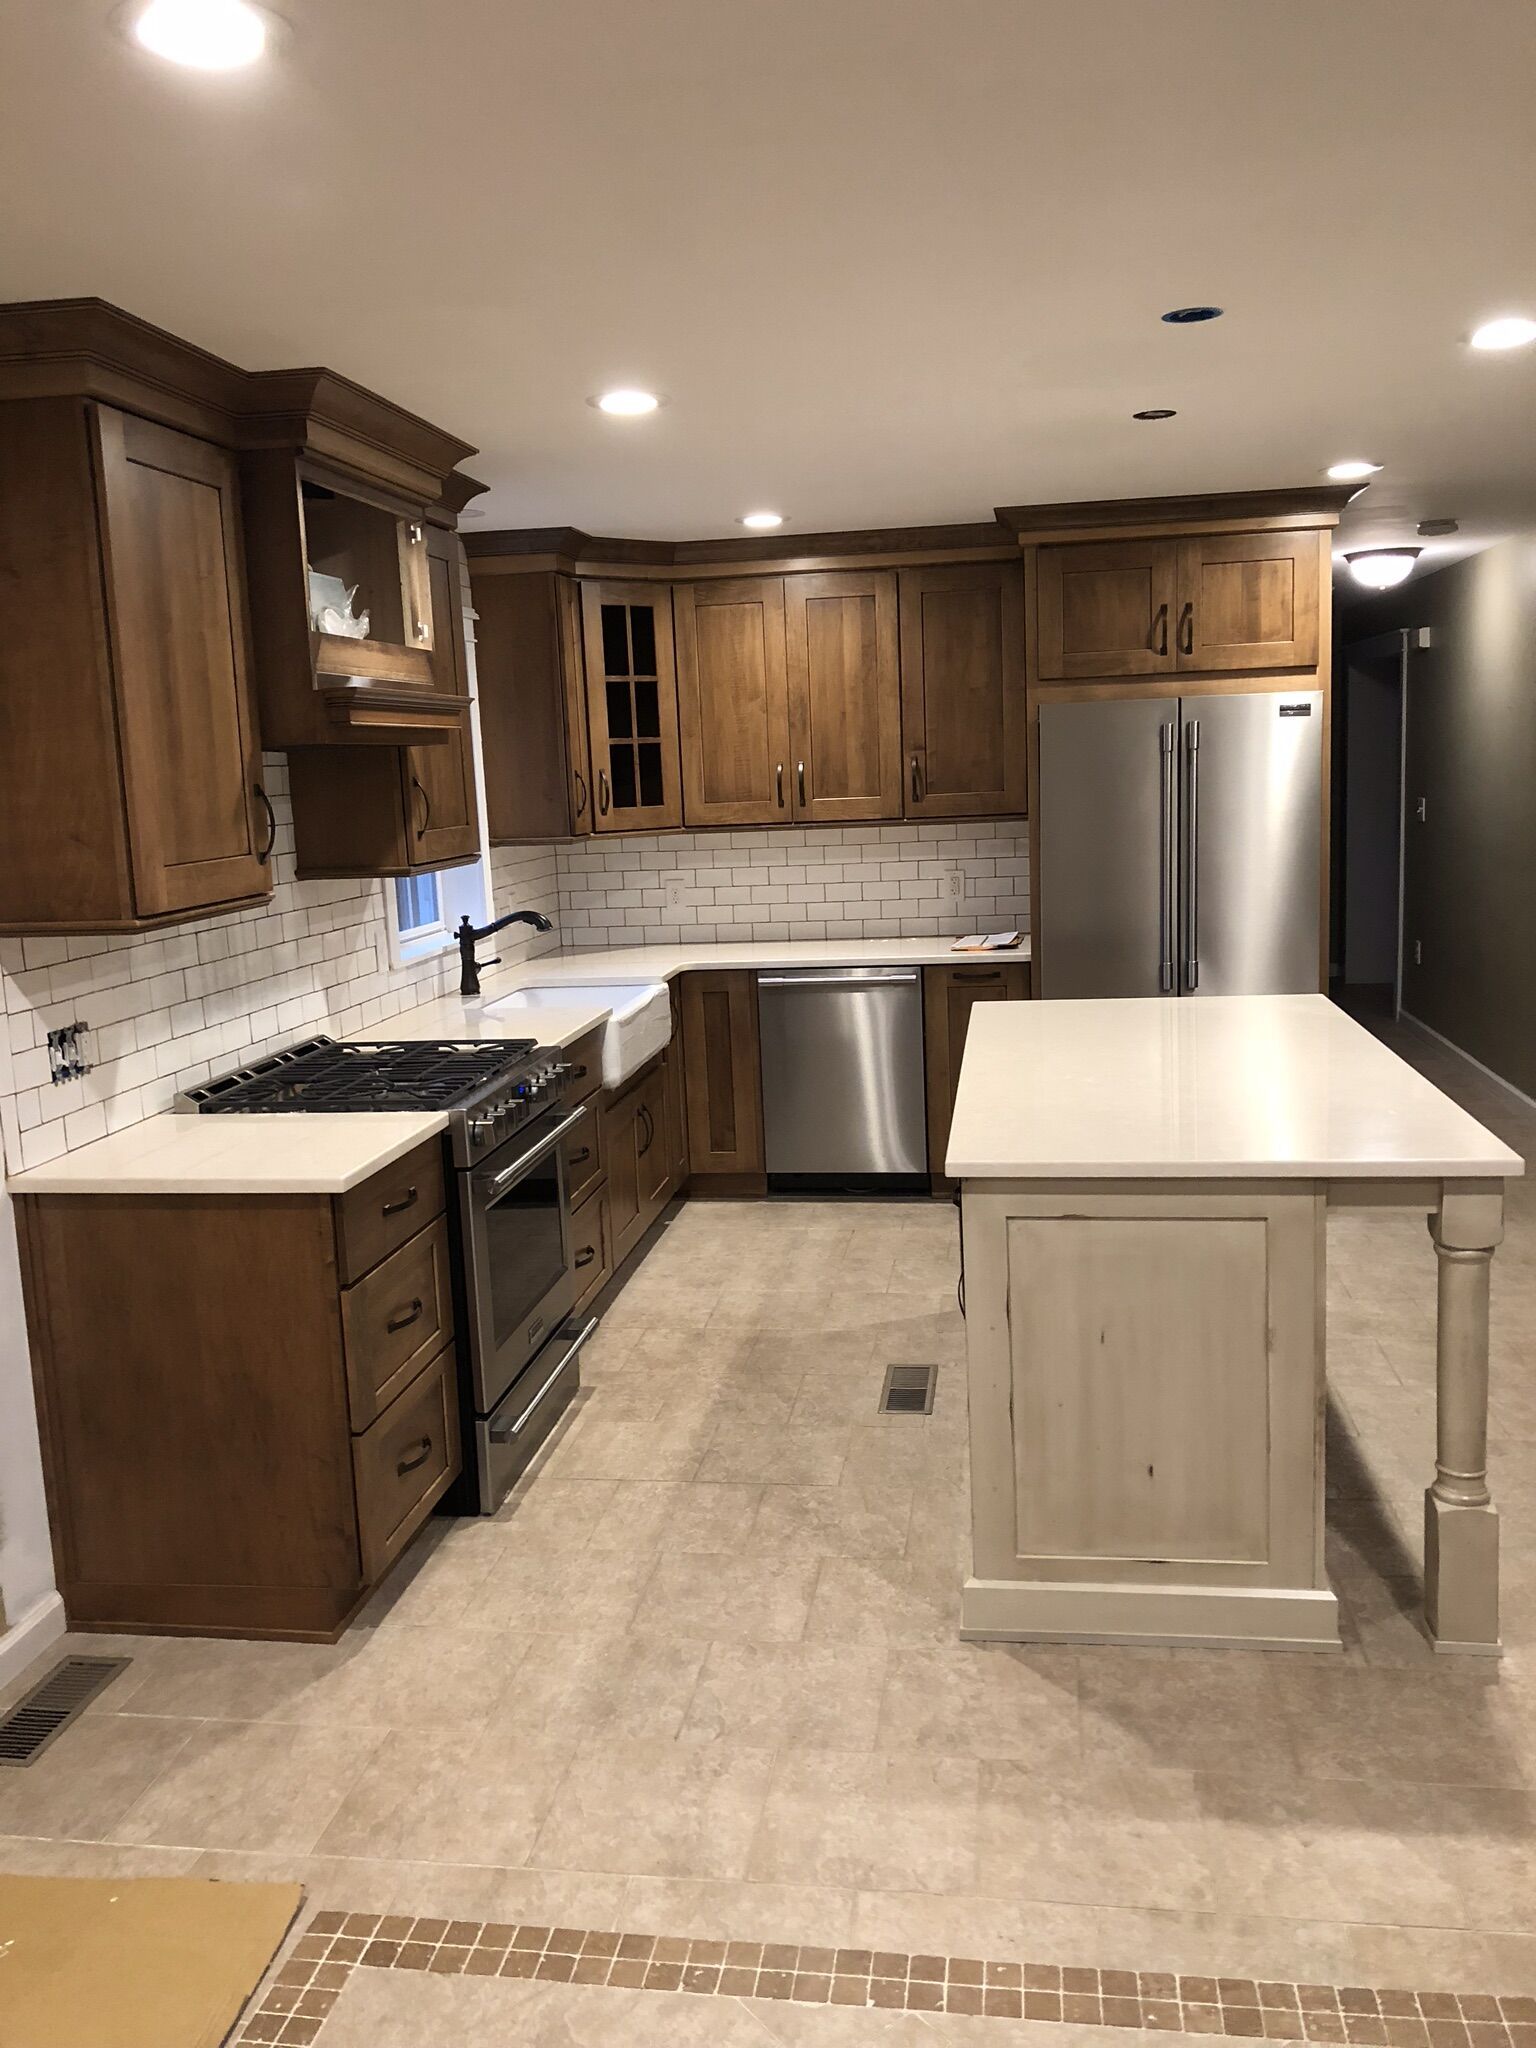
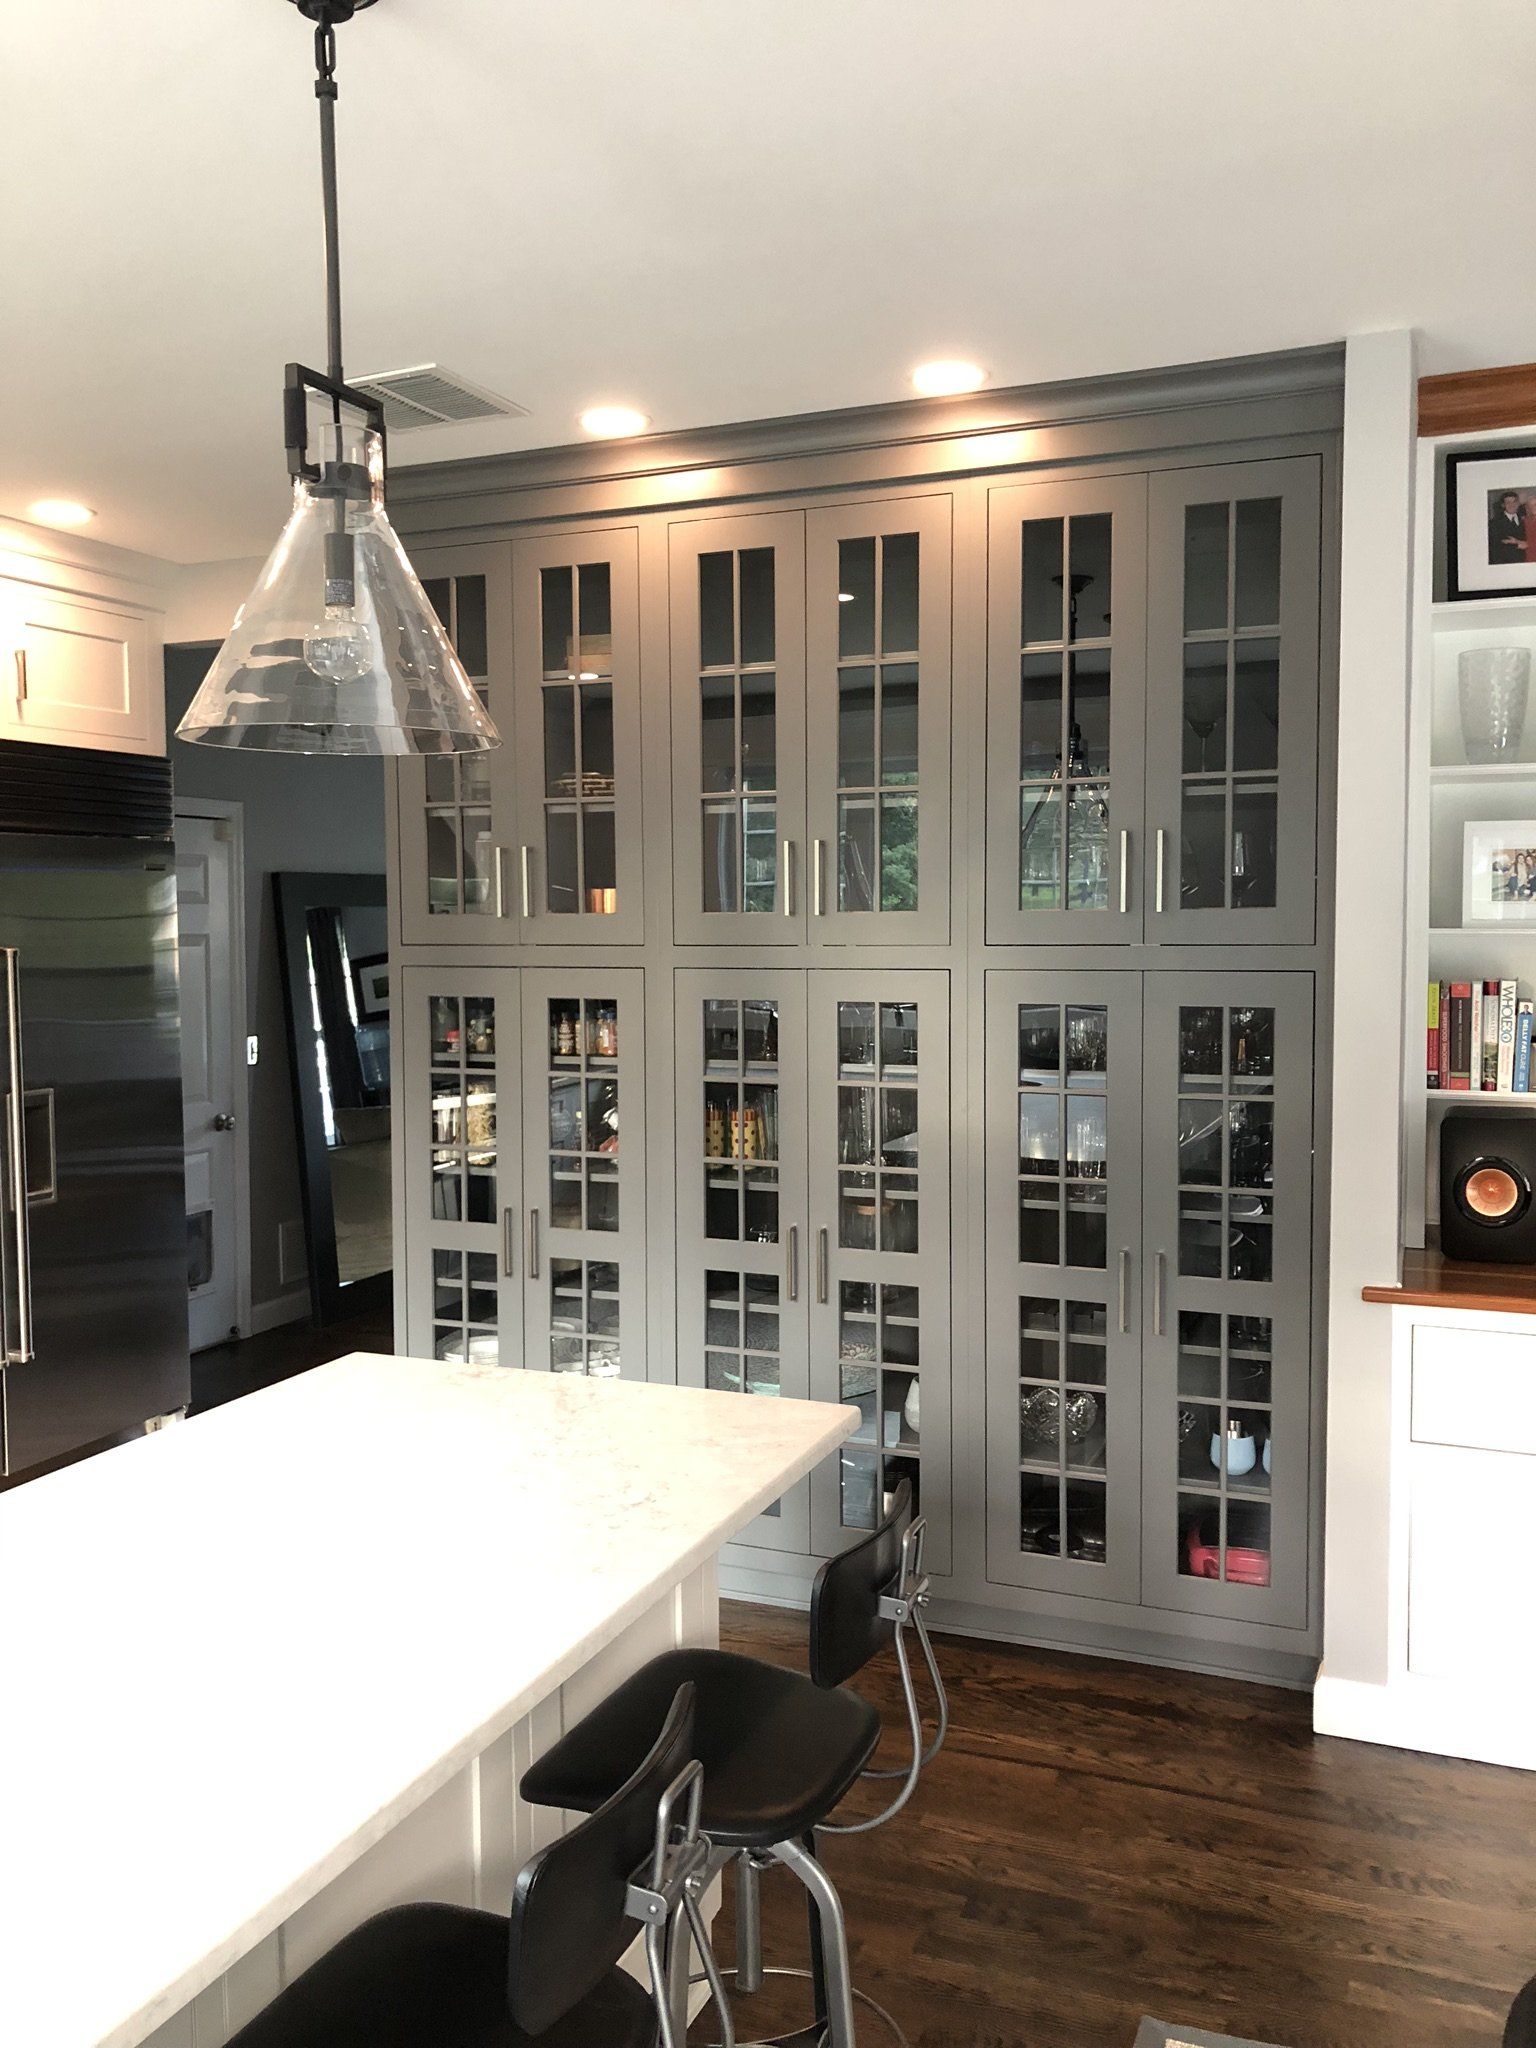
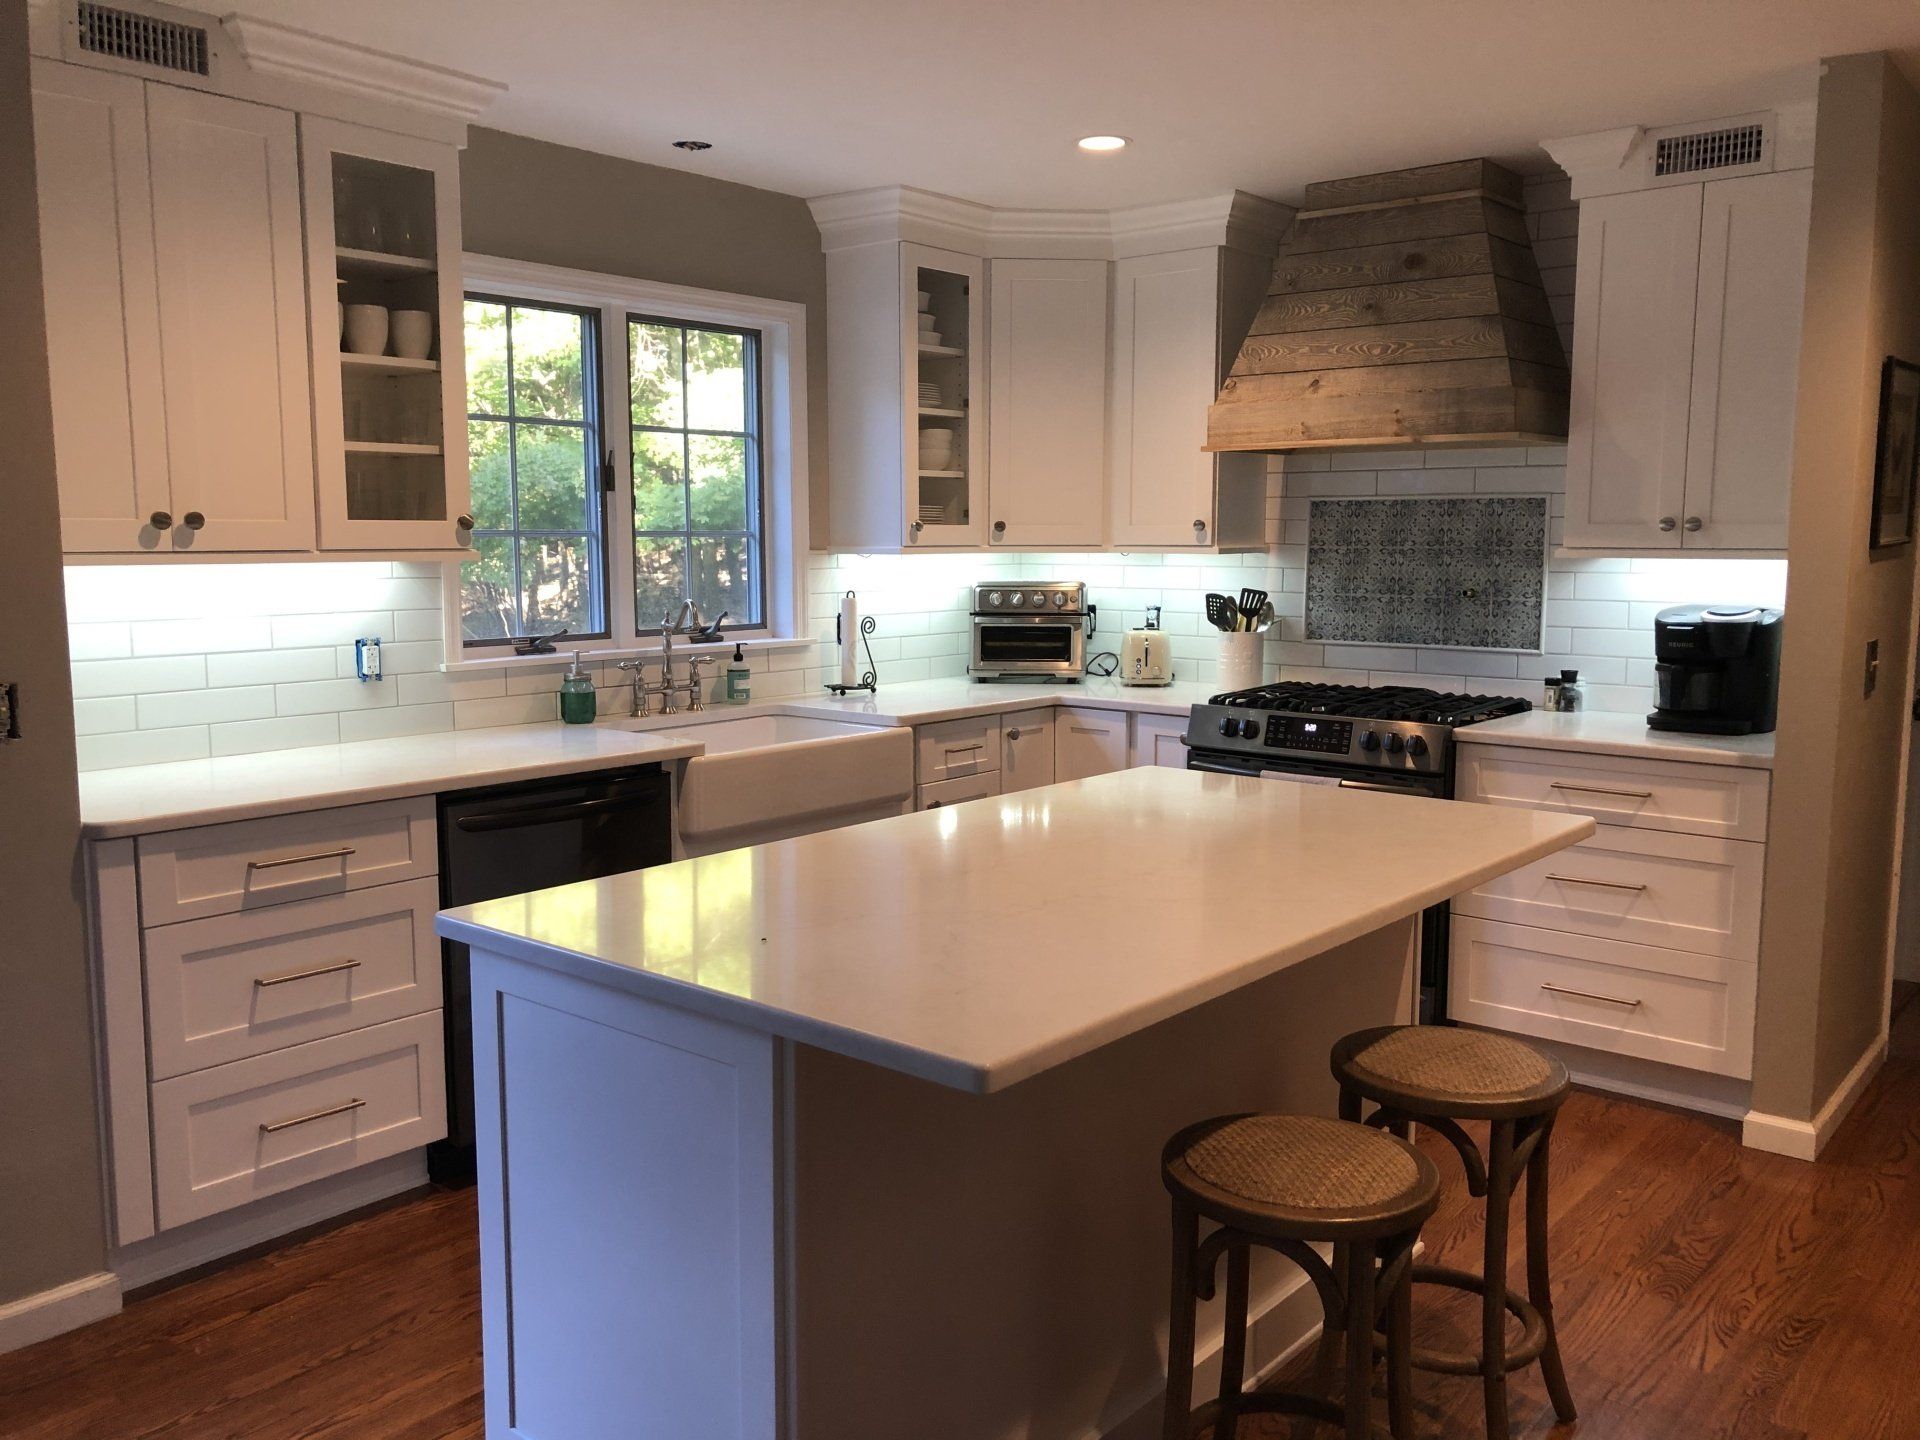
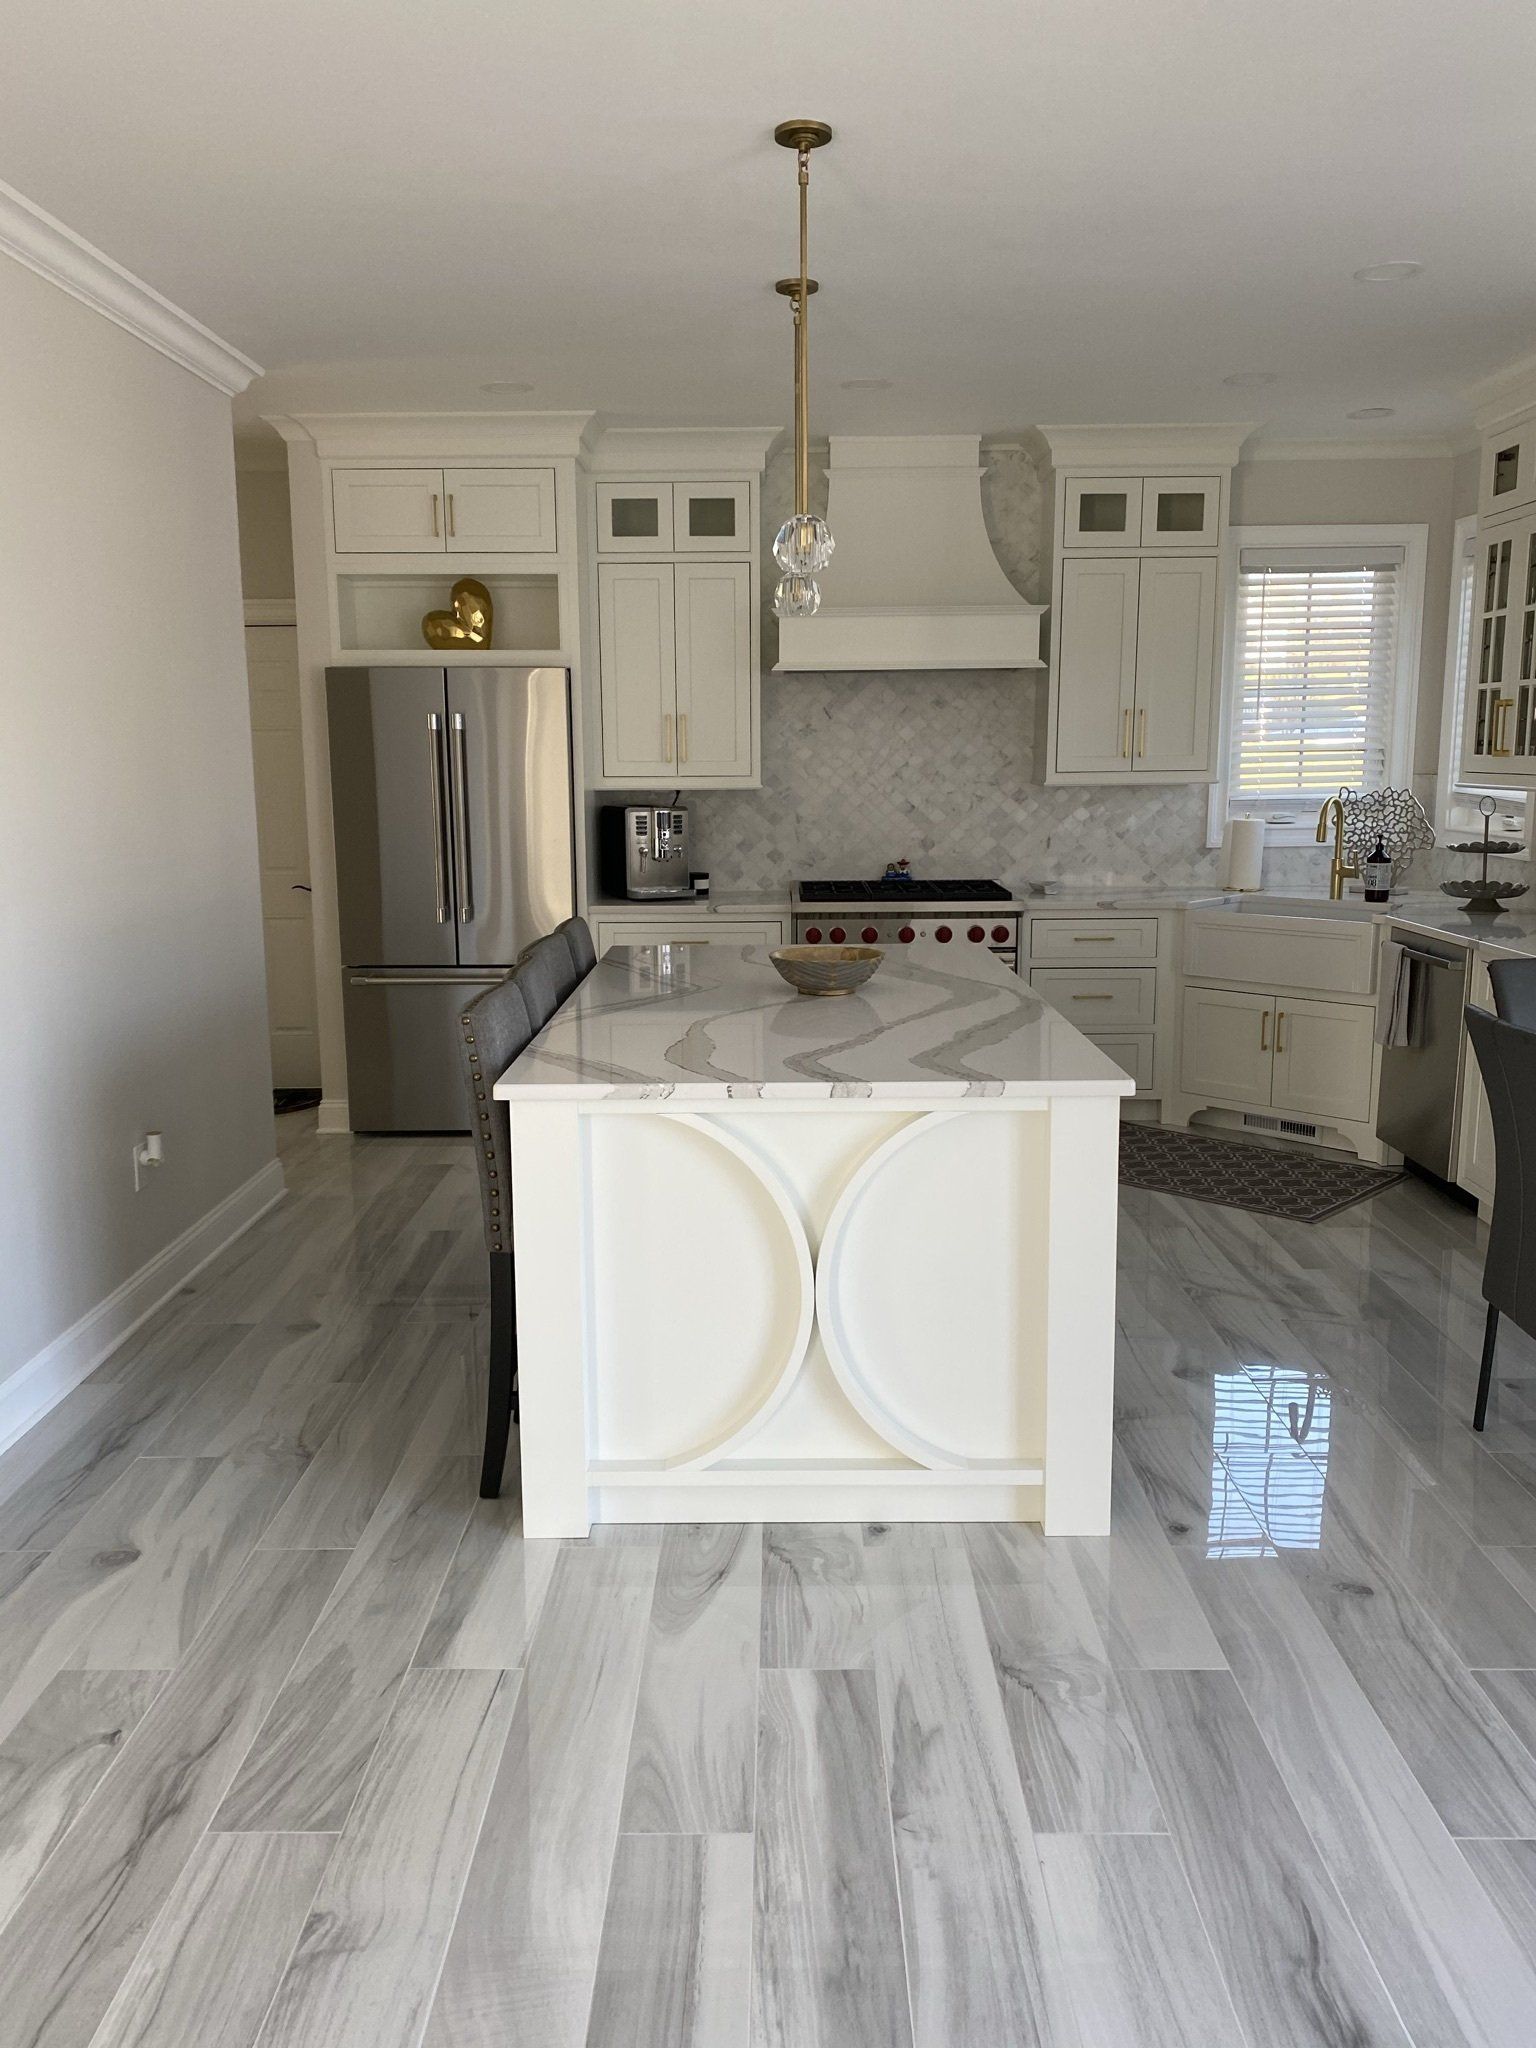
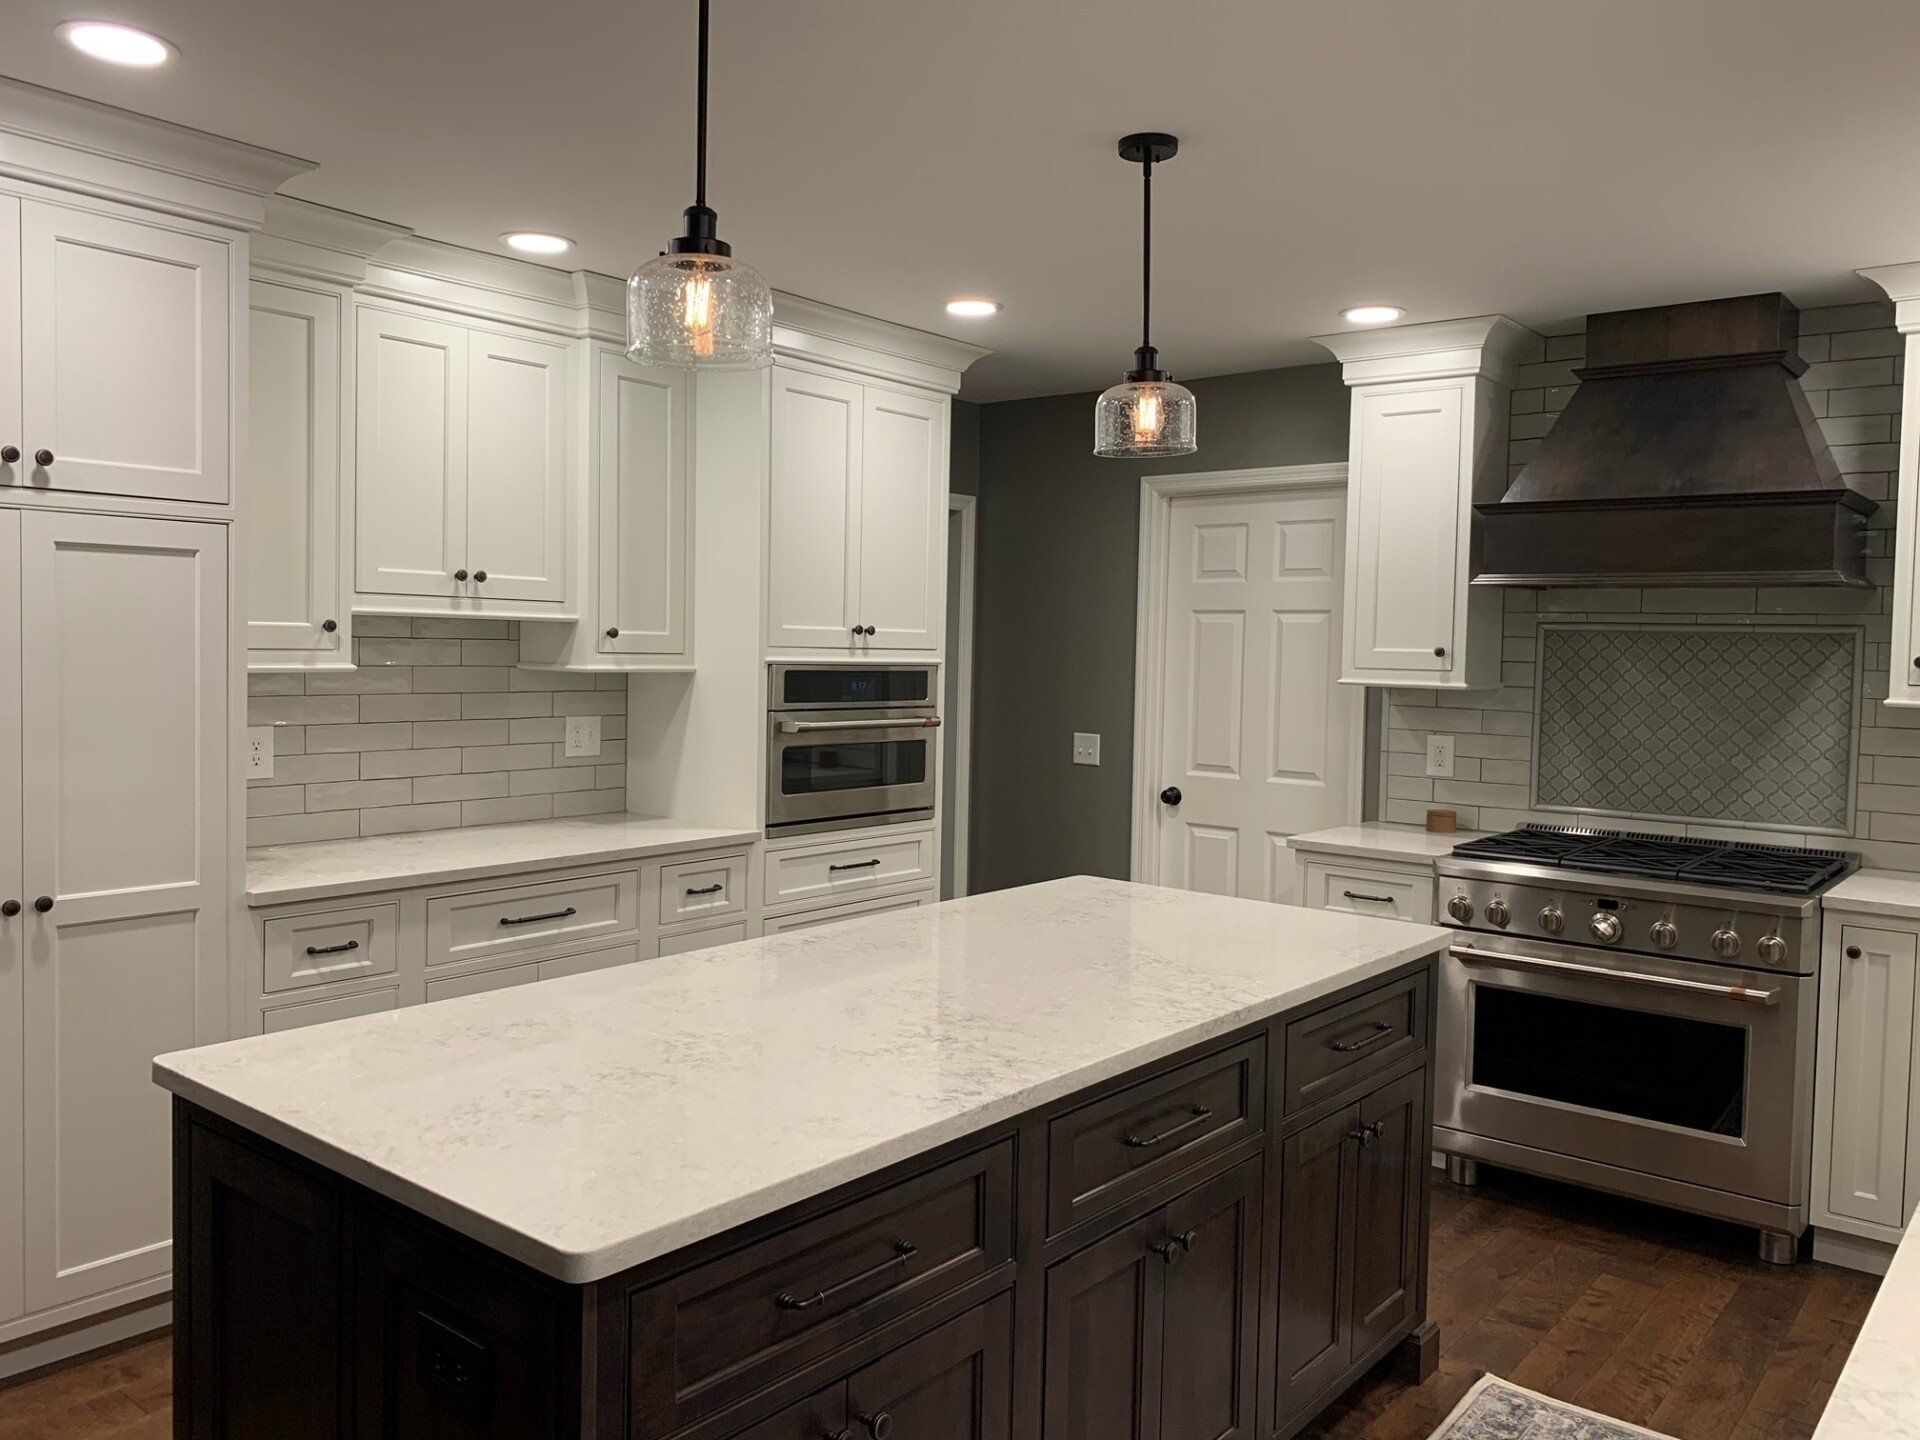
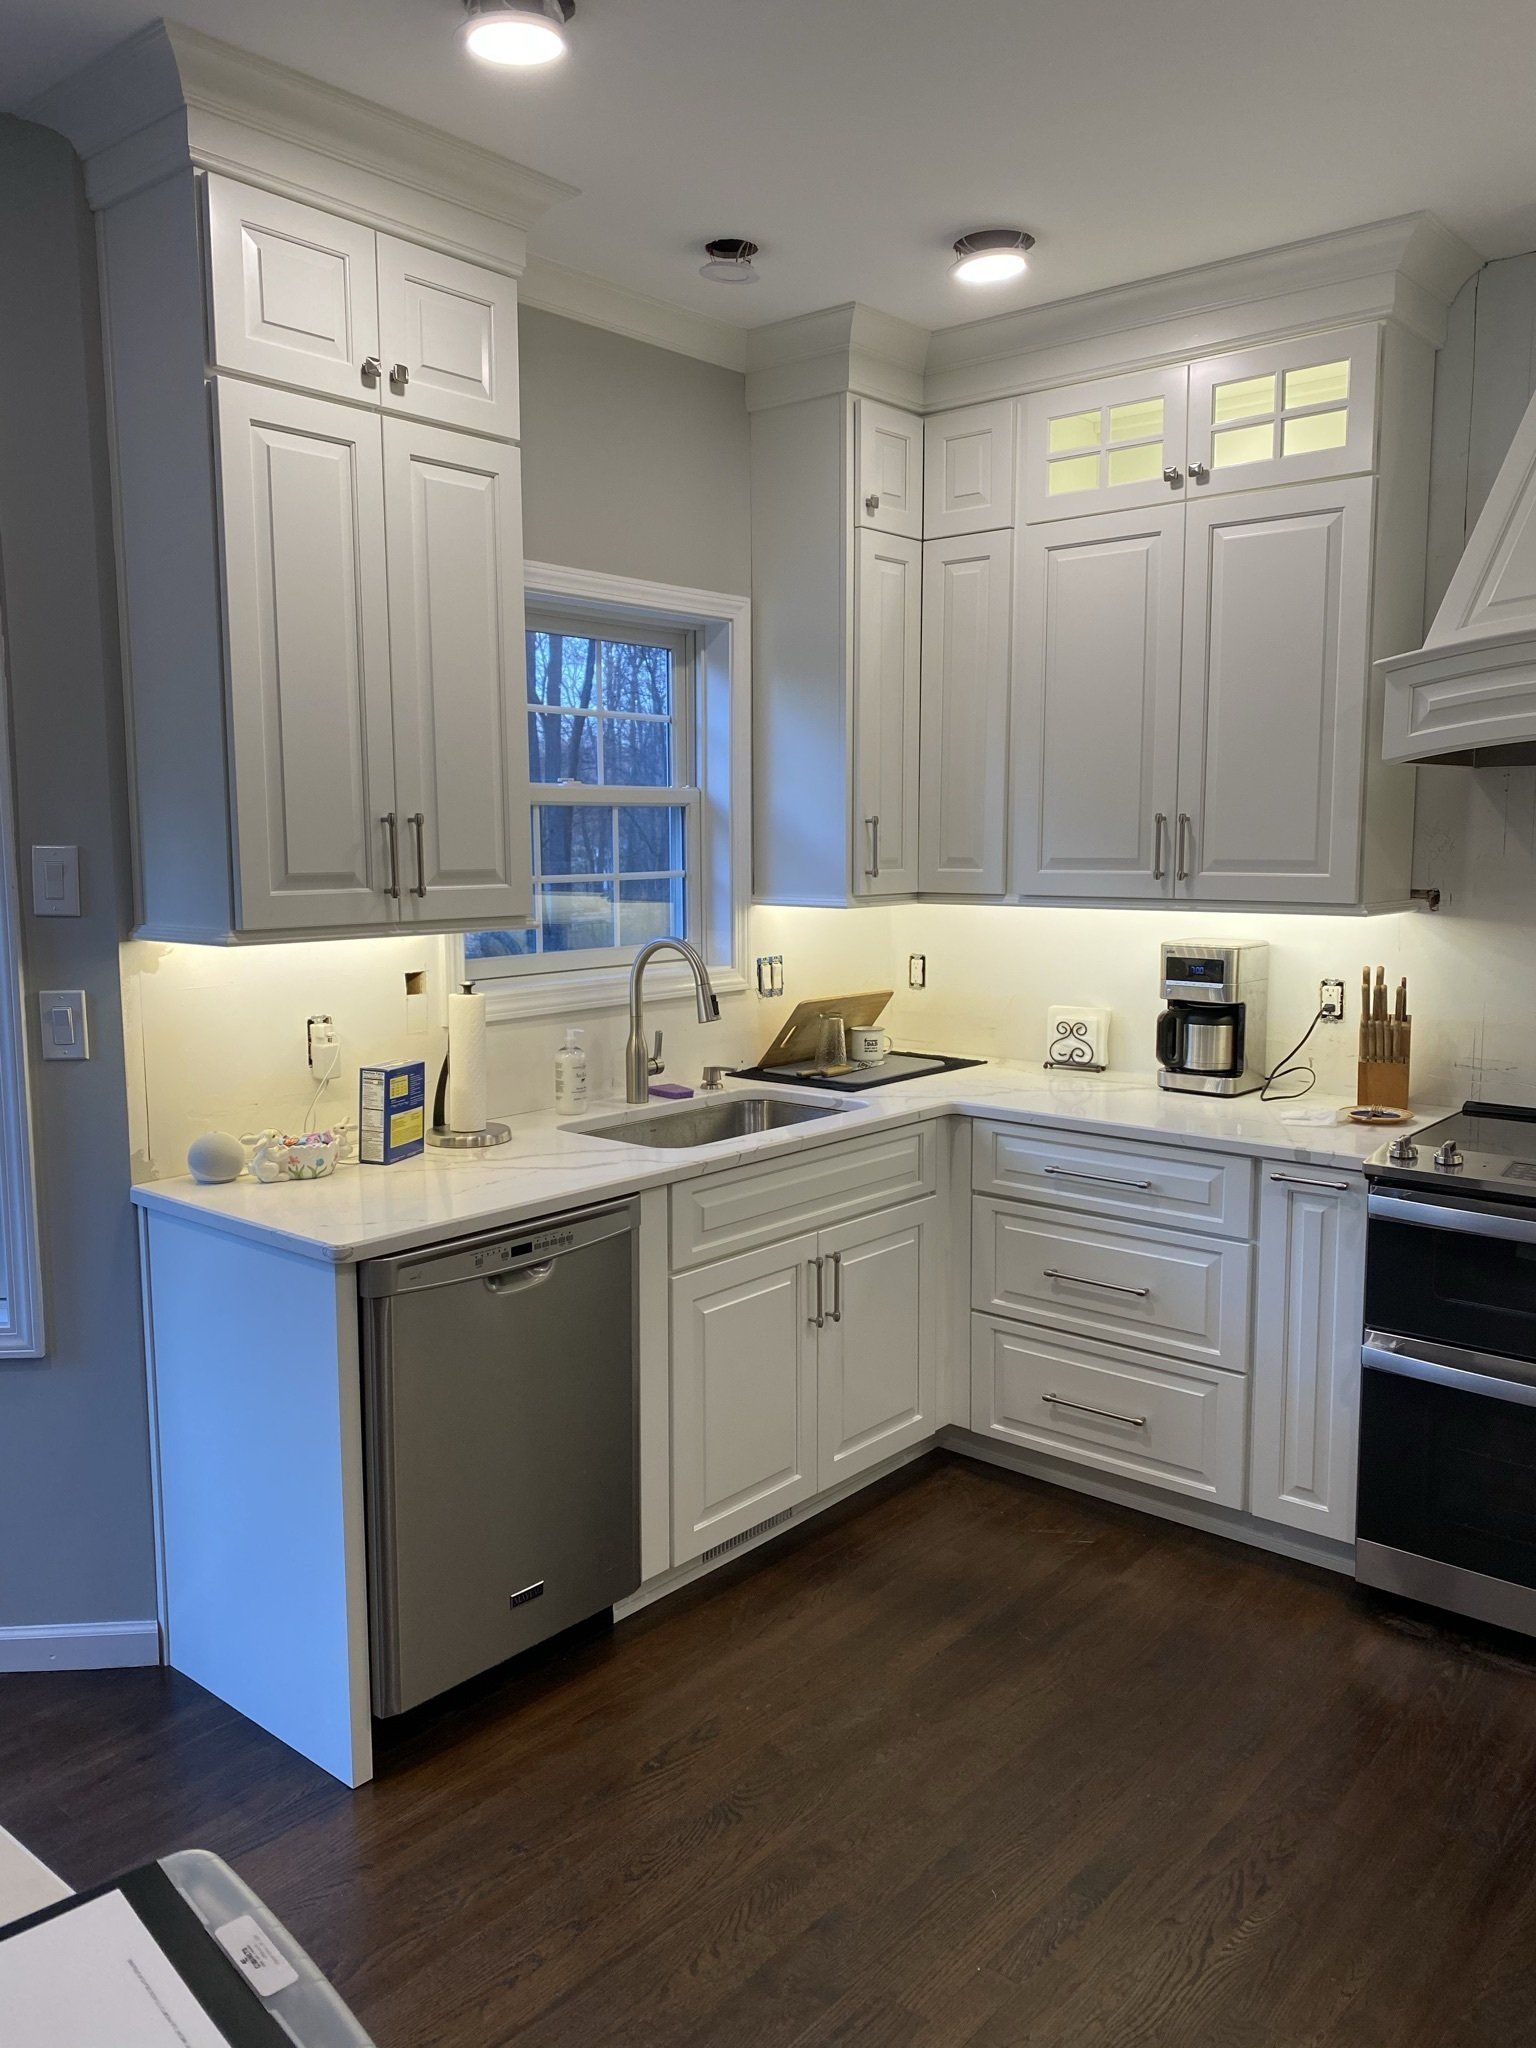
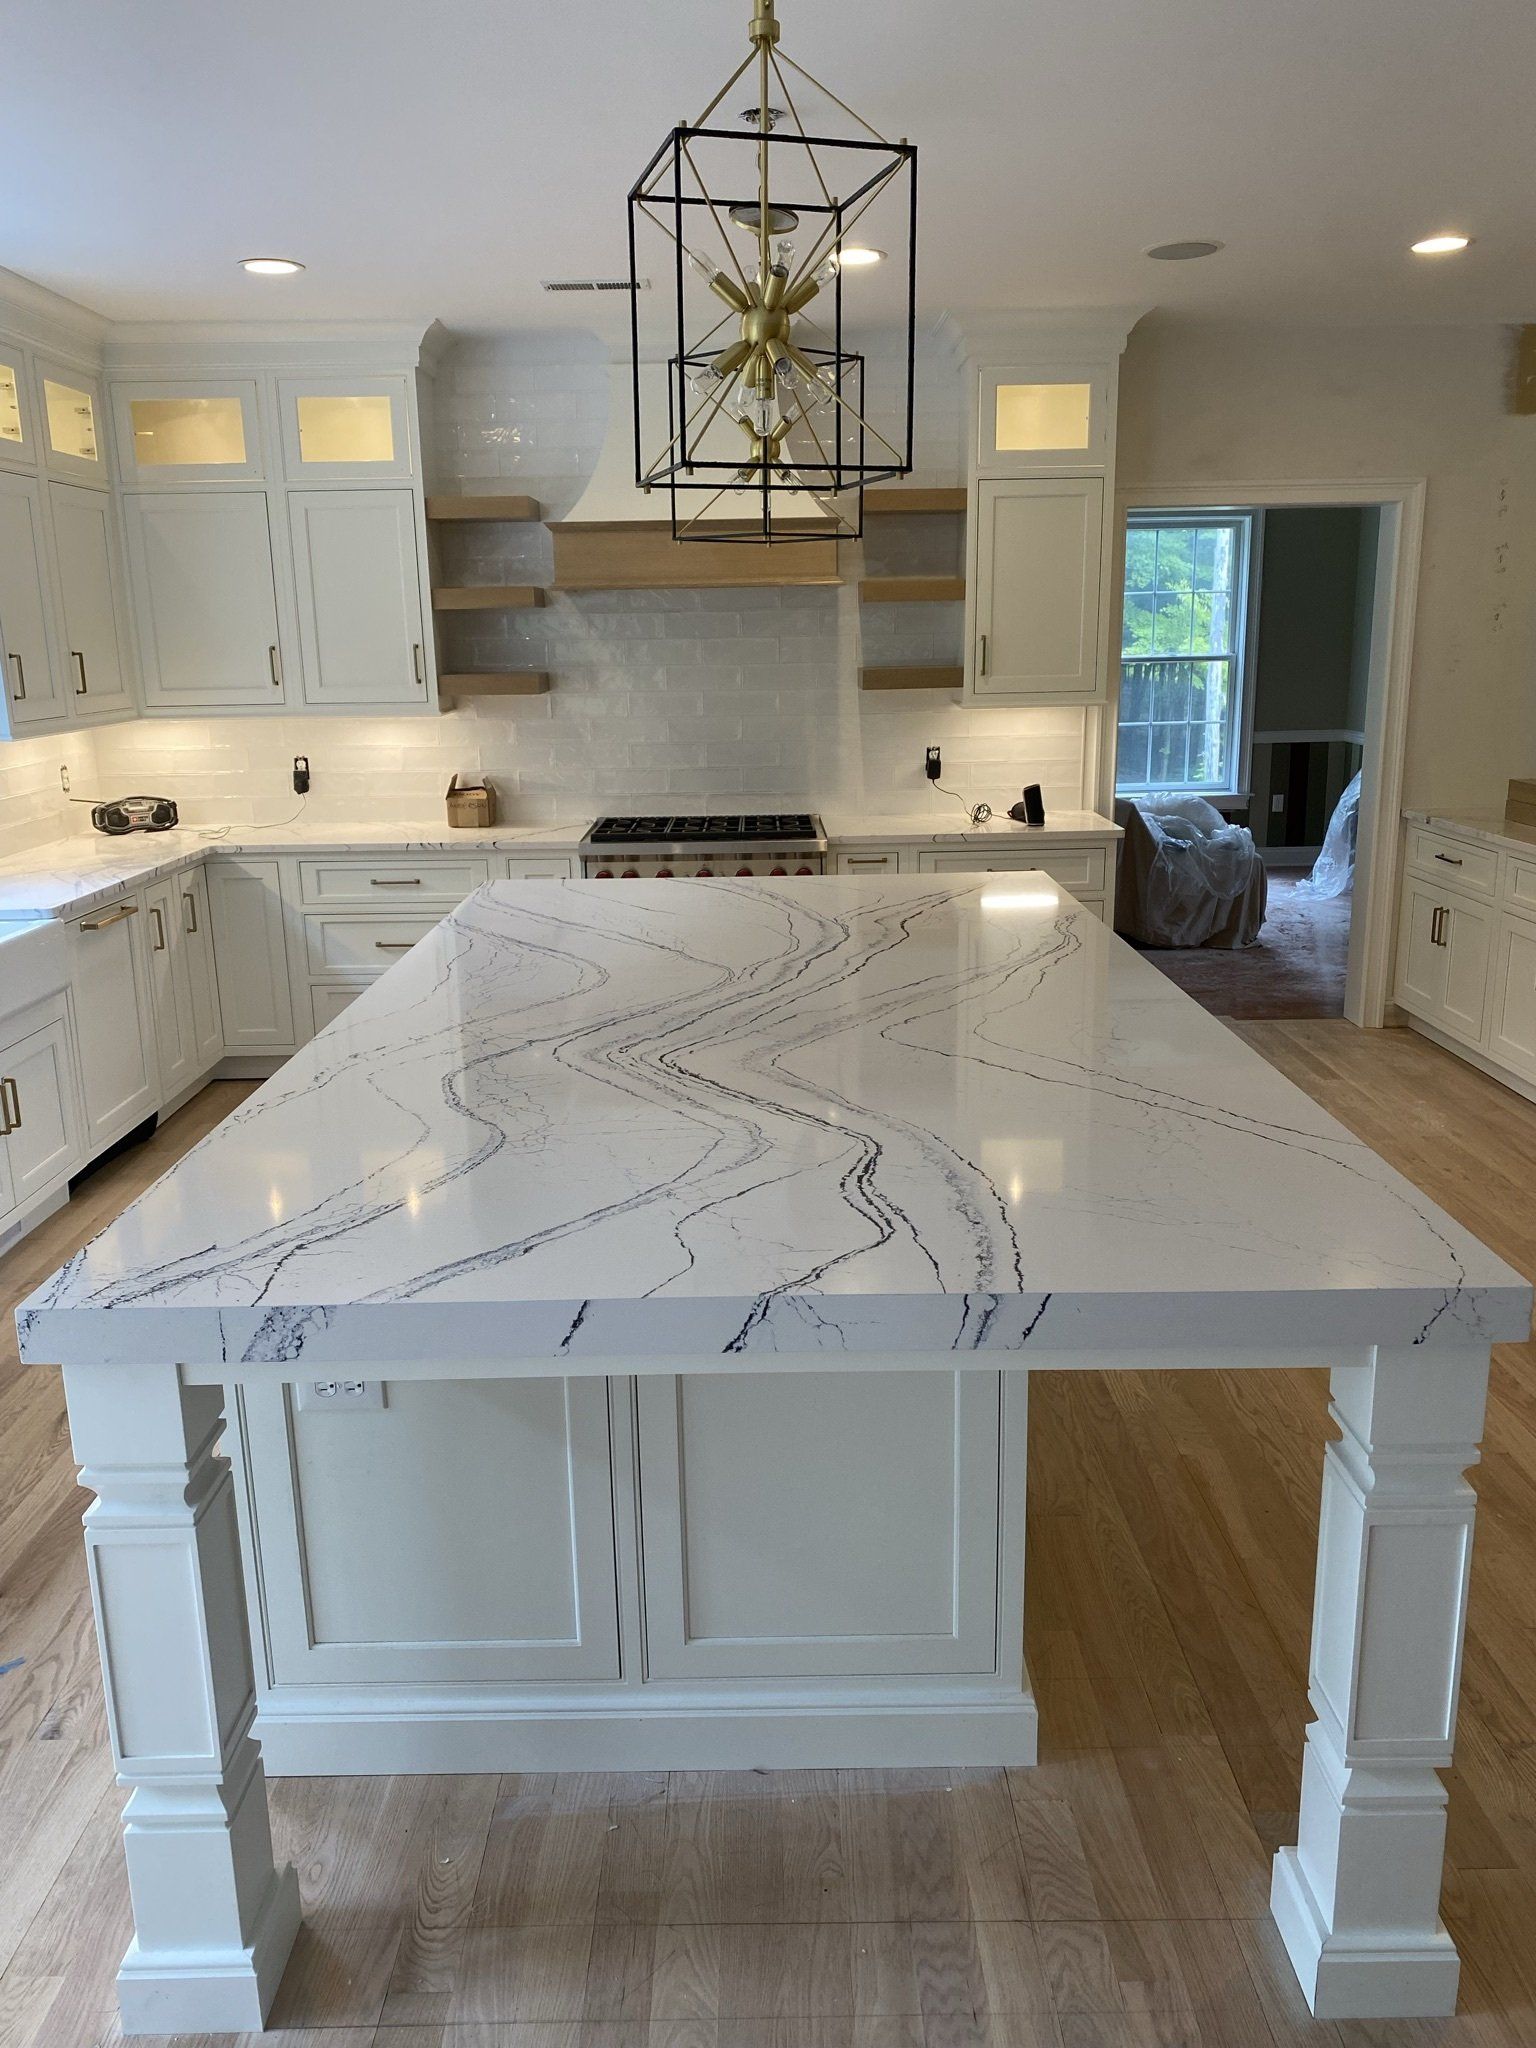
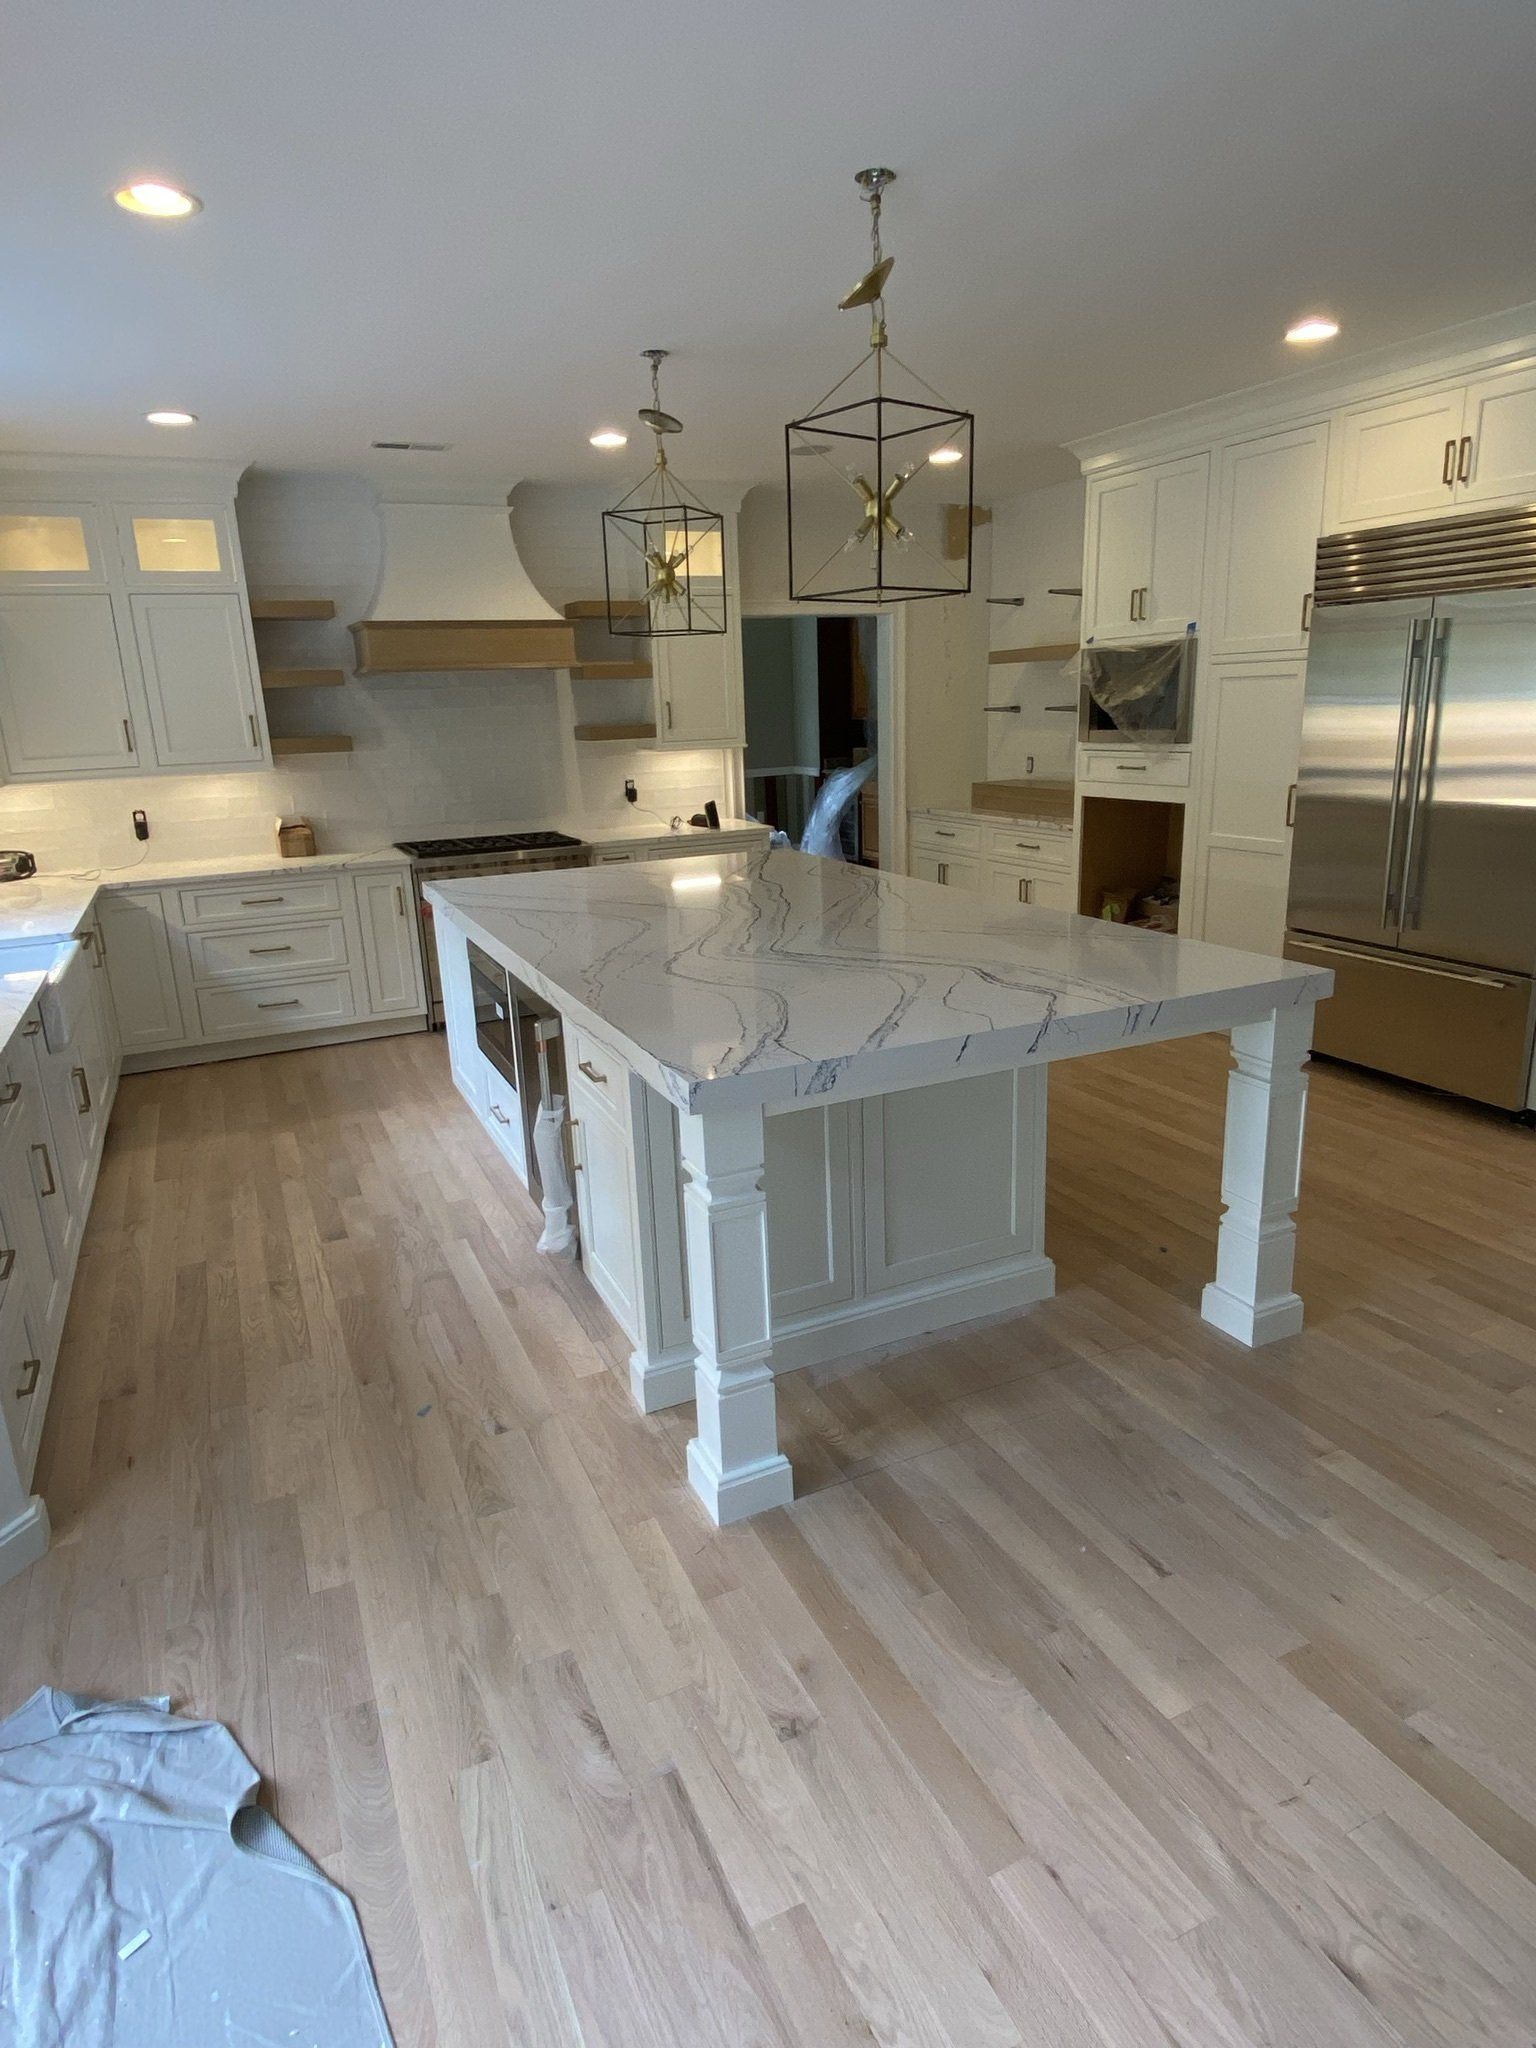
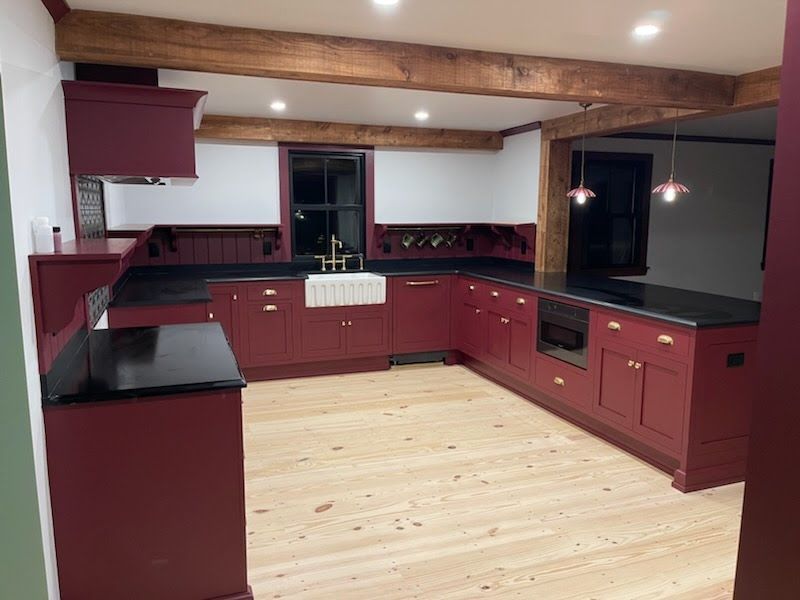
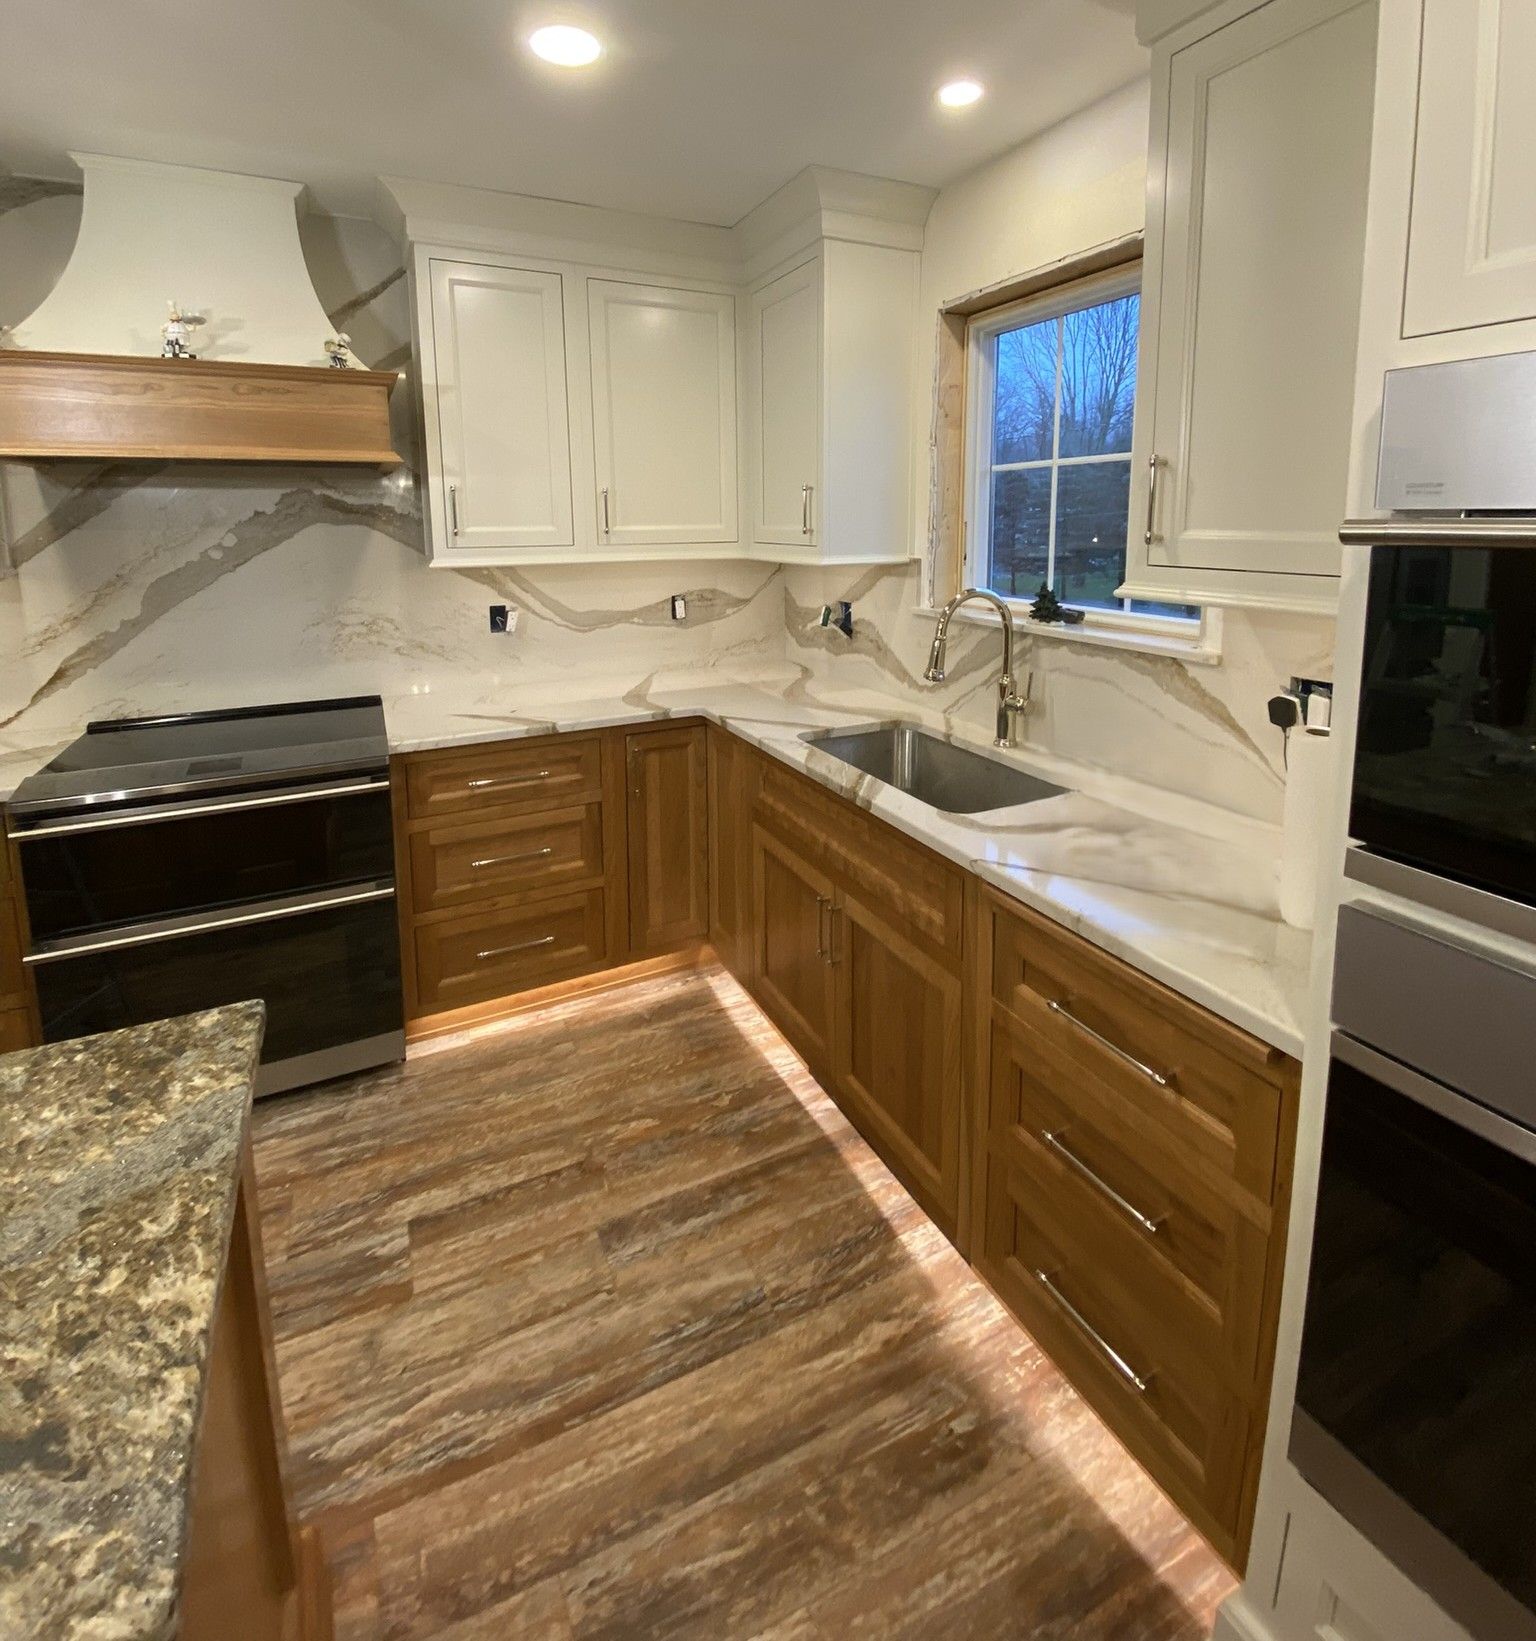
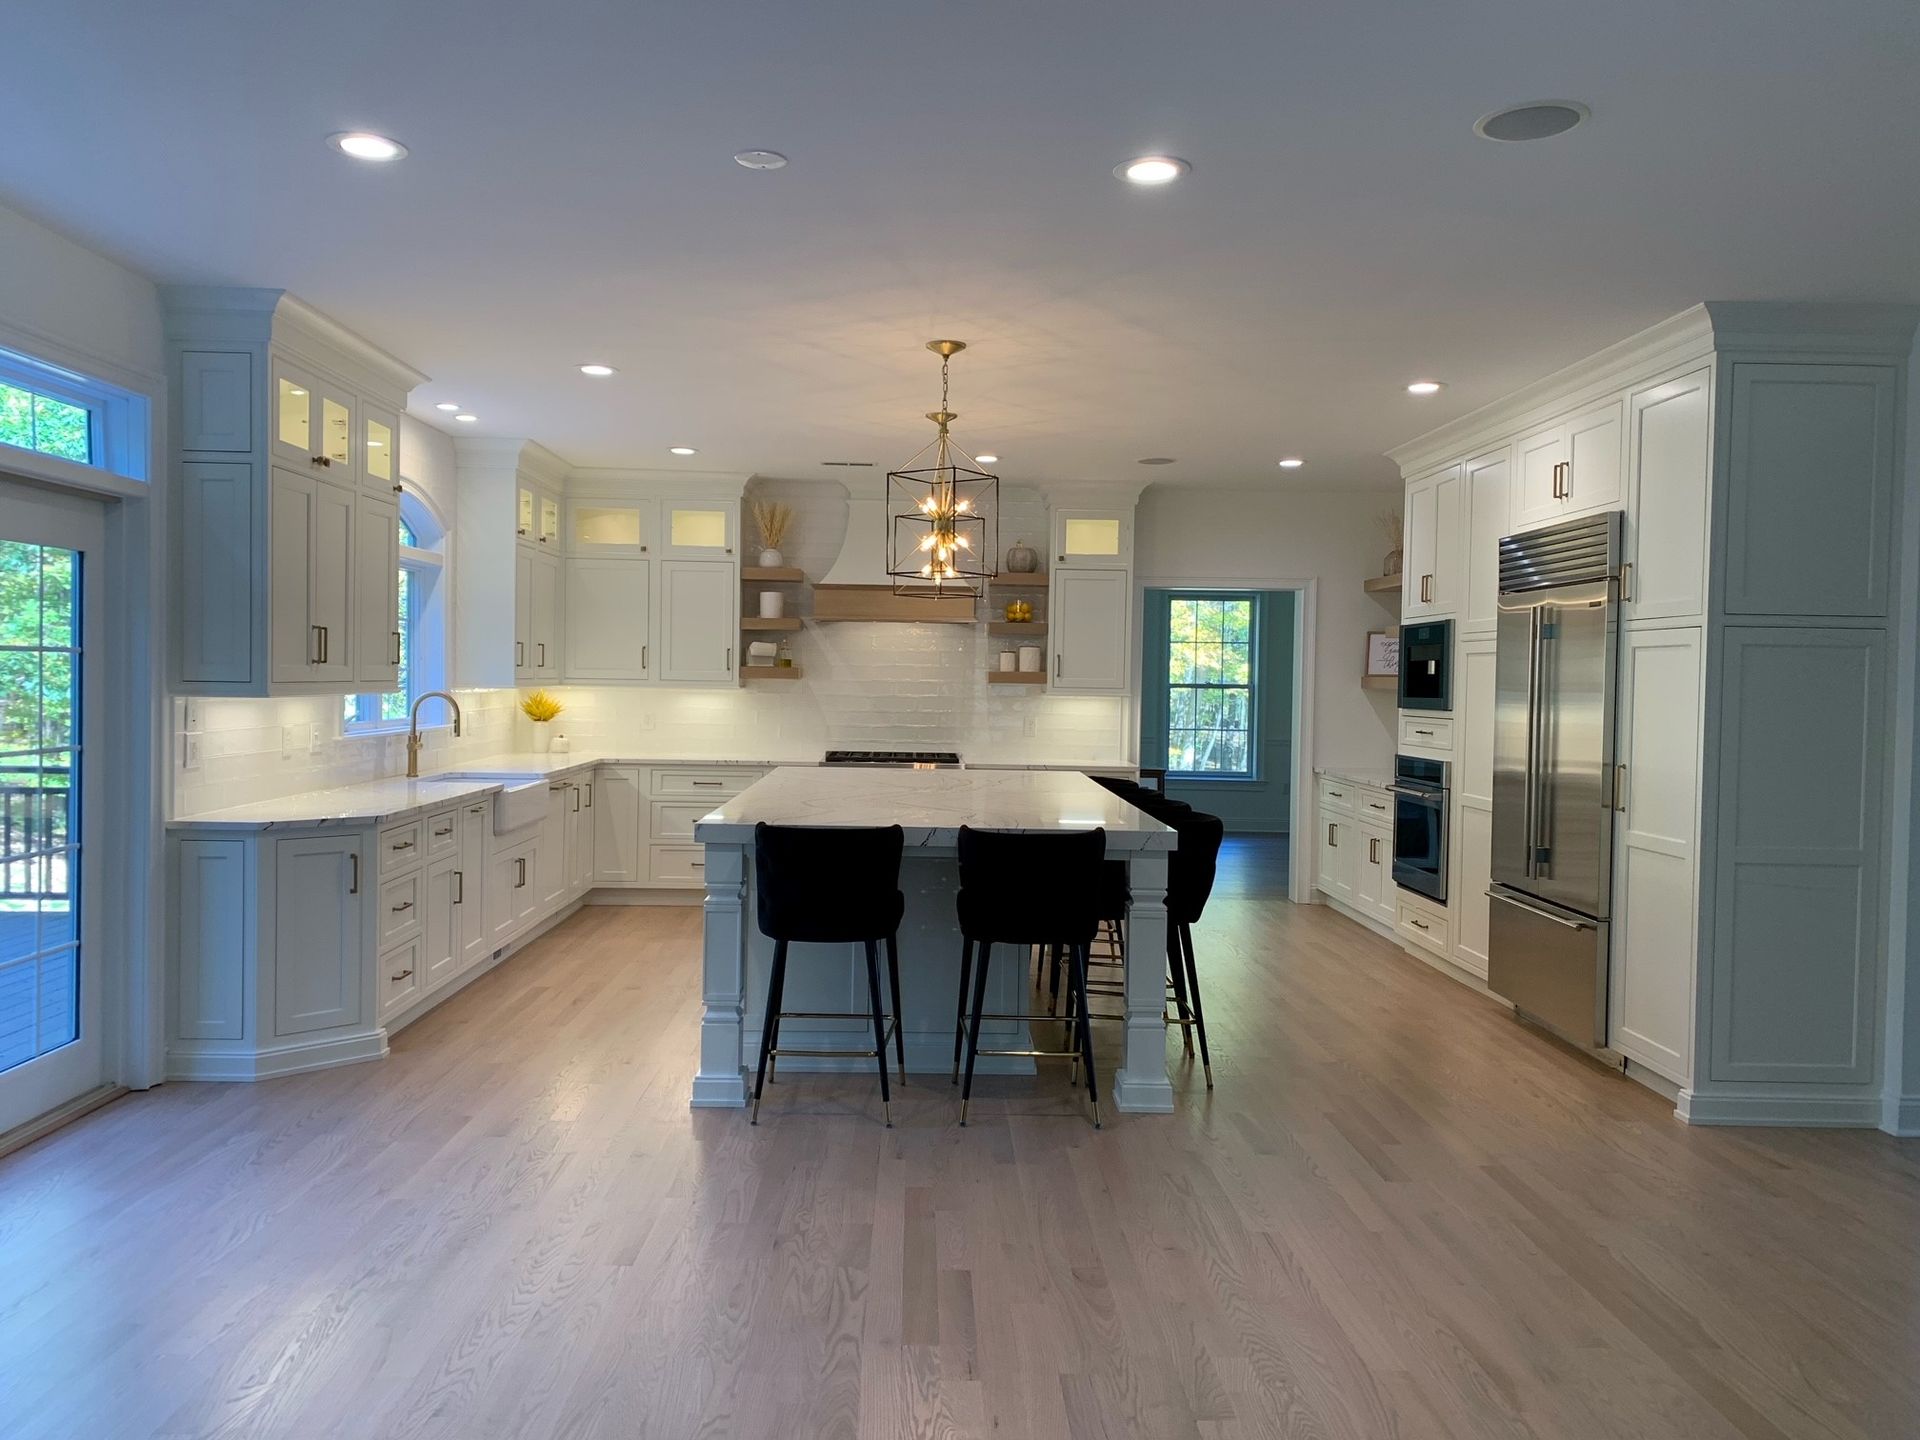
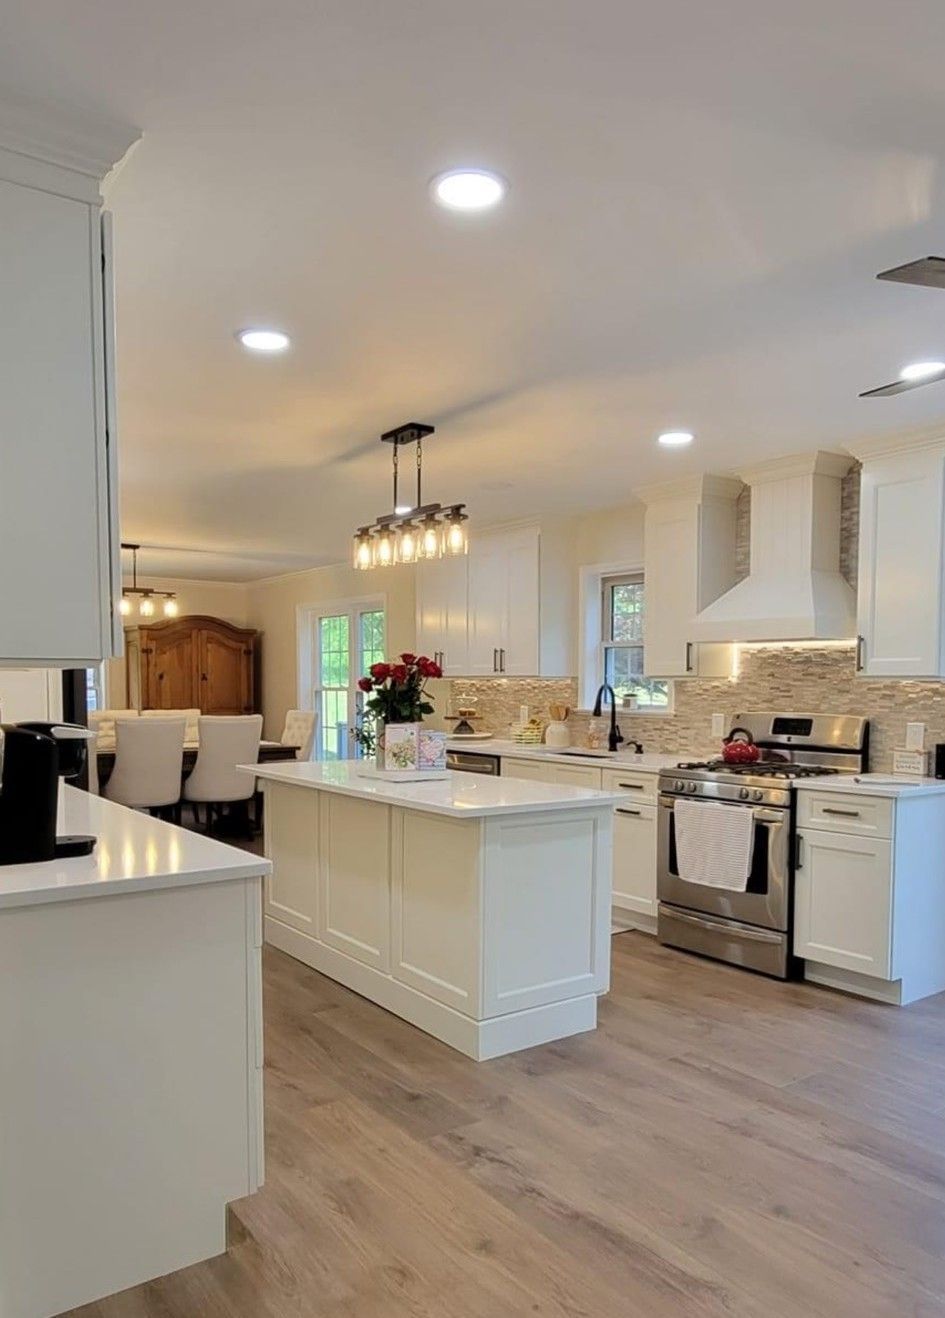
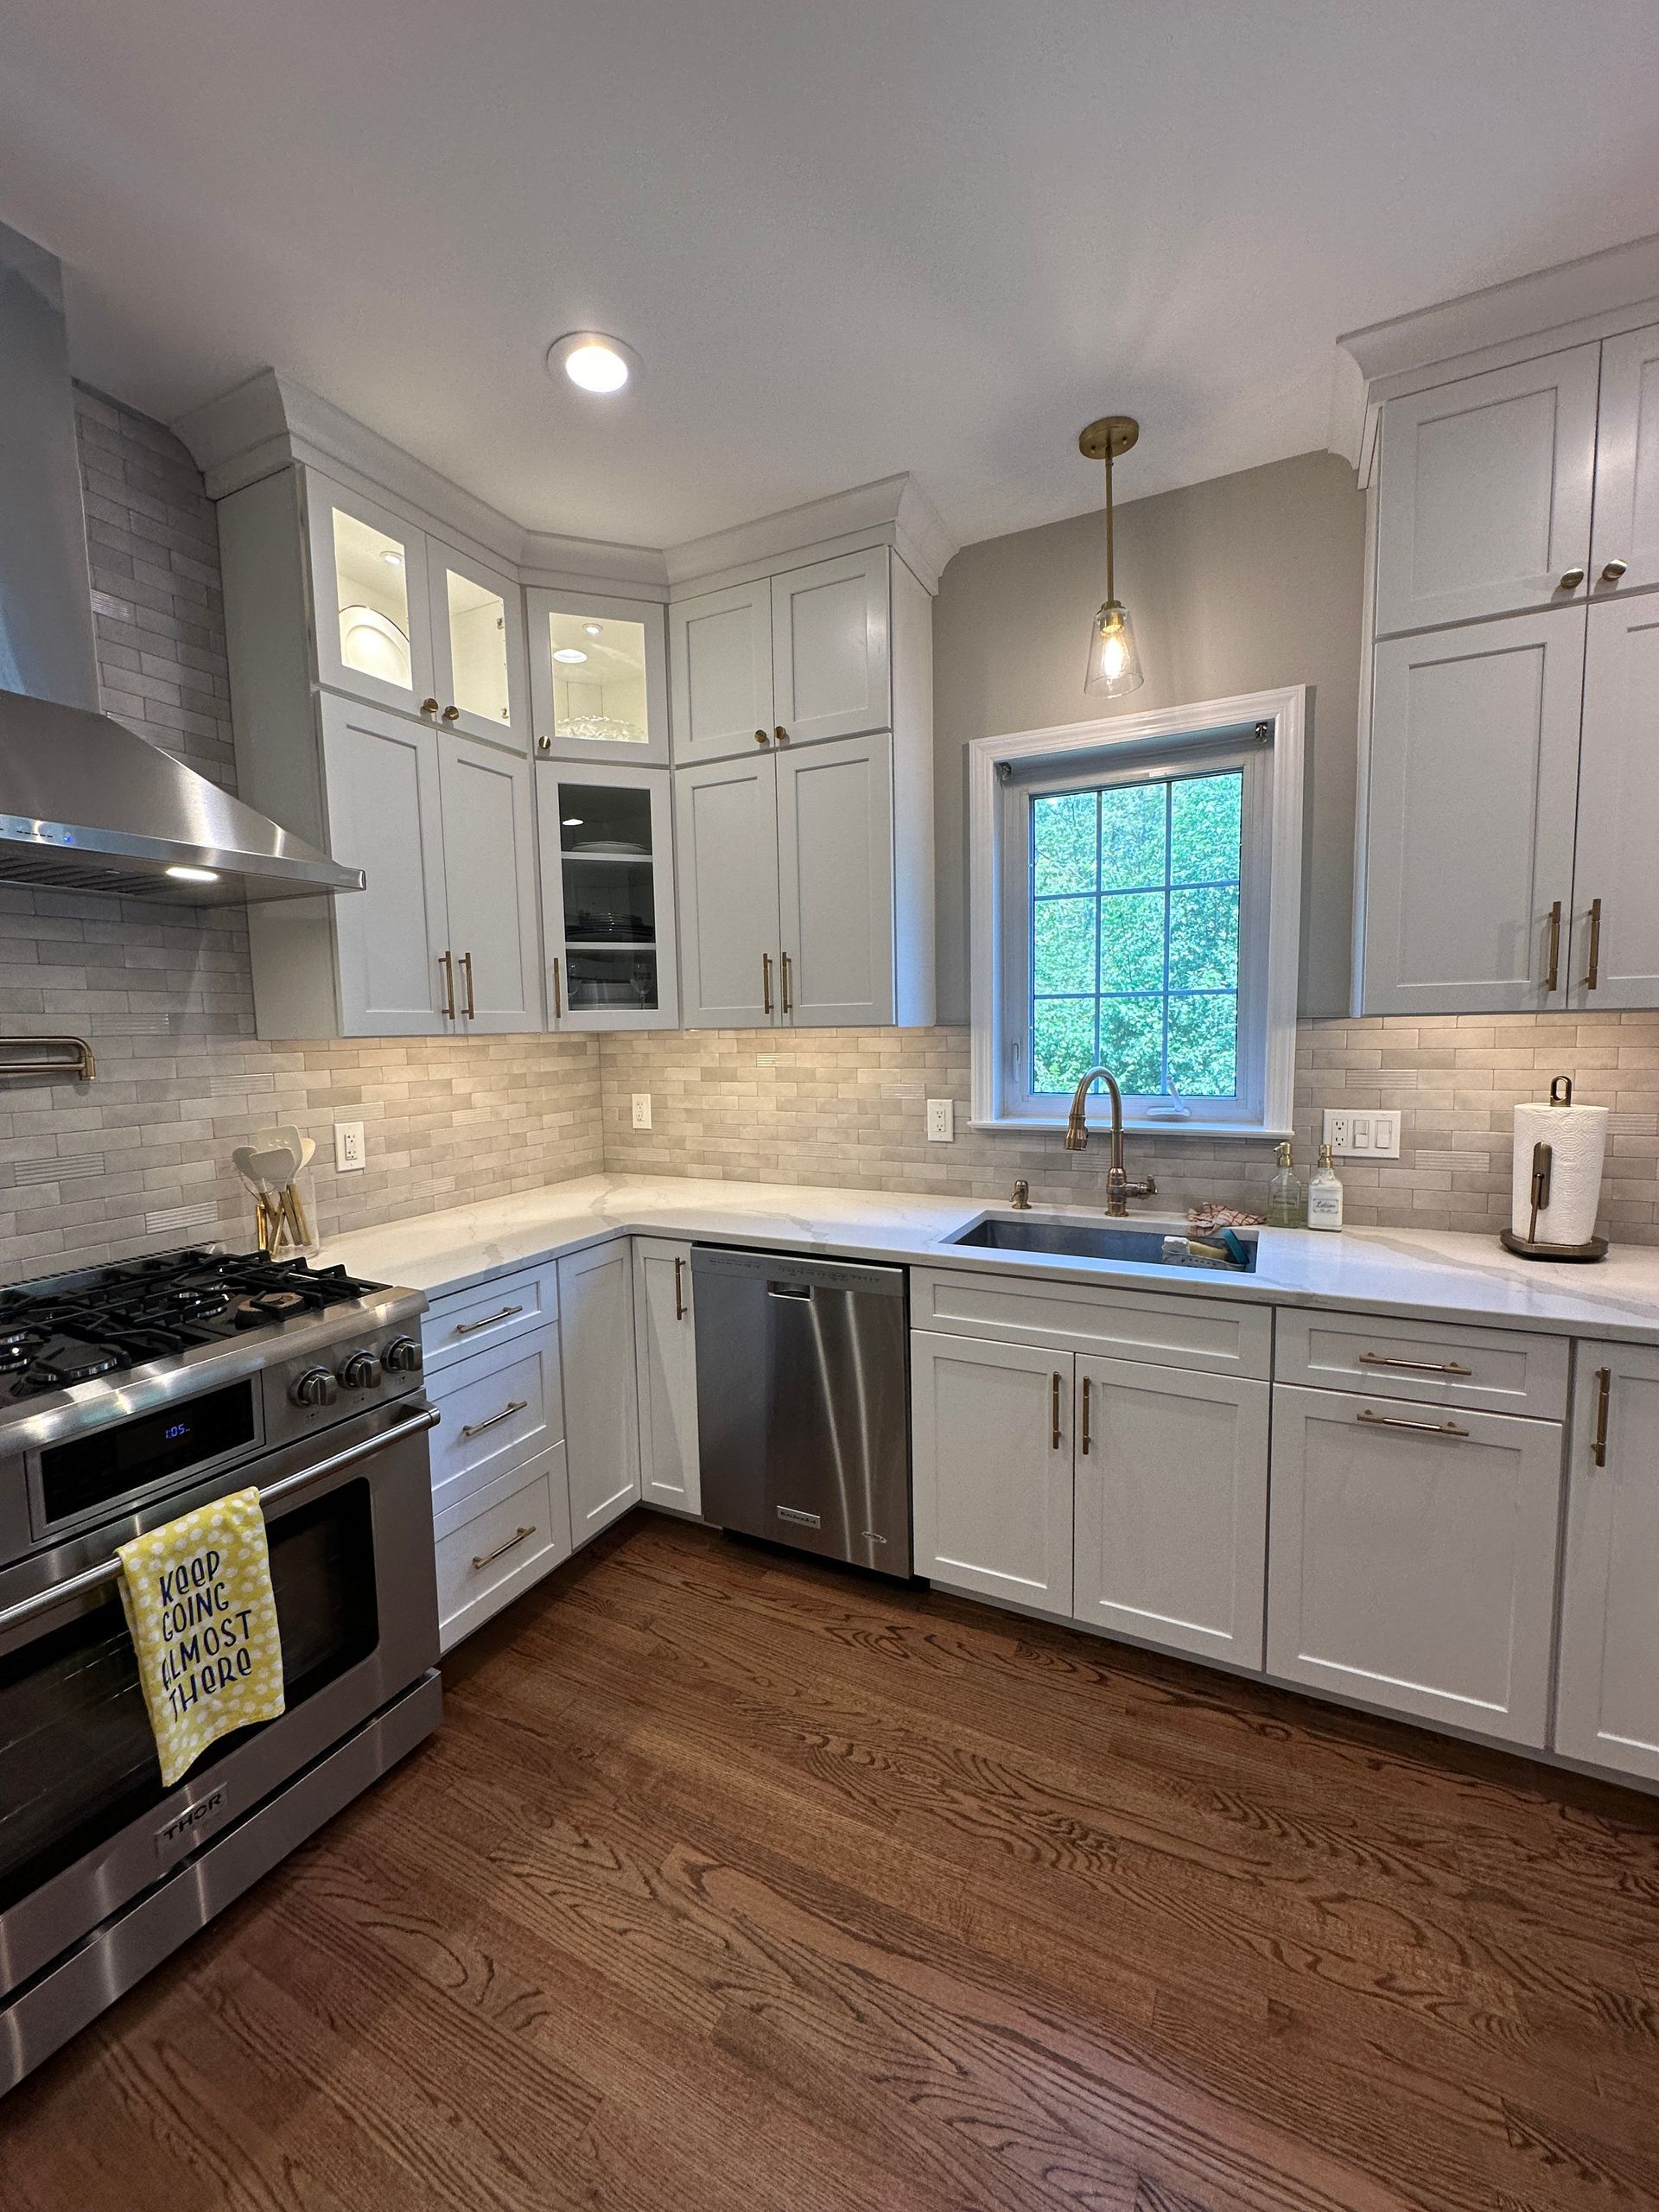
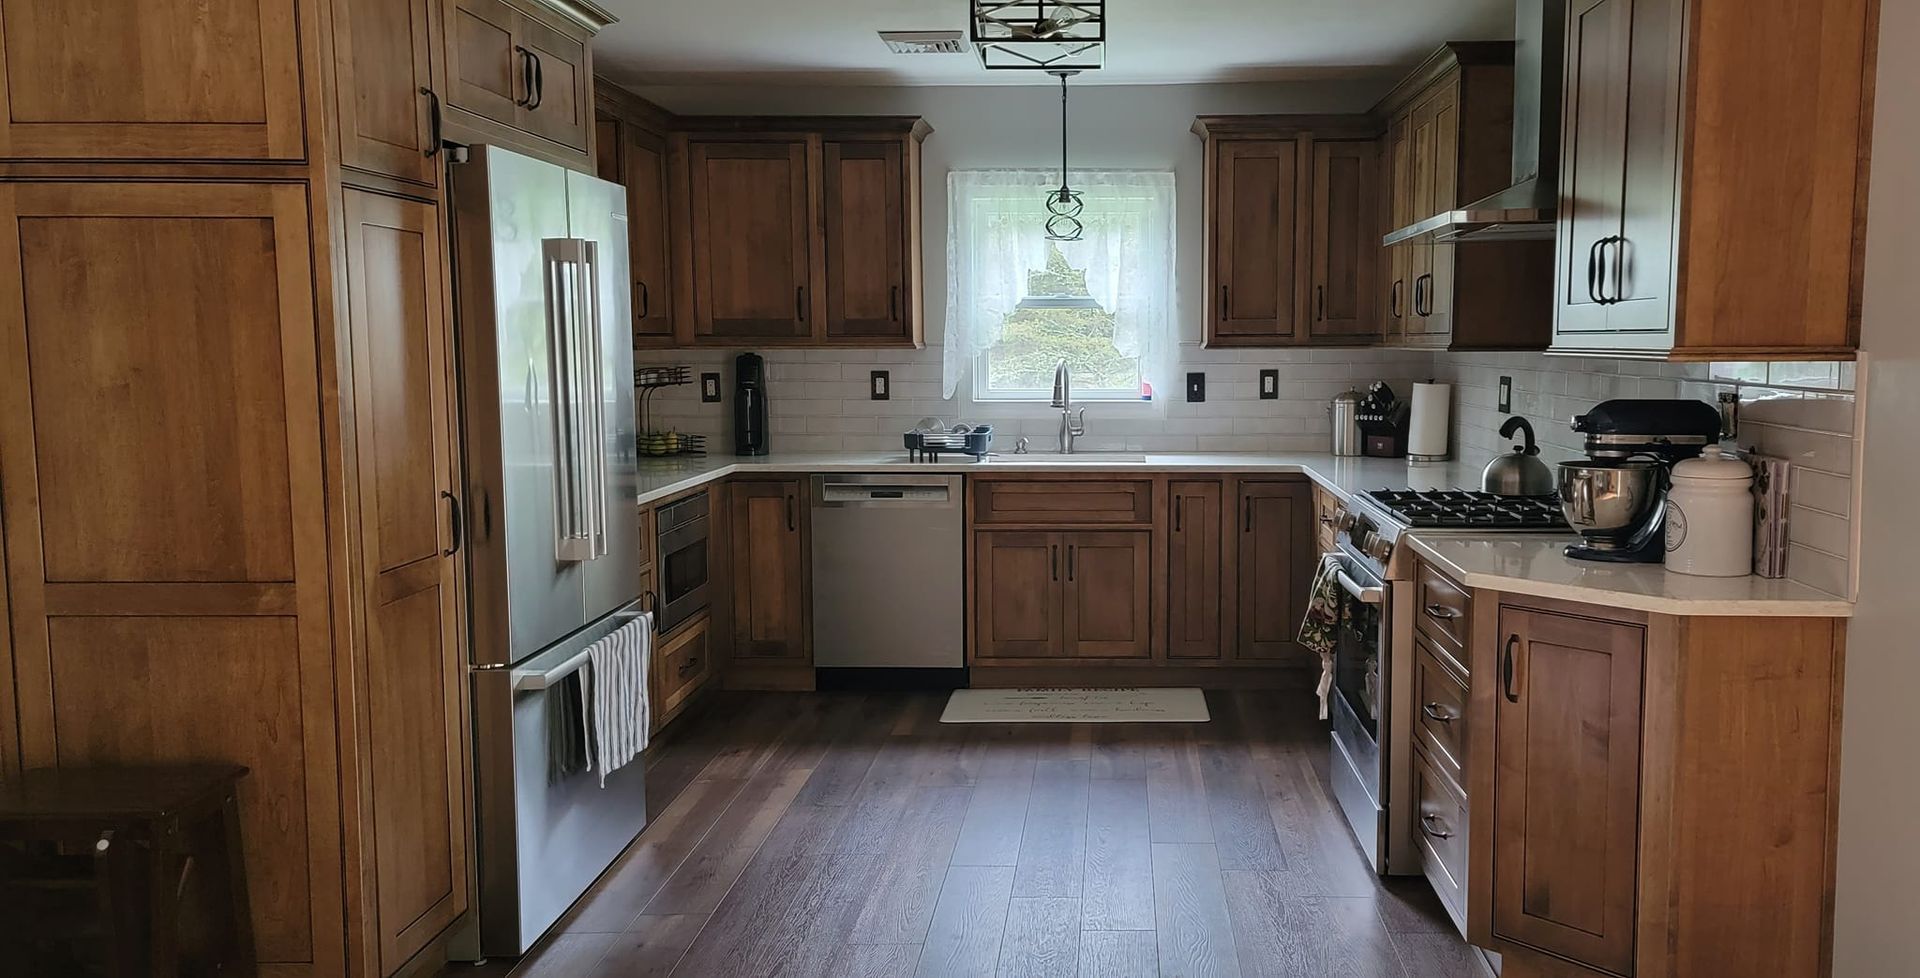
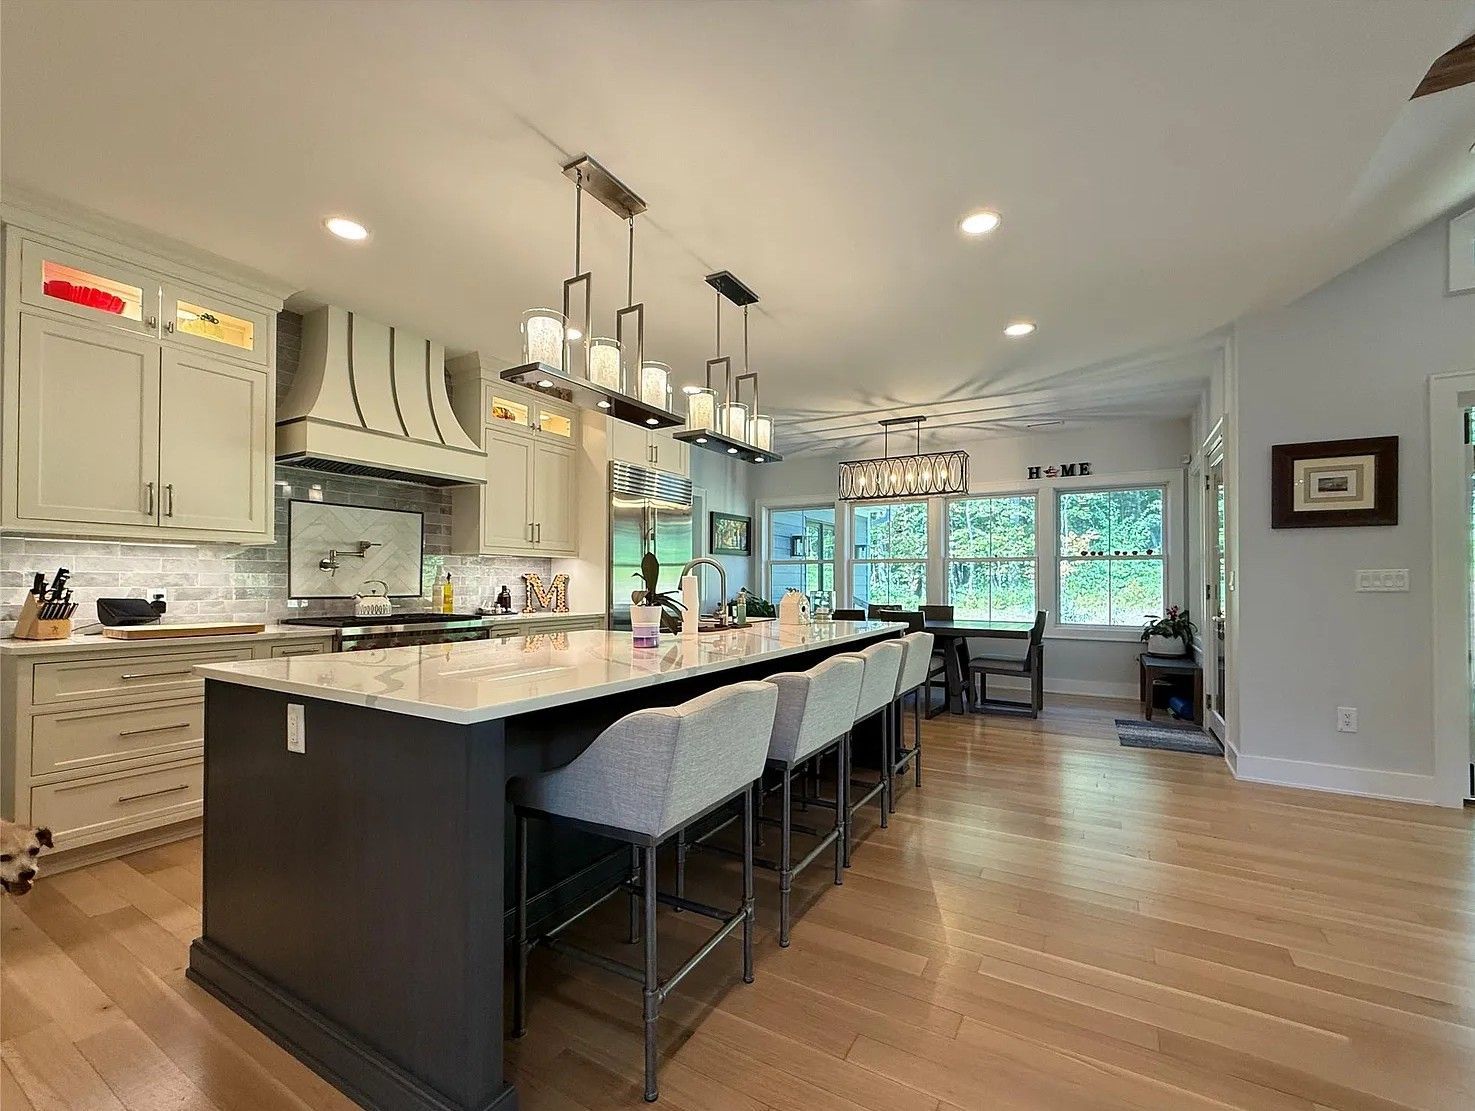
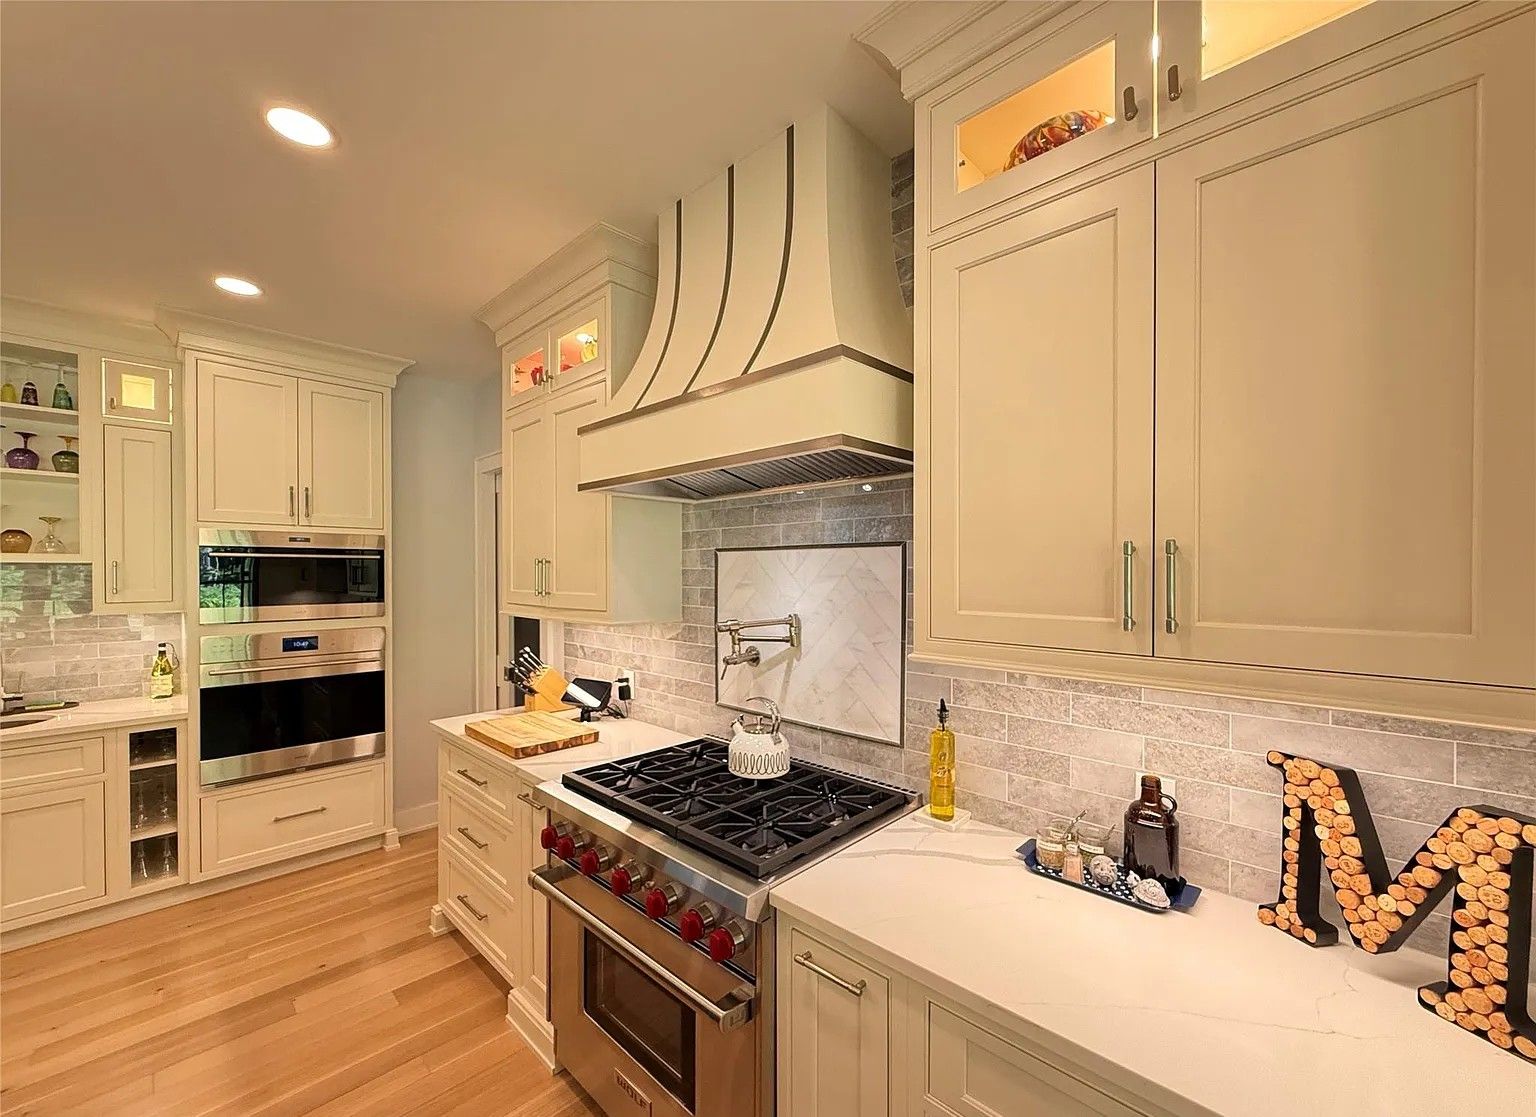
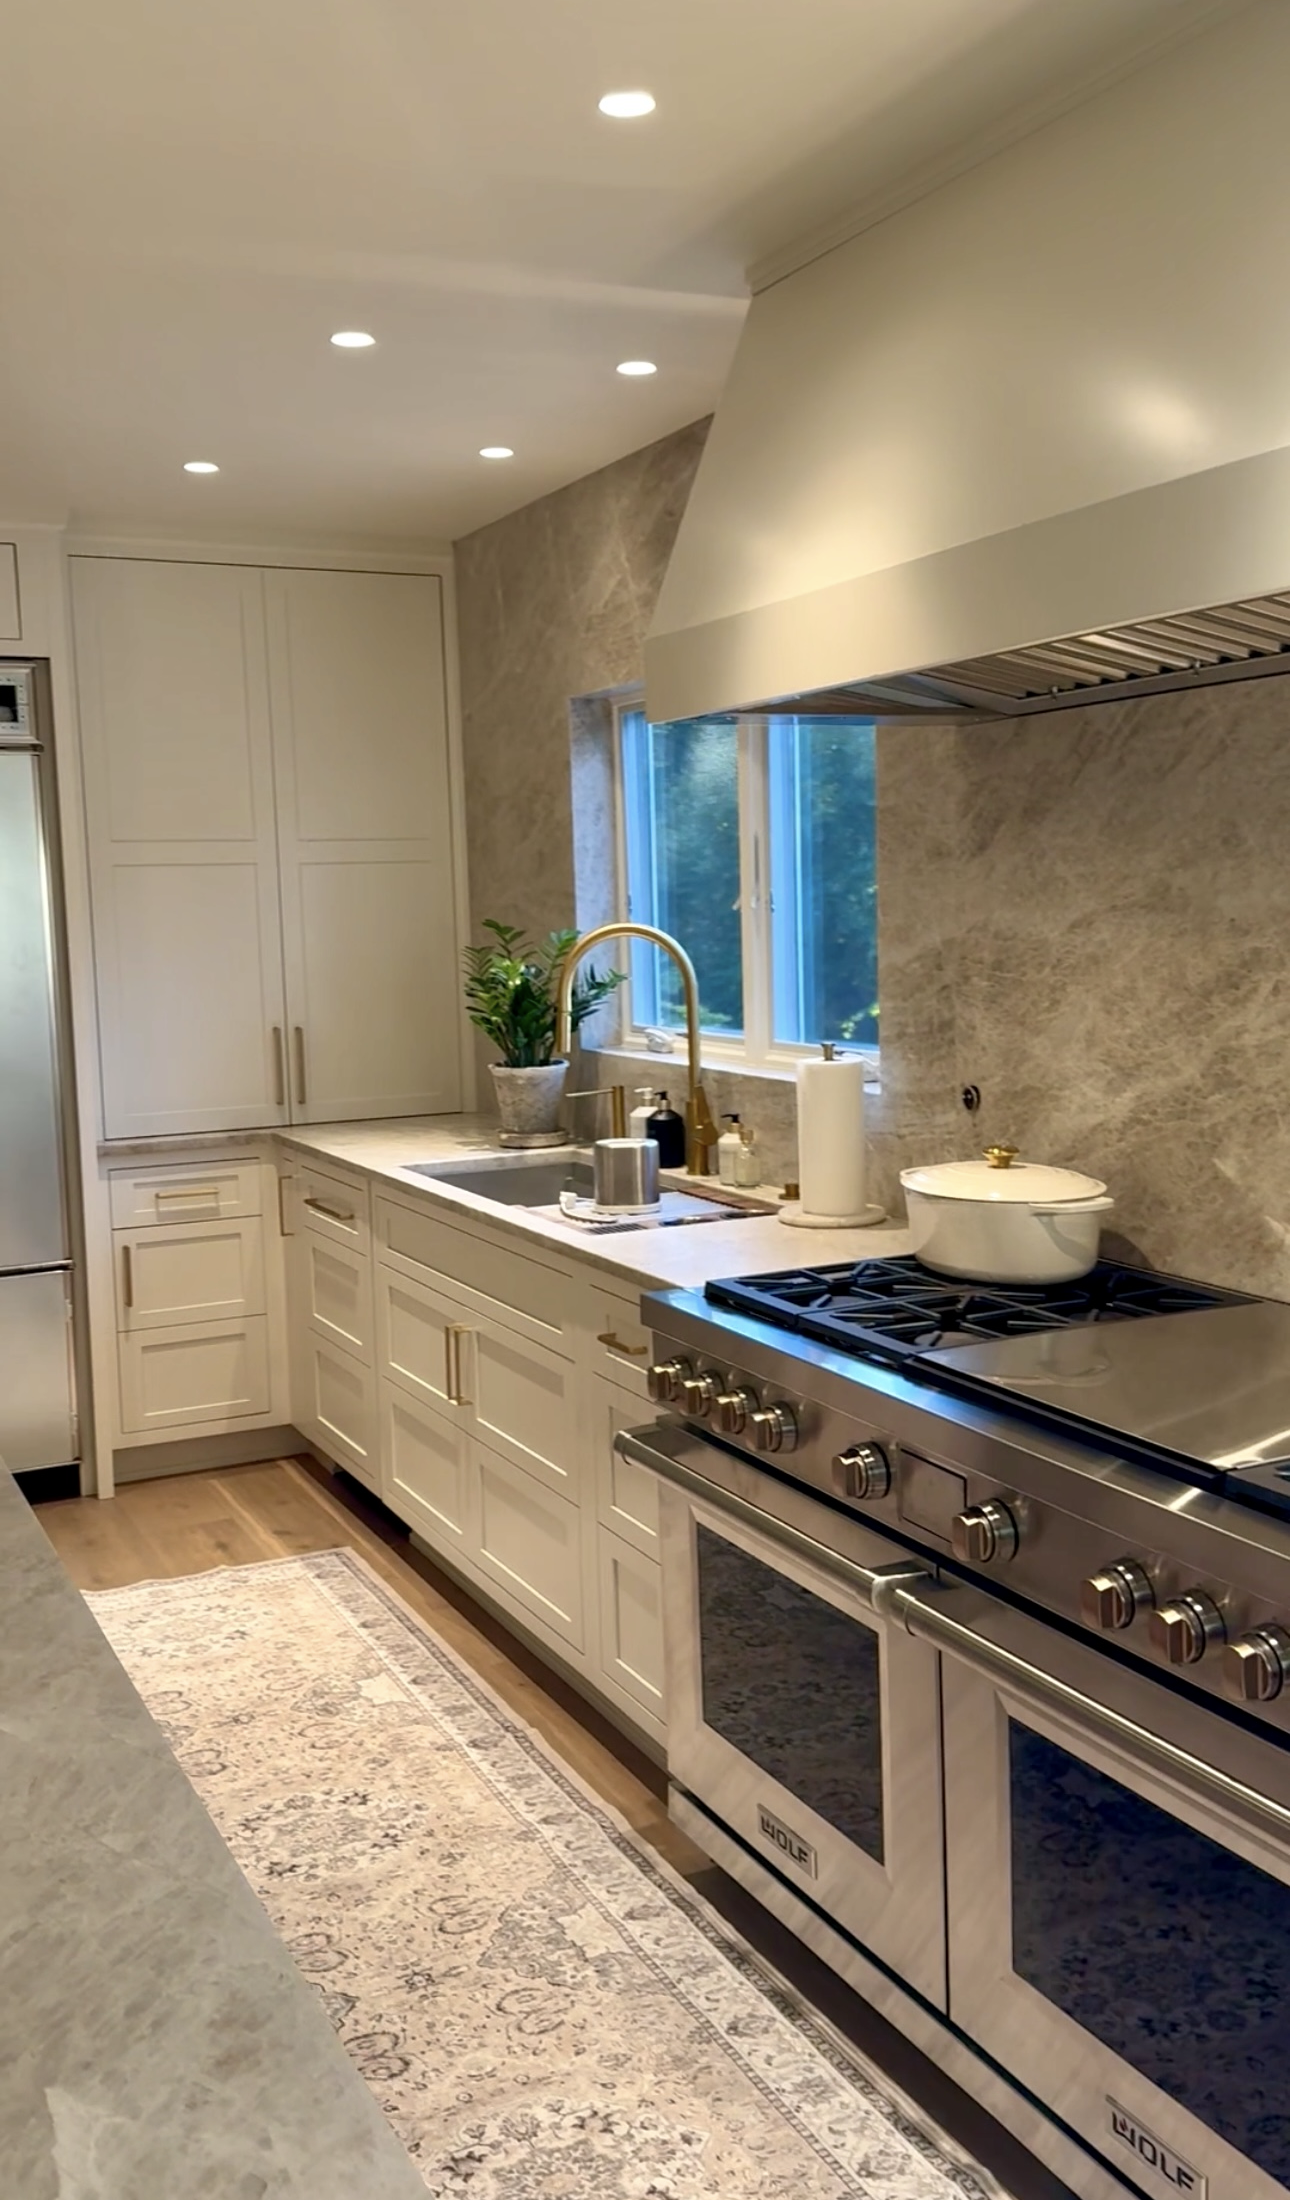
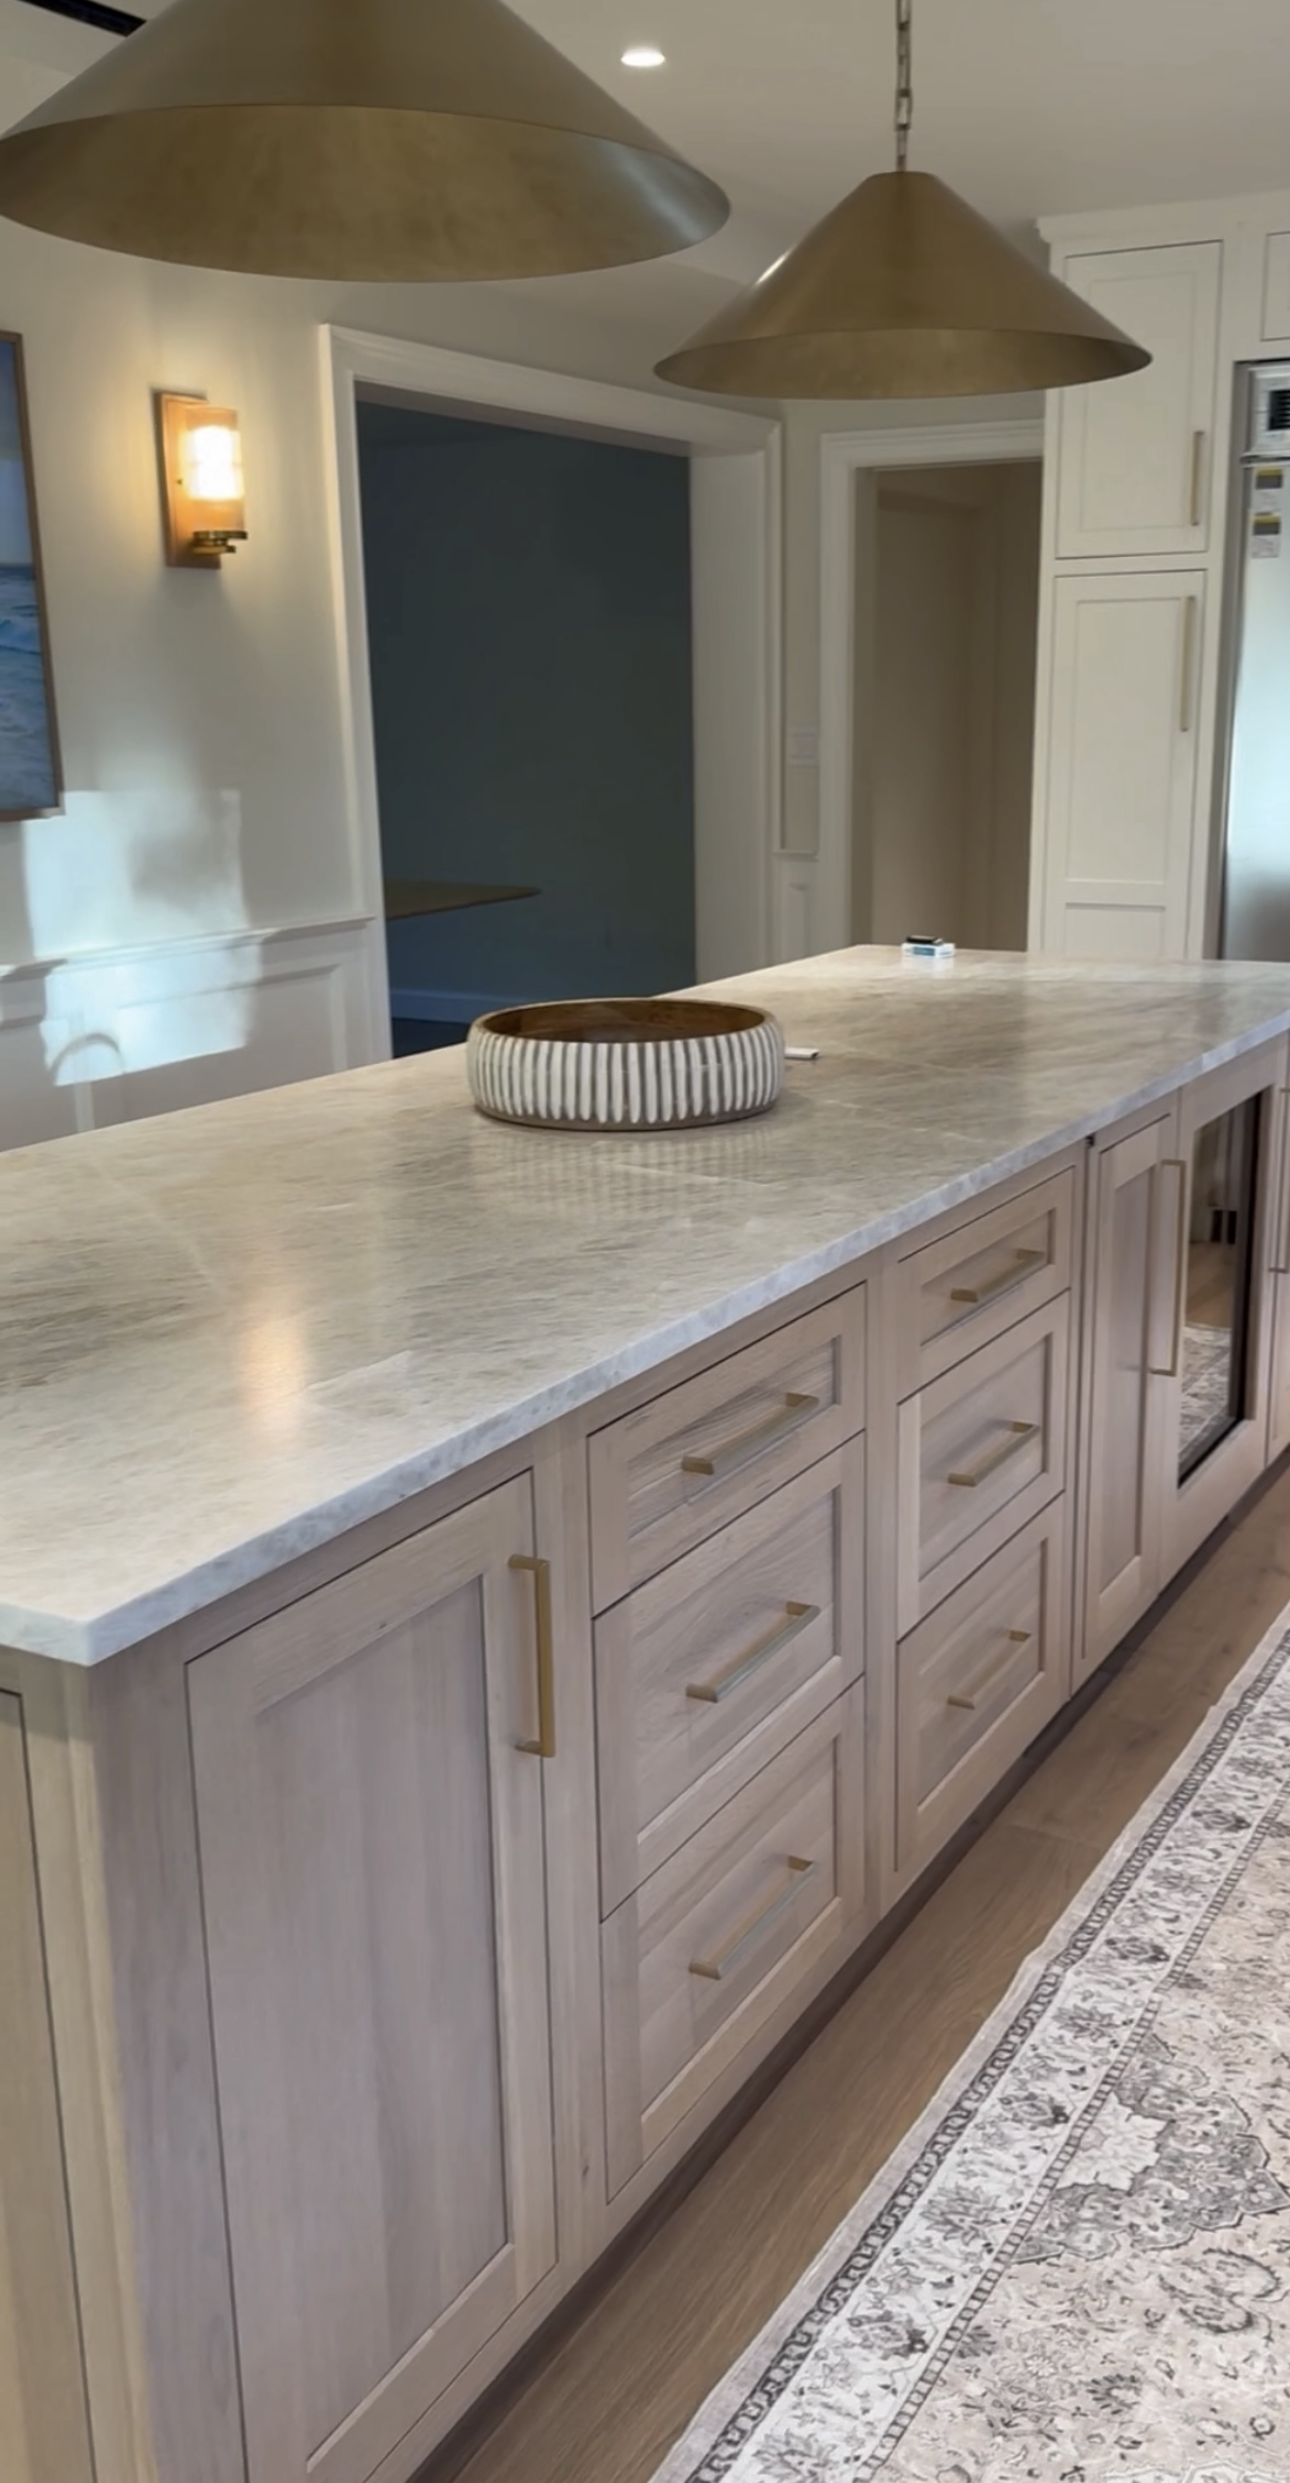
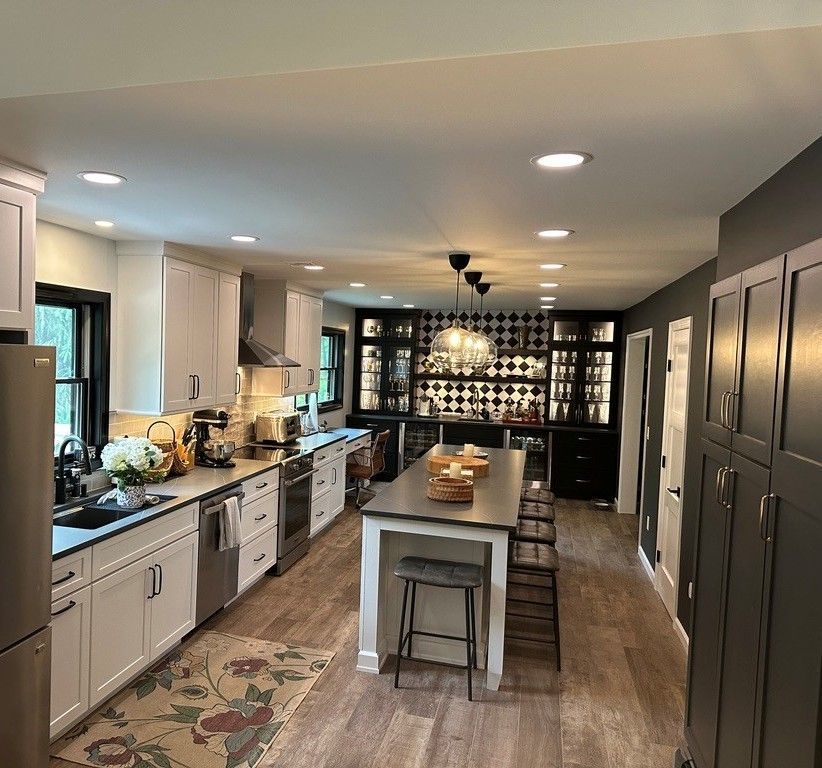
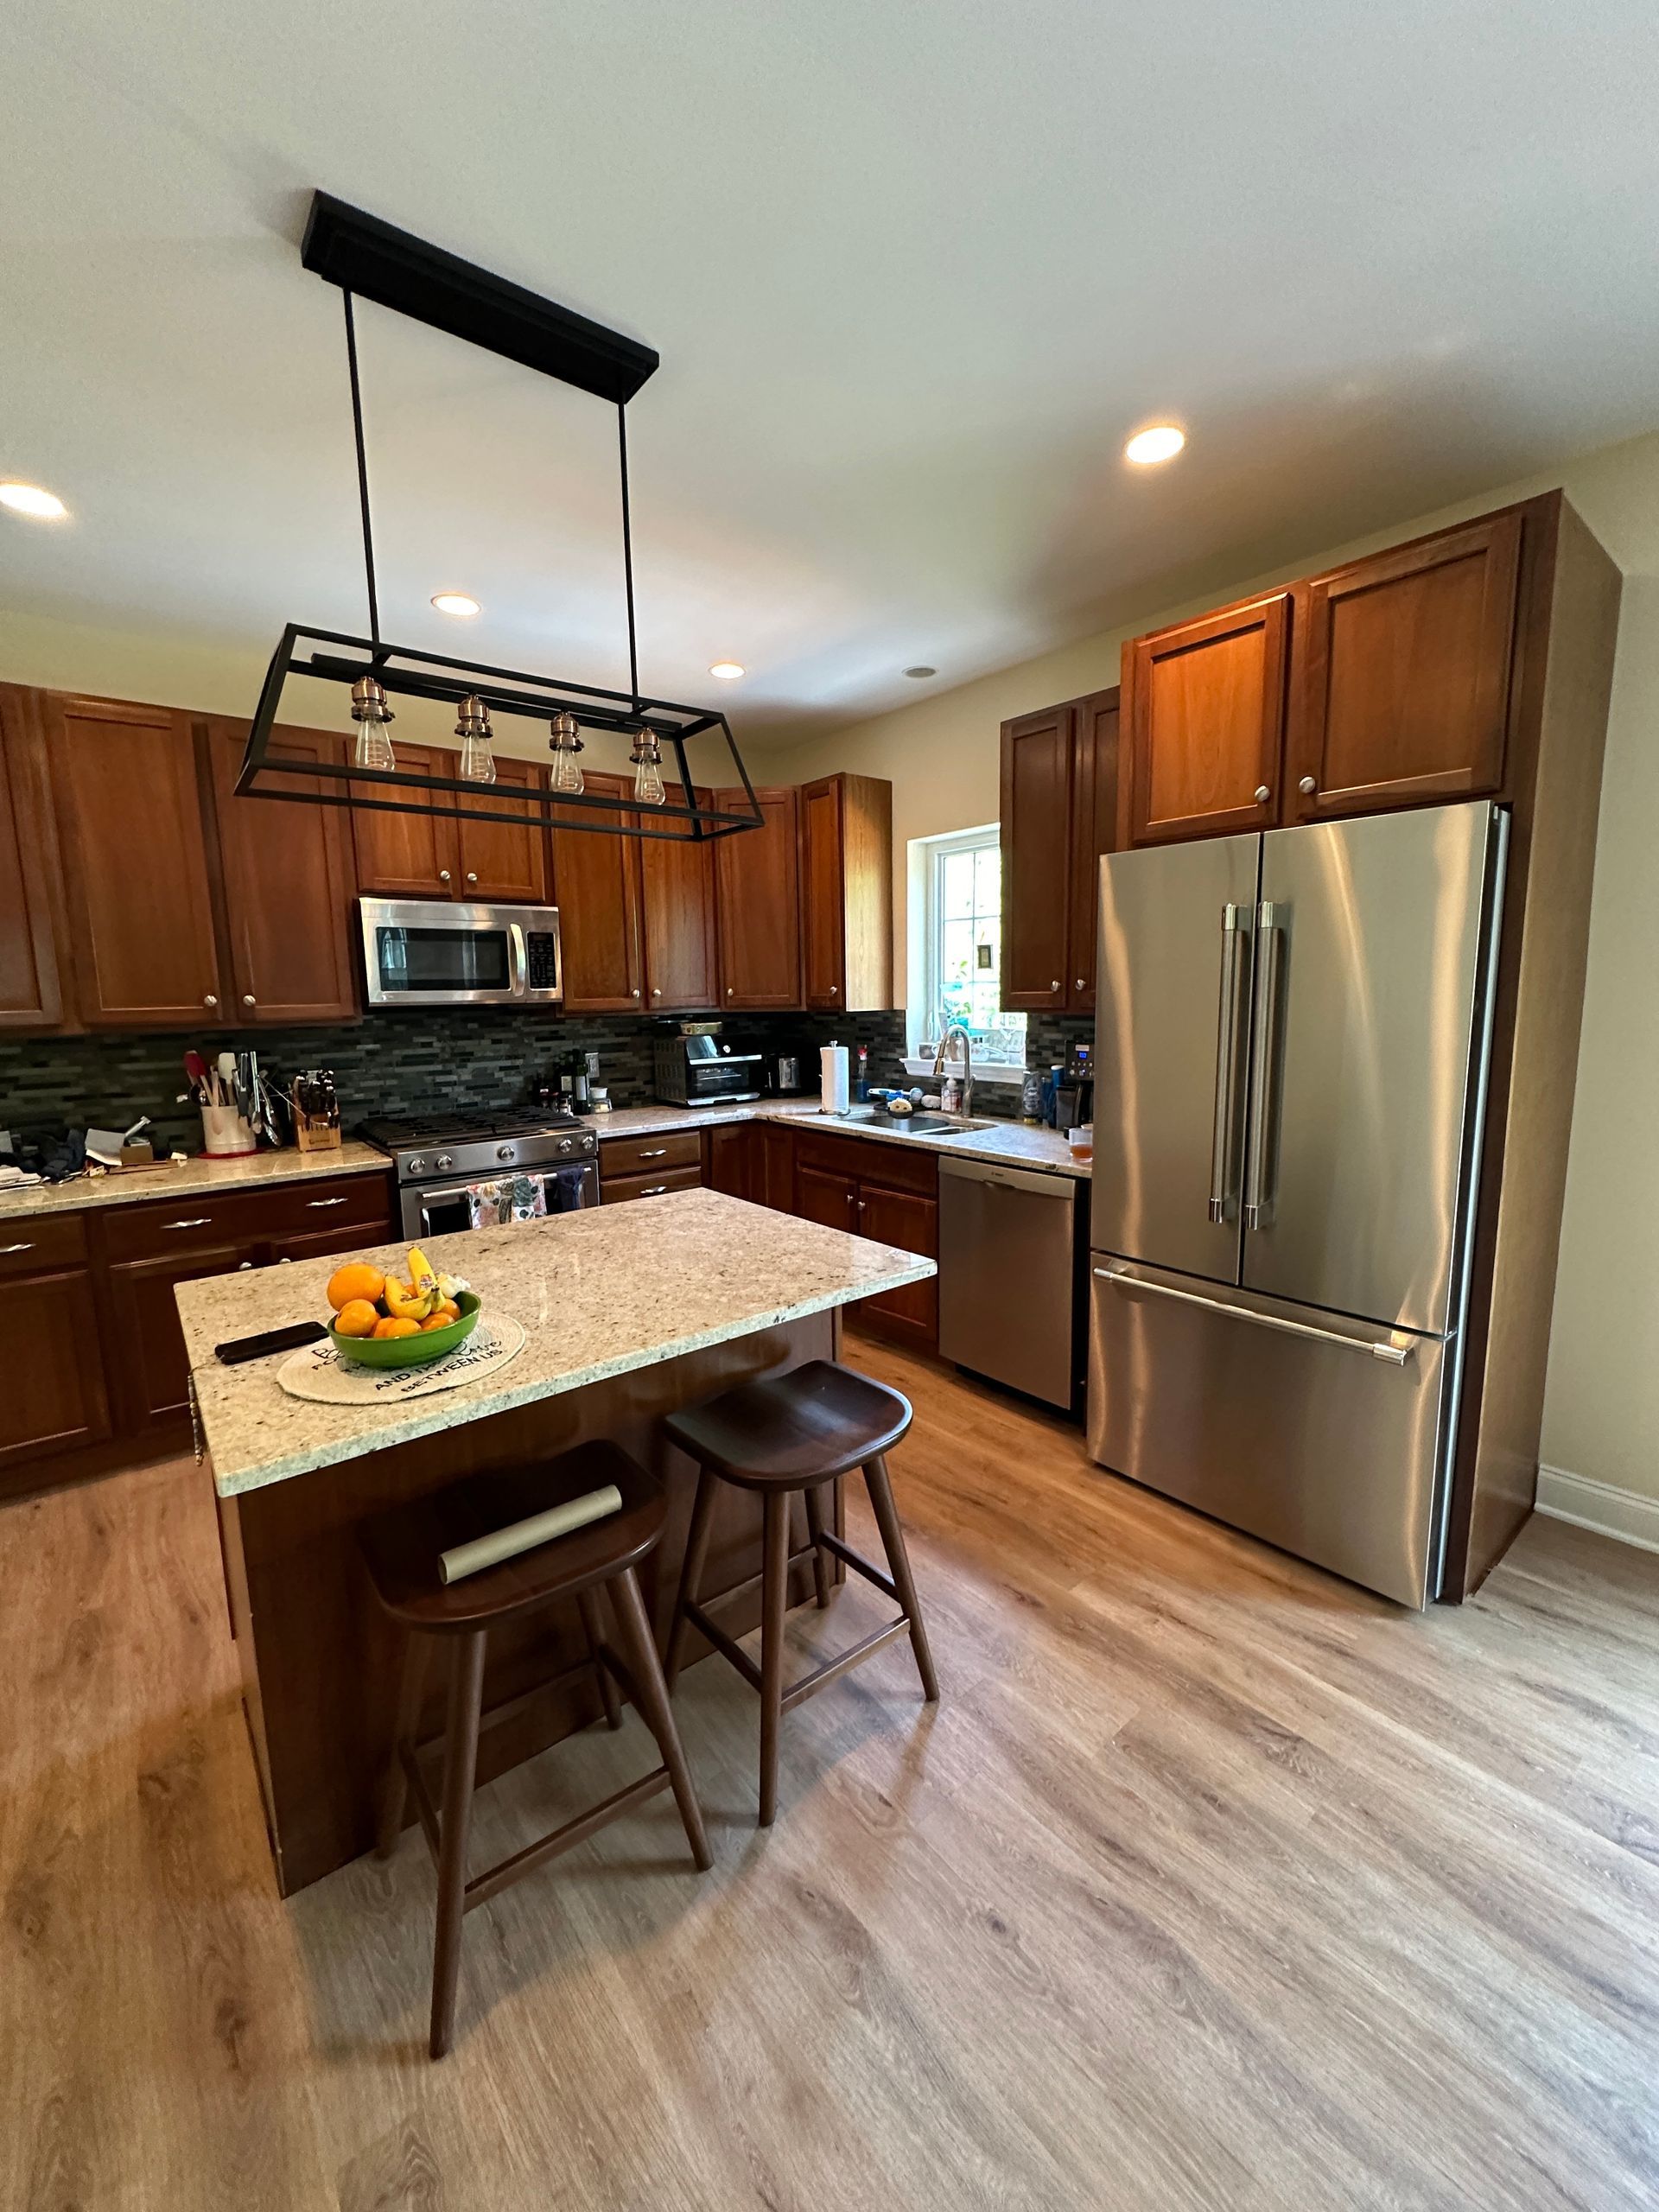
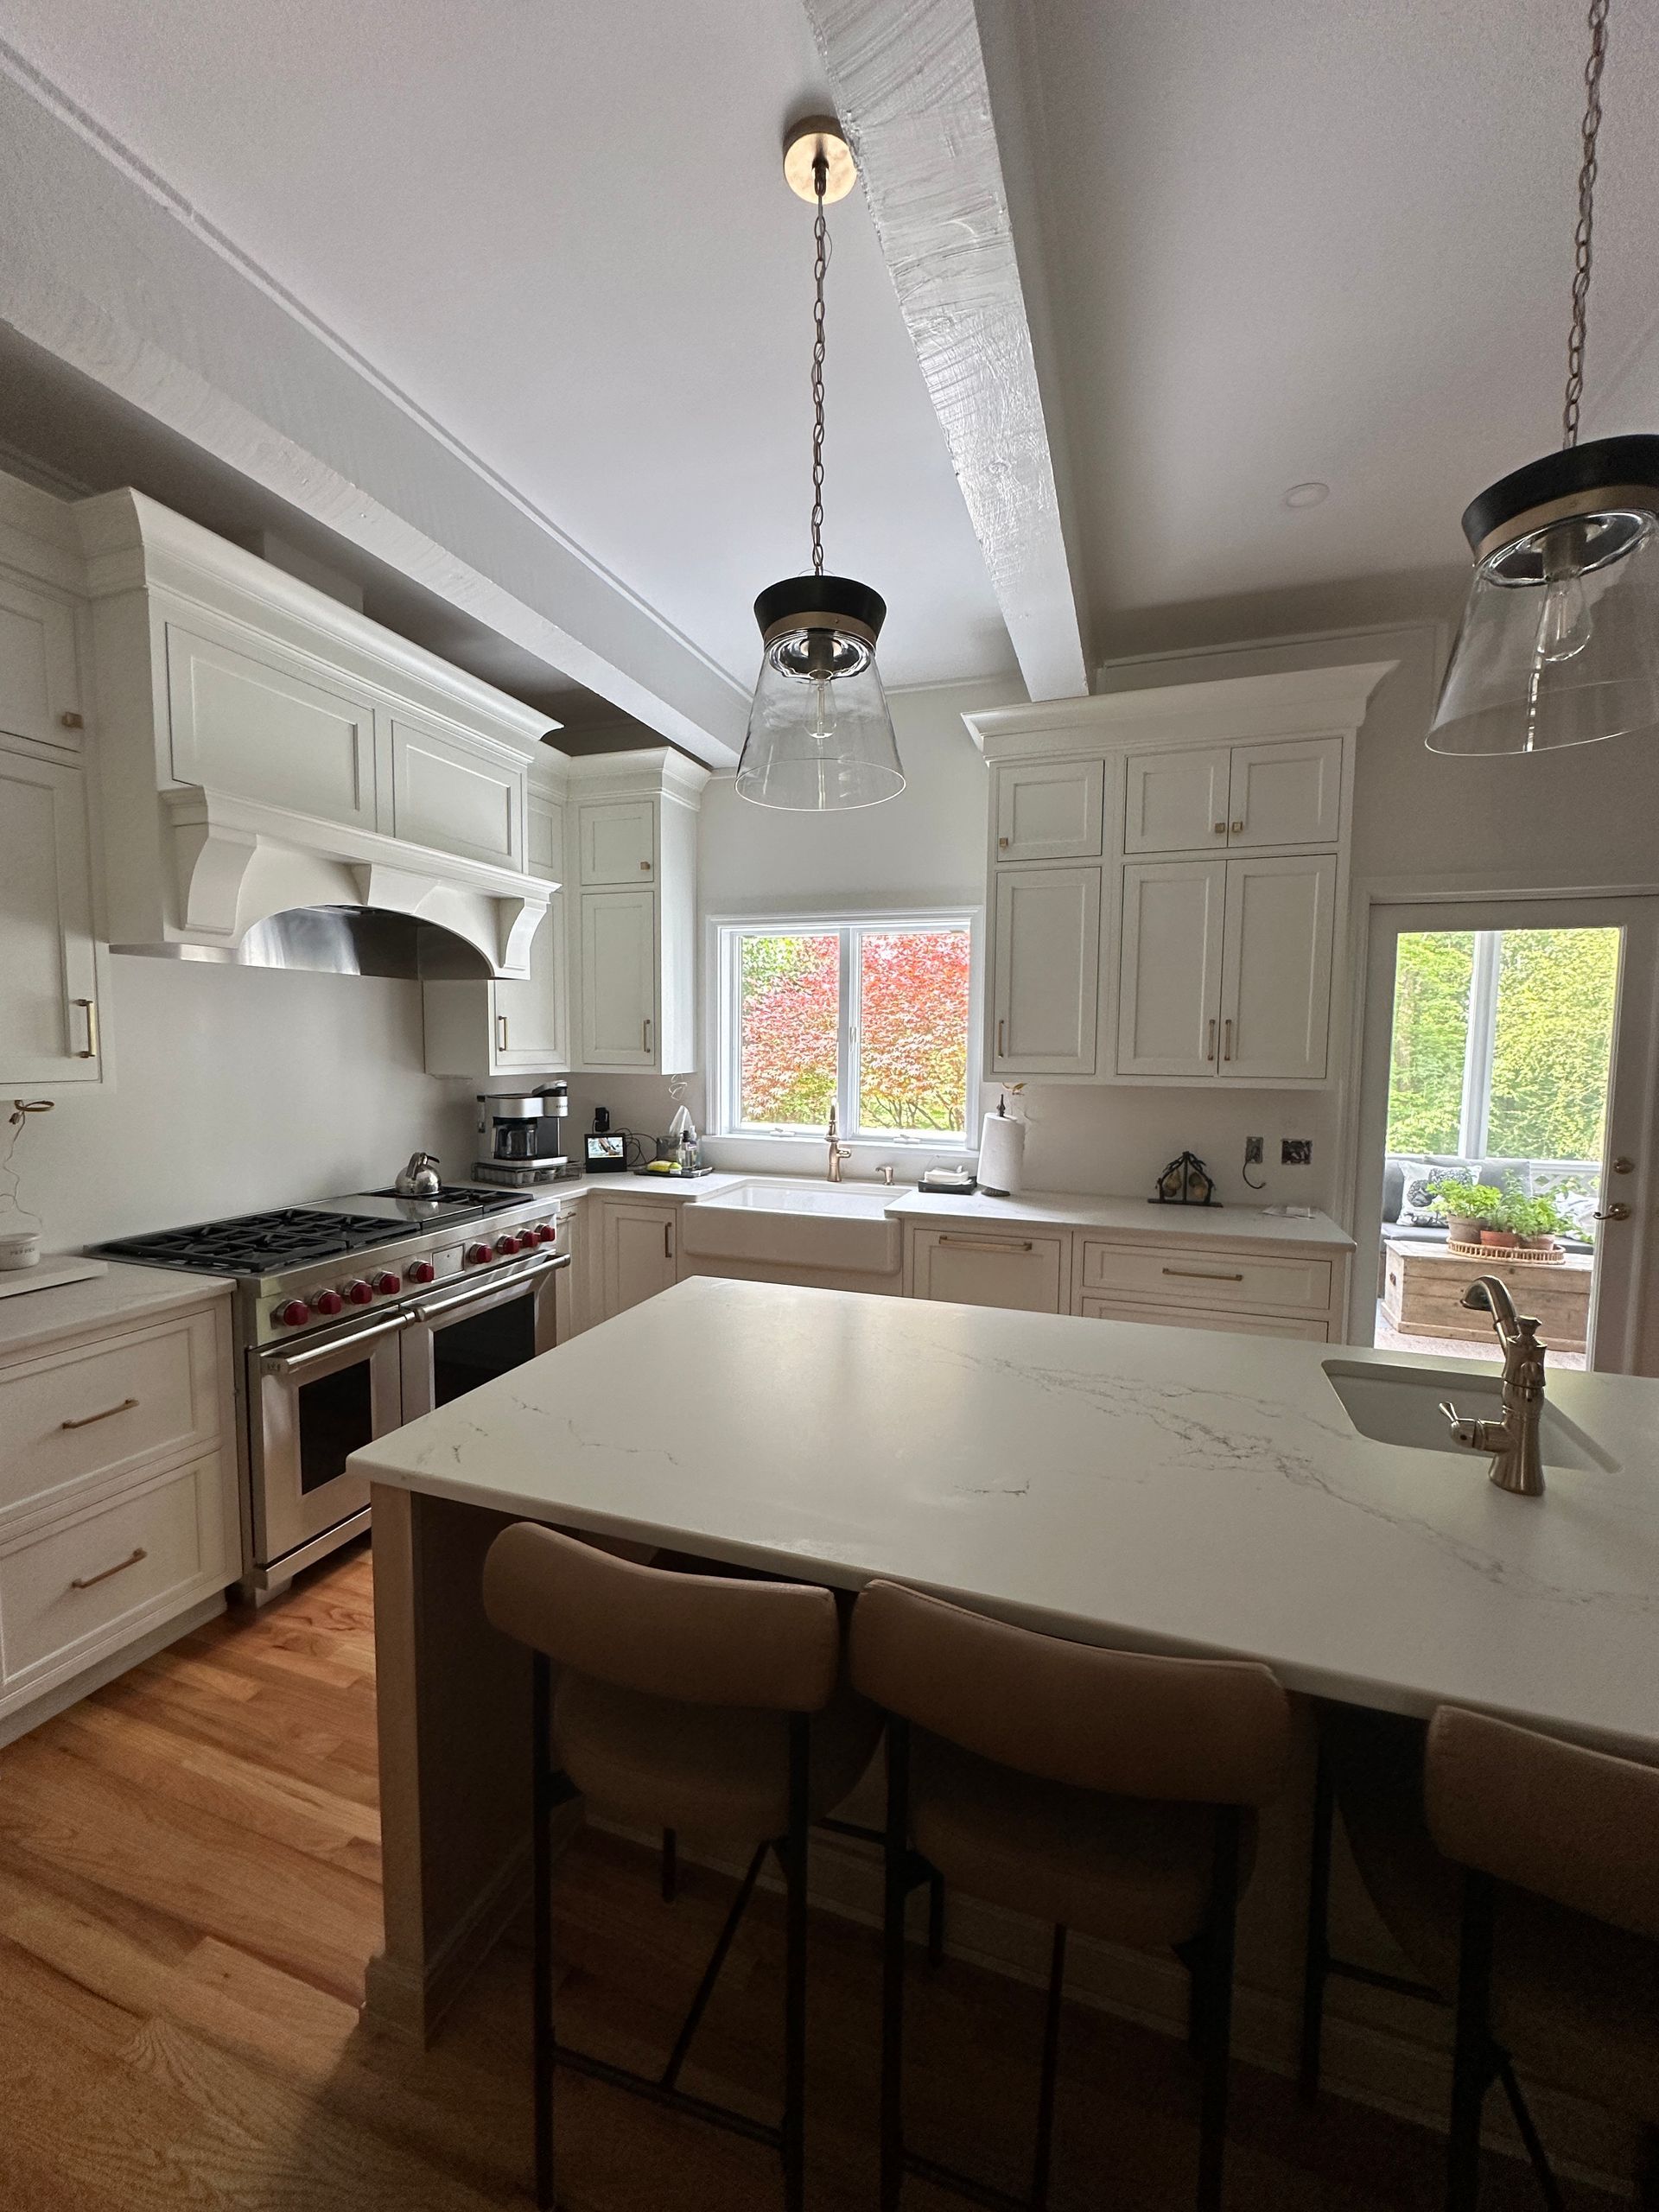
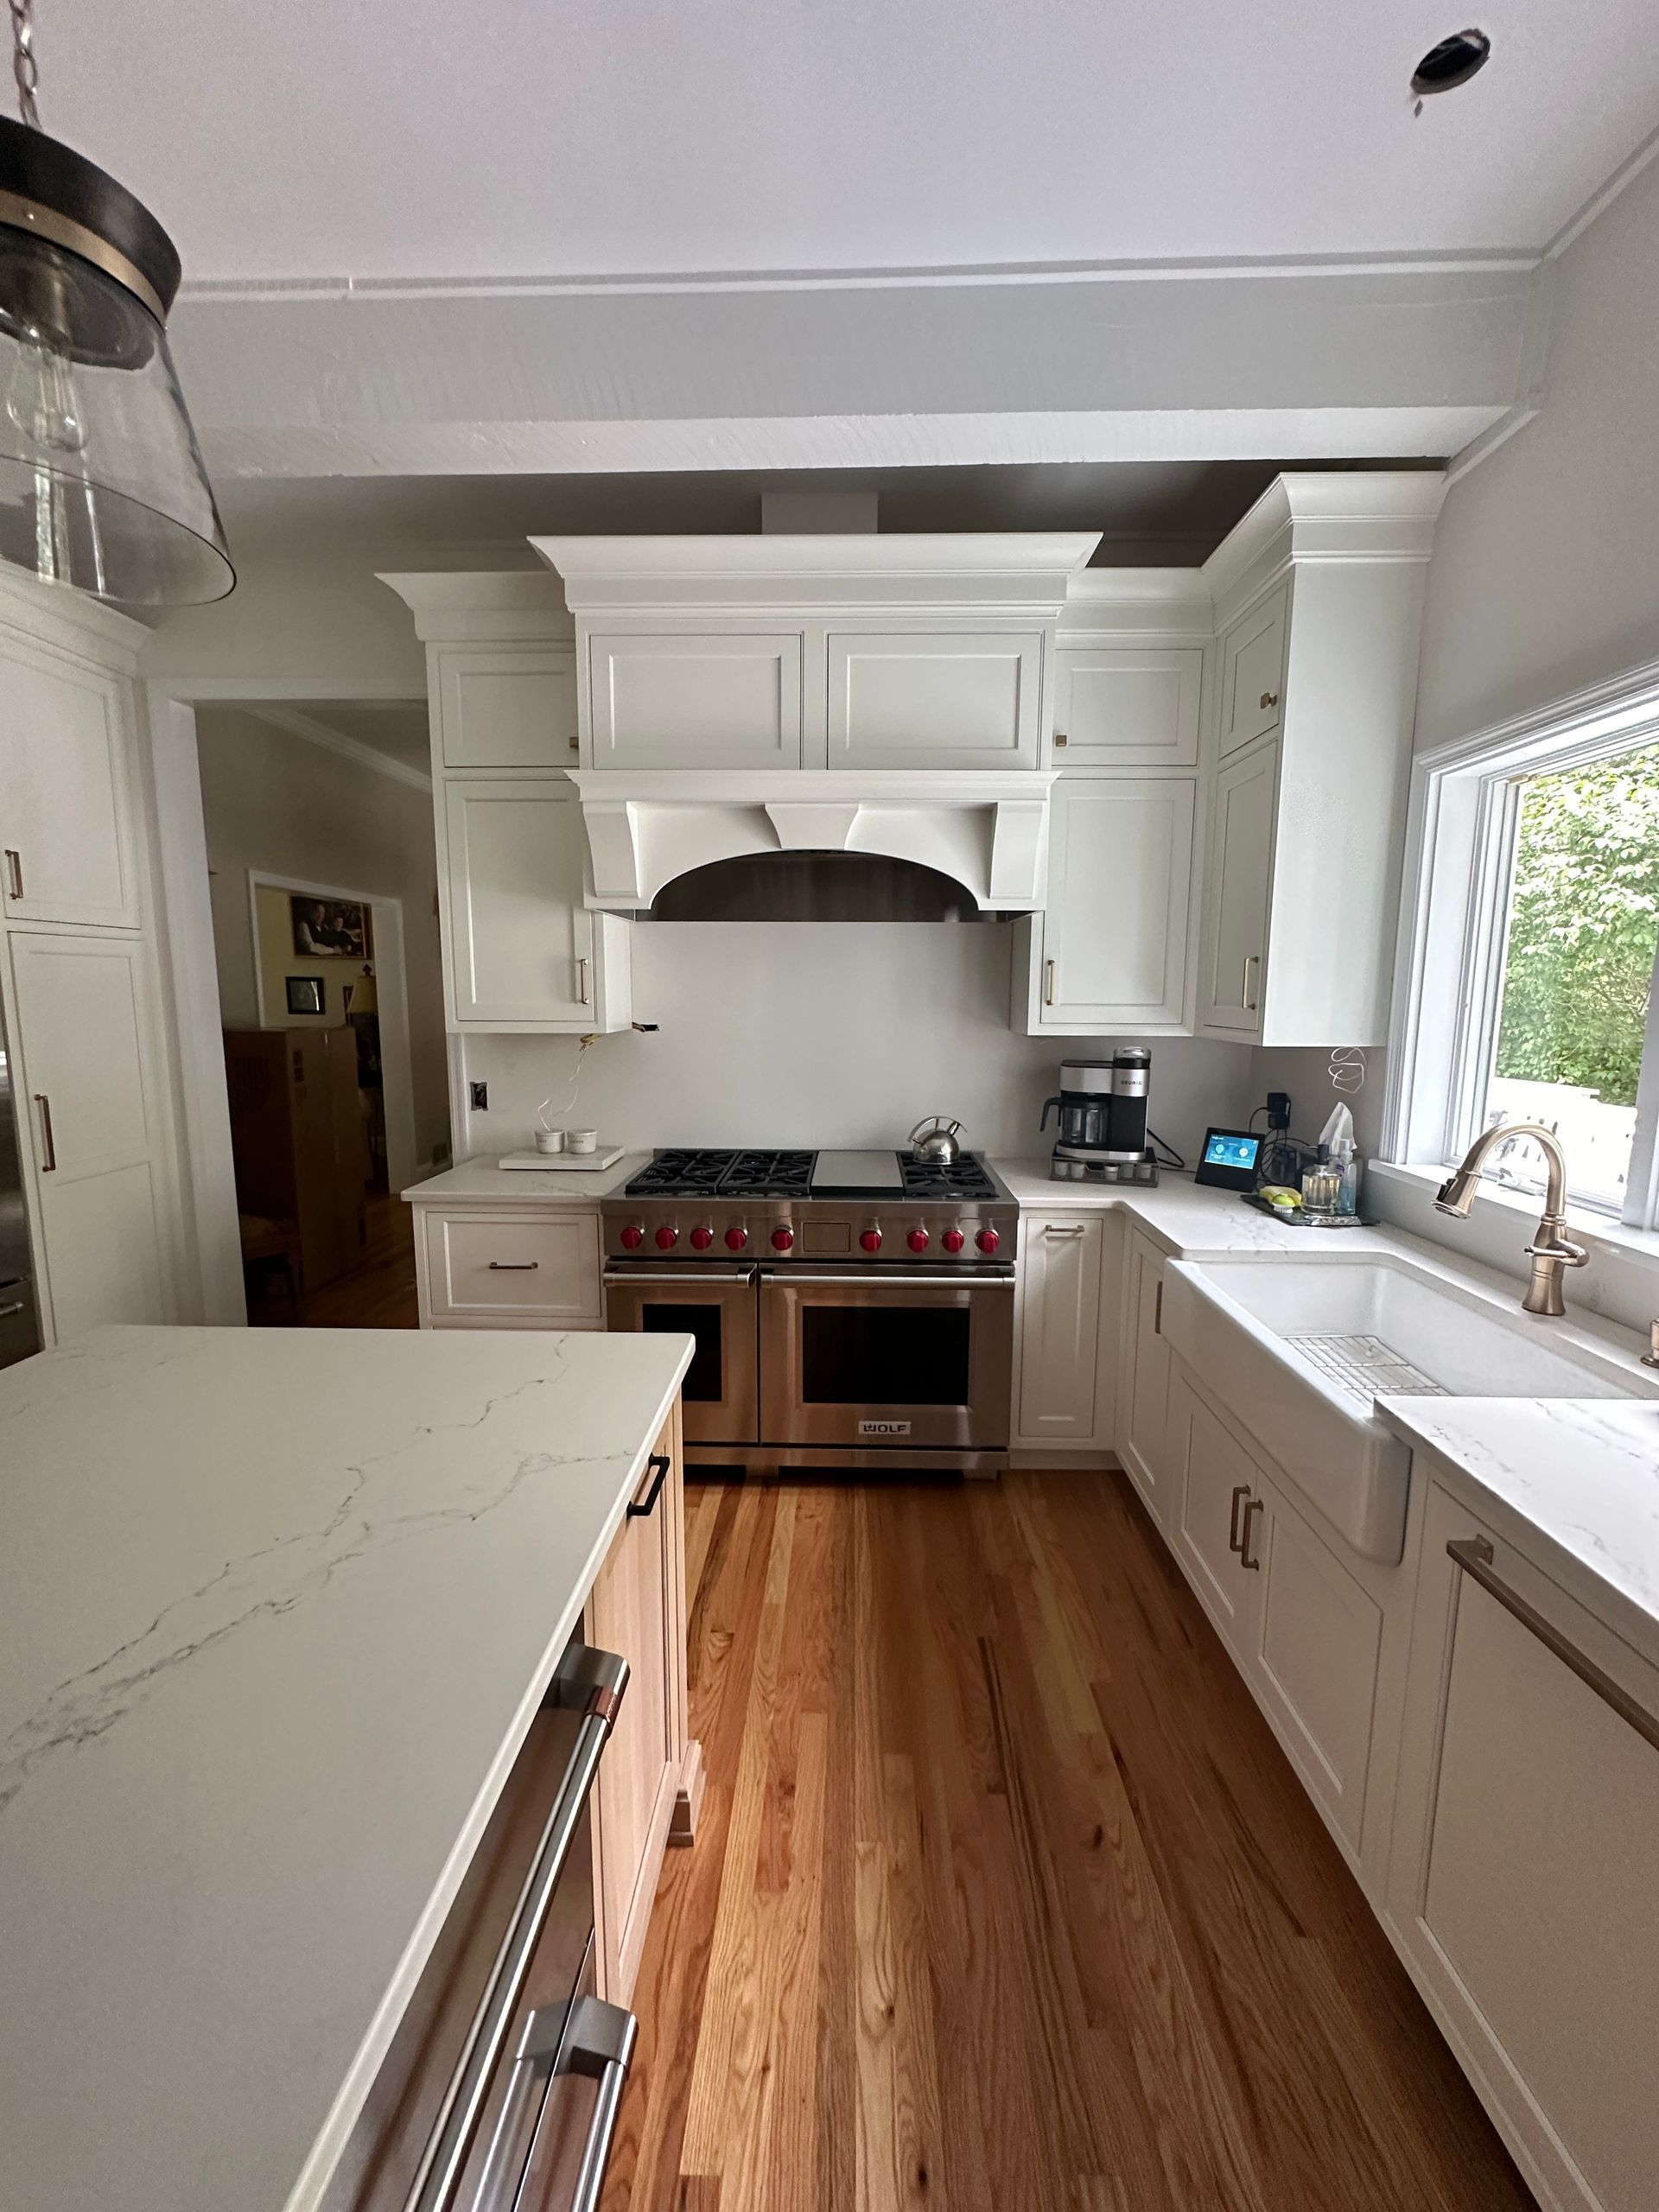
After
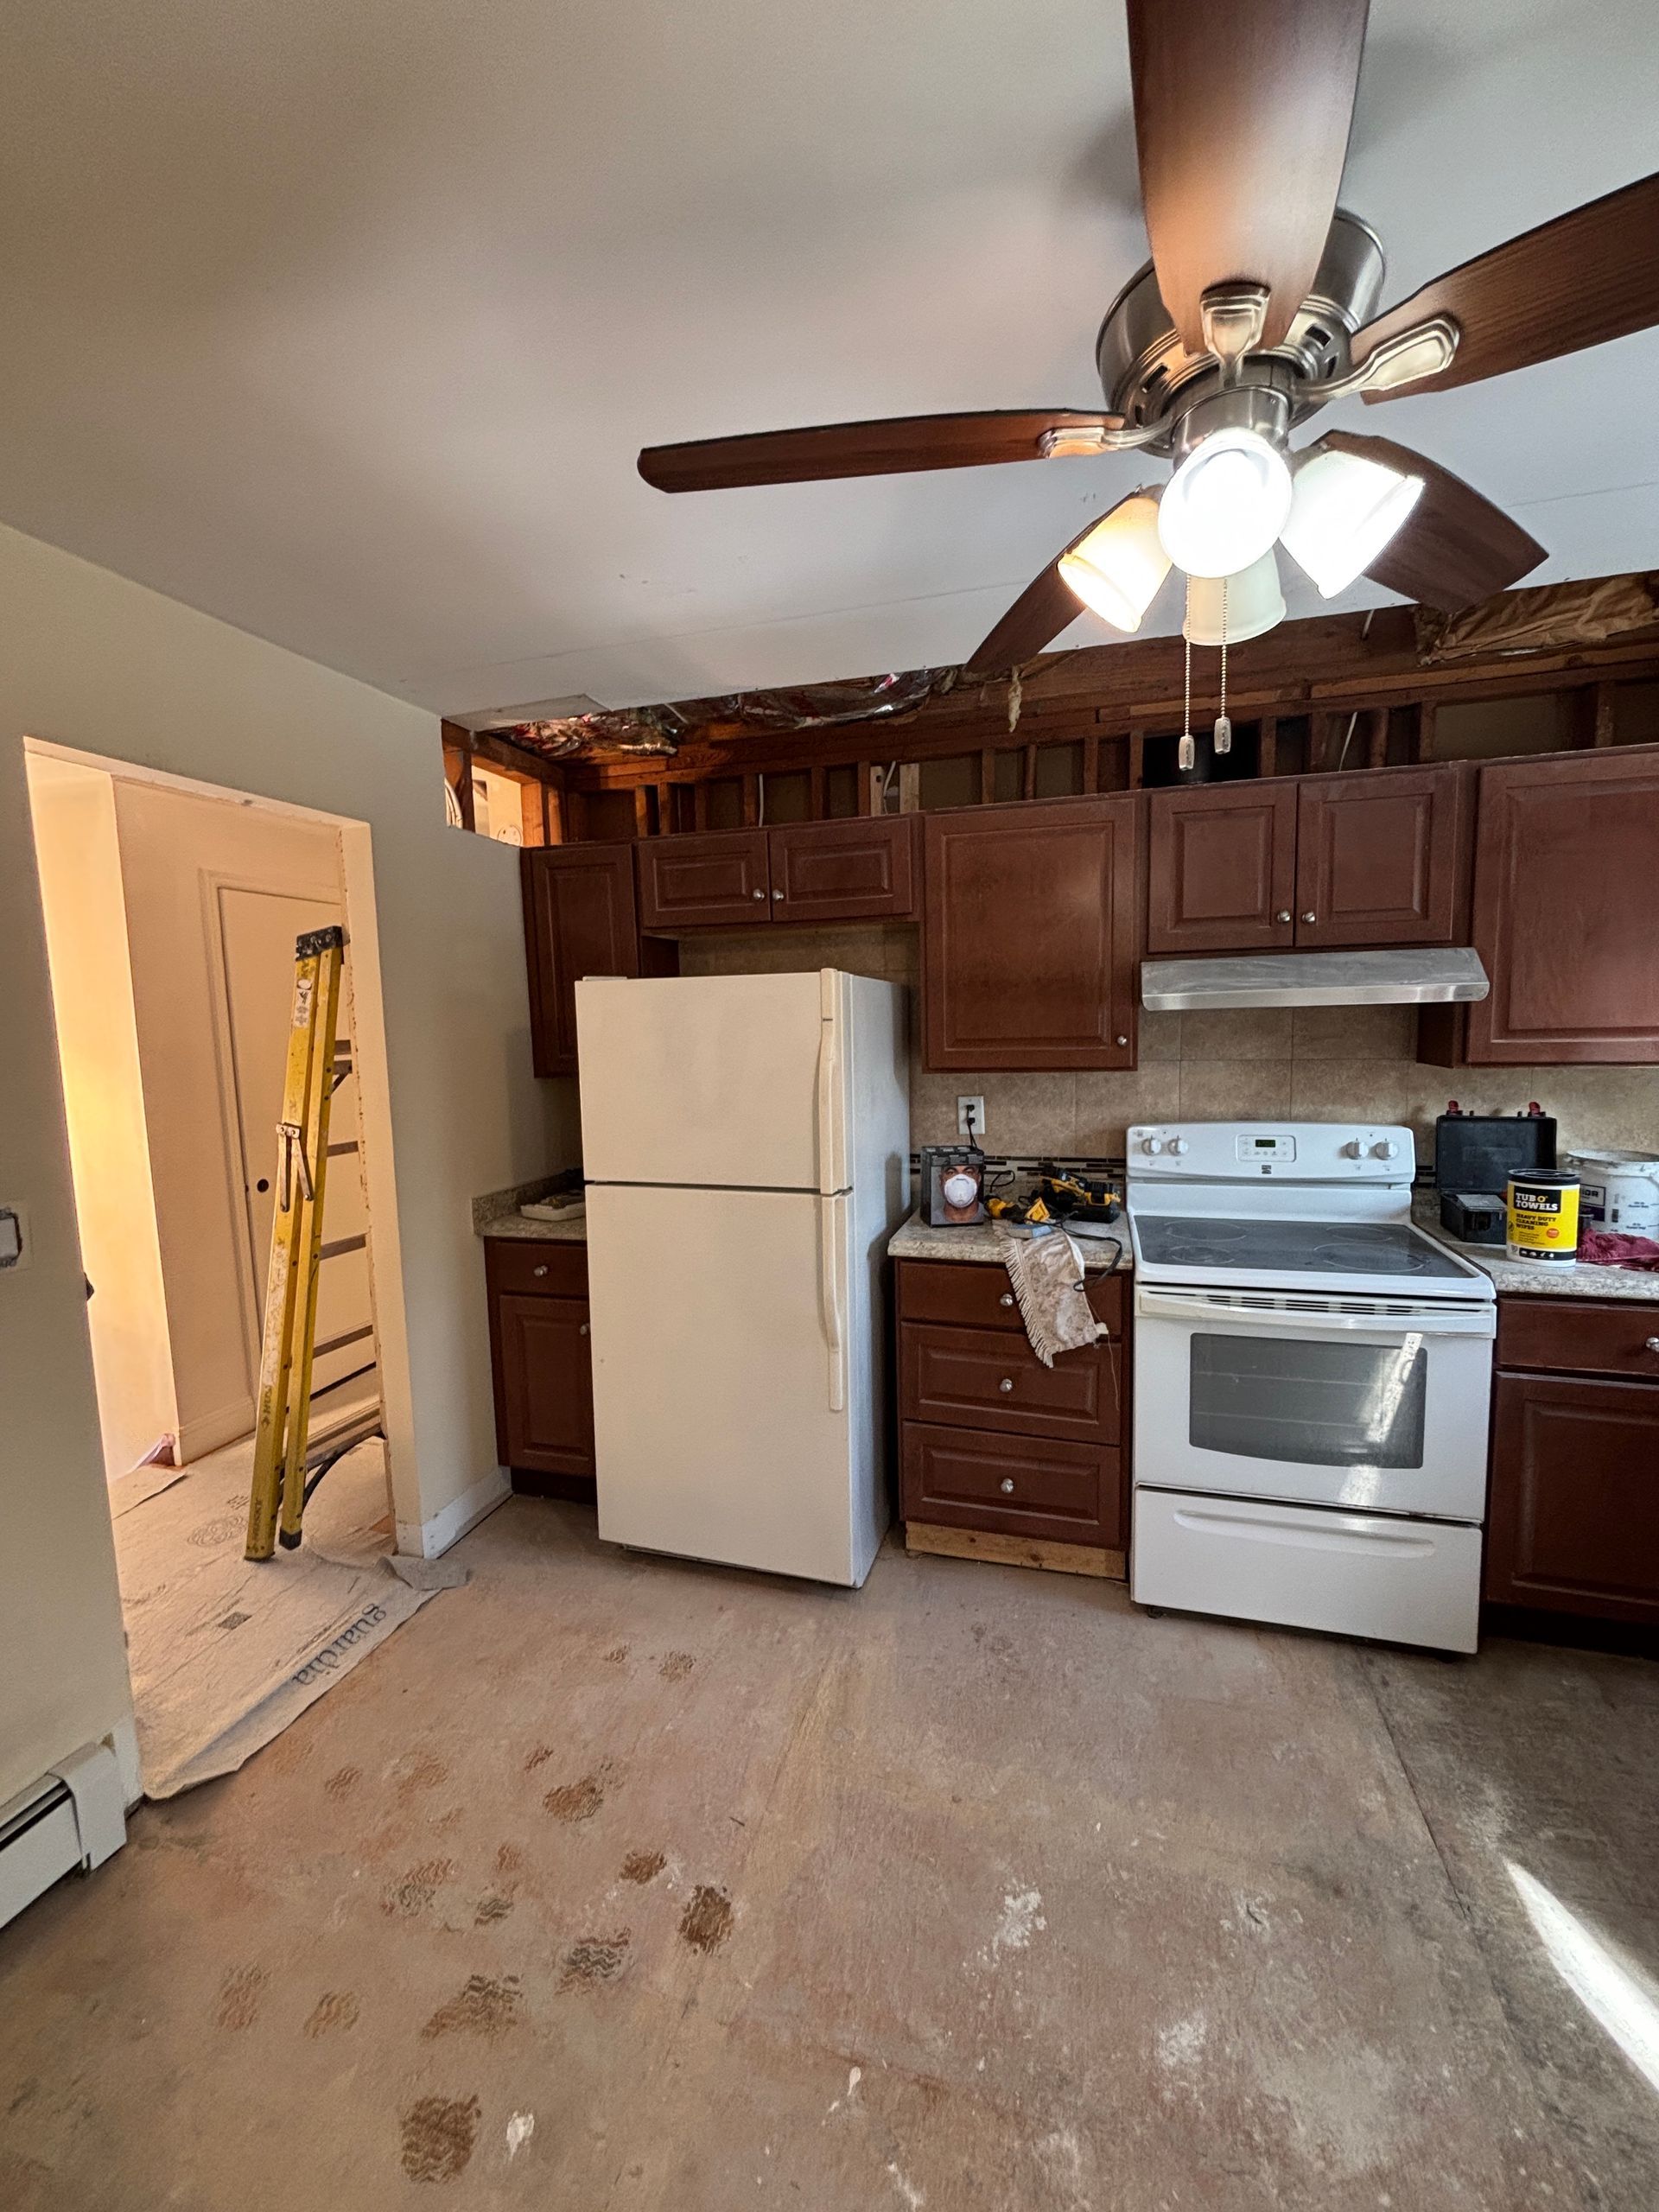
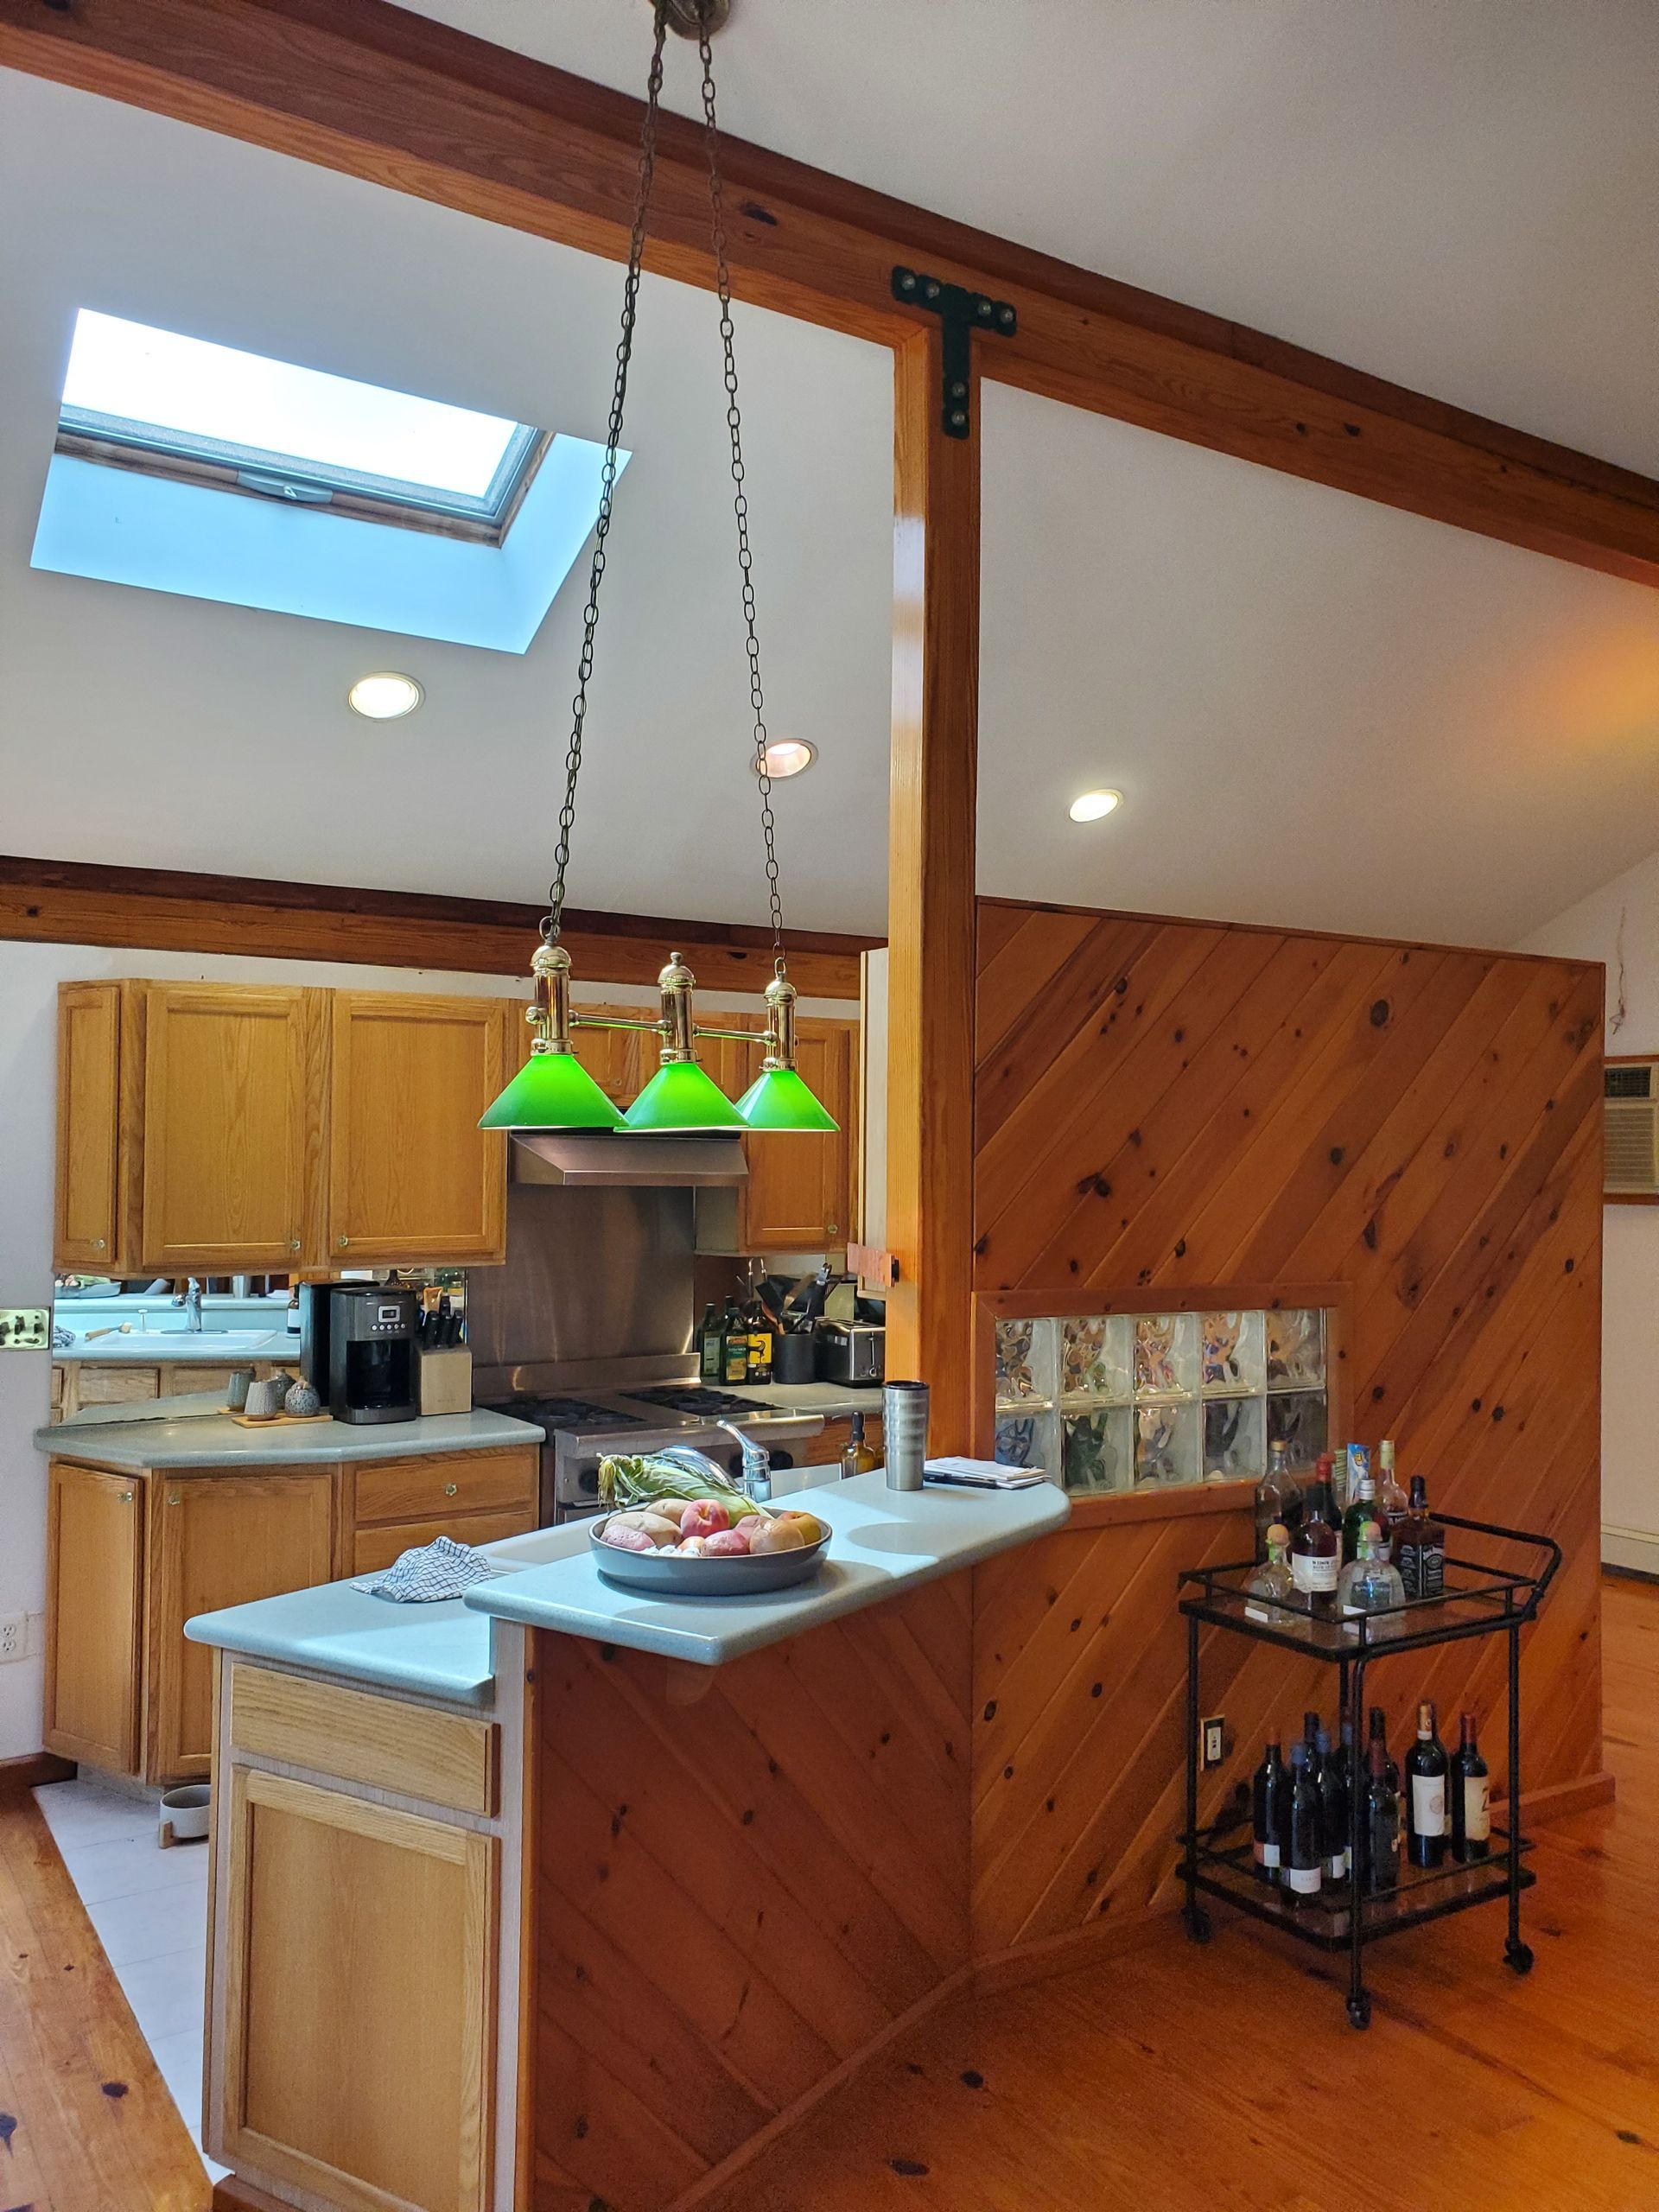
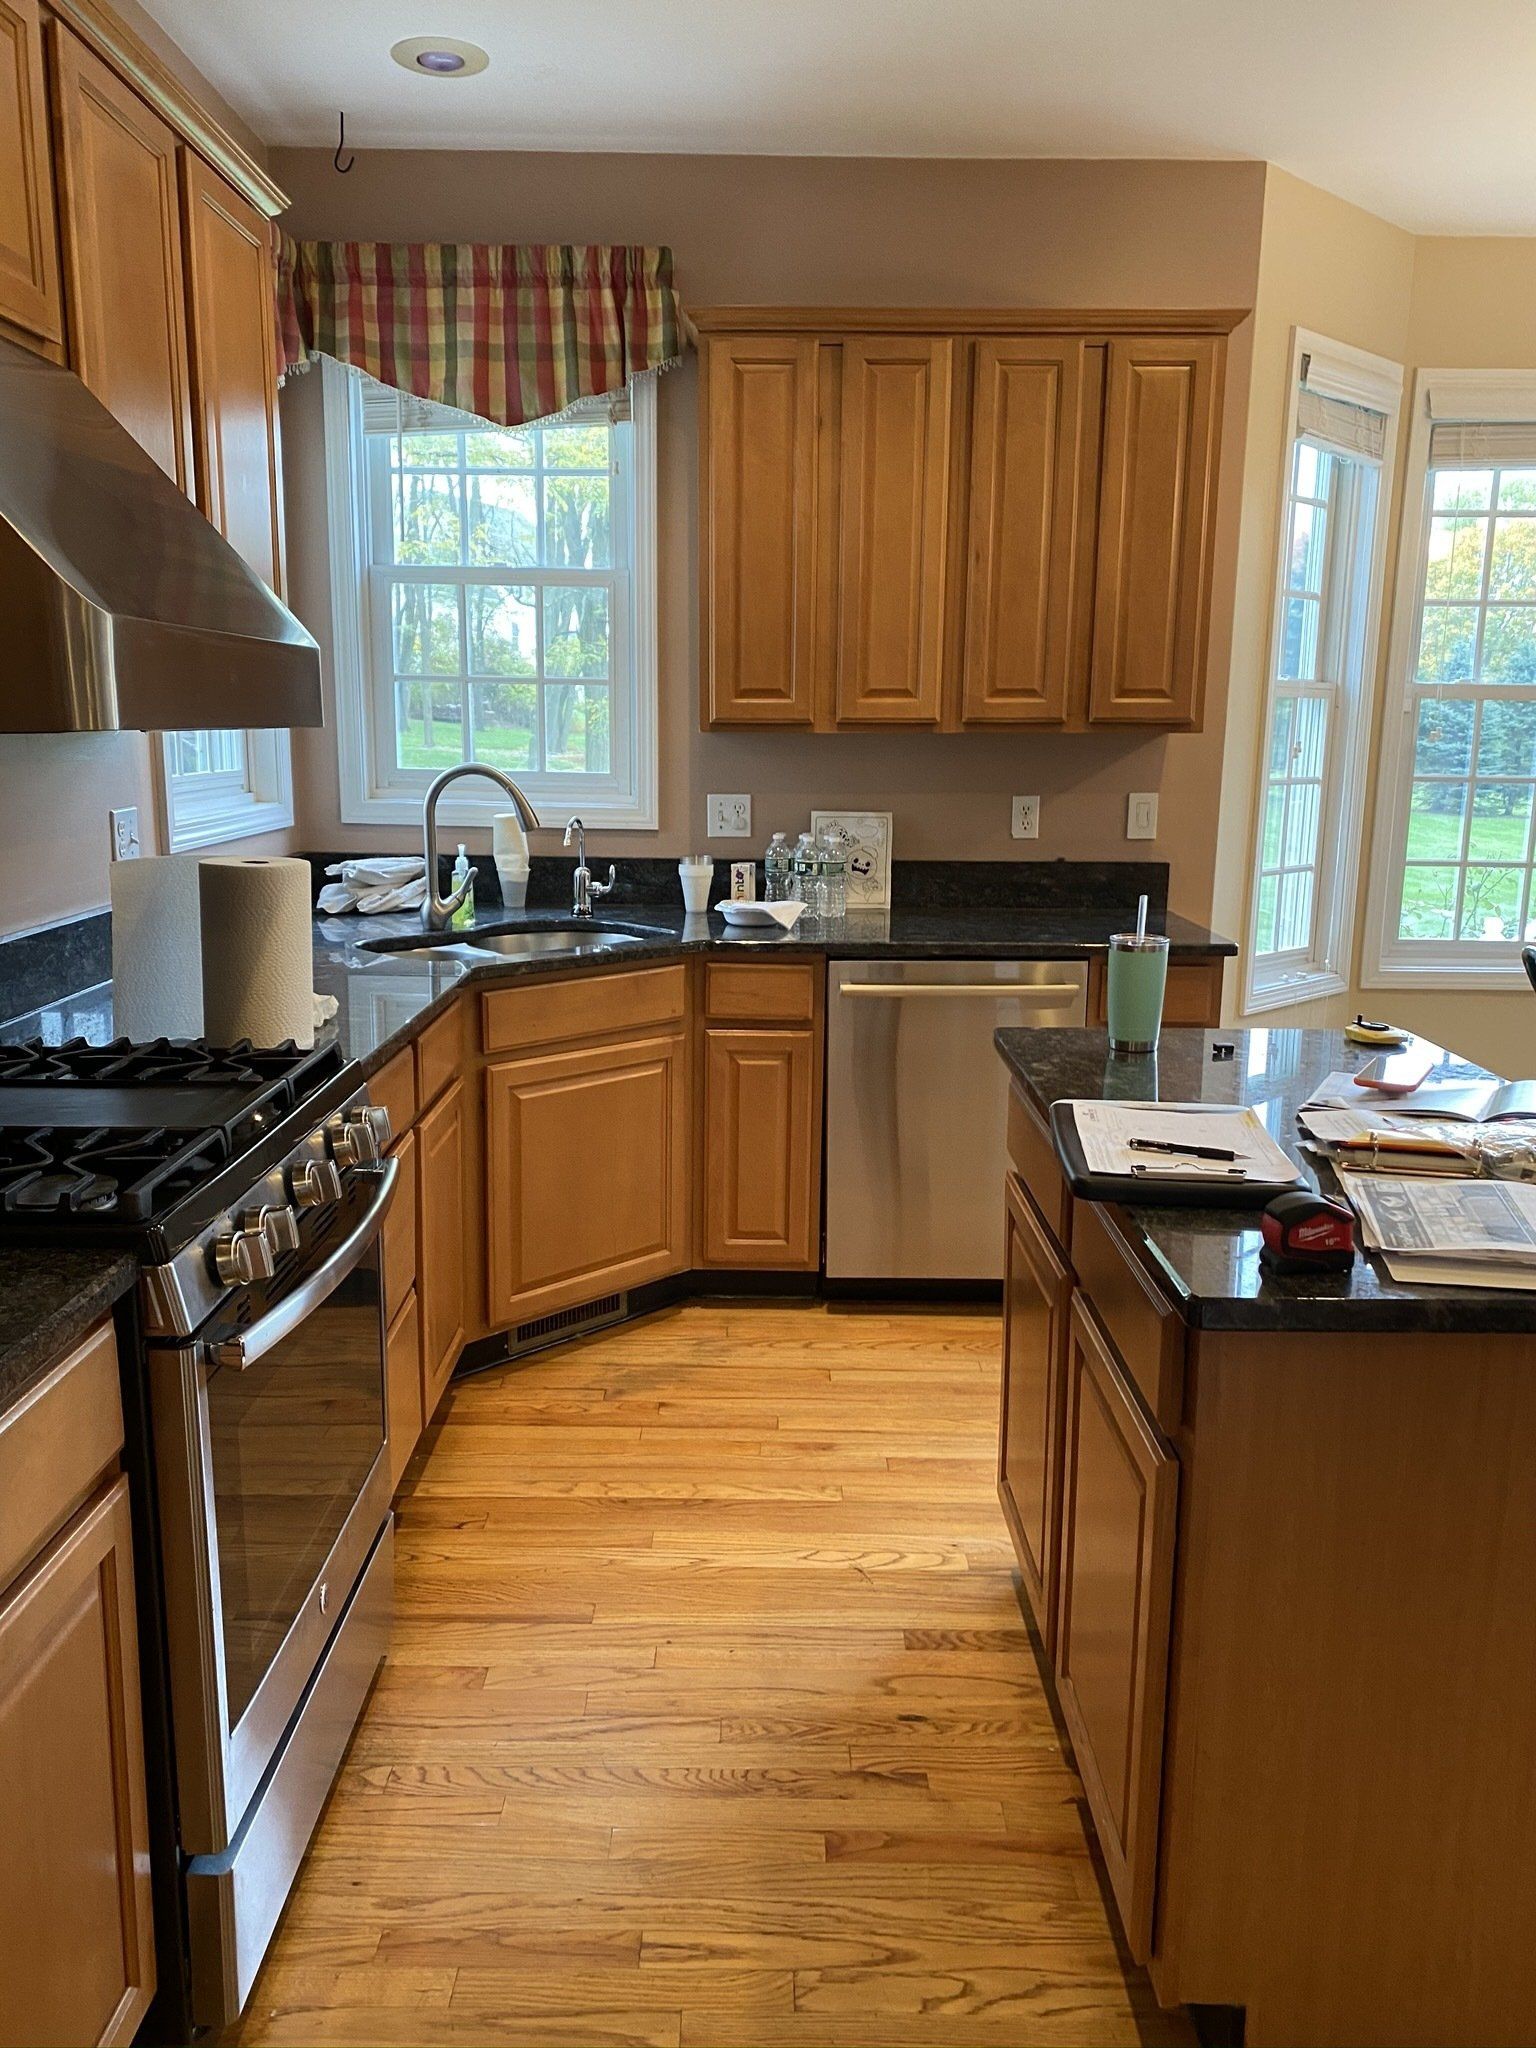
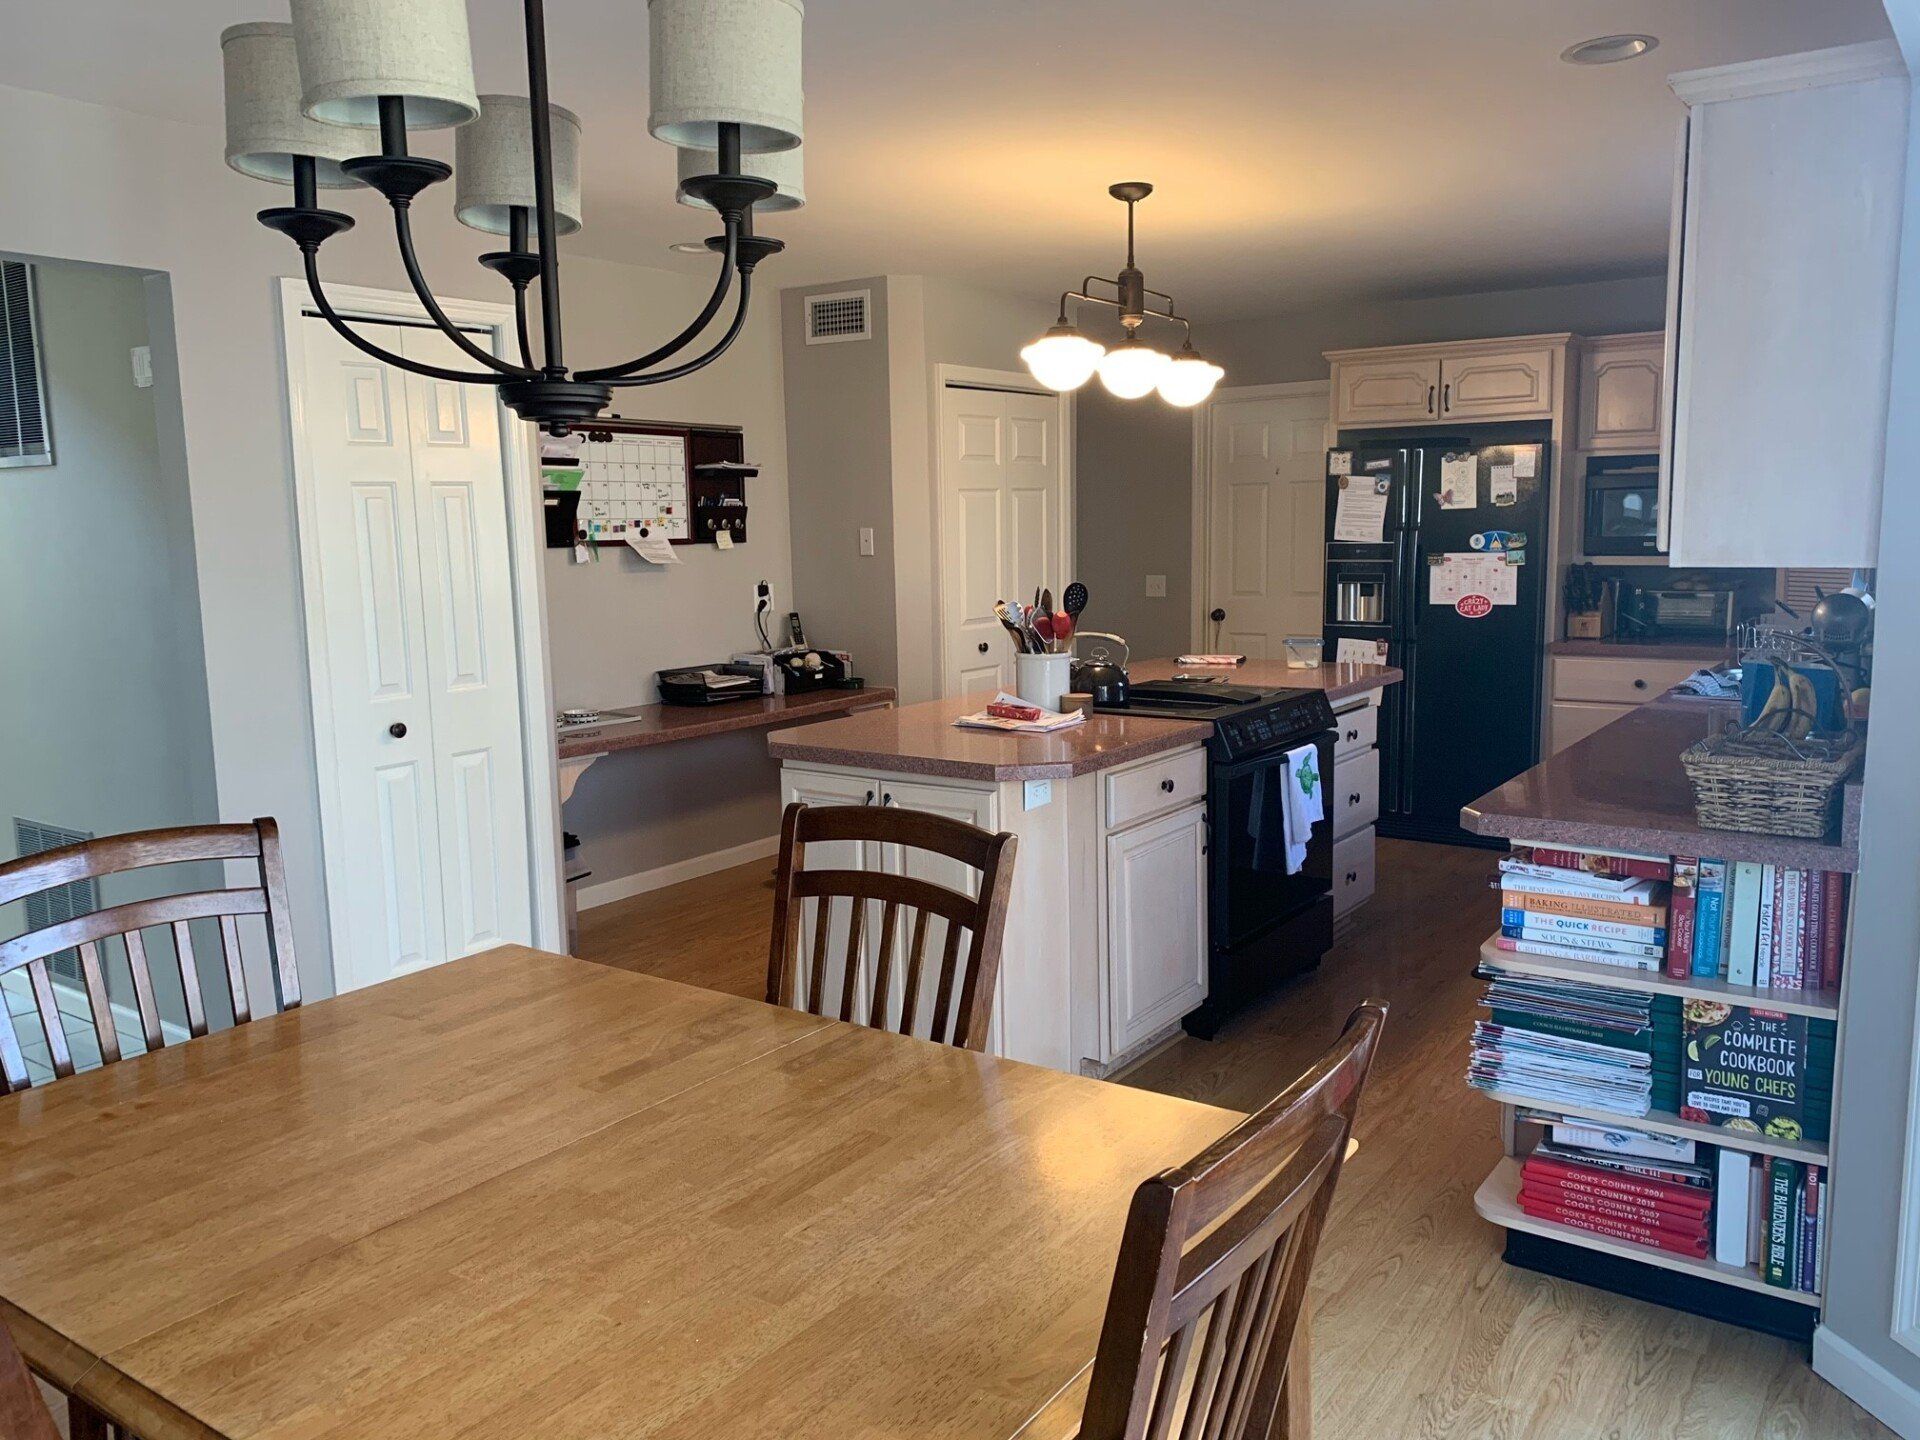
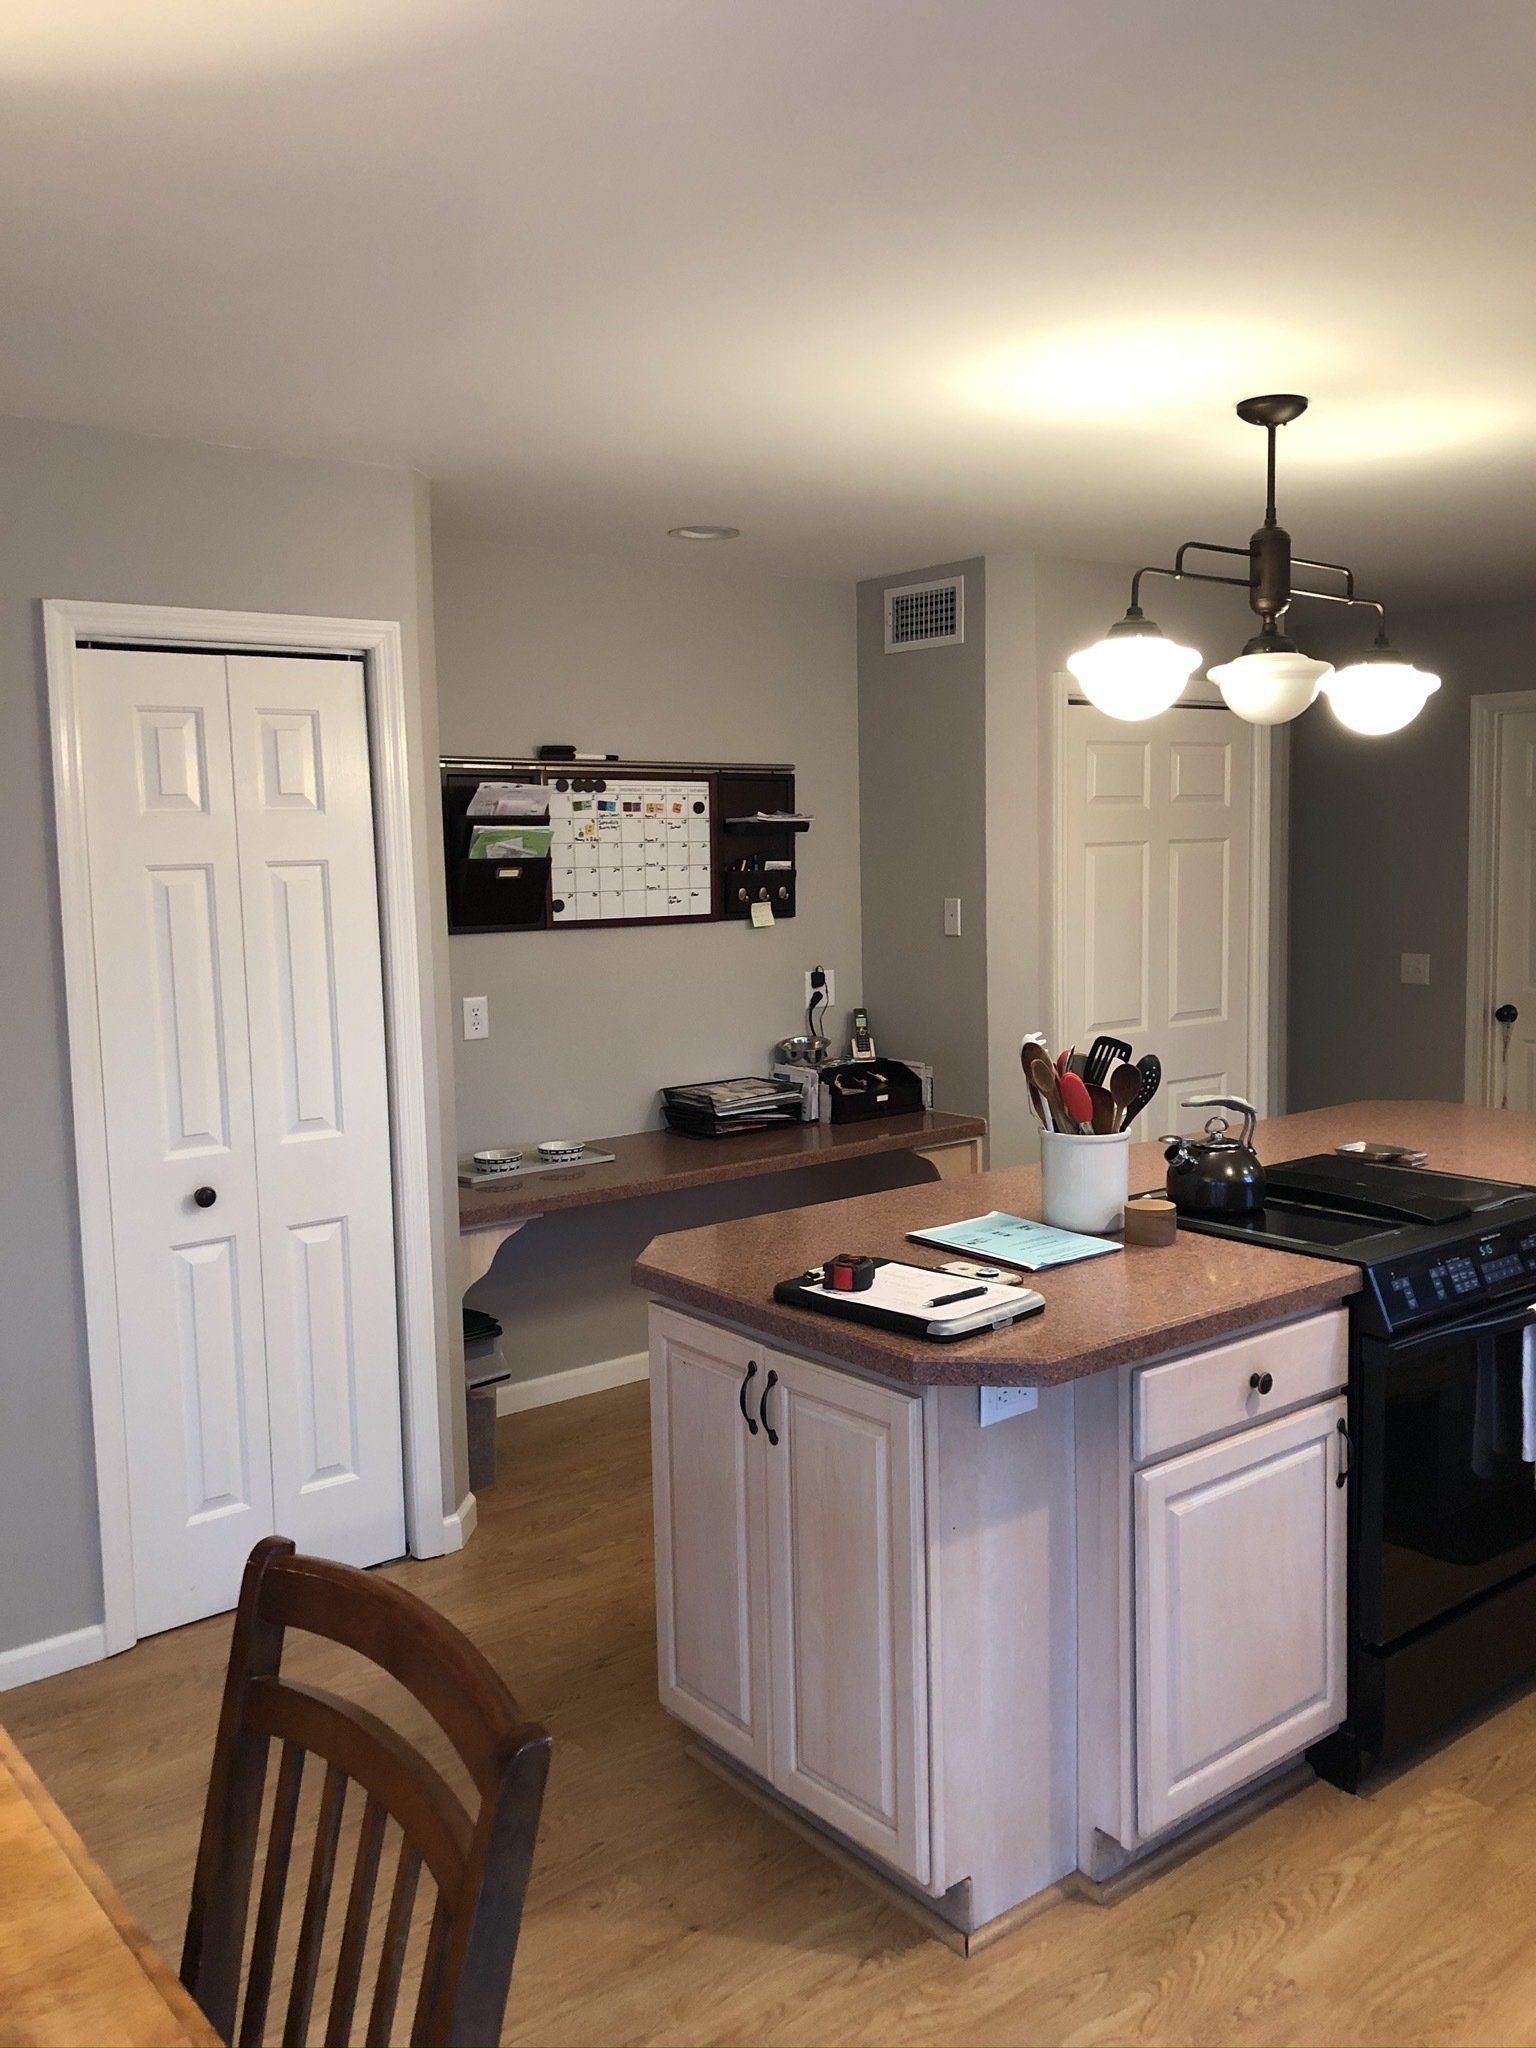
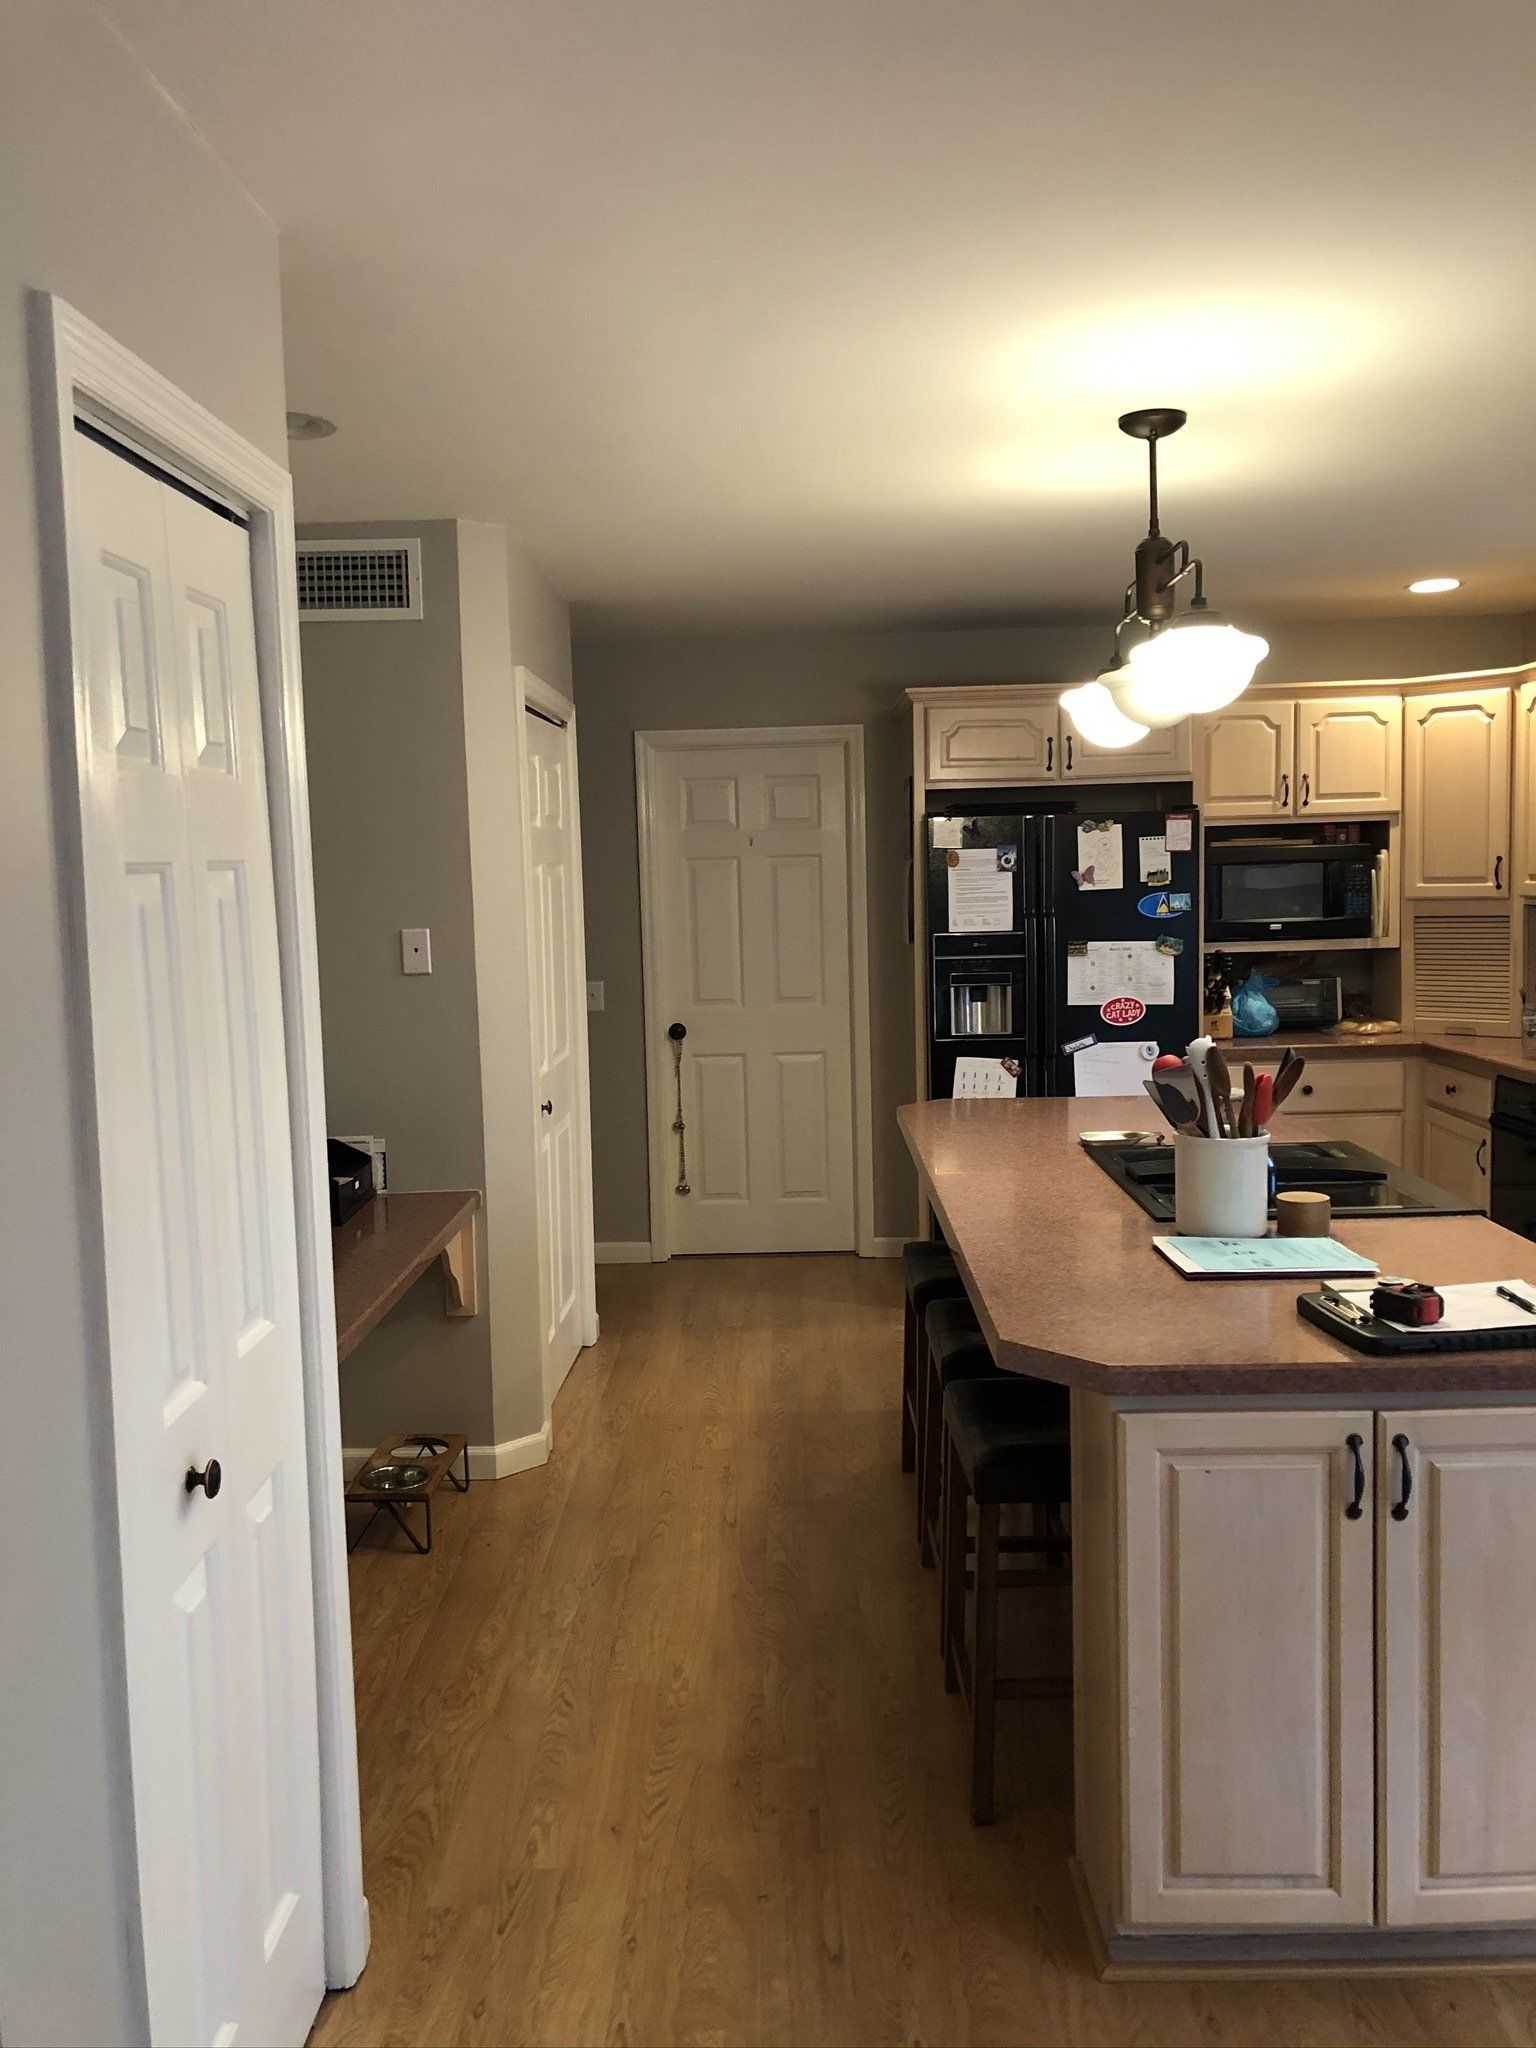
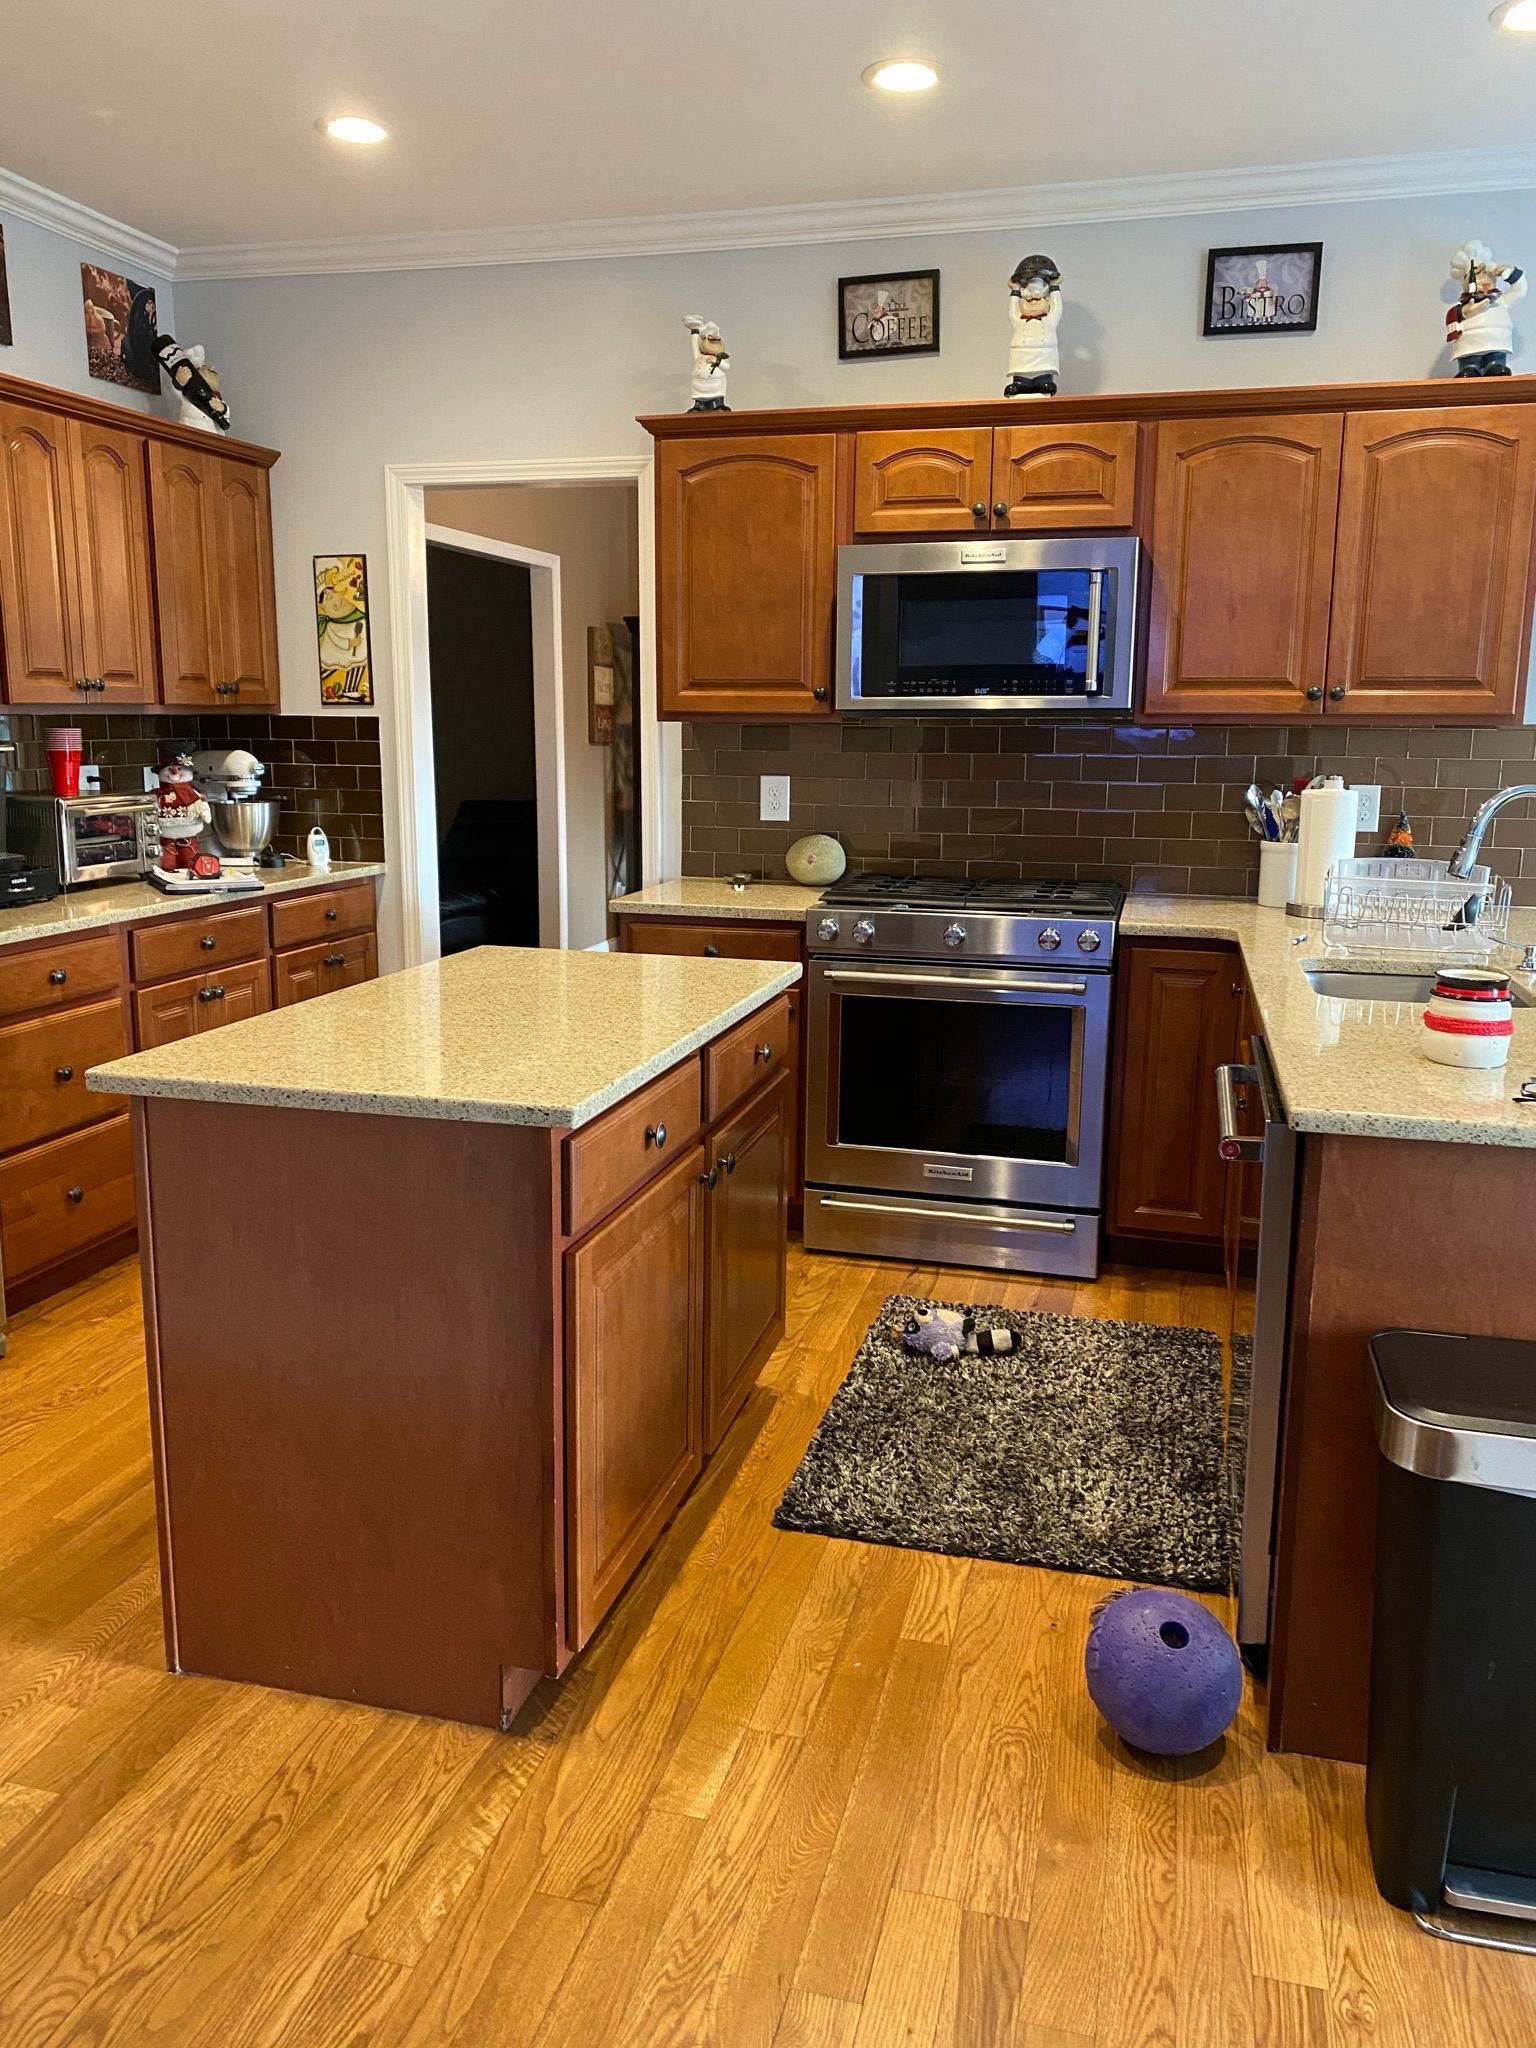
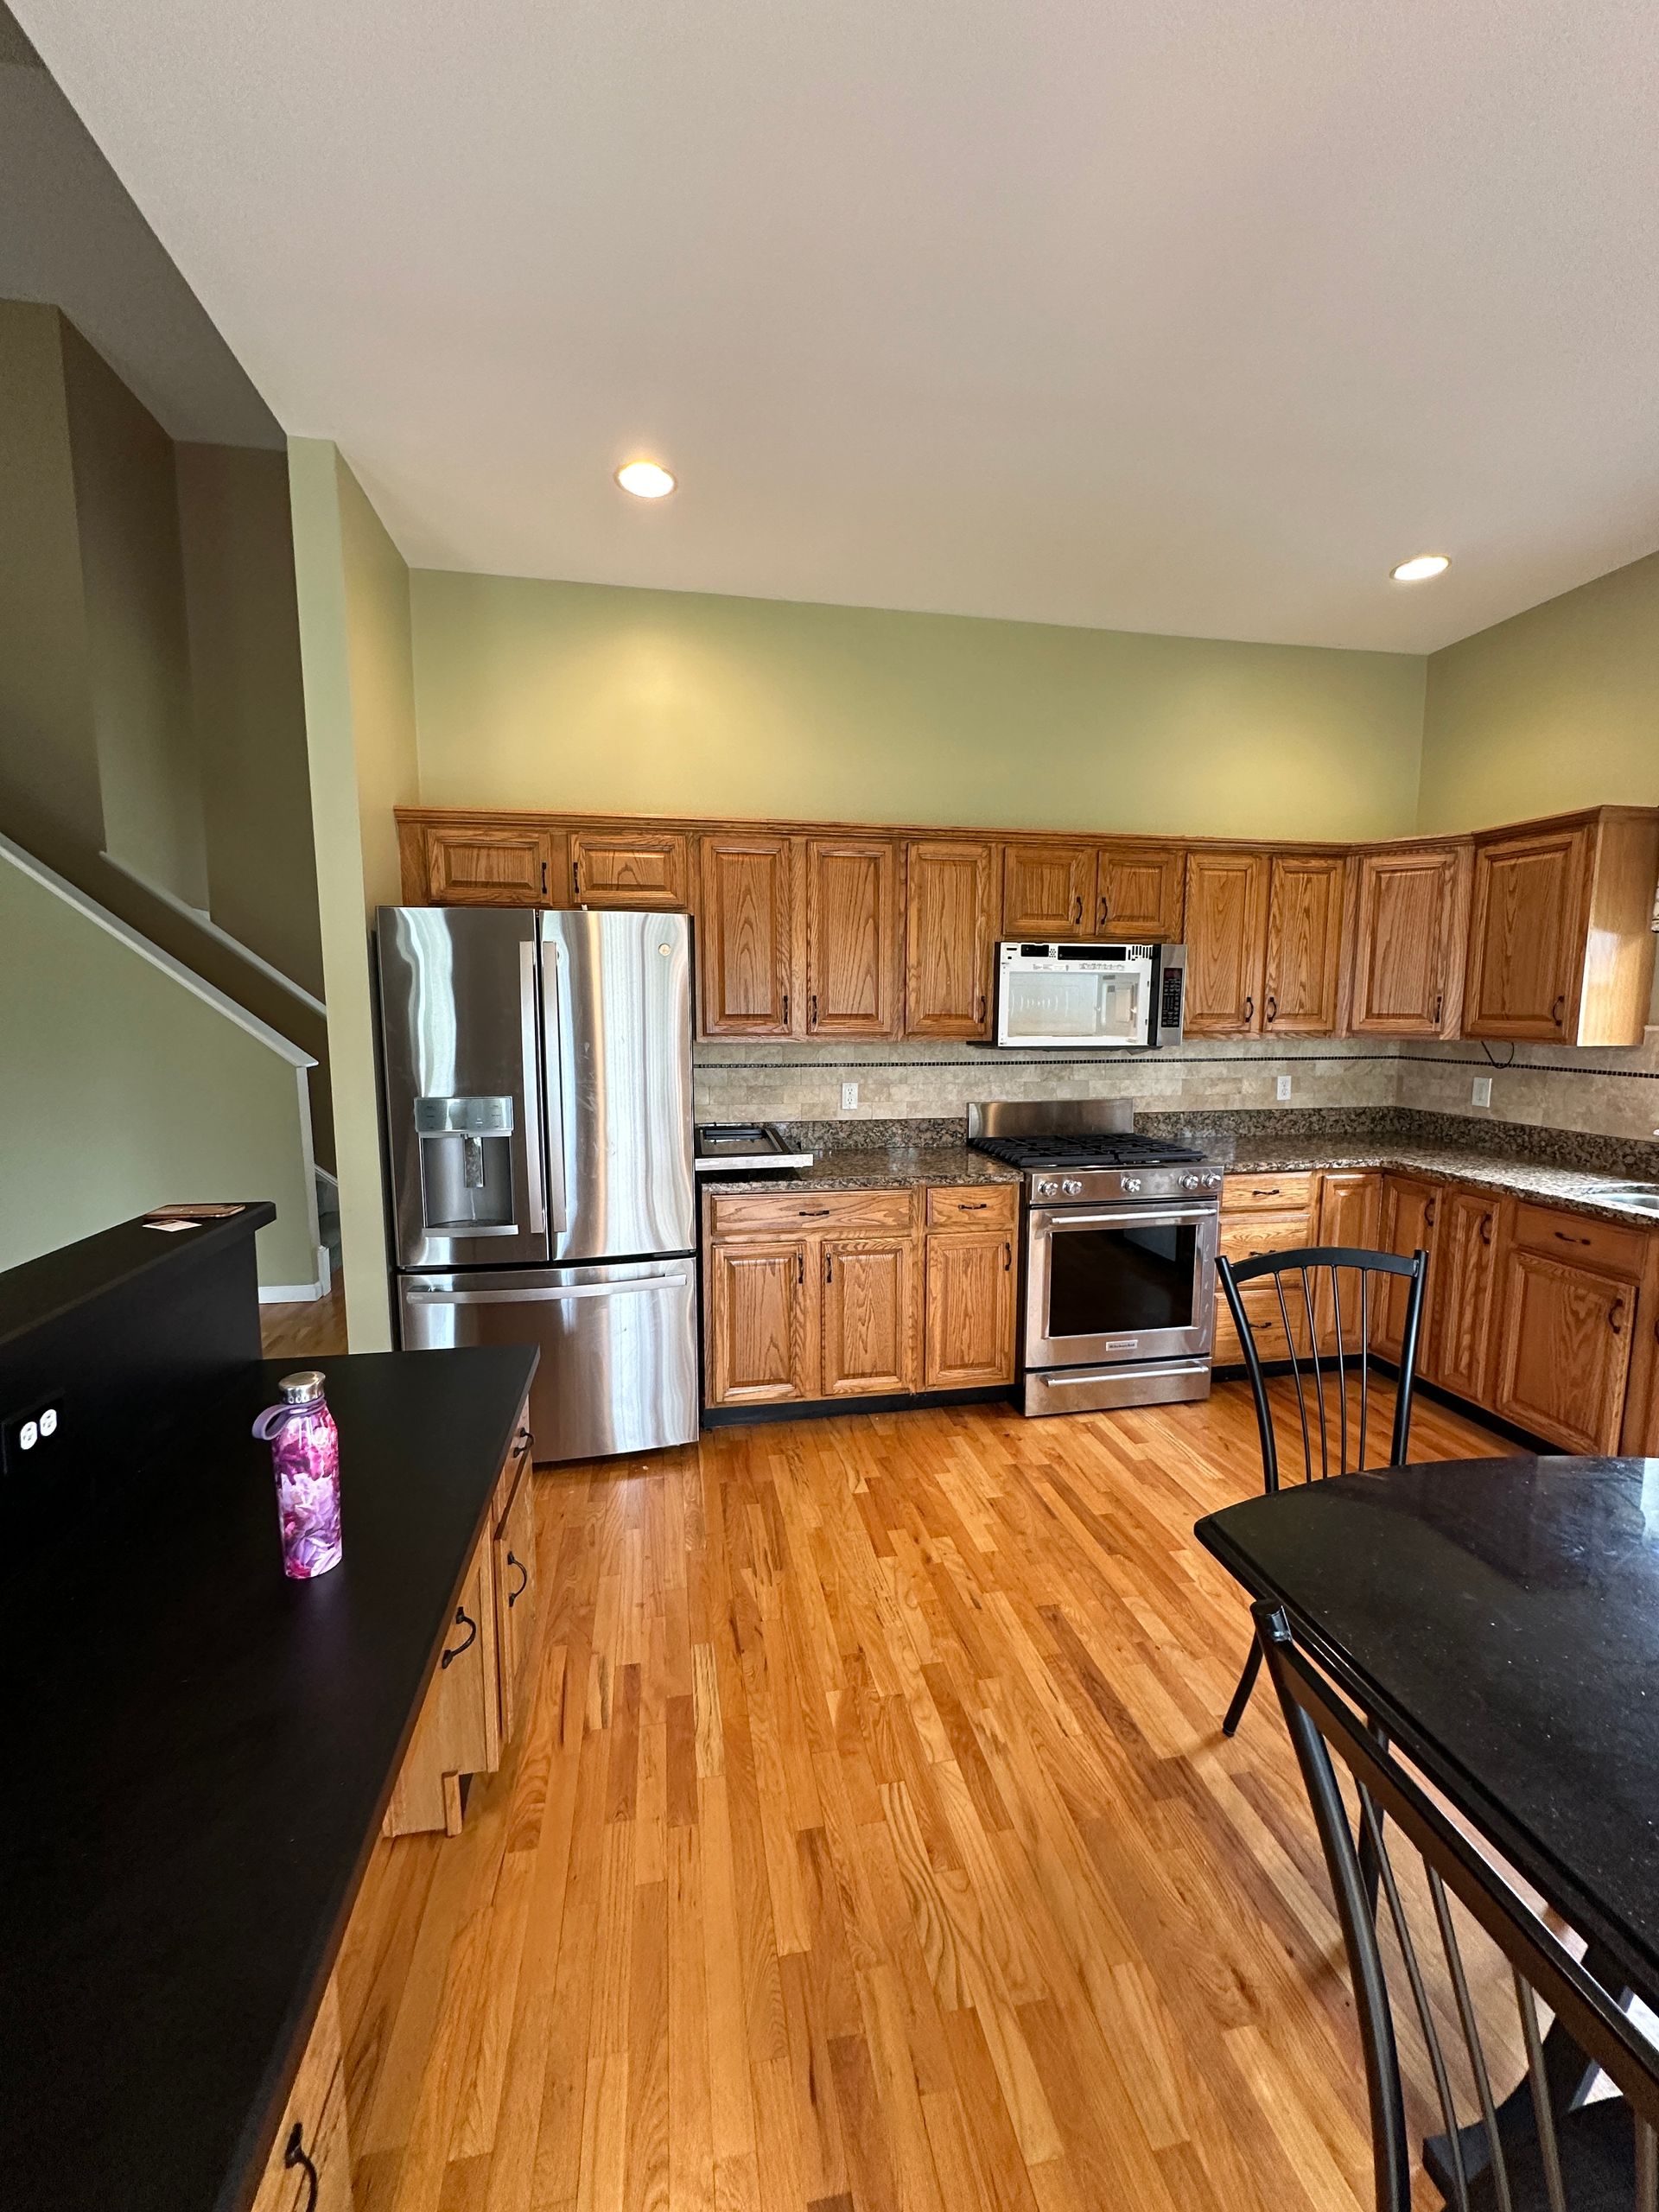
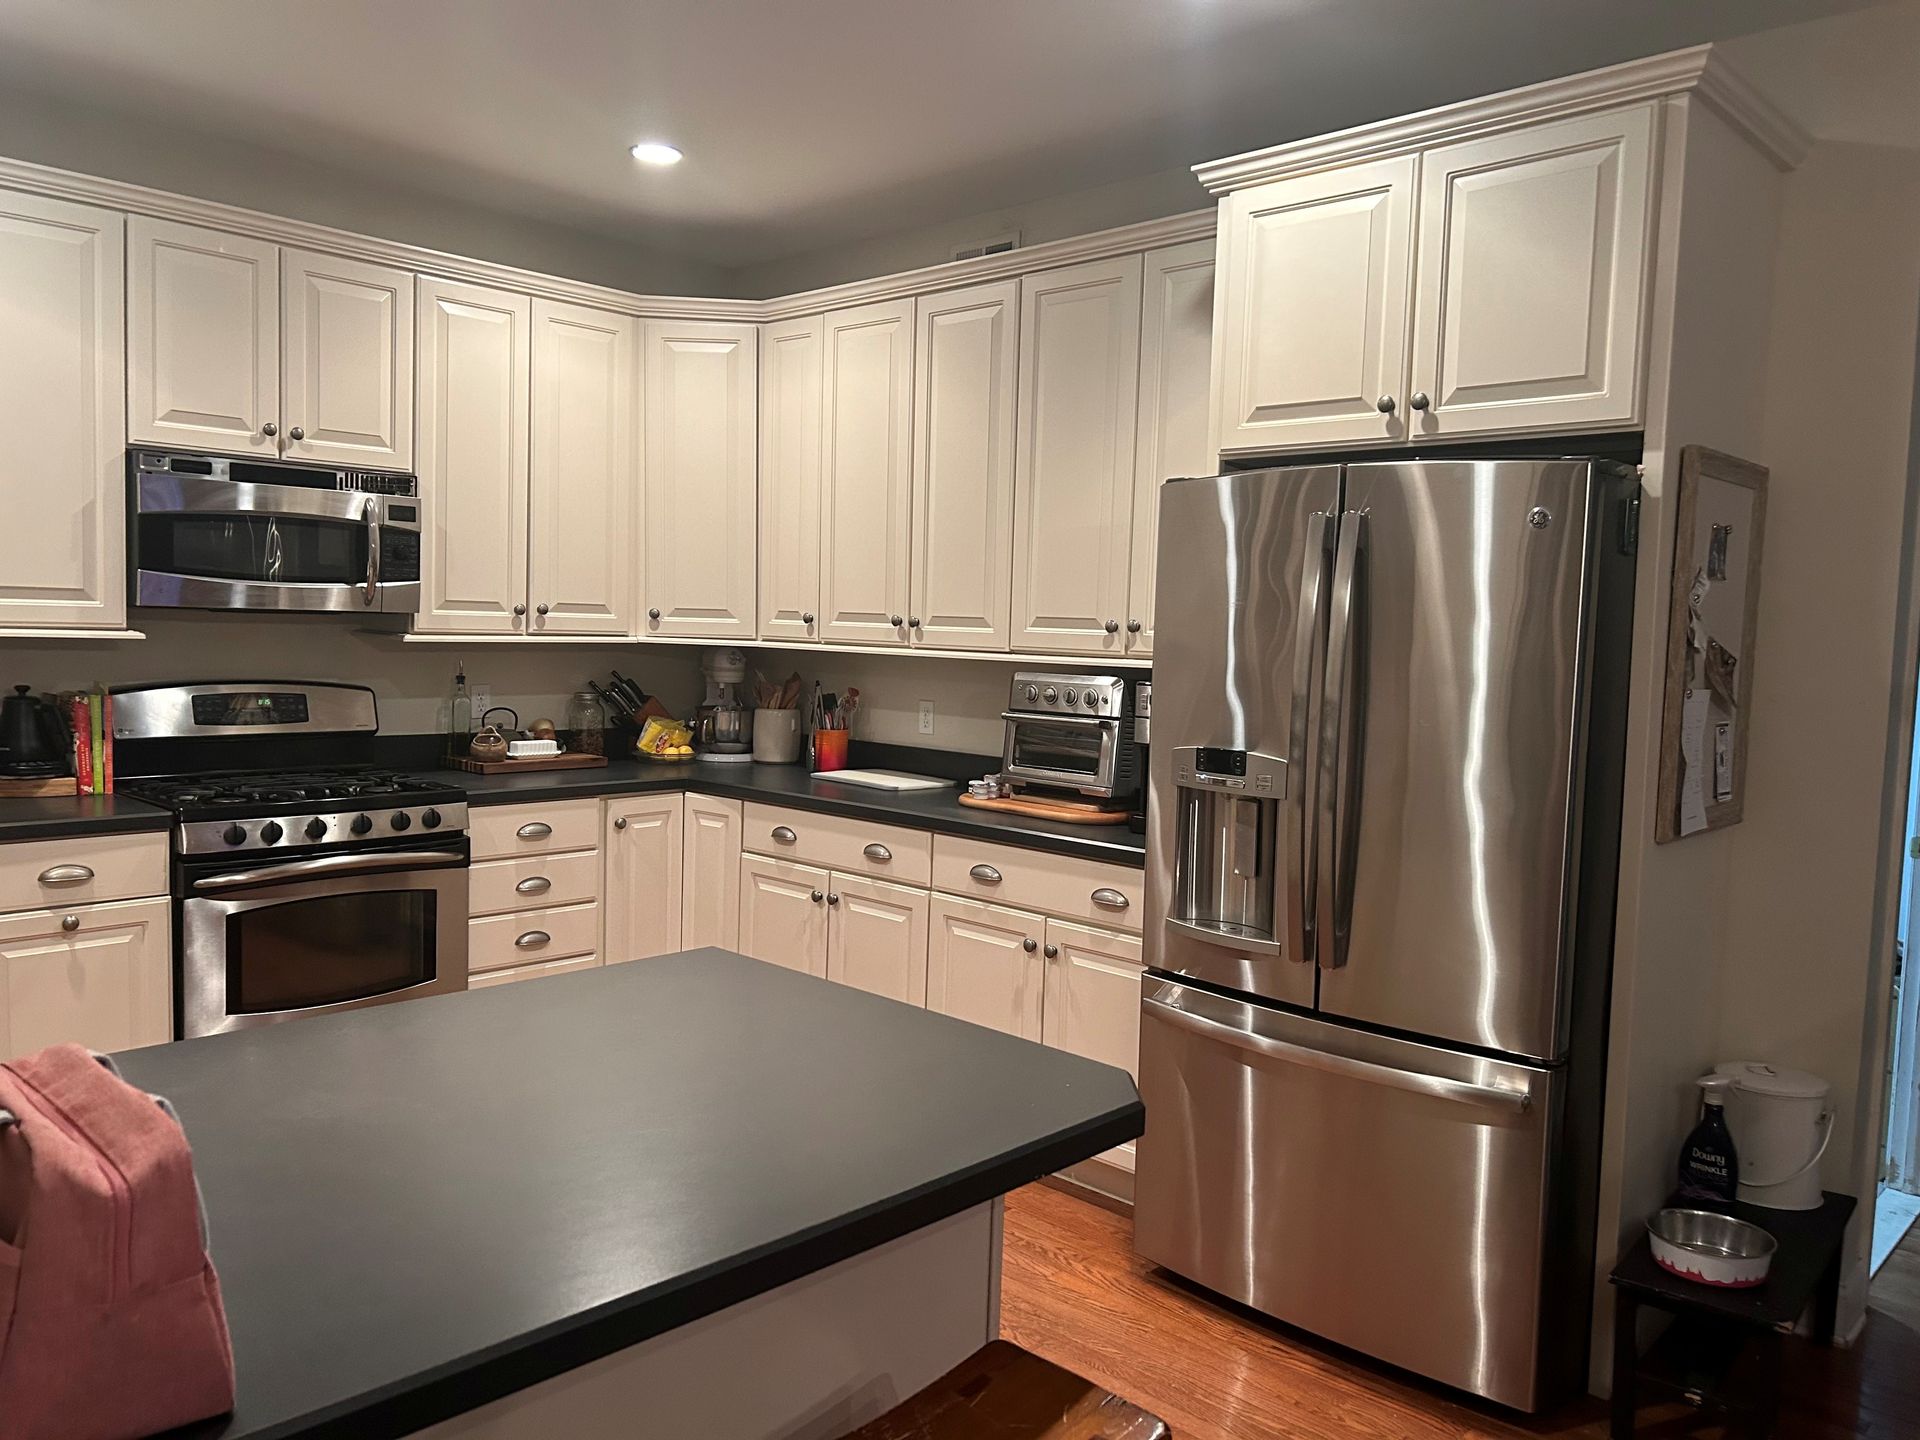
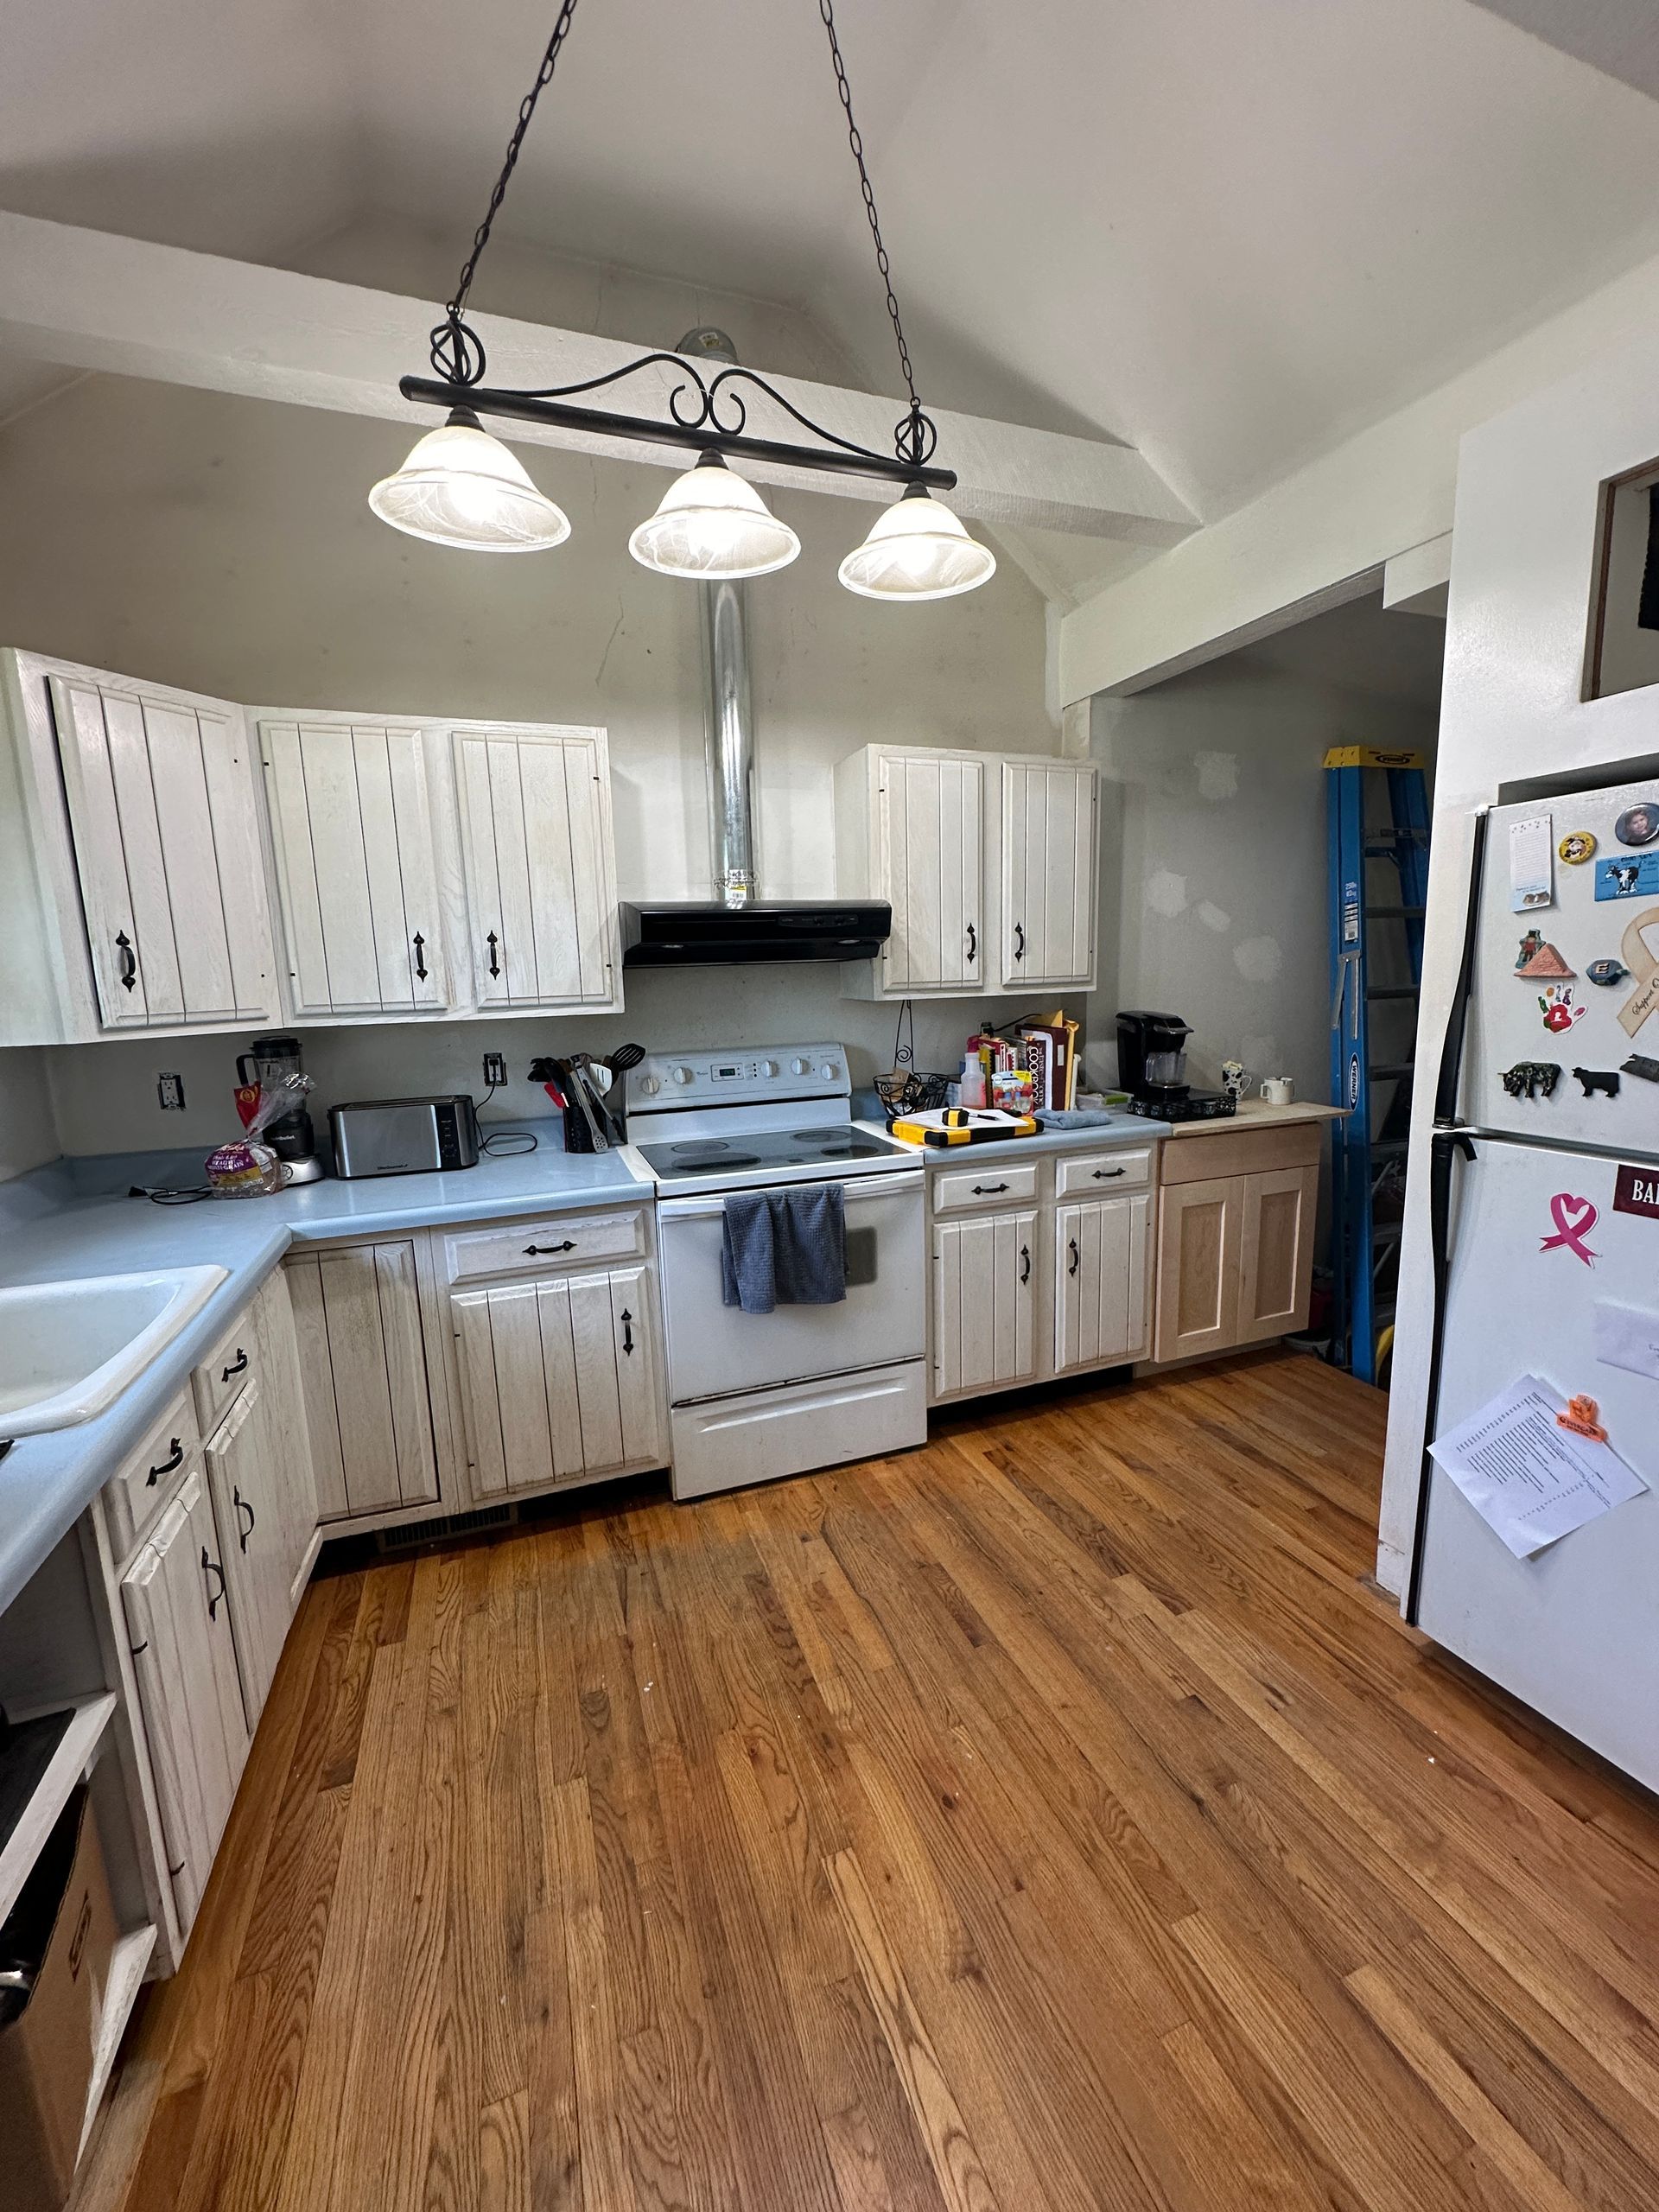
Before
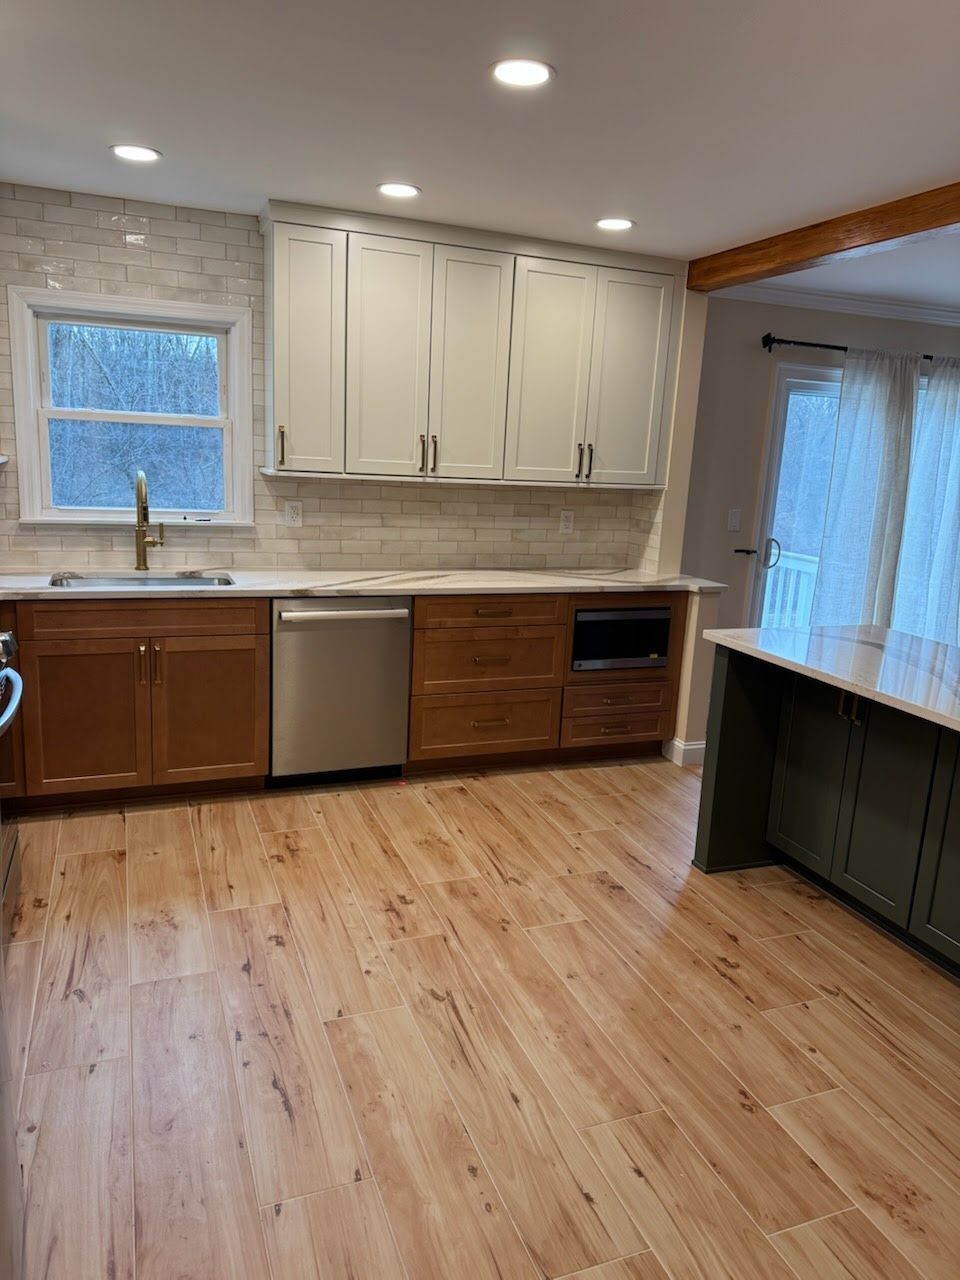
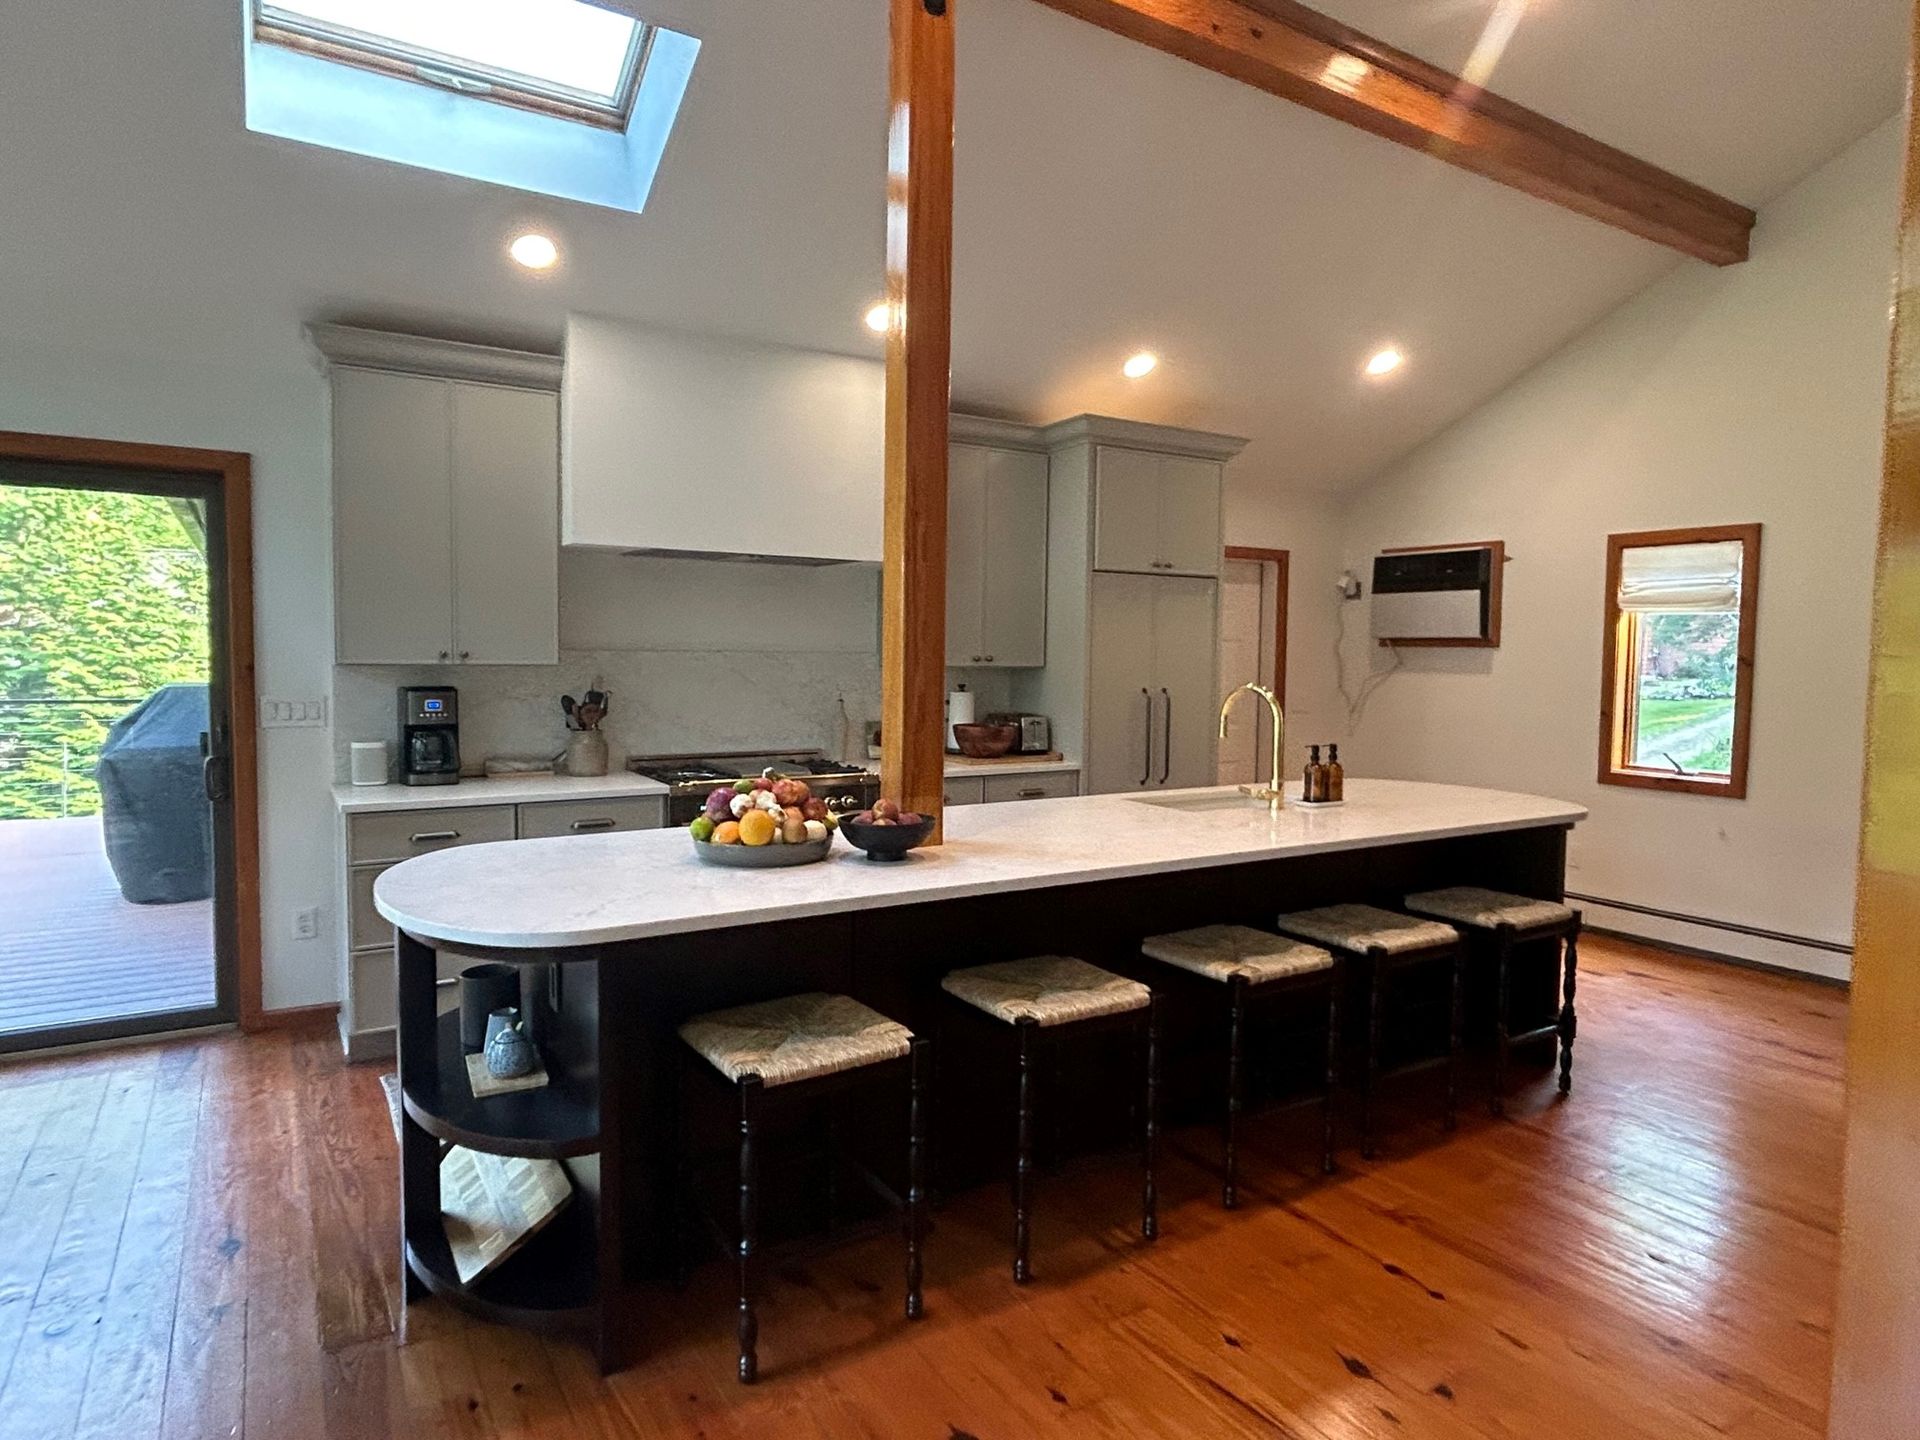
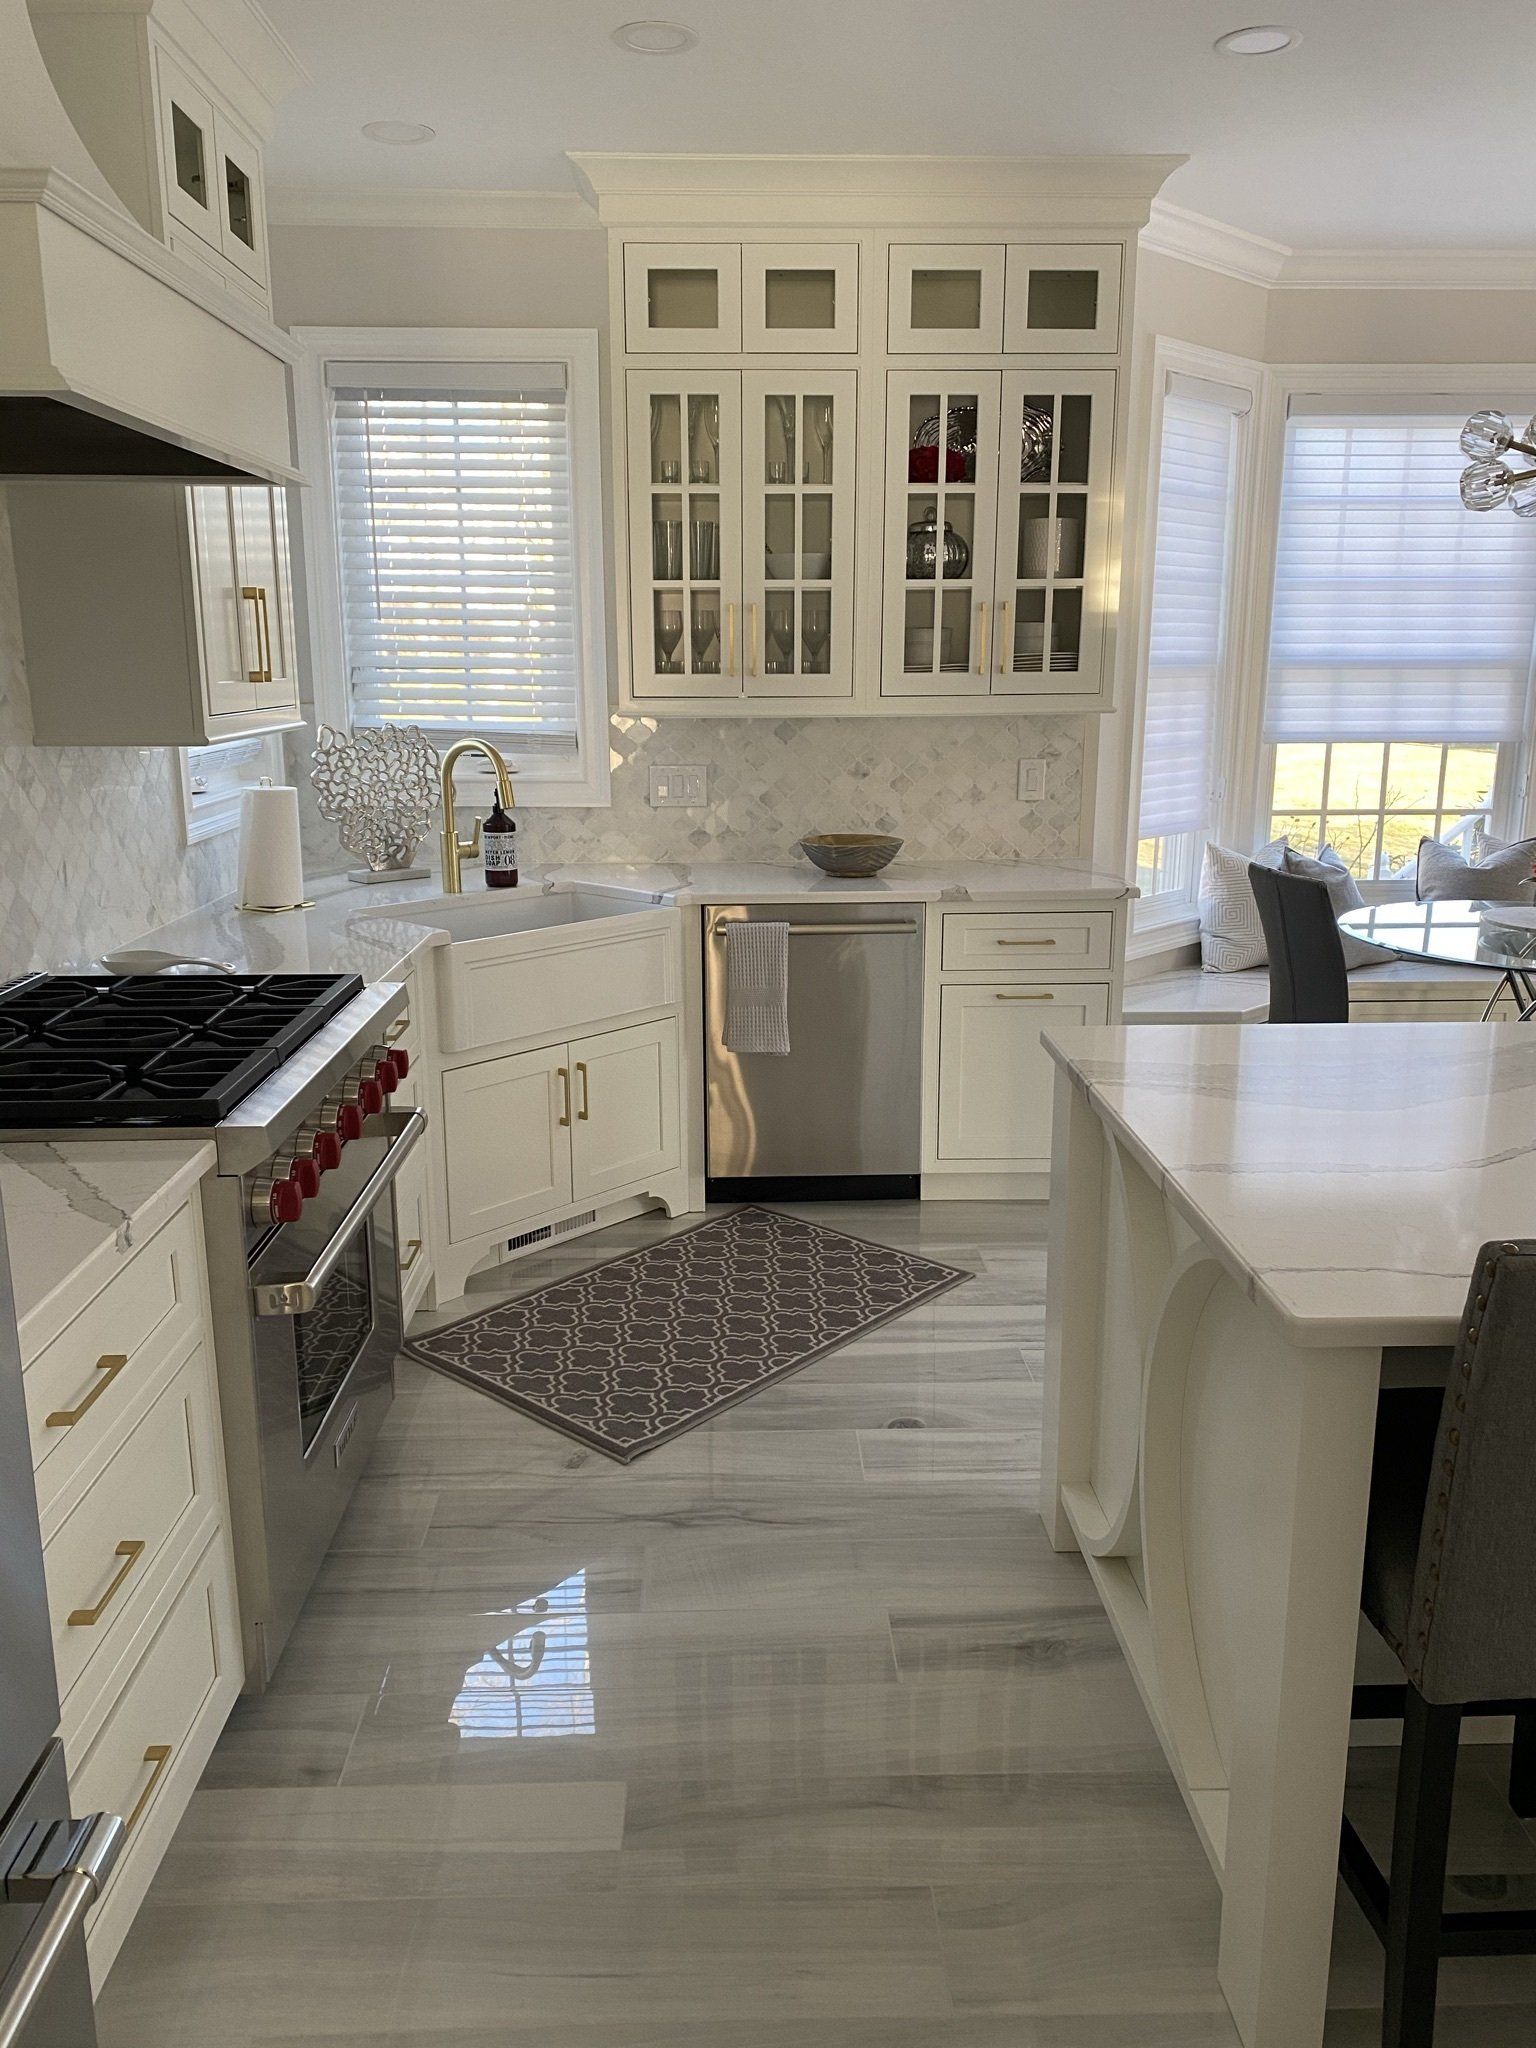
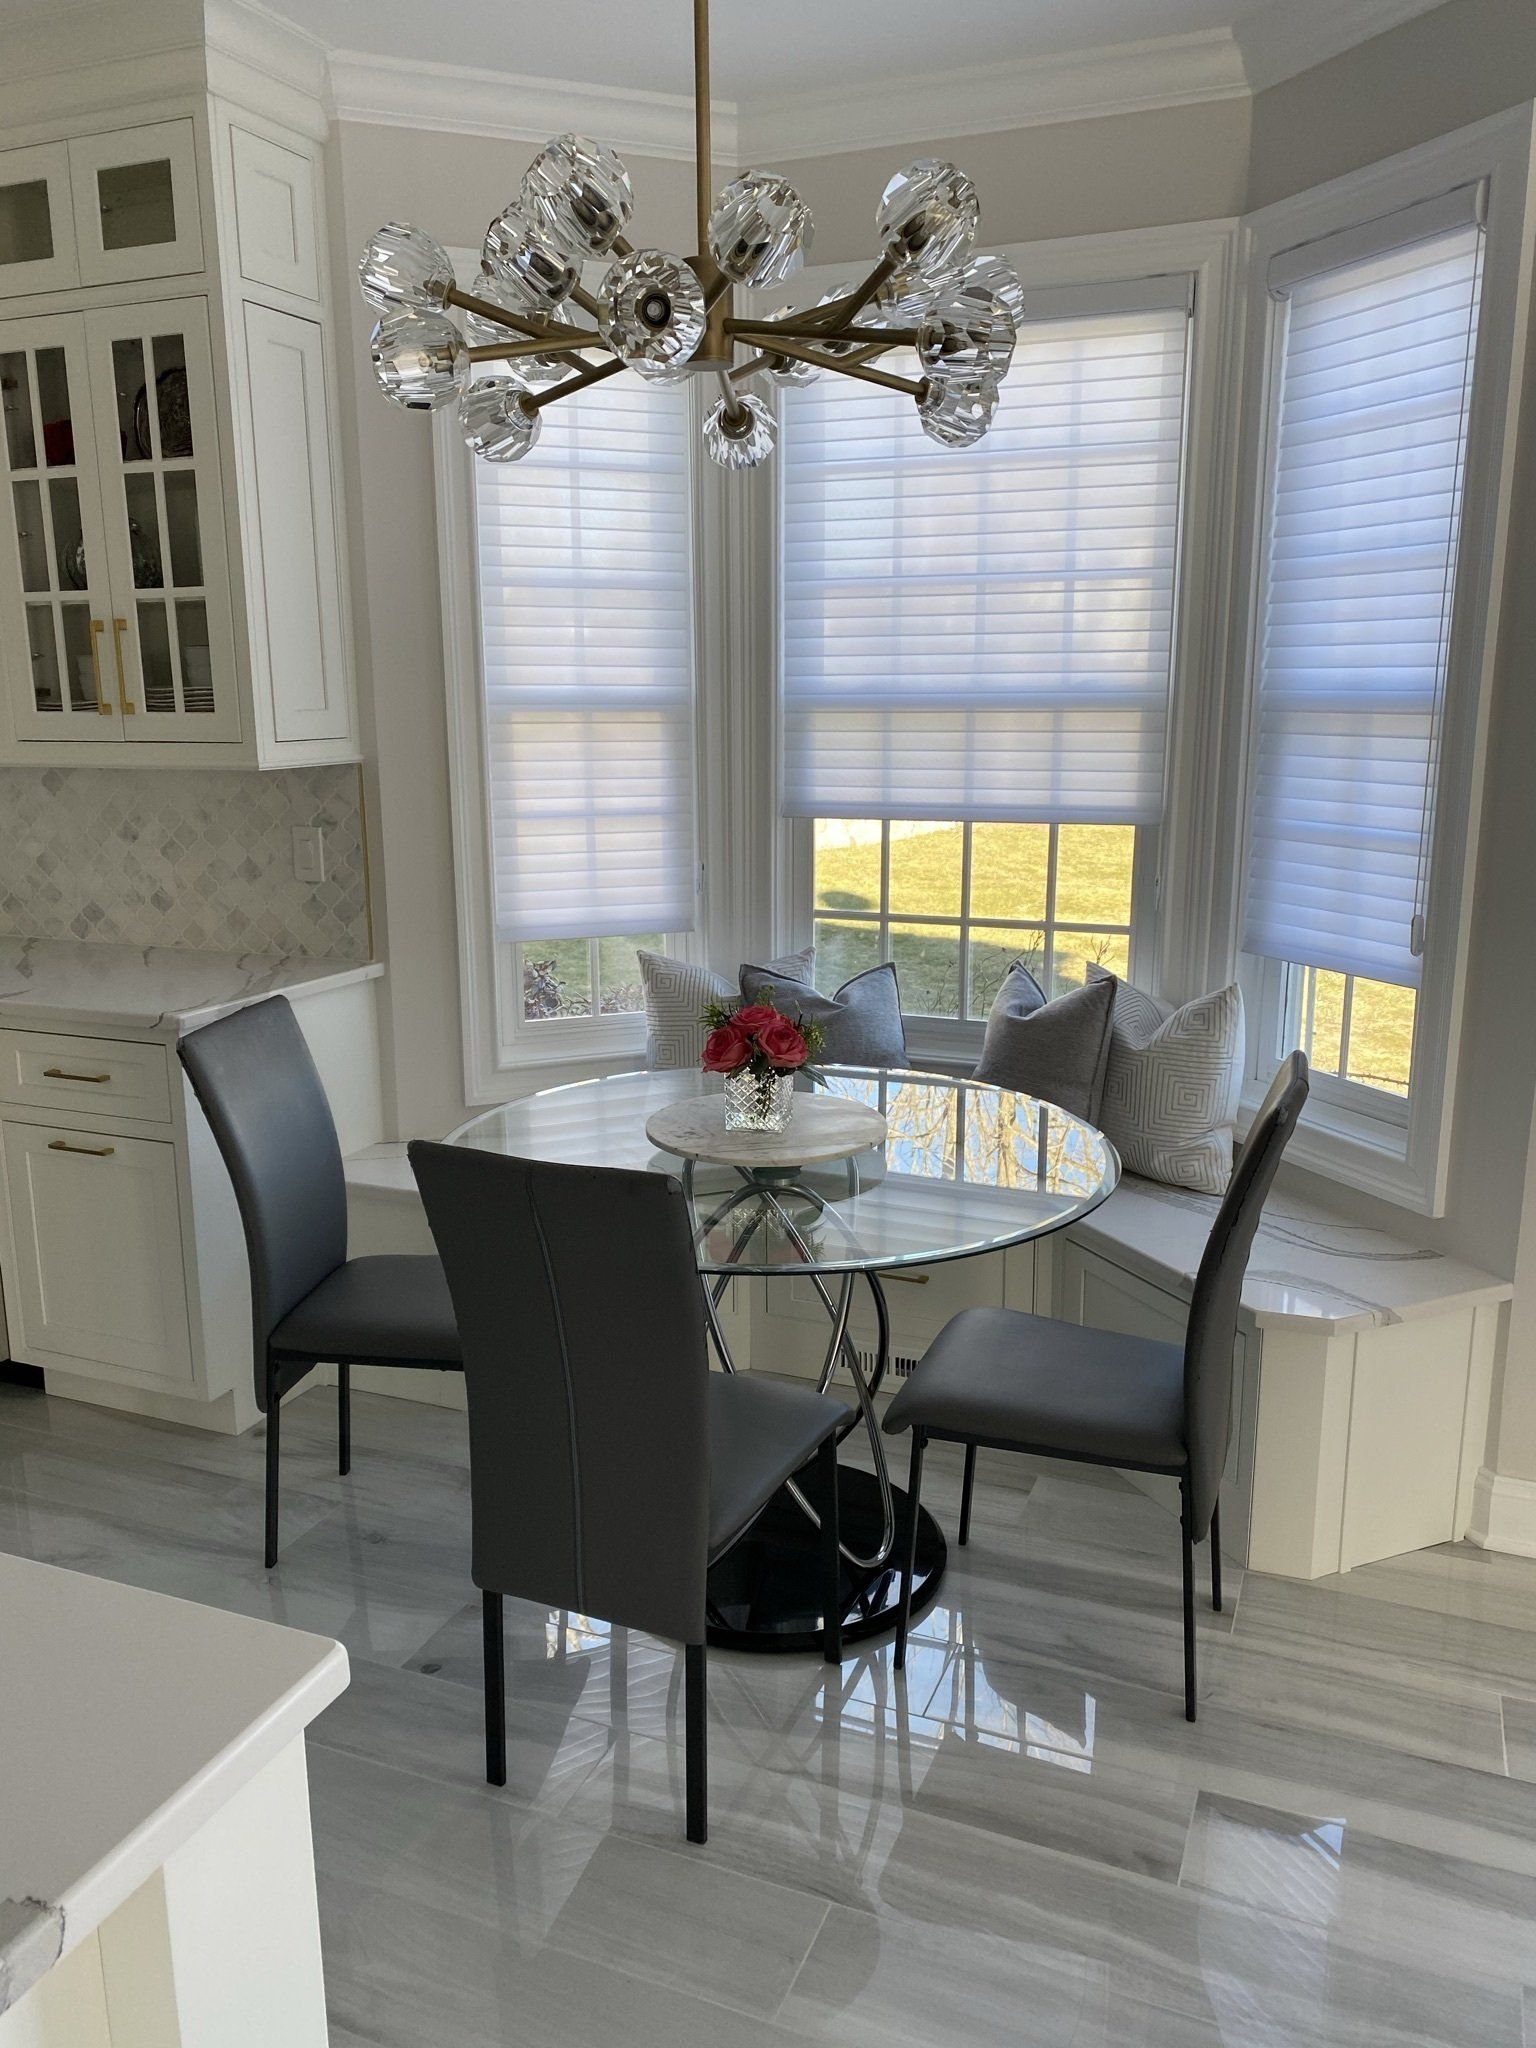
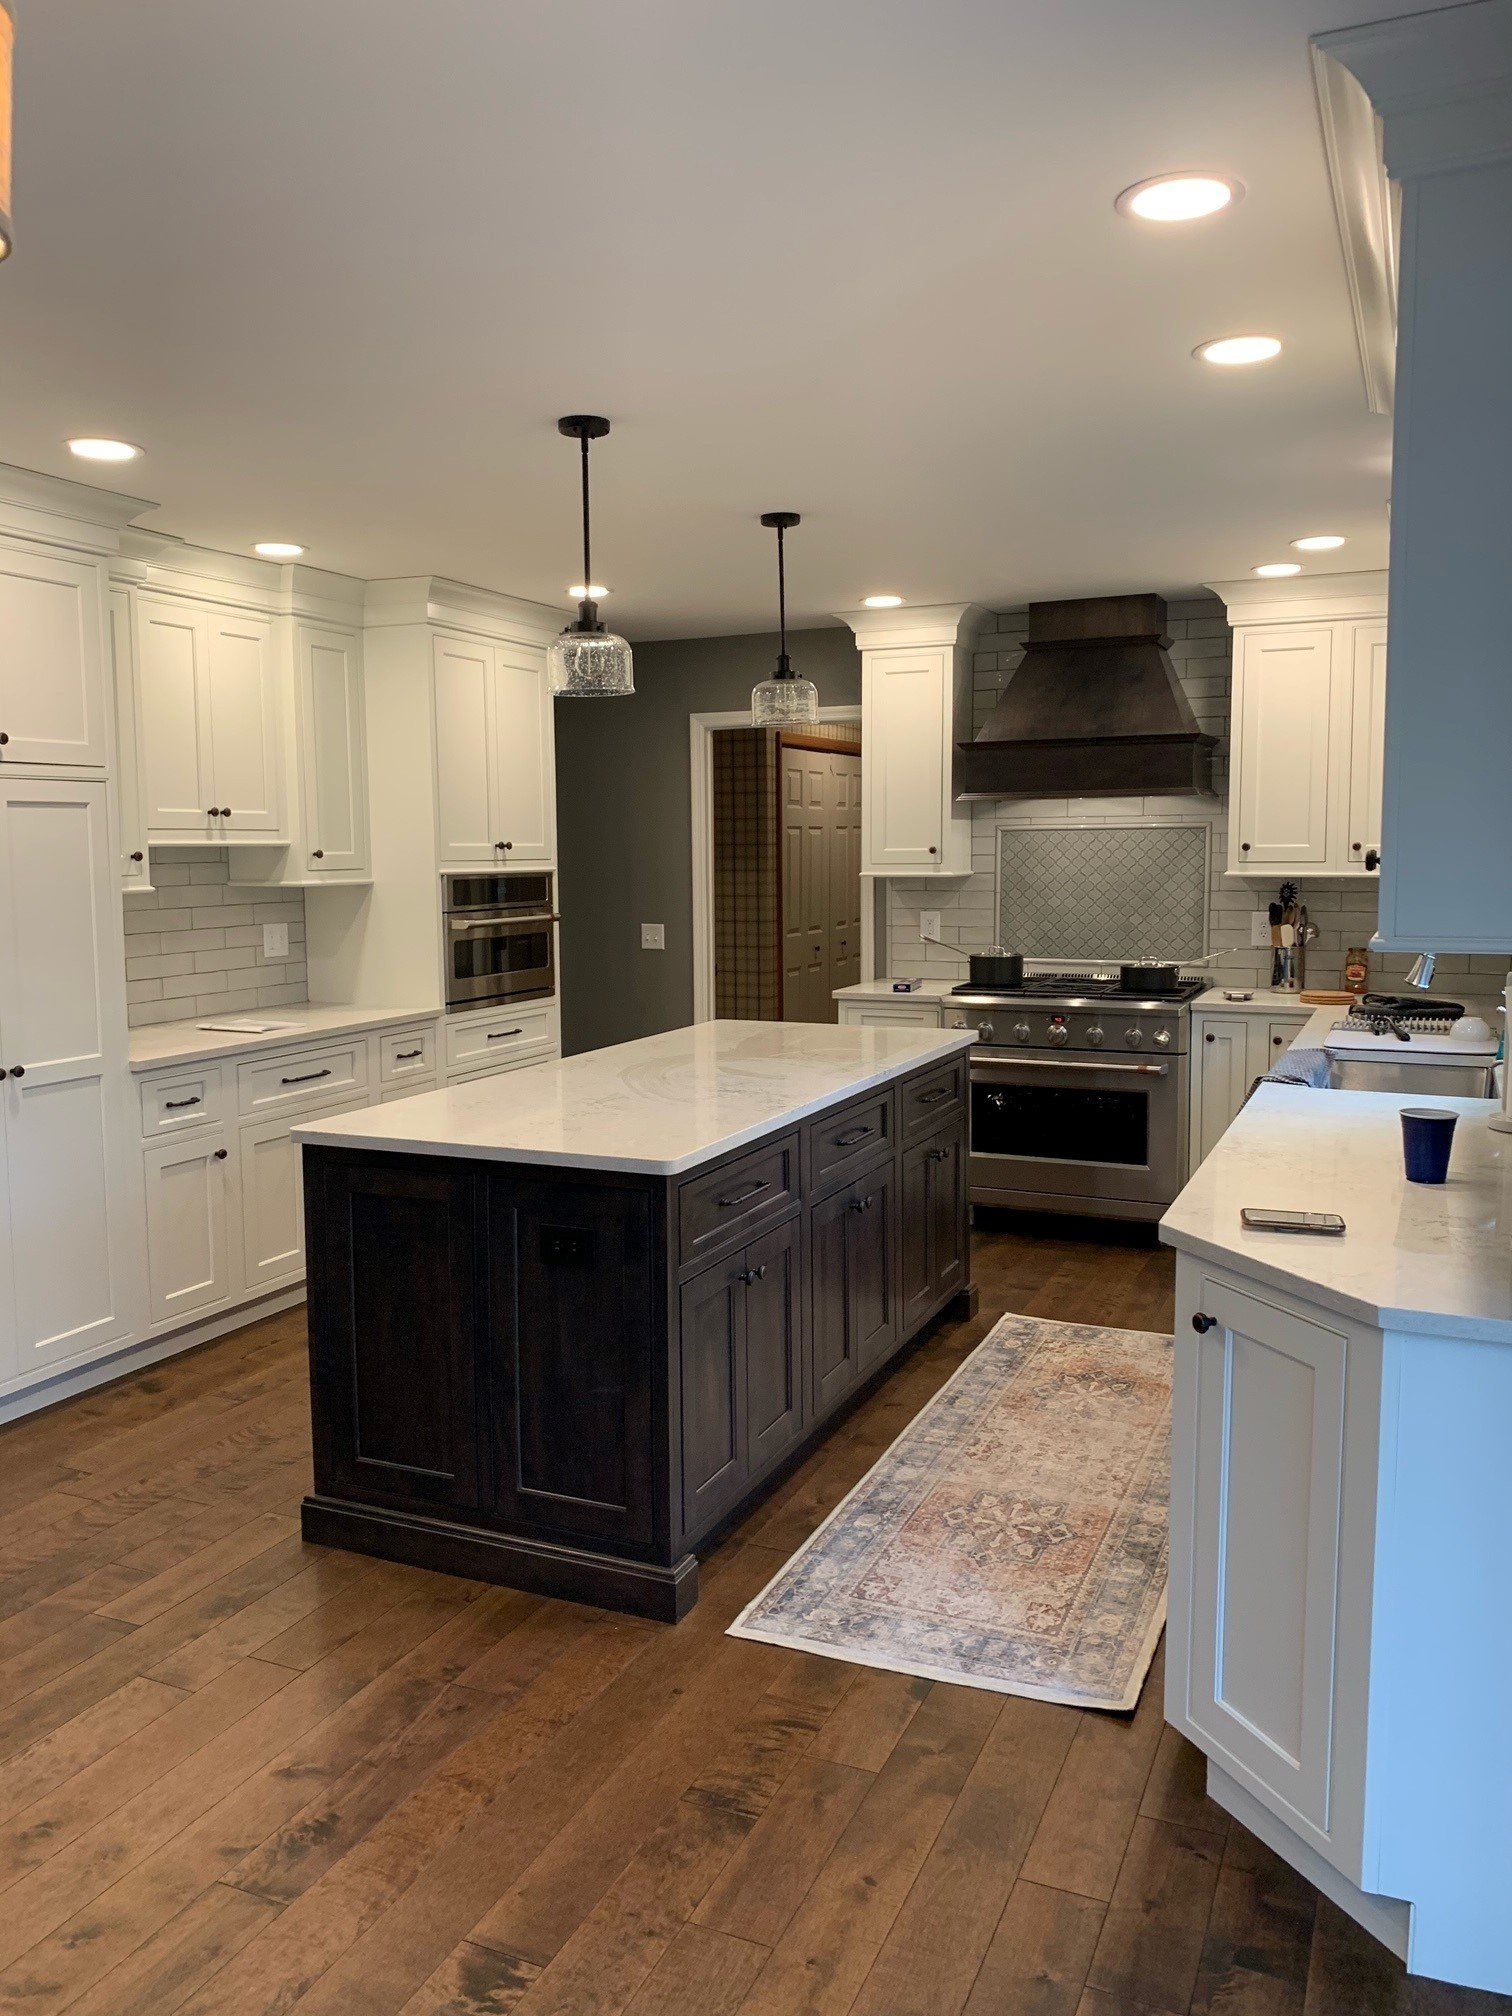
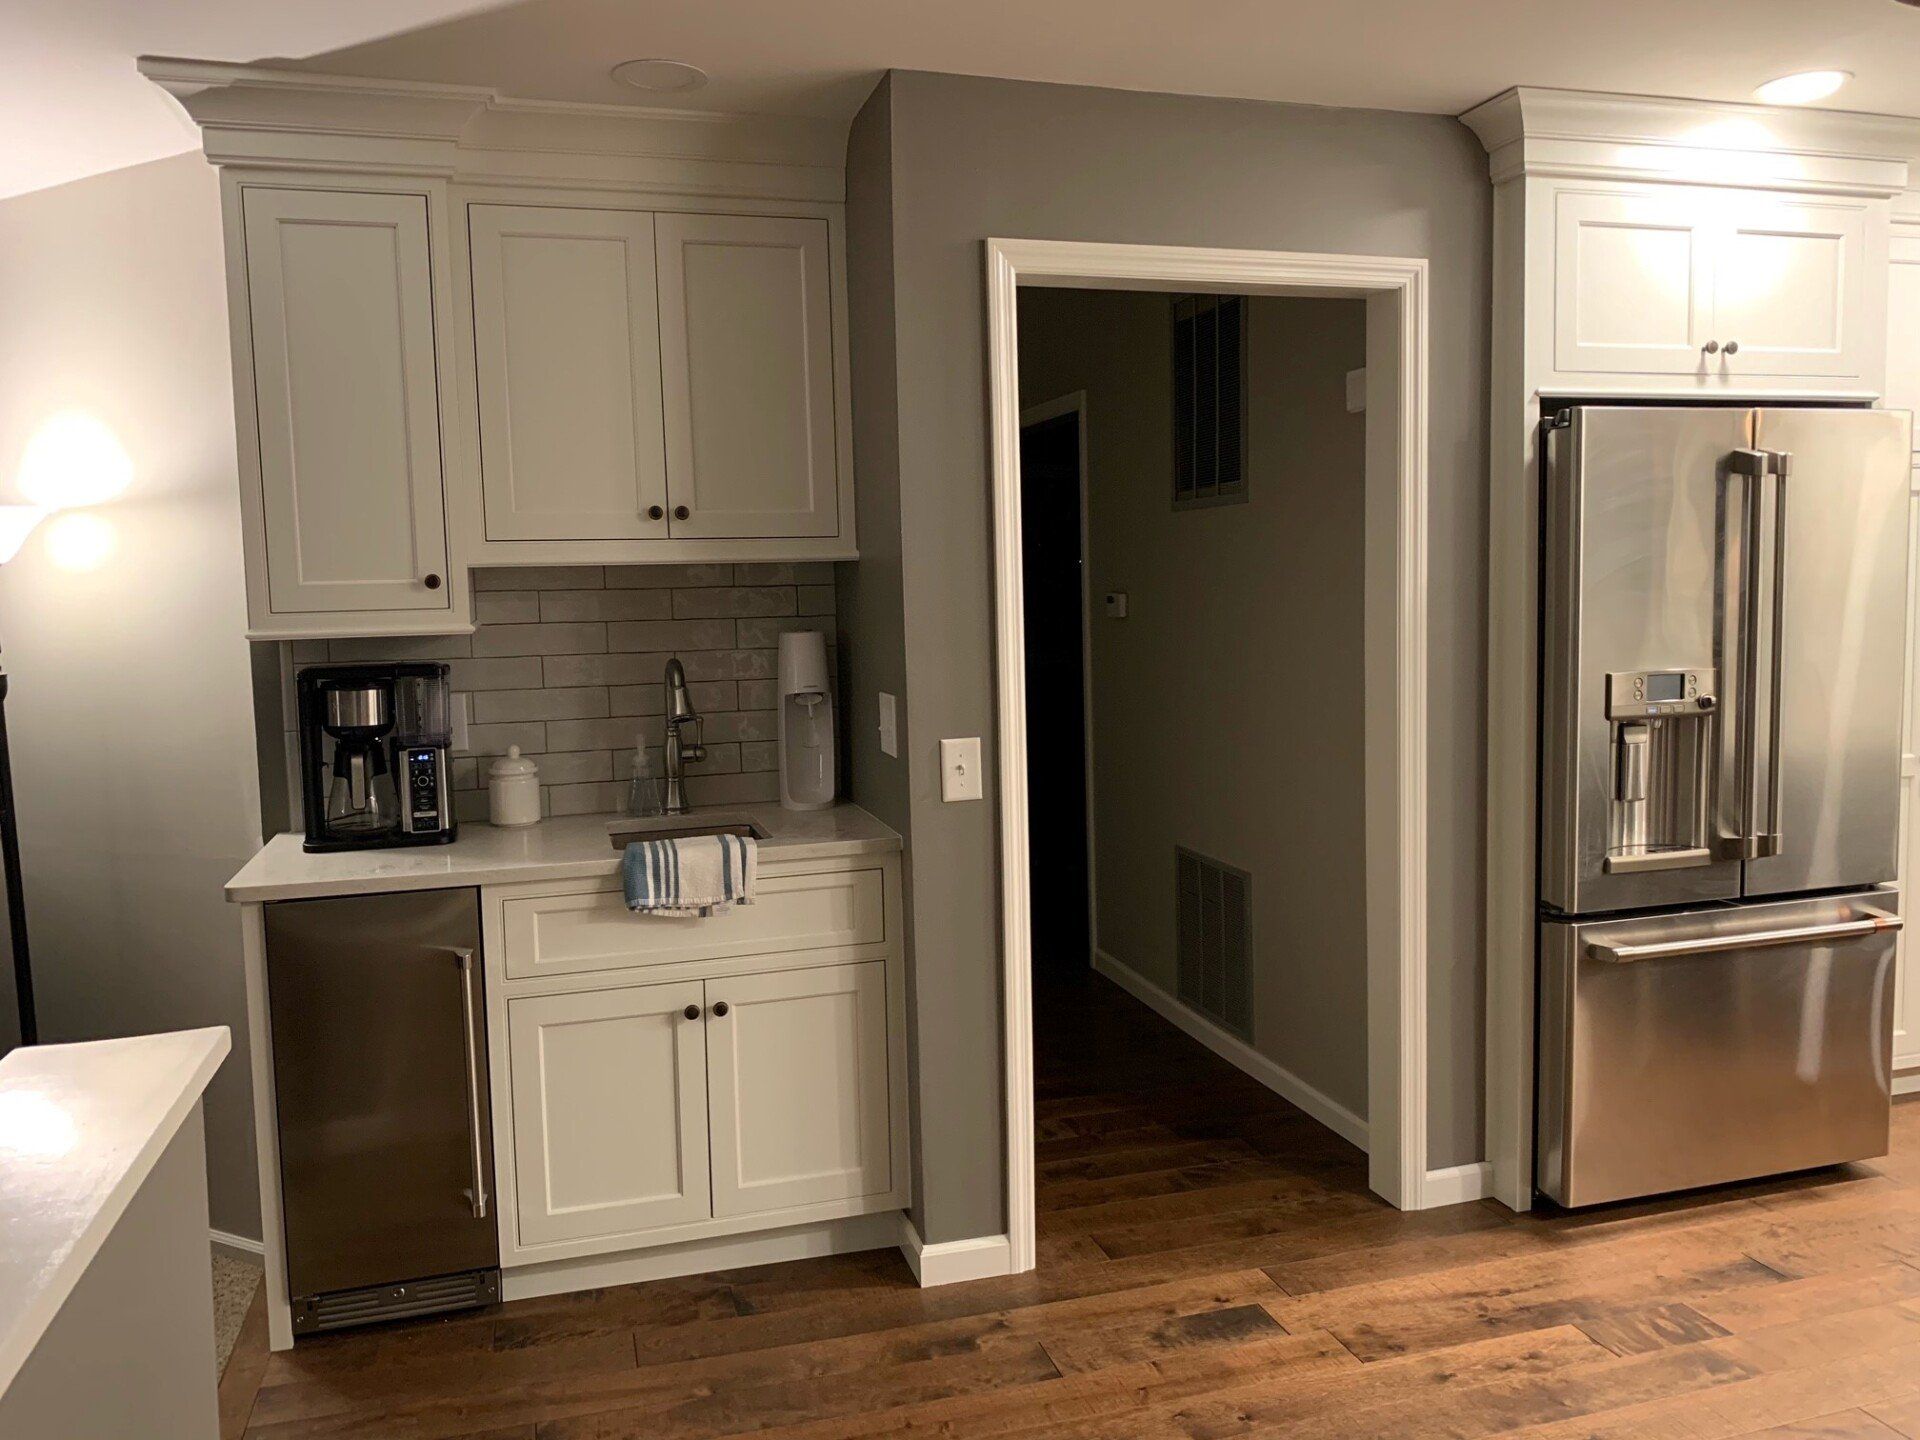
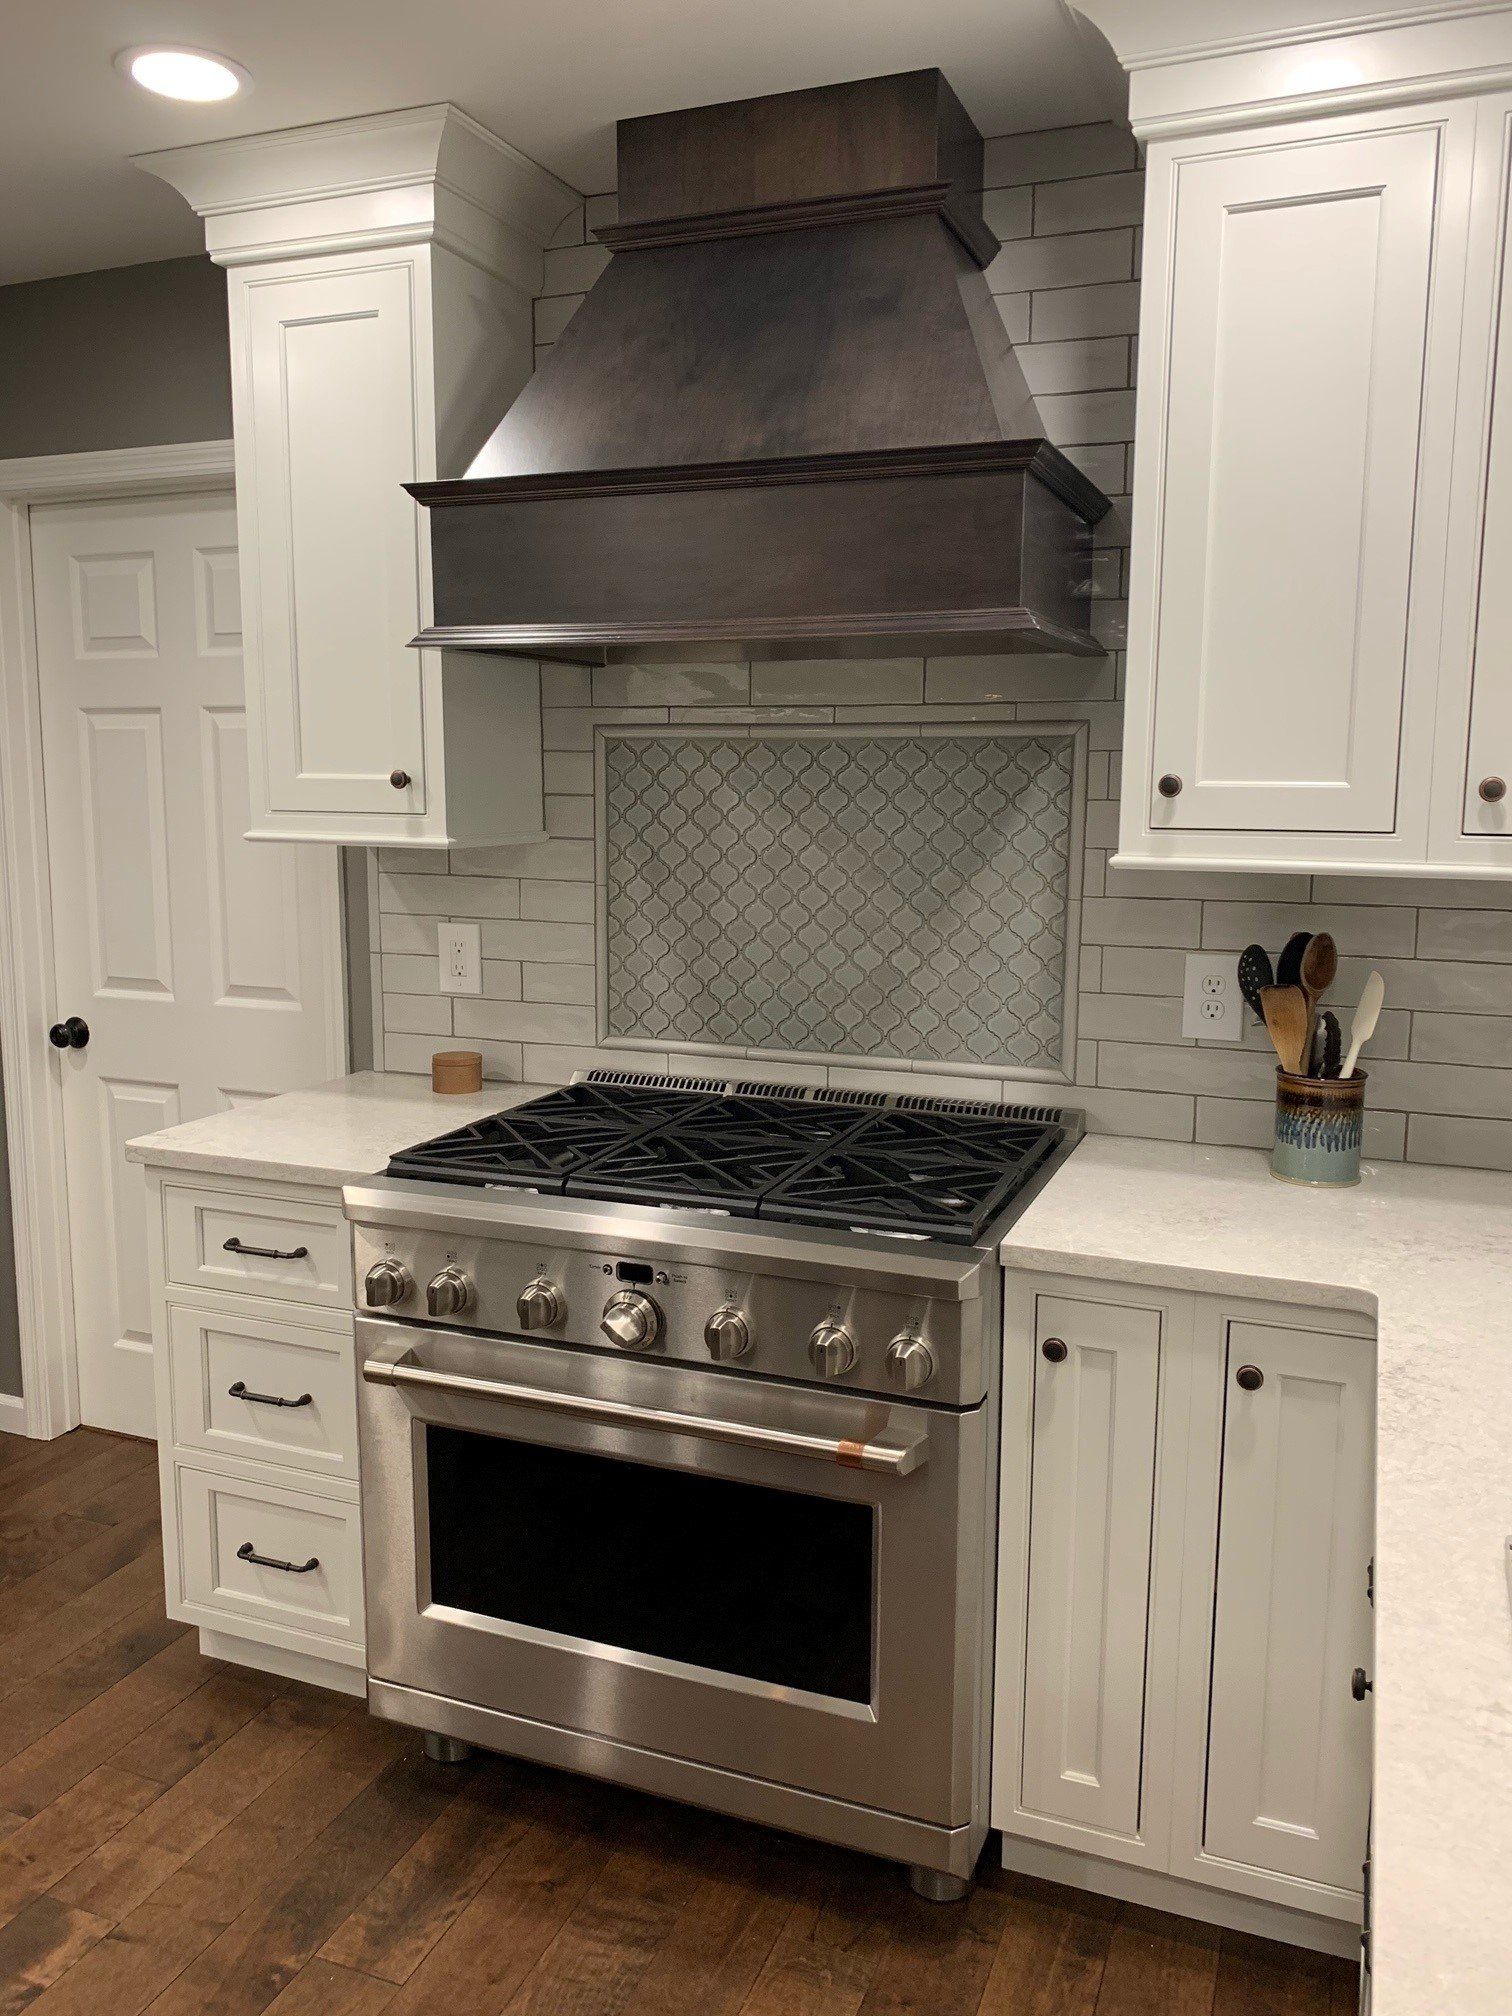
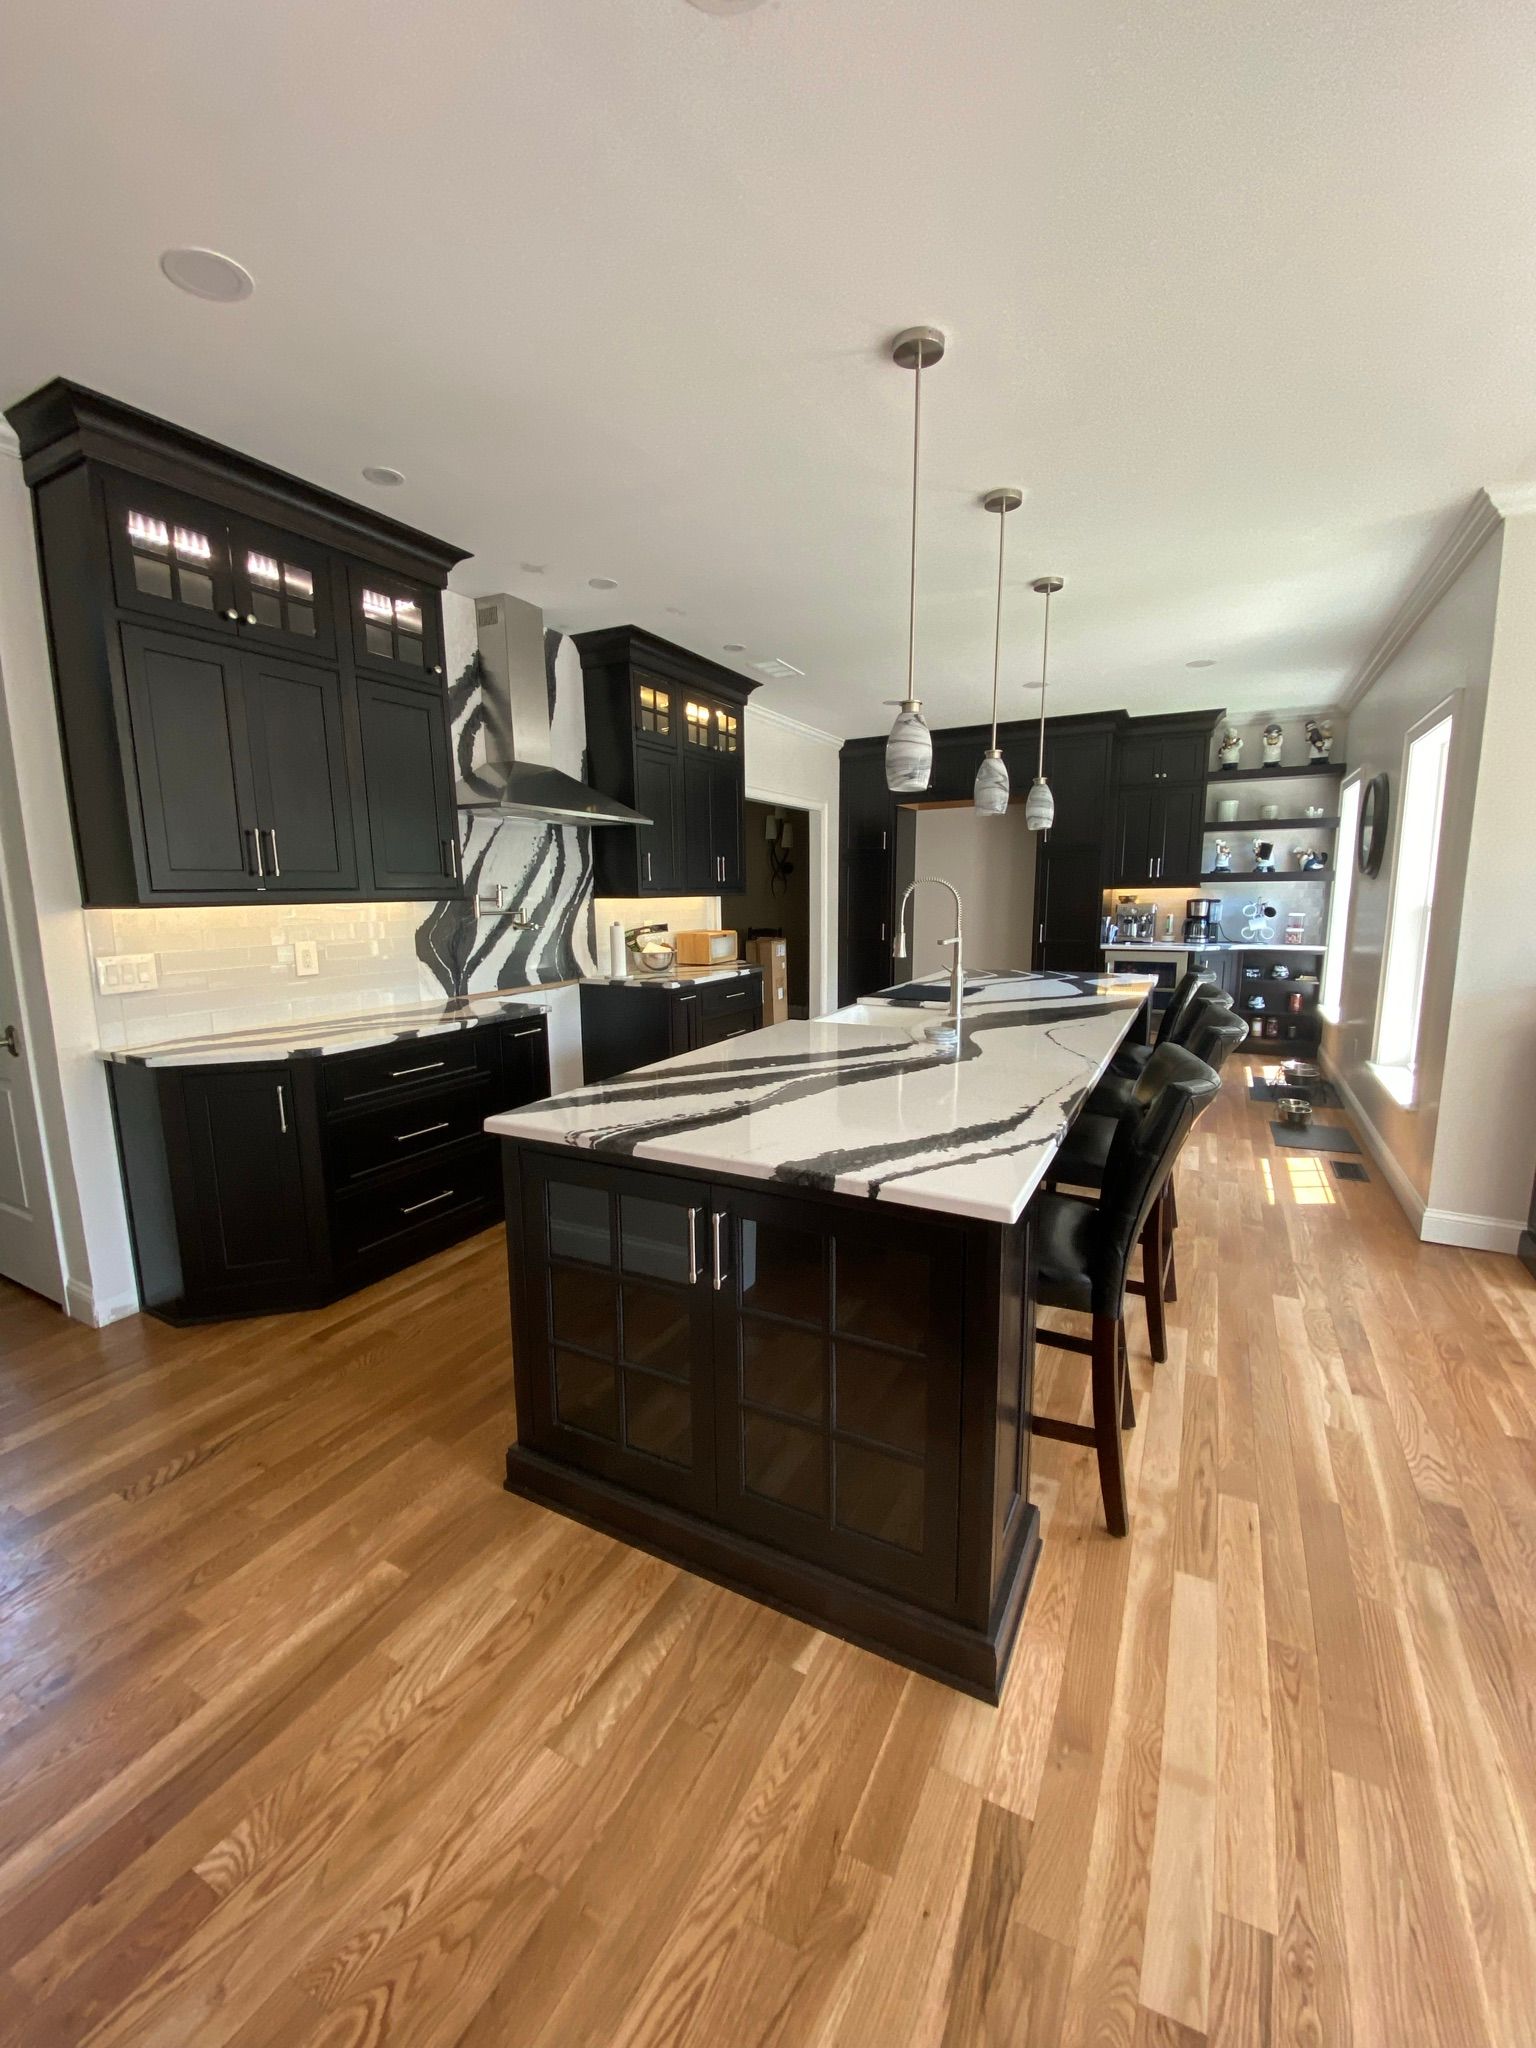
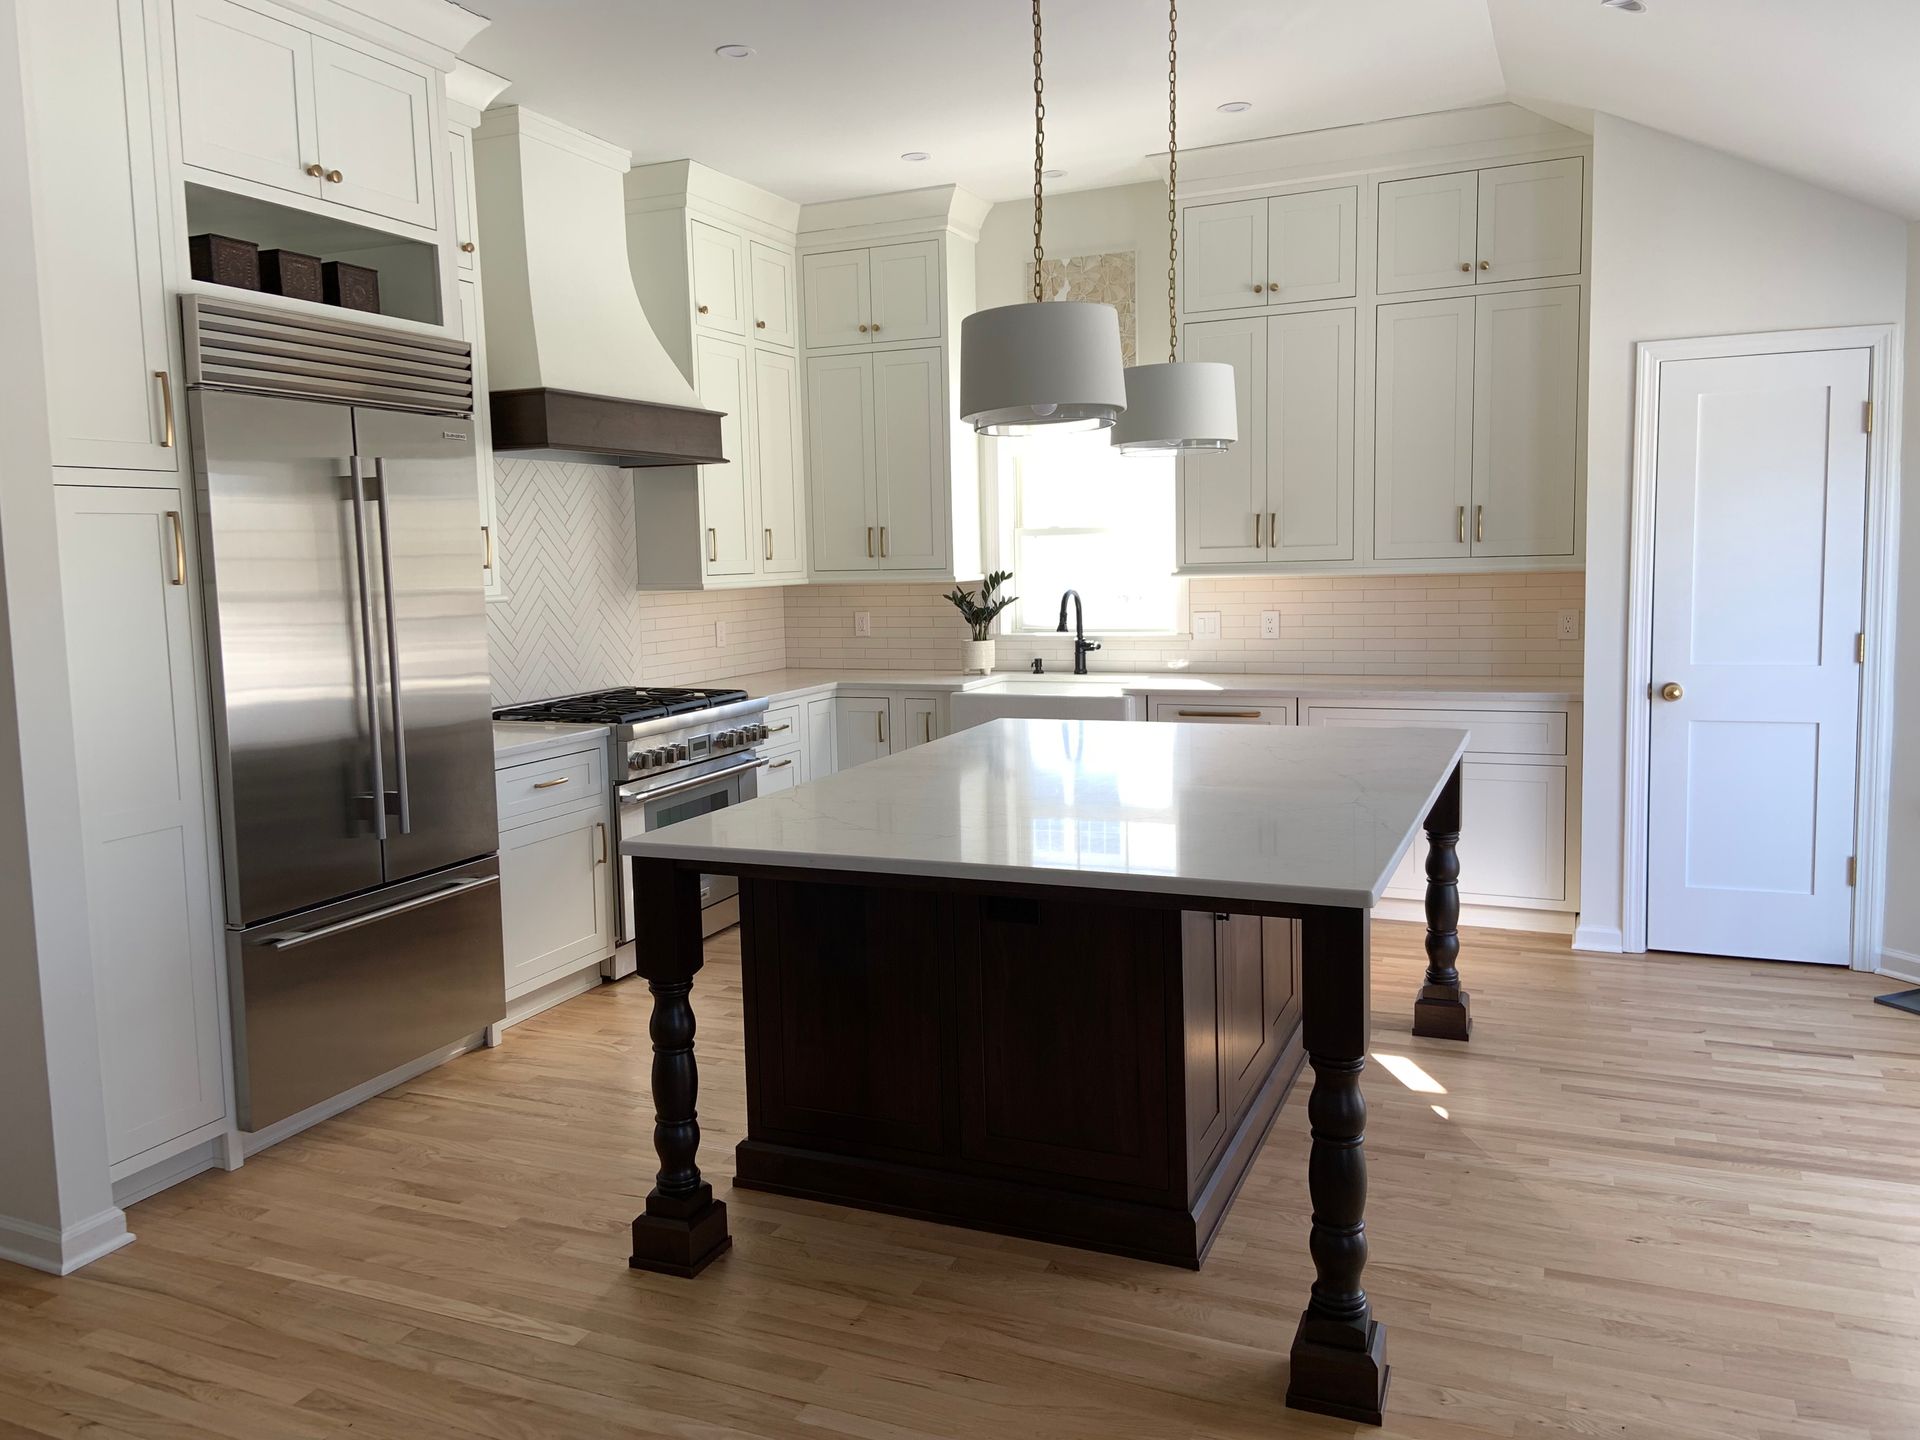
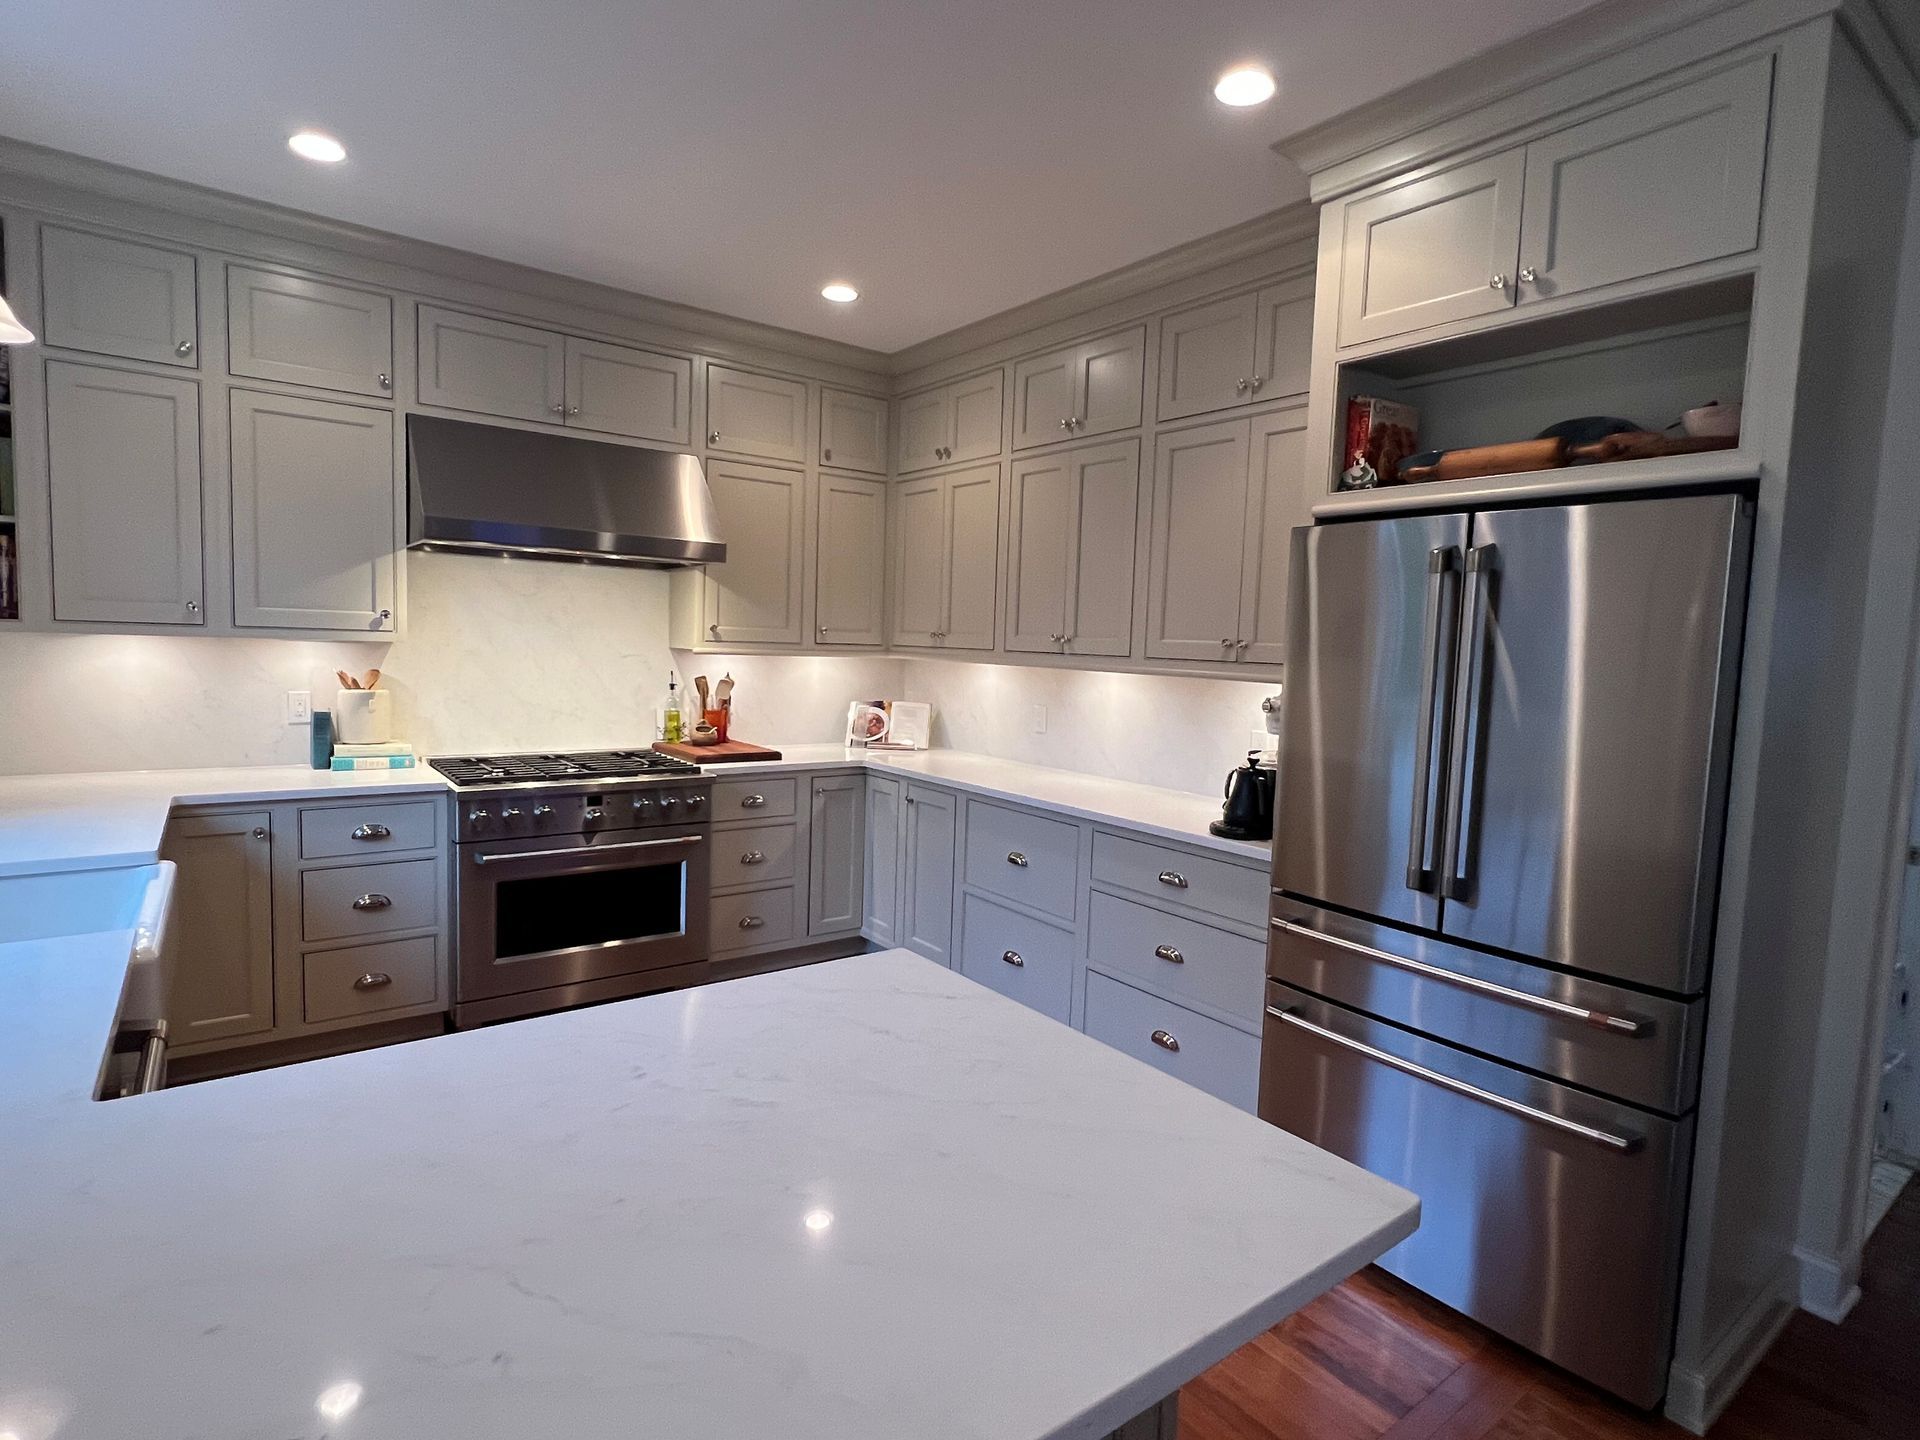
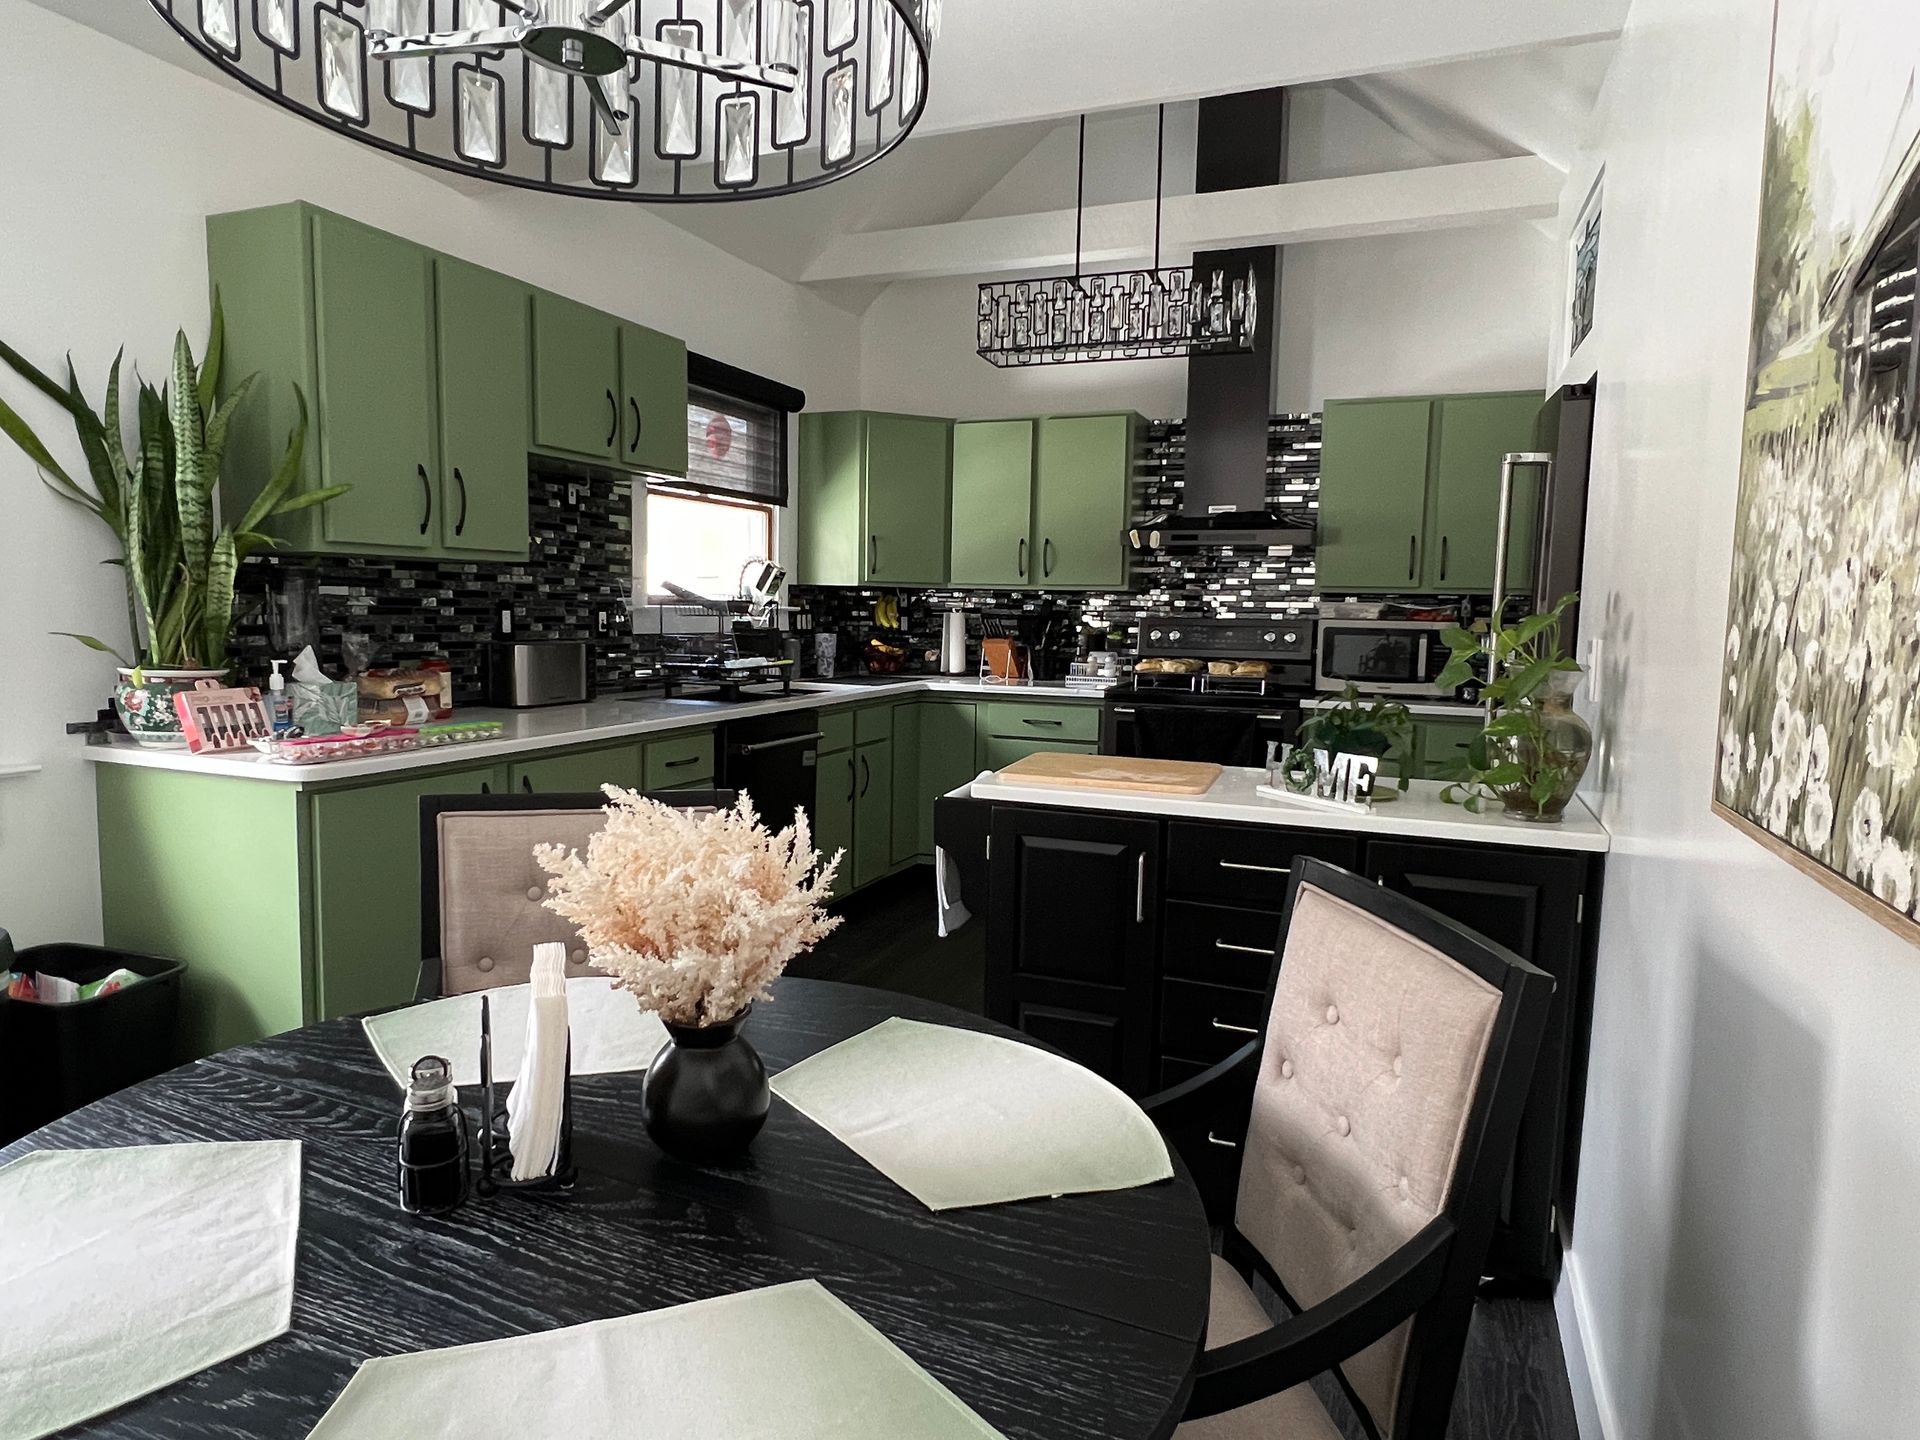
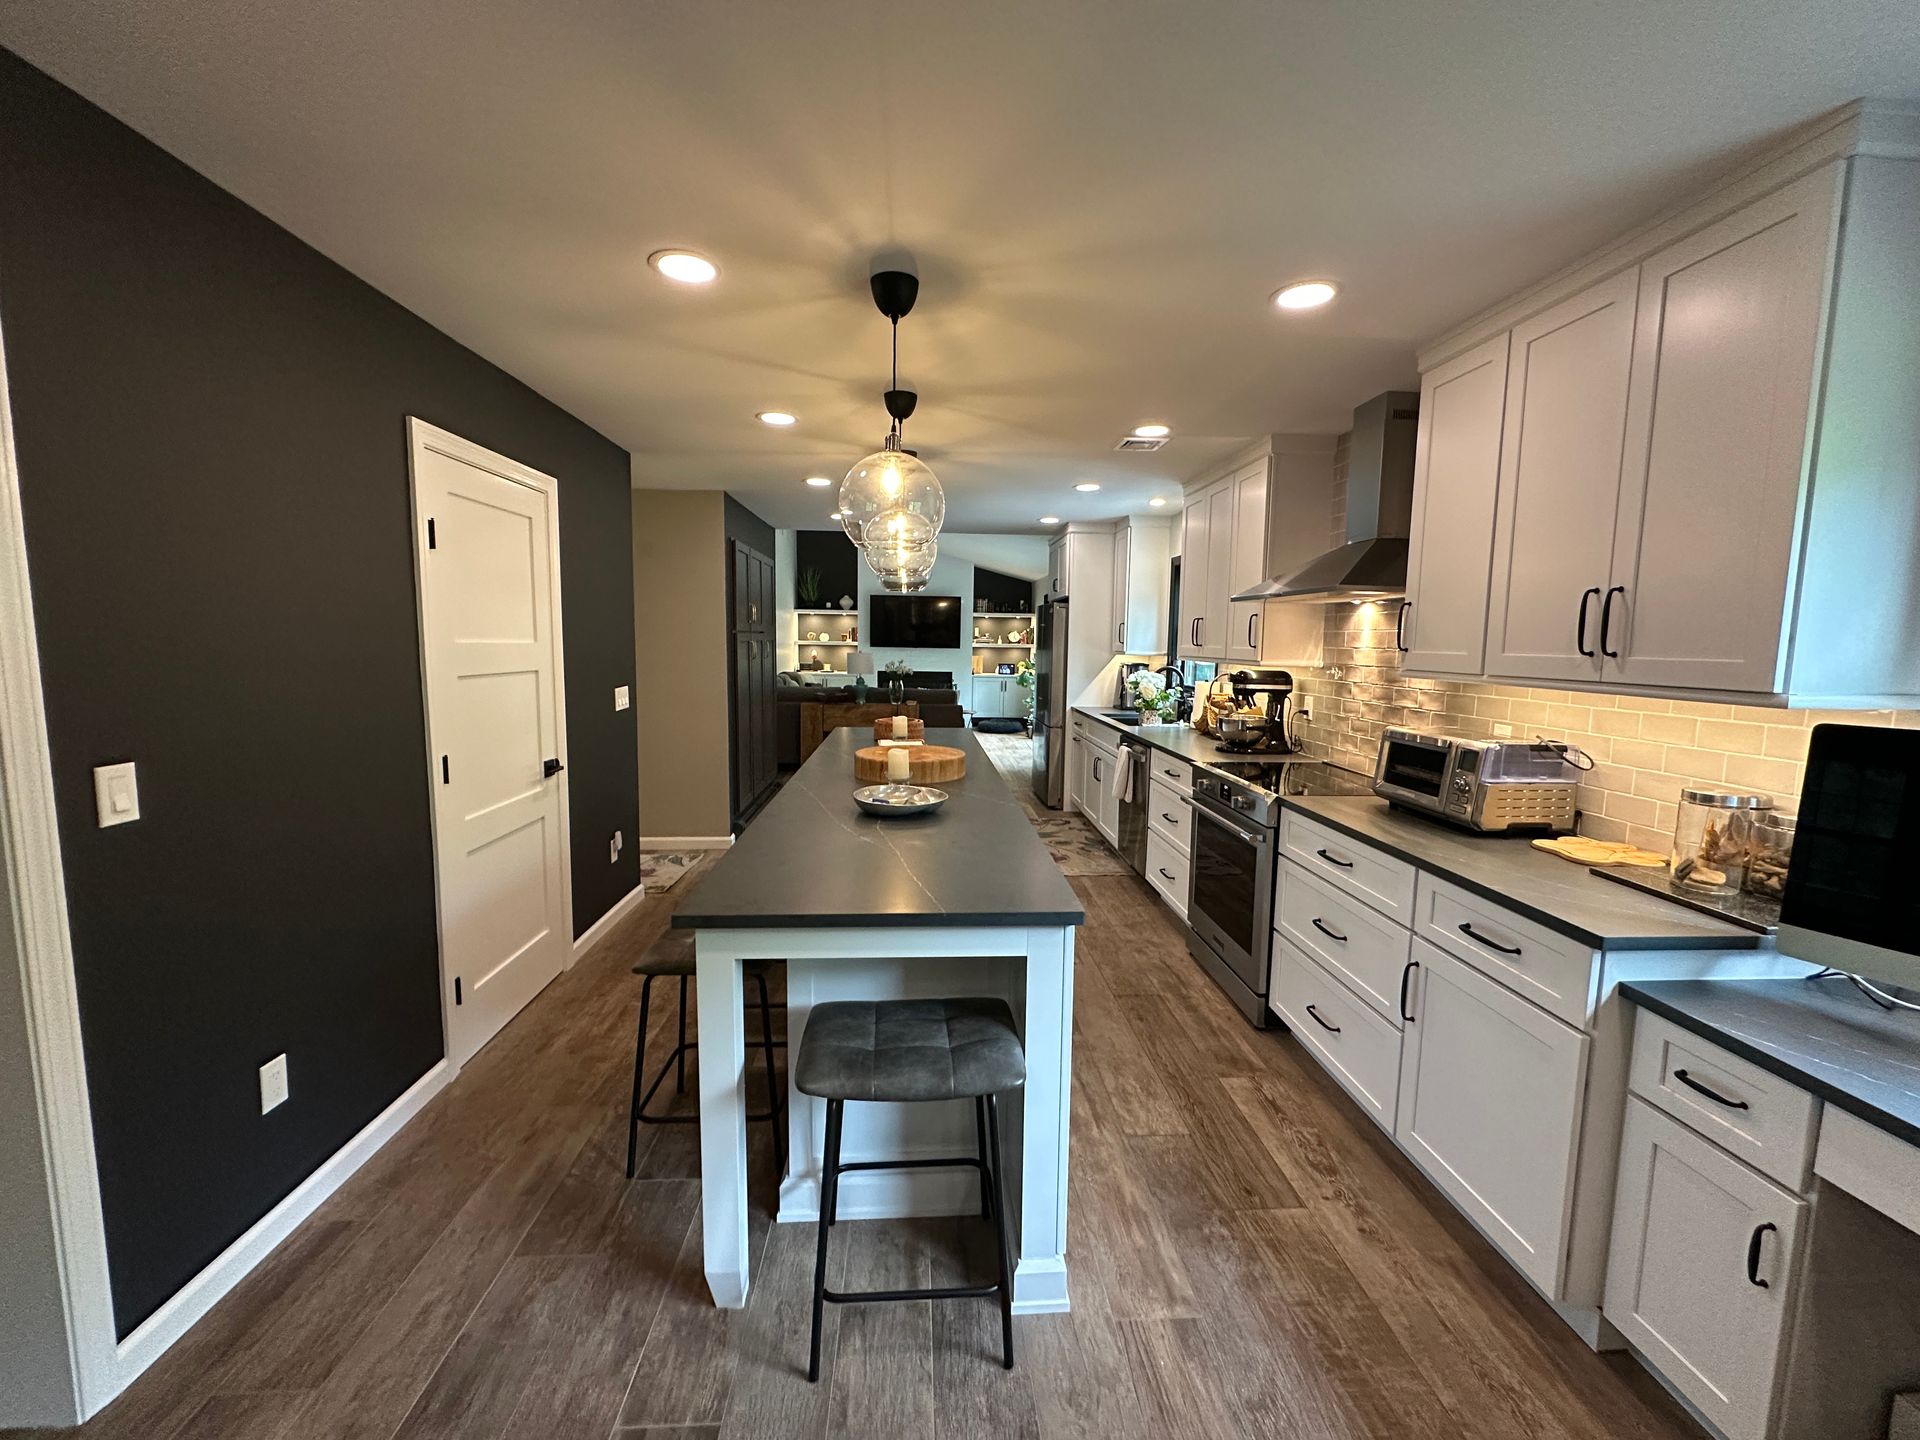
After
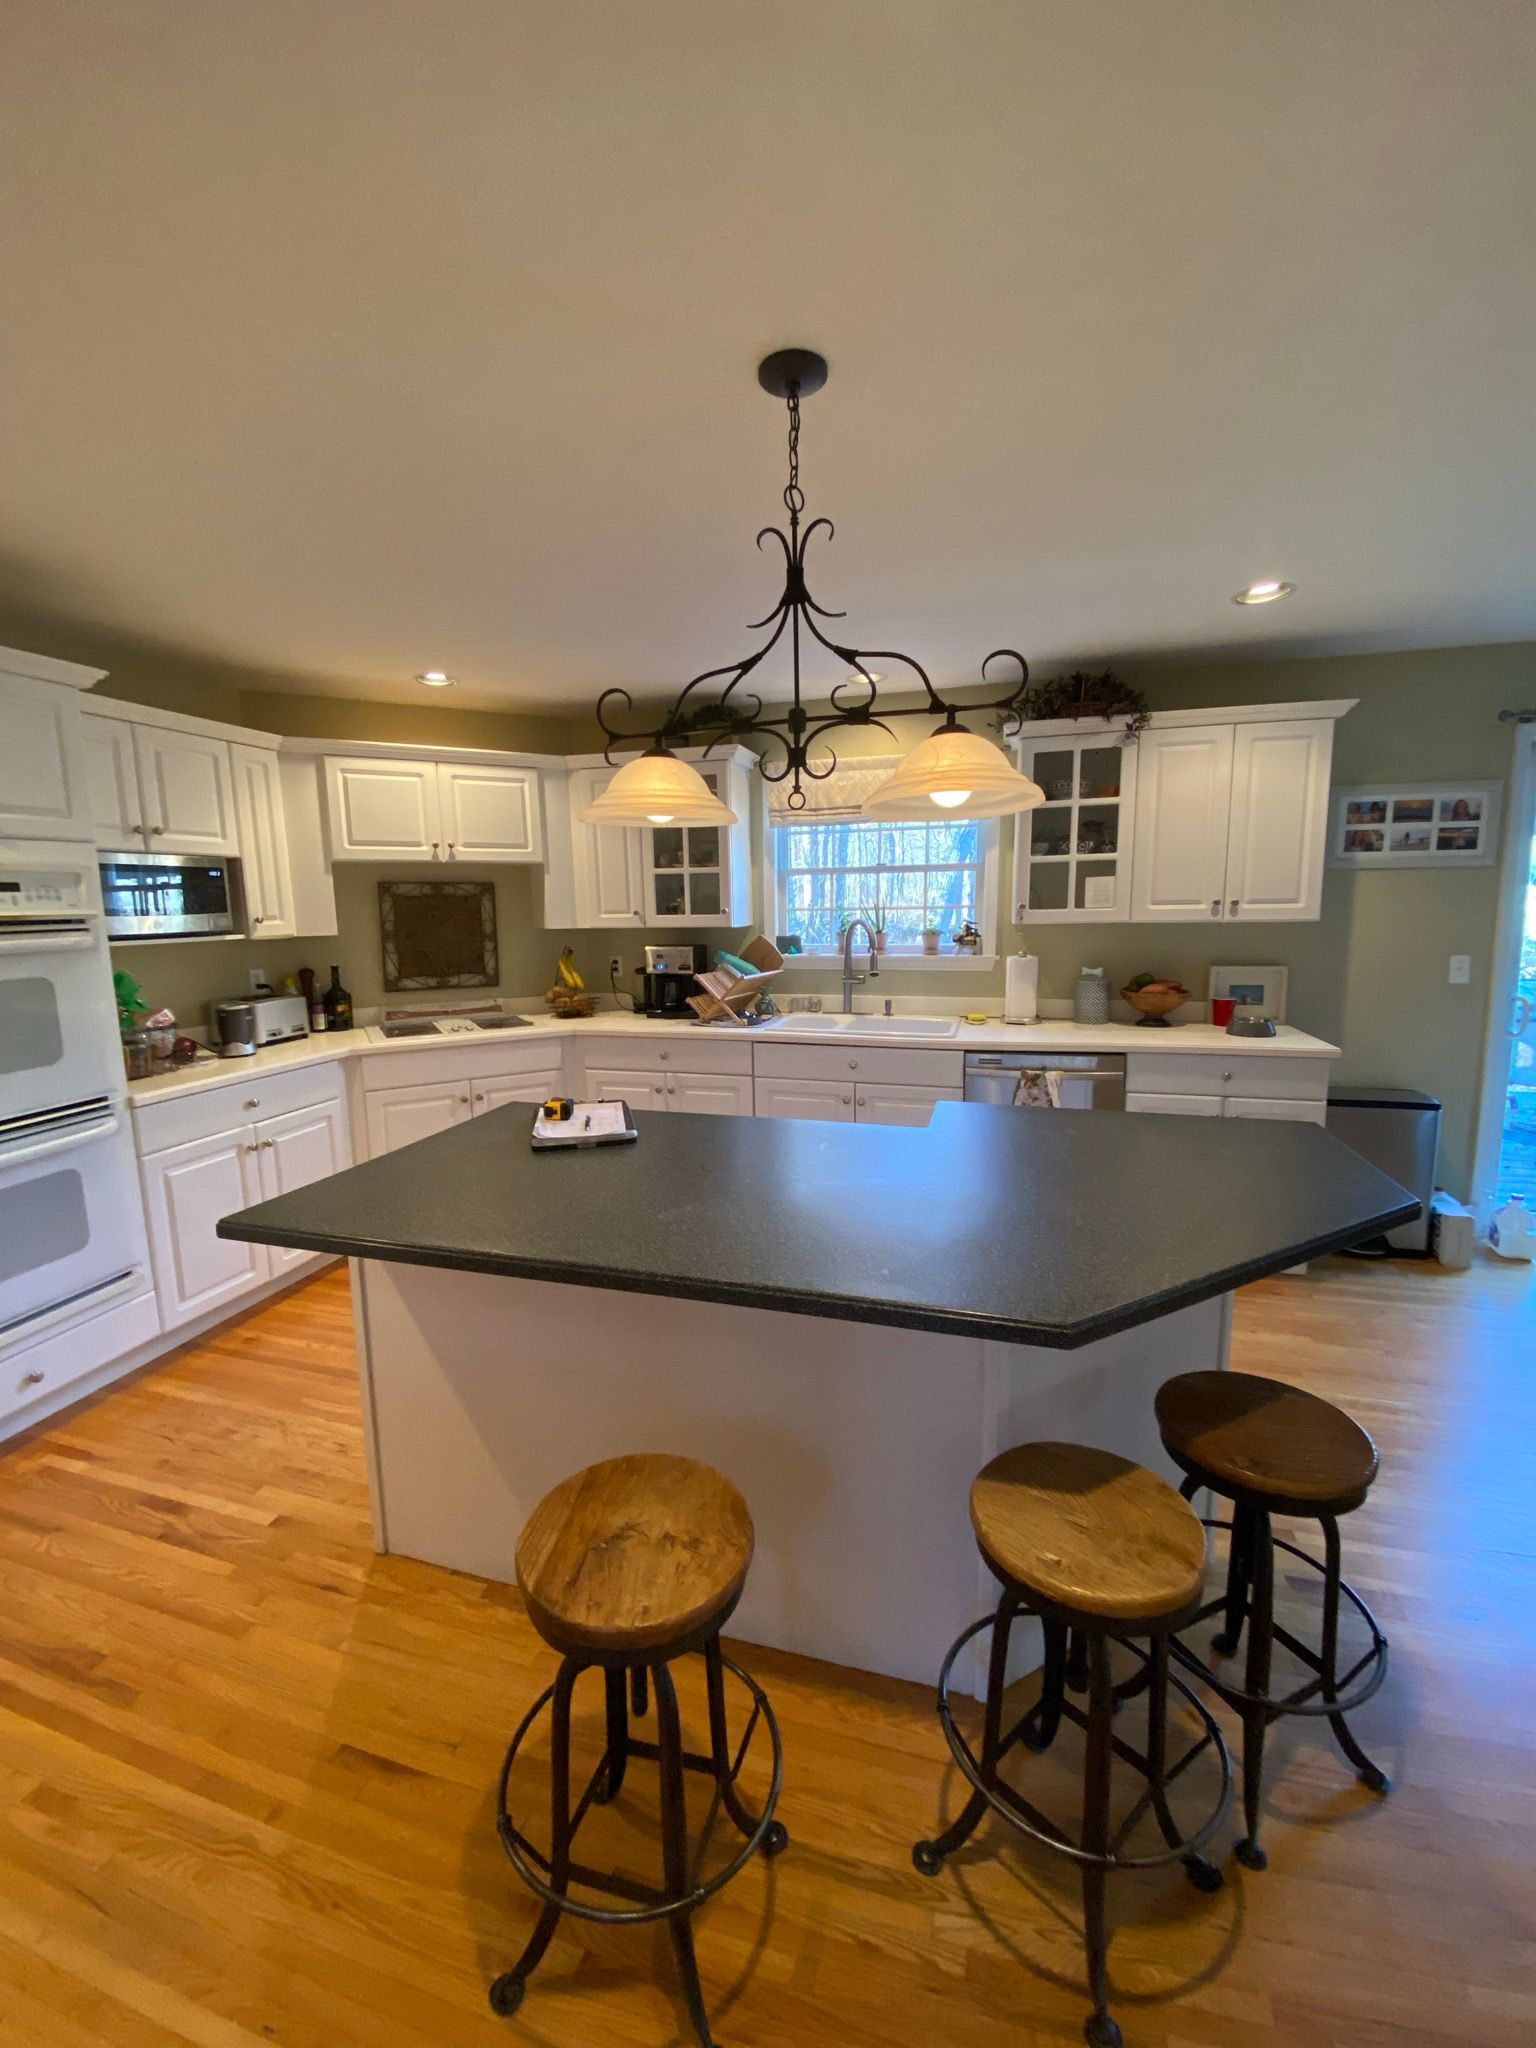
Before
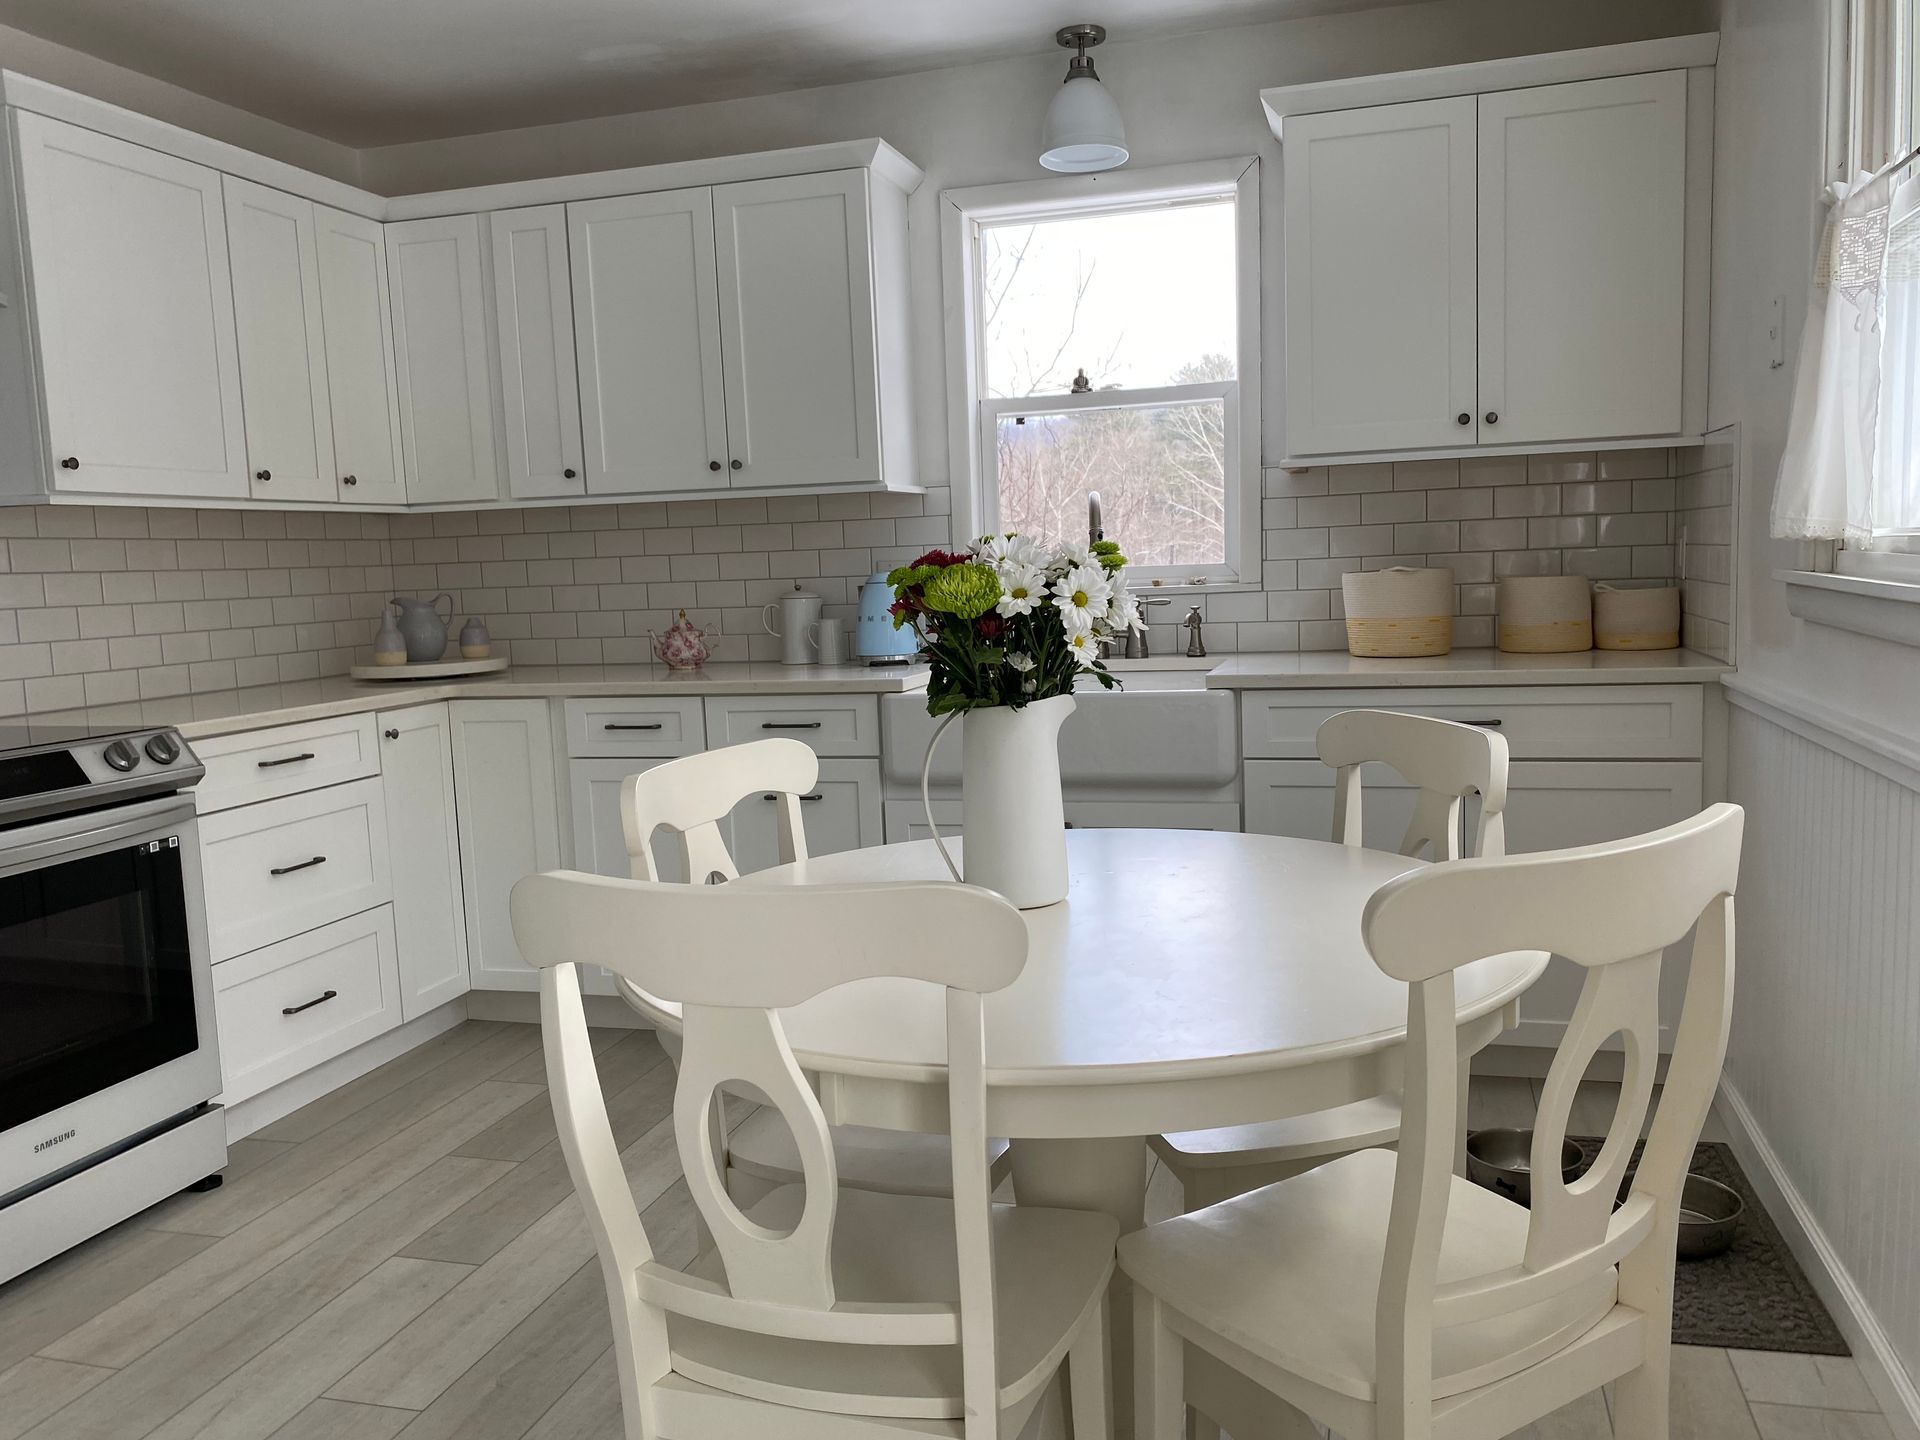
After
Before
After
Before
After
Before
After
Before
After
Before
After
Before
After
Before
After
Before
After
Before
After
Before
After
Before
After
Before
After
Before
After
Before
After
Before
After
Before
After
Before
After


Before
After
Before
After
Before
After

Before
After

Before
After
Before
After

Before
After
Before
After
Before
After
Before
After
Before
After
Before
After
Before
After
Before
After
Before
After
Before
After
Before
After
Before
After
Before
After
Before
After
Before
After
Before
After
Before
After
Before
After
Before
After

Before
After
Before
After
Before
After
Before
After
Before
After
Before
After

Before
After
Before
After
Before
After
Before
After